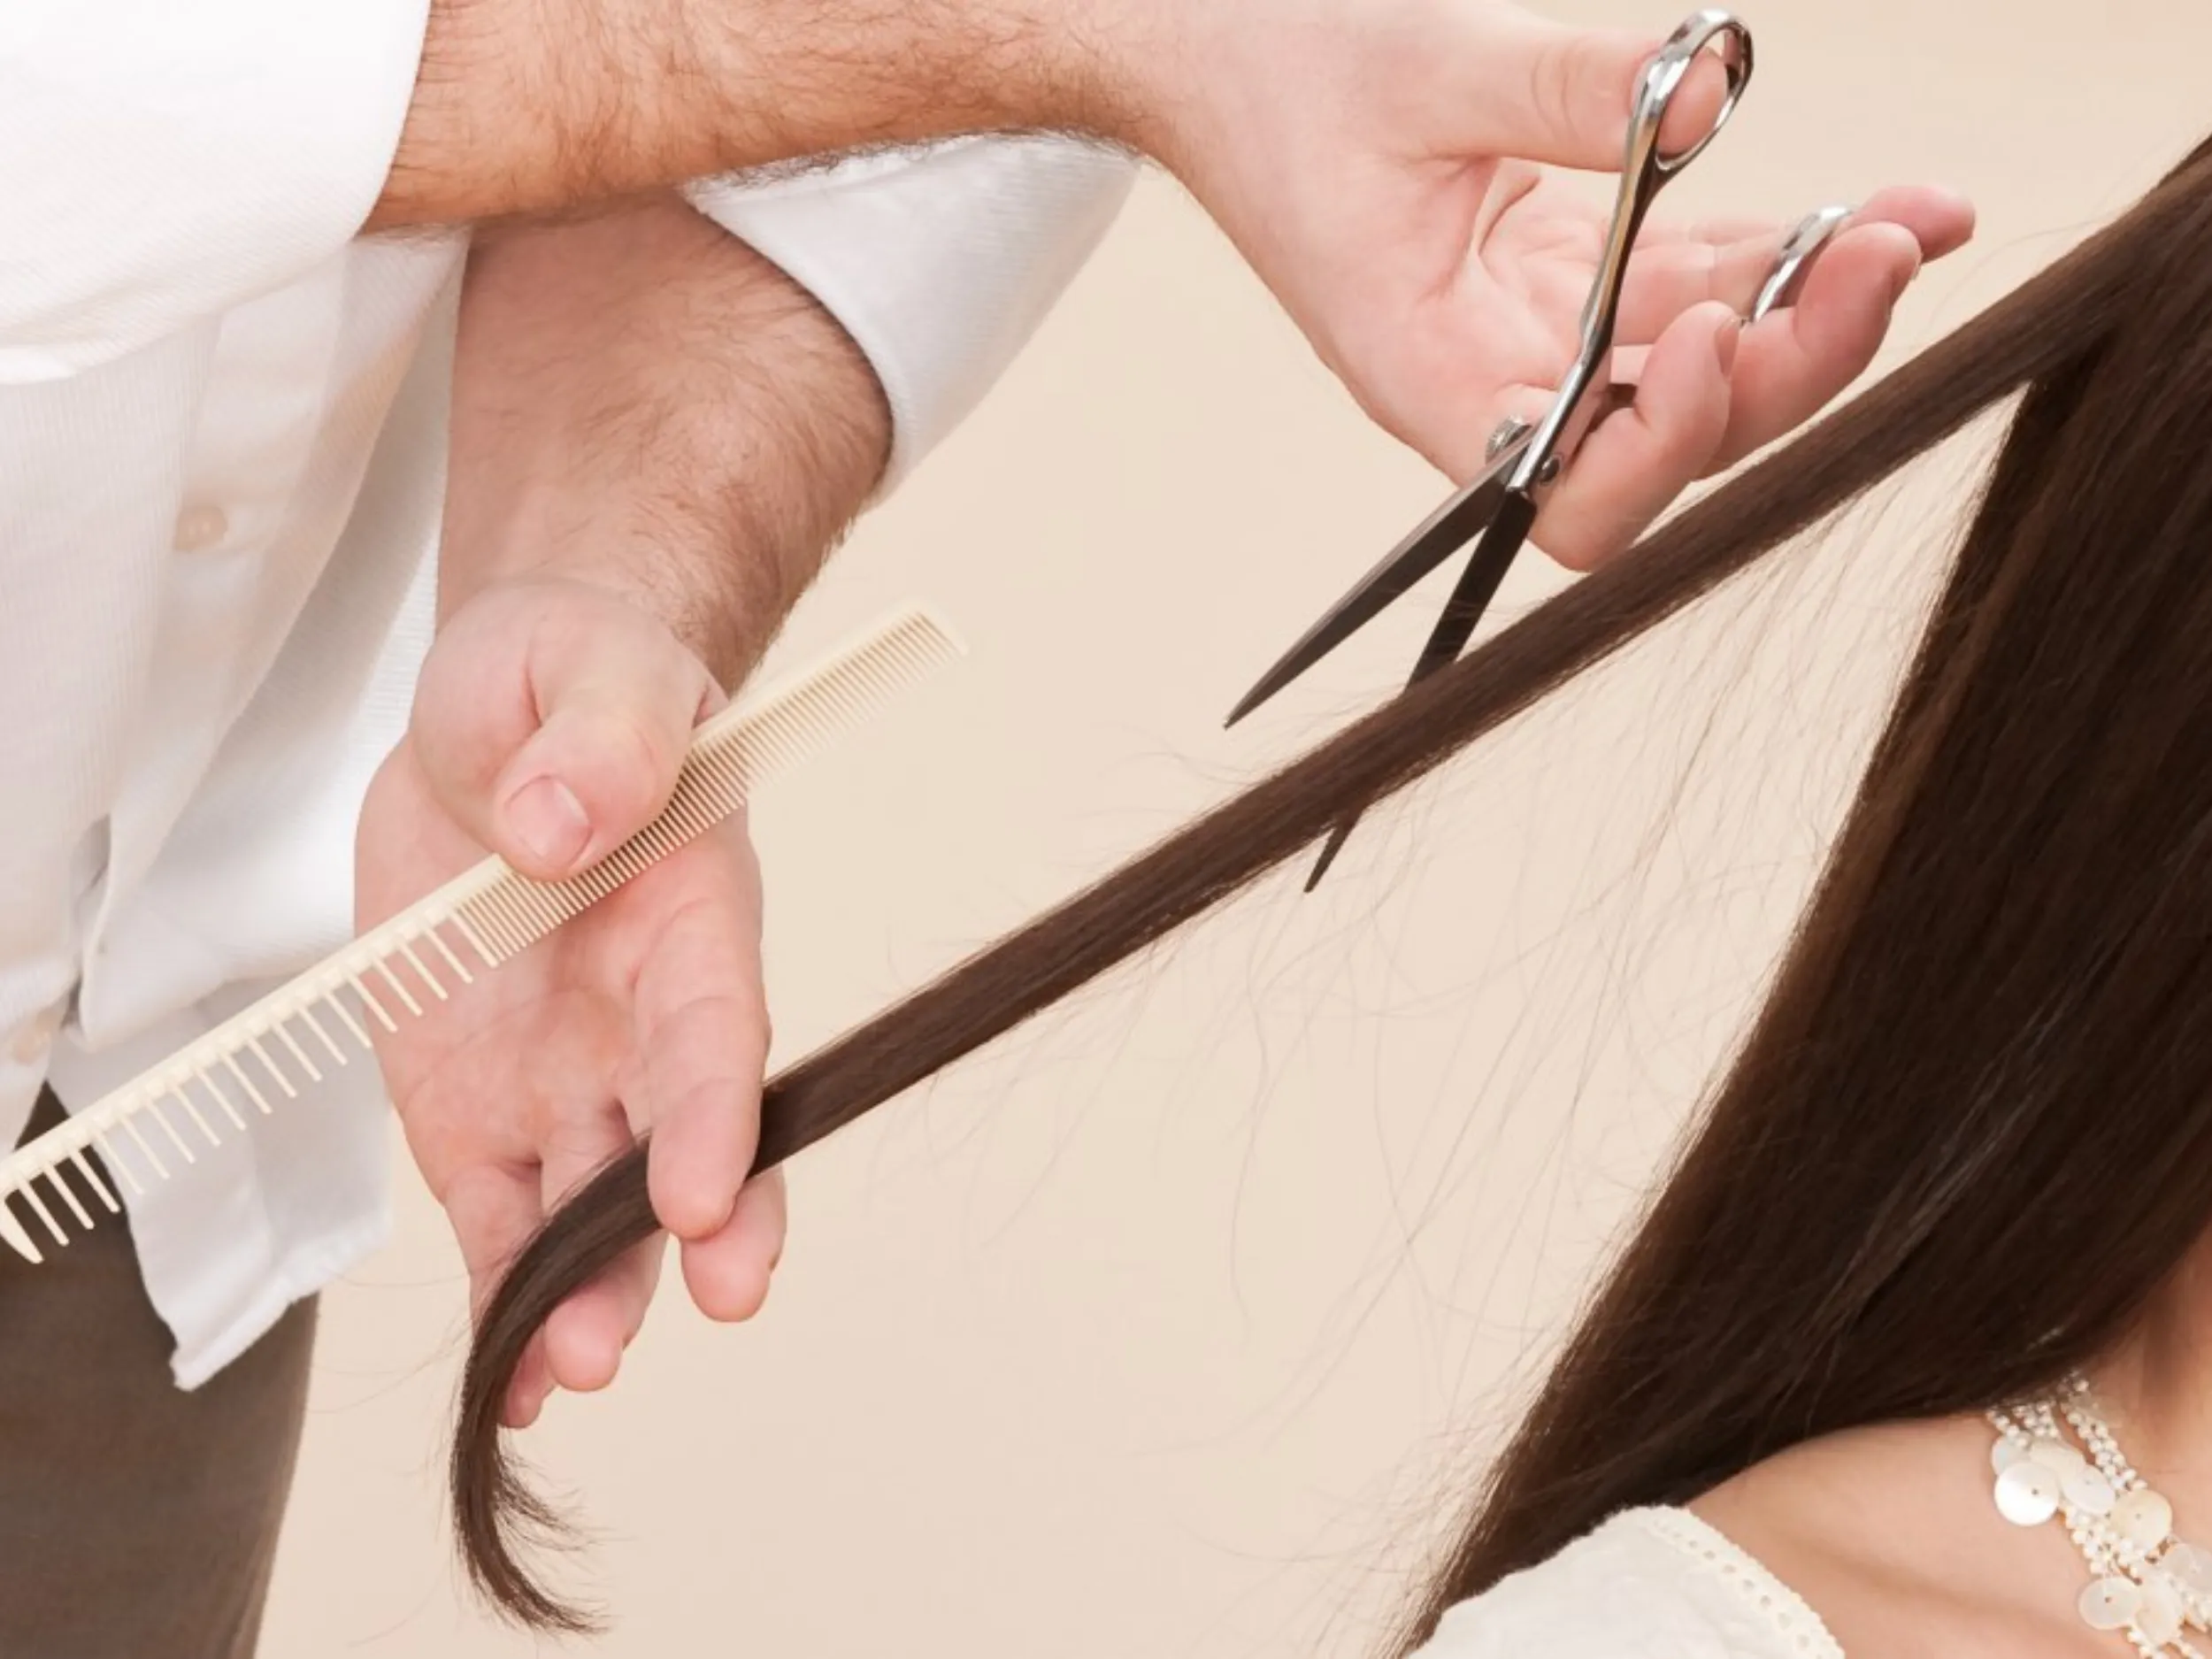
To cut hair extensions and blend them with your natural hair, start by sectioning your hair and establishing a base length. Use diagonal cutting motions with shears or a razor comb to create soft layers. Avoid straight horizontal cuts. Match extension layers to your natural hair length. Apply techniques like point cutting, slicing, and slithering to soften harsh lines and add texture throughout.
Many people cut extensions before installation or use horizontal cuts that create stiff, unnatural results. Different extension types require specific approaches. APOHAIR shares the complete guide below to help you master each technique for clip-ins, tape-ins, and keratin bonds.

You need 12 specific tools to cut hair extensions with precision and control. The right equipment transforms an intimidating task into a manageable process.

The cutting process follows 5 sequential steps that build upon each other. You will establish the foundation length, blend the front sections, create overall layers, refine the back, and soften all edges for a cohesive finish.
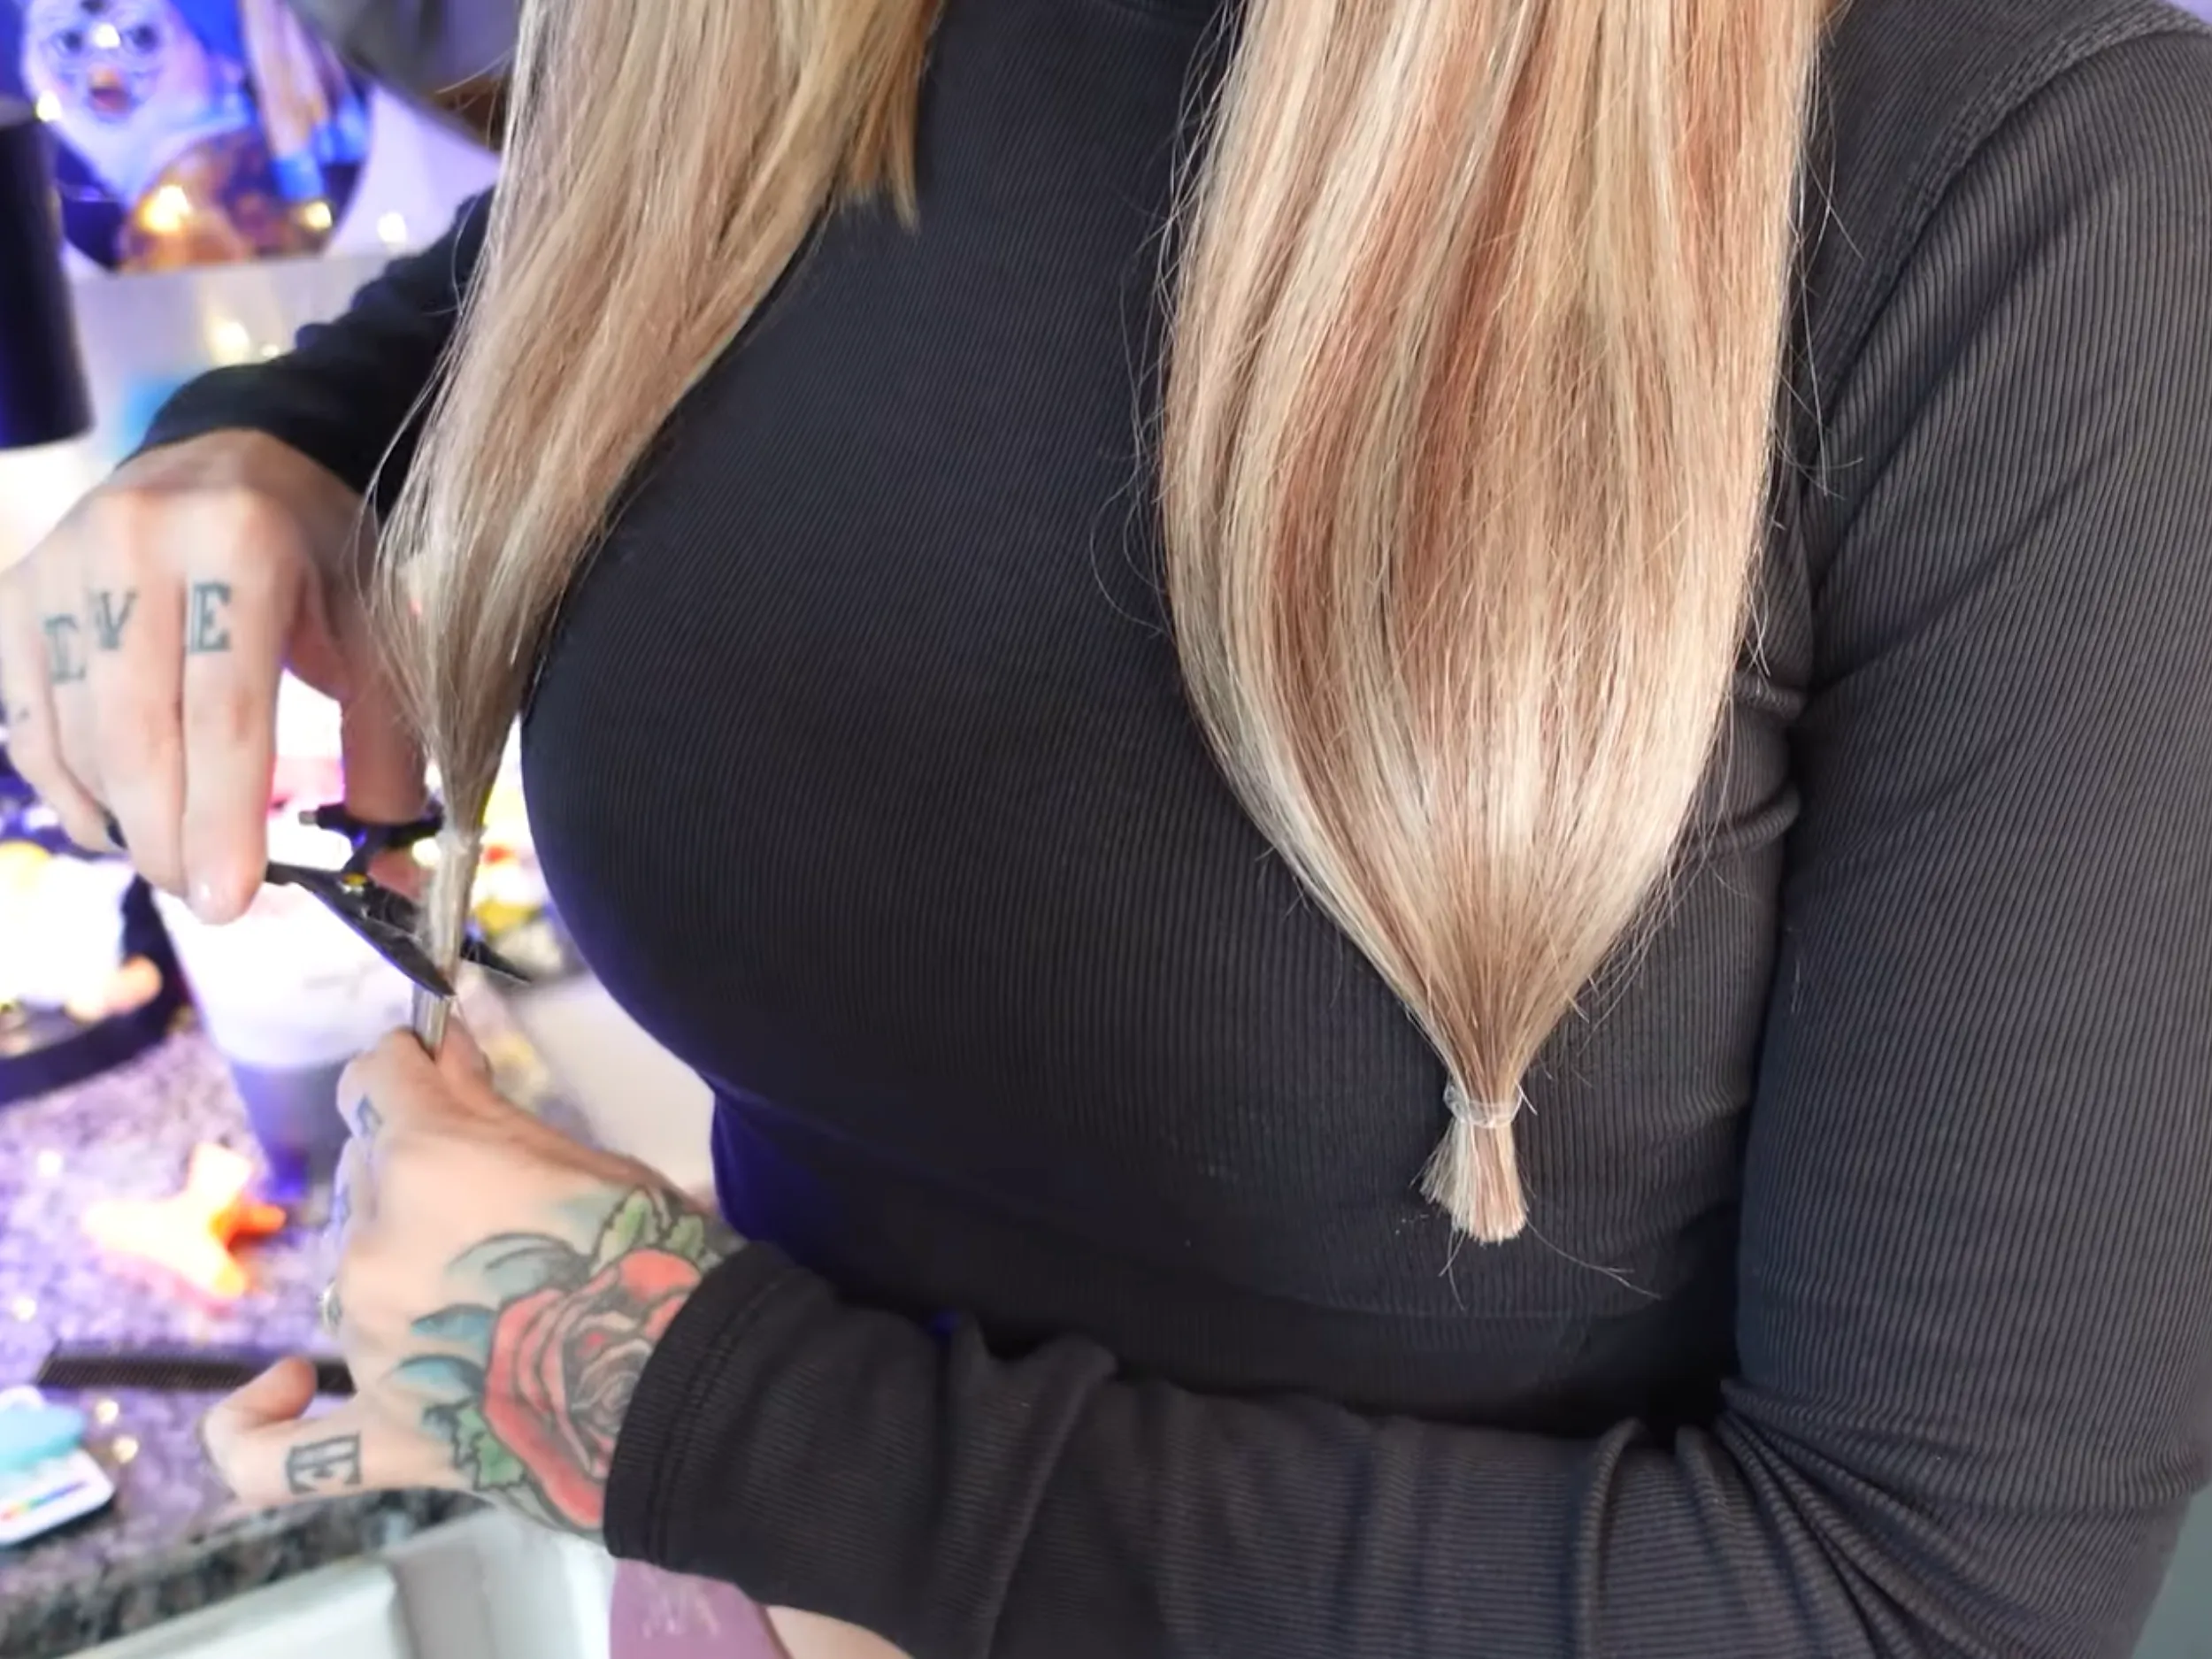
Part your hair down the middle and straight down the back. Gather all hair—natural strands and extensions together—into a low ponytail at your desired cutting length. Cut straight across the section below the tie. This establishes your foundational length for everything that follows.
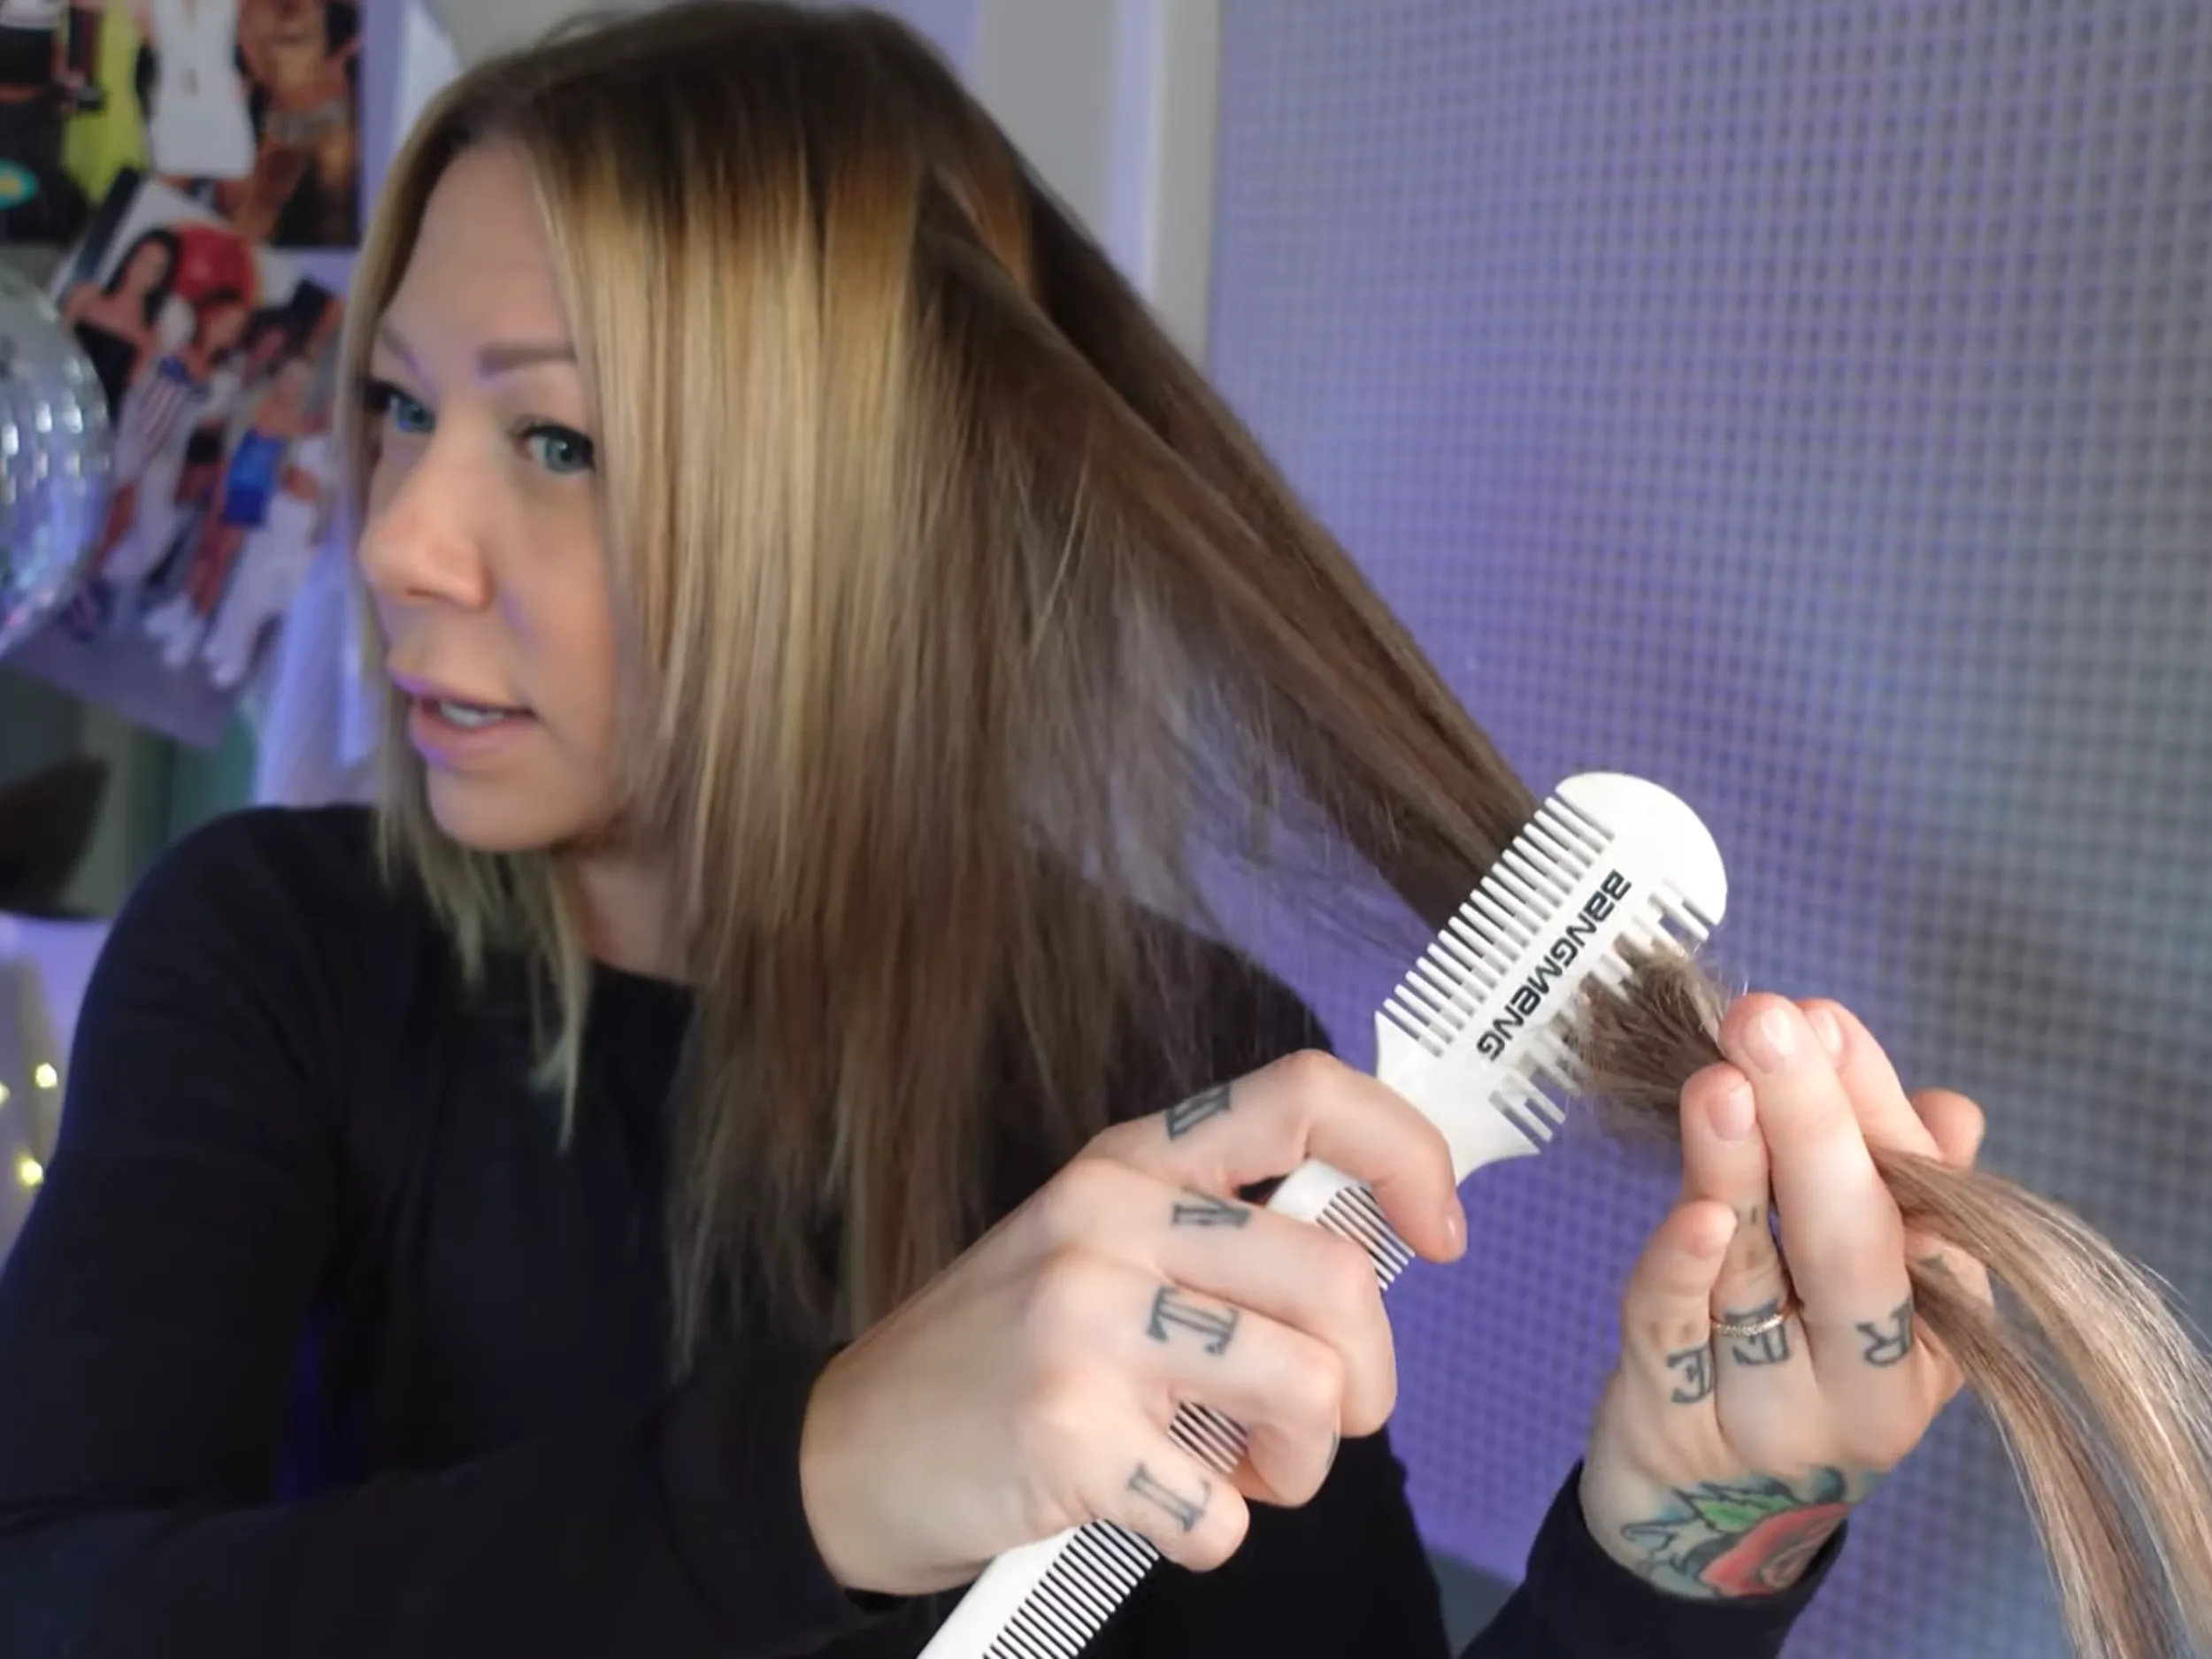
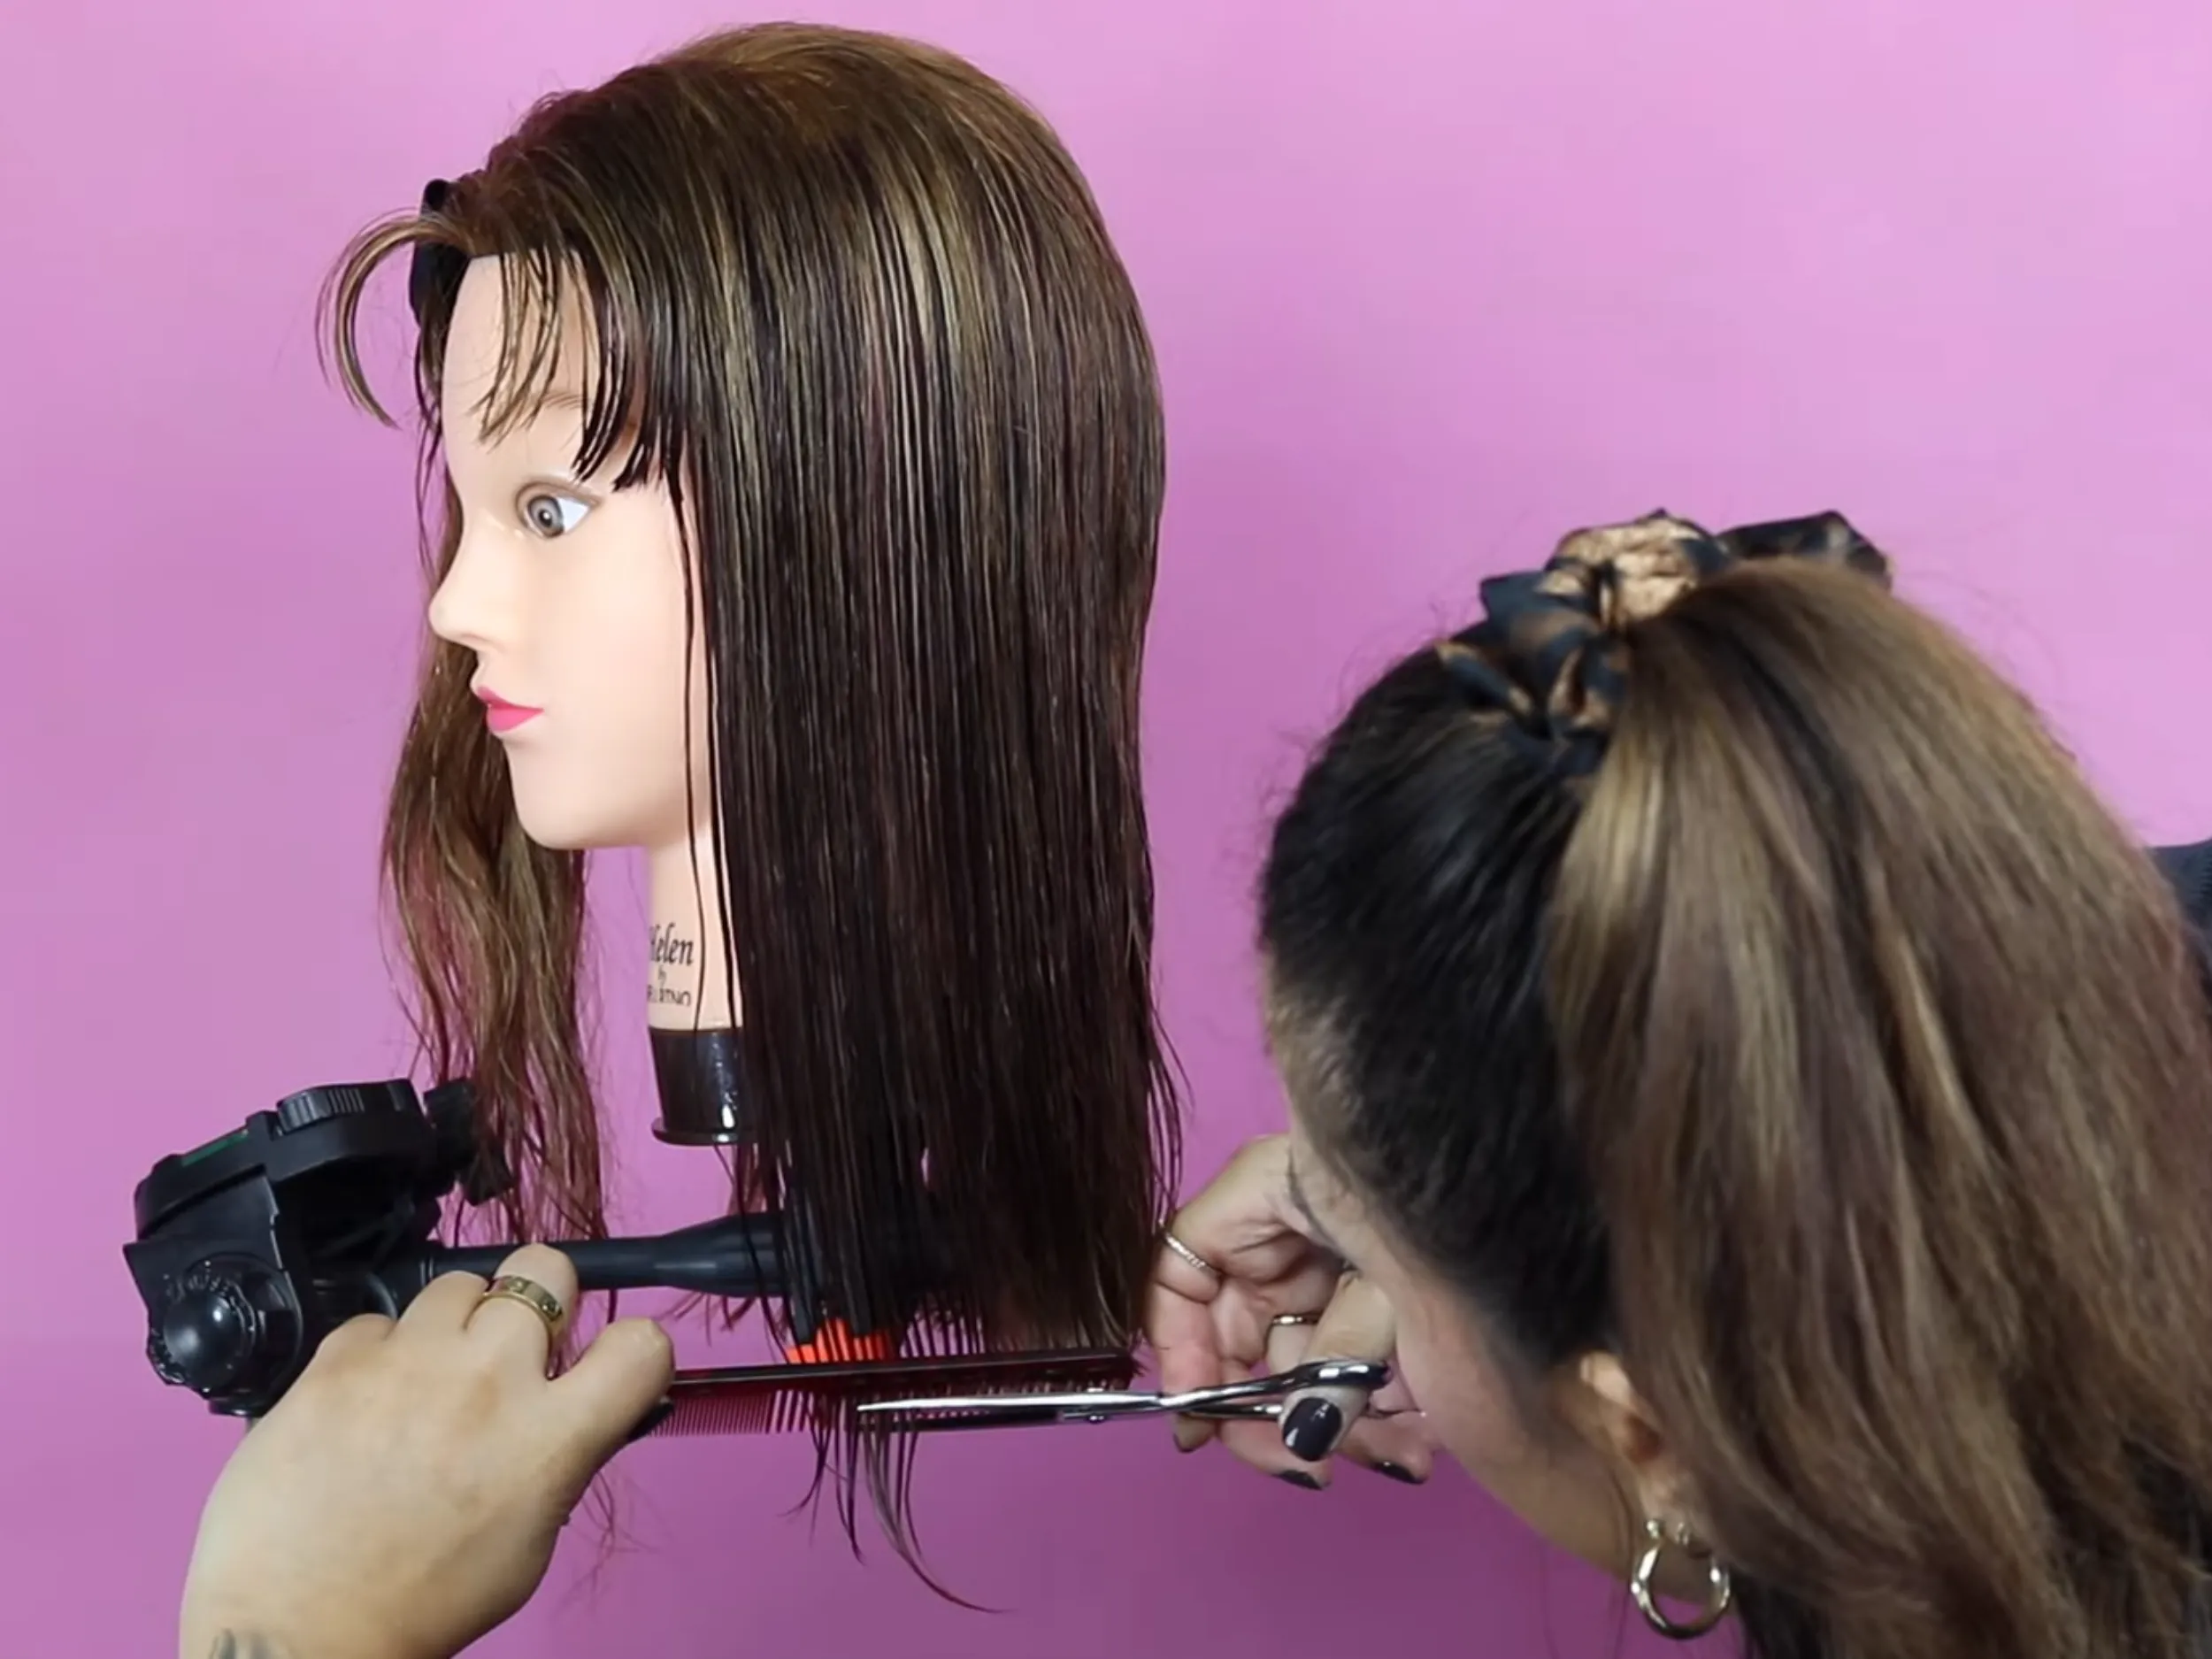
Start with the bang and front sections. Take small portions of hair at a time. Use a razor comb or shears to cut diagonally, sliding downward from where your natural hair begins. Never cut straight across. Continue creating soft layers around the ear using this diagonal notching approach.
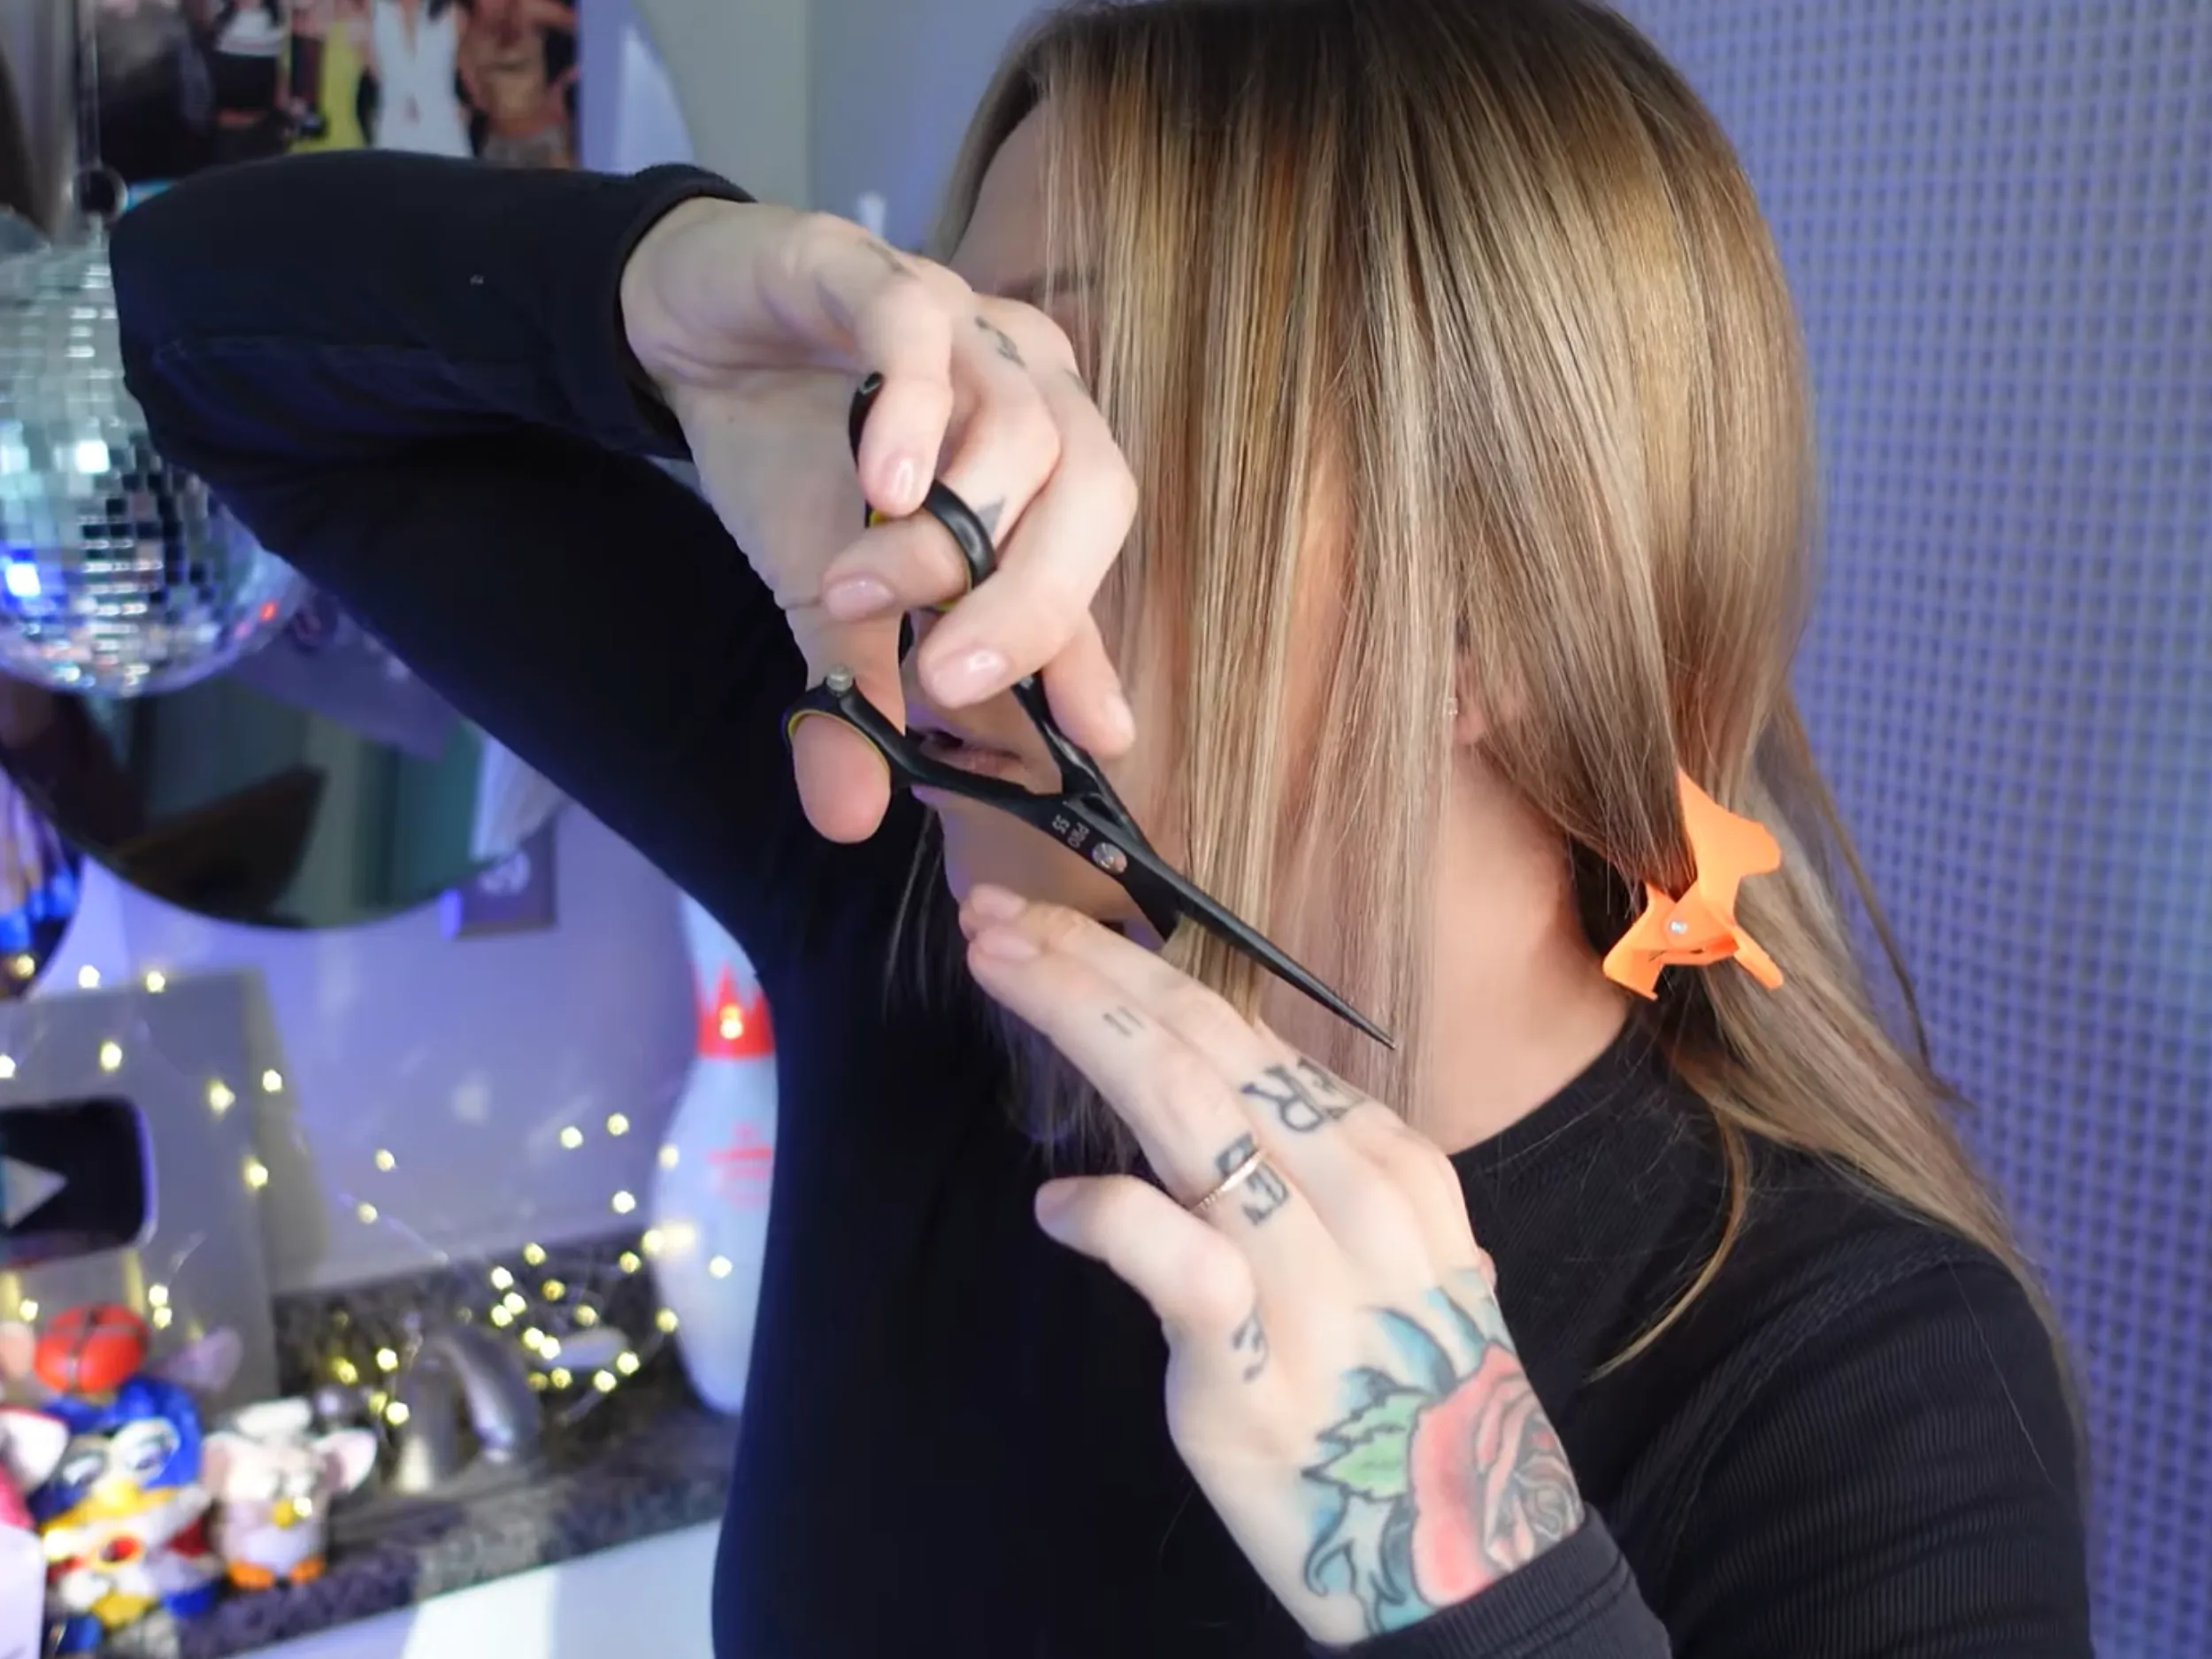
Clip away the bottom section as your length foundation. Divide the top into small triangular slices. Pull each slice out and find where your natural hair stops falling—this becomes your guide point. From there, use the razor or shears to etch downward at a 45-degree angle while holding hair nearly flat.
Take triangular slices from the back and direct them forward toward your face. Cut off the protruding peak at an angle. This technique creates longer layers that fall naturally and prevents the back from appearing blunt or heavy.
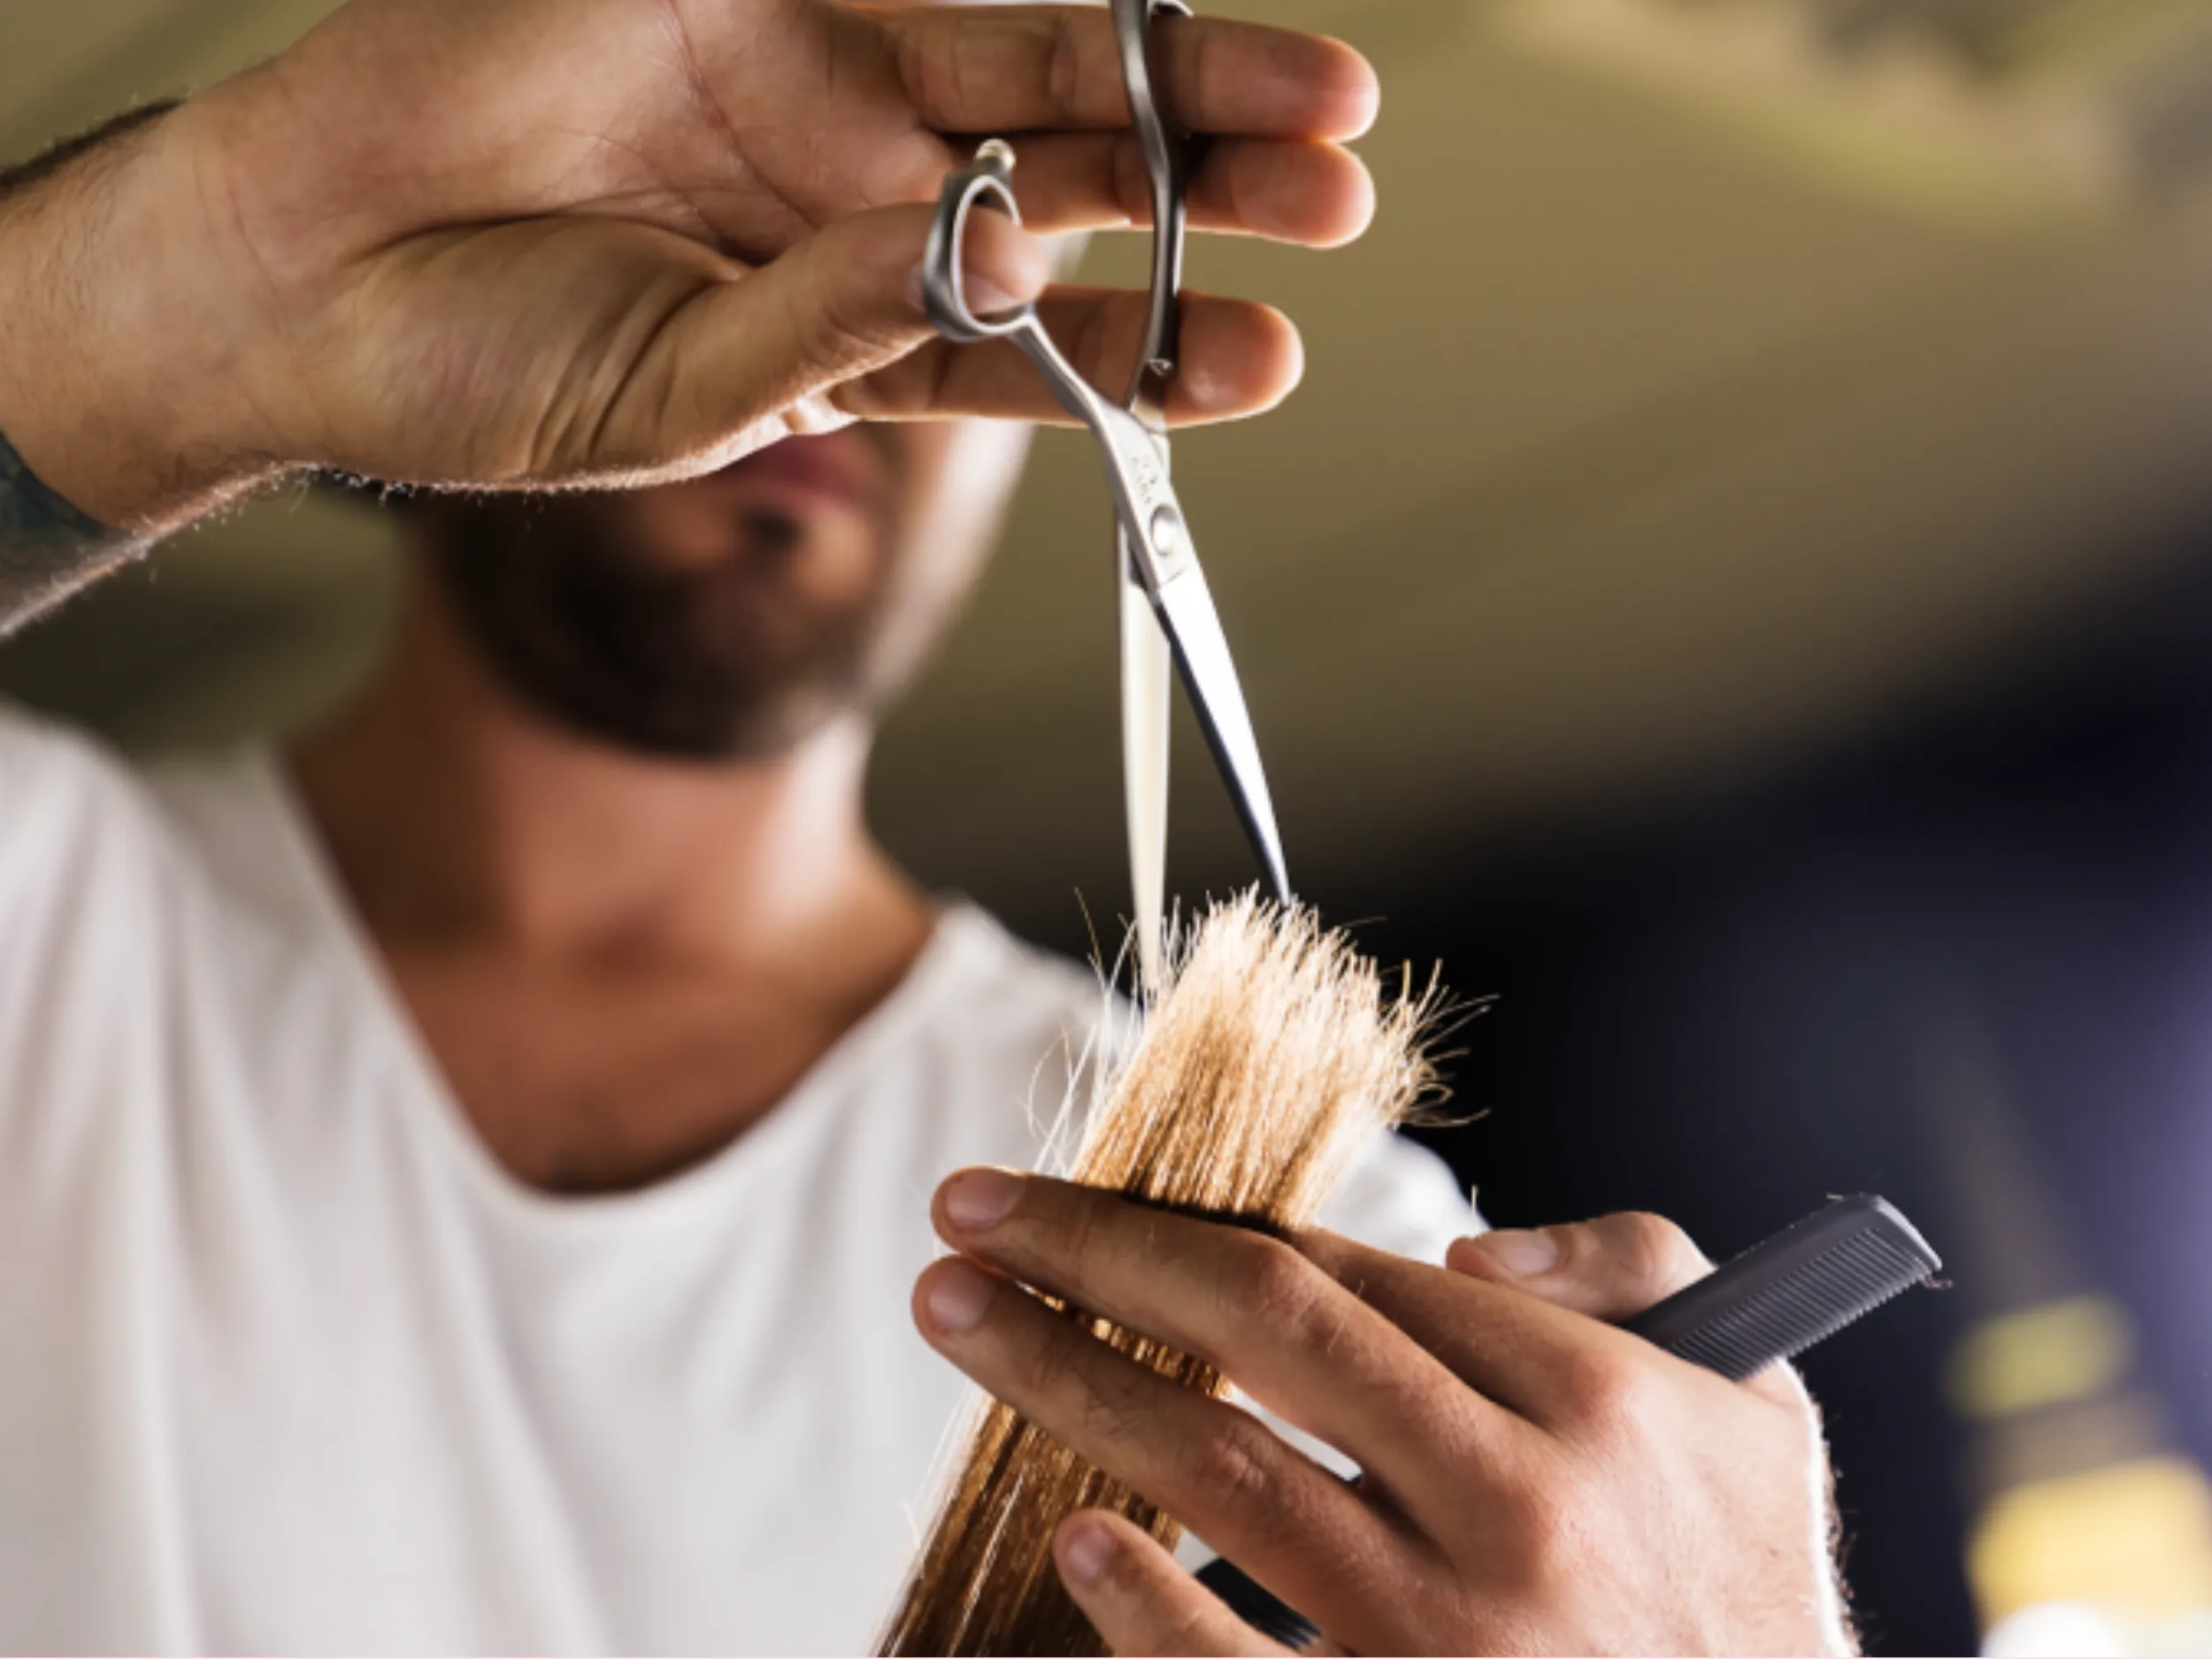
Check the entire cut for harsh transitions. Use thinning shears with the straight blade on the bottom to blend any remaining blunt lines. Apply point cutting—scissors held vertically—on the bottom edge to create a soft, feathered appearance throughout.
Four cutting techniques serve different purposes when working with hair extensions. Point cutting softens ends. Slicing shapes face-framing sections. Blunt cutting cleans up uneven edges. Slithering removes bulk for seamless layers.
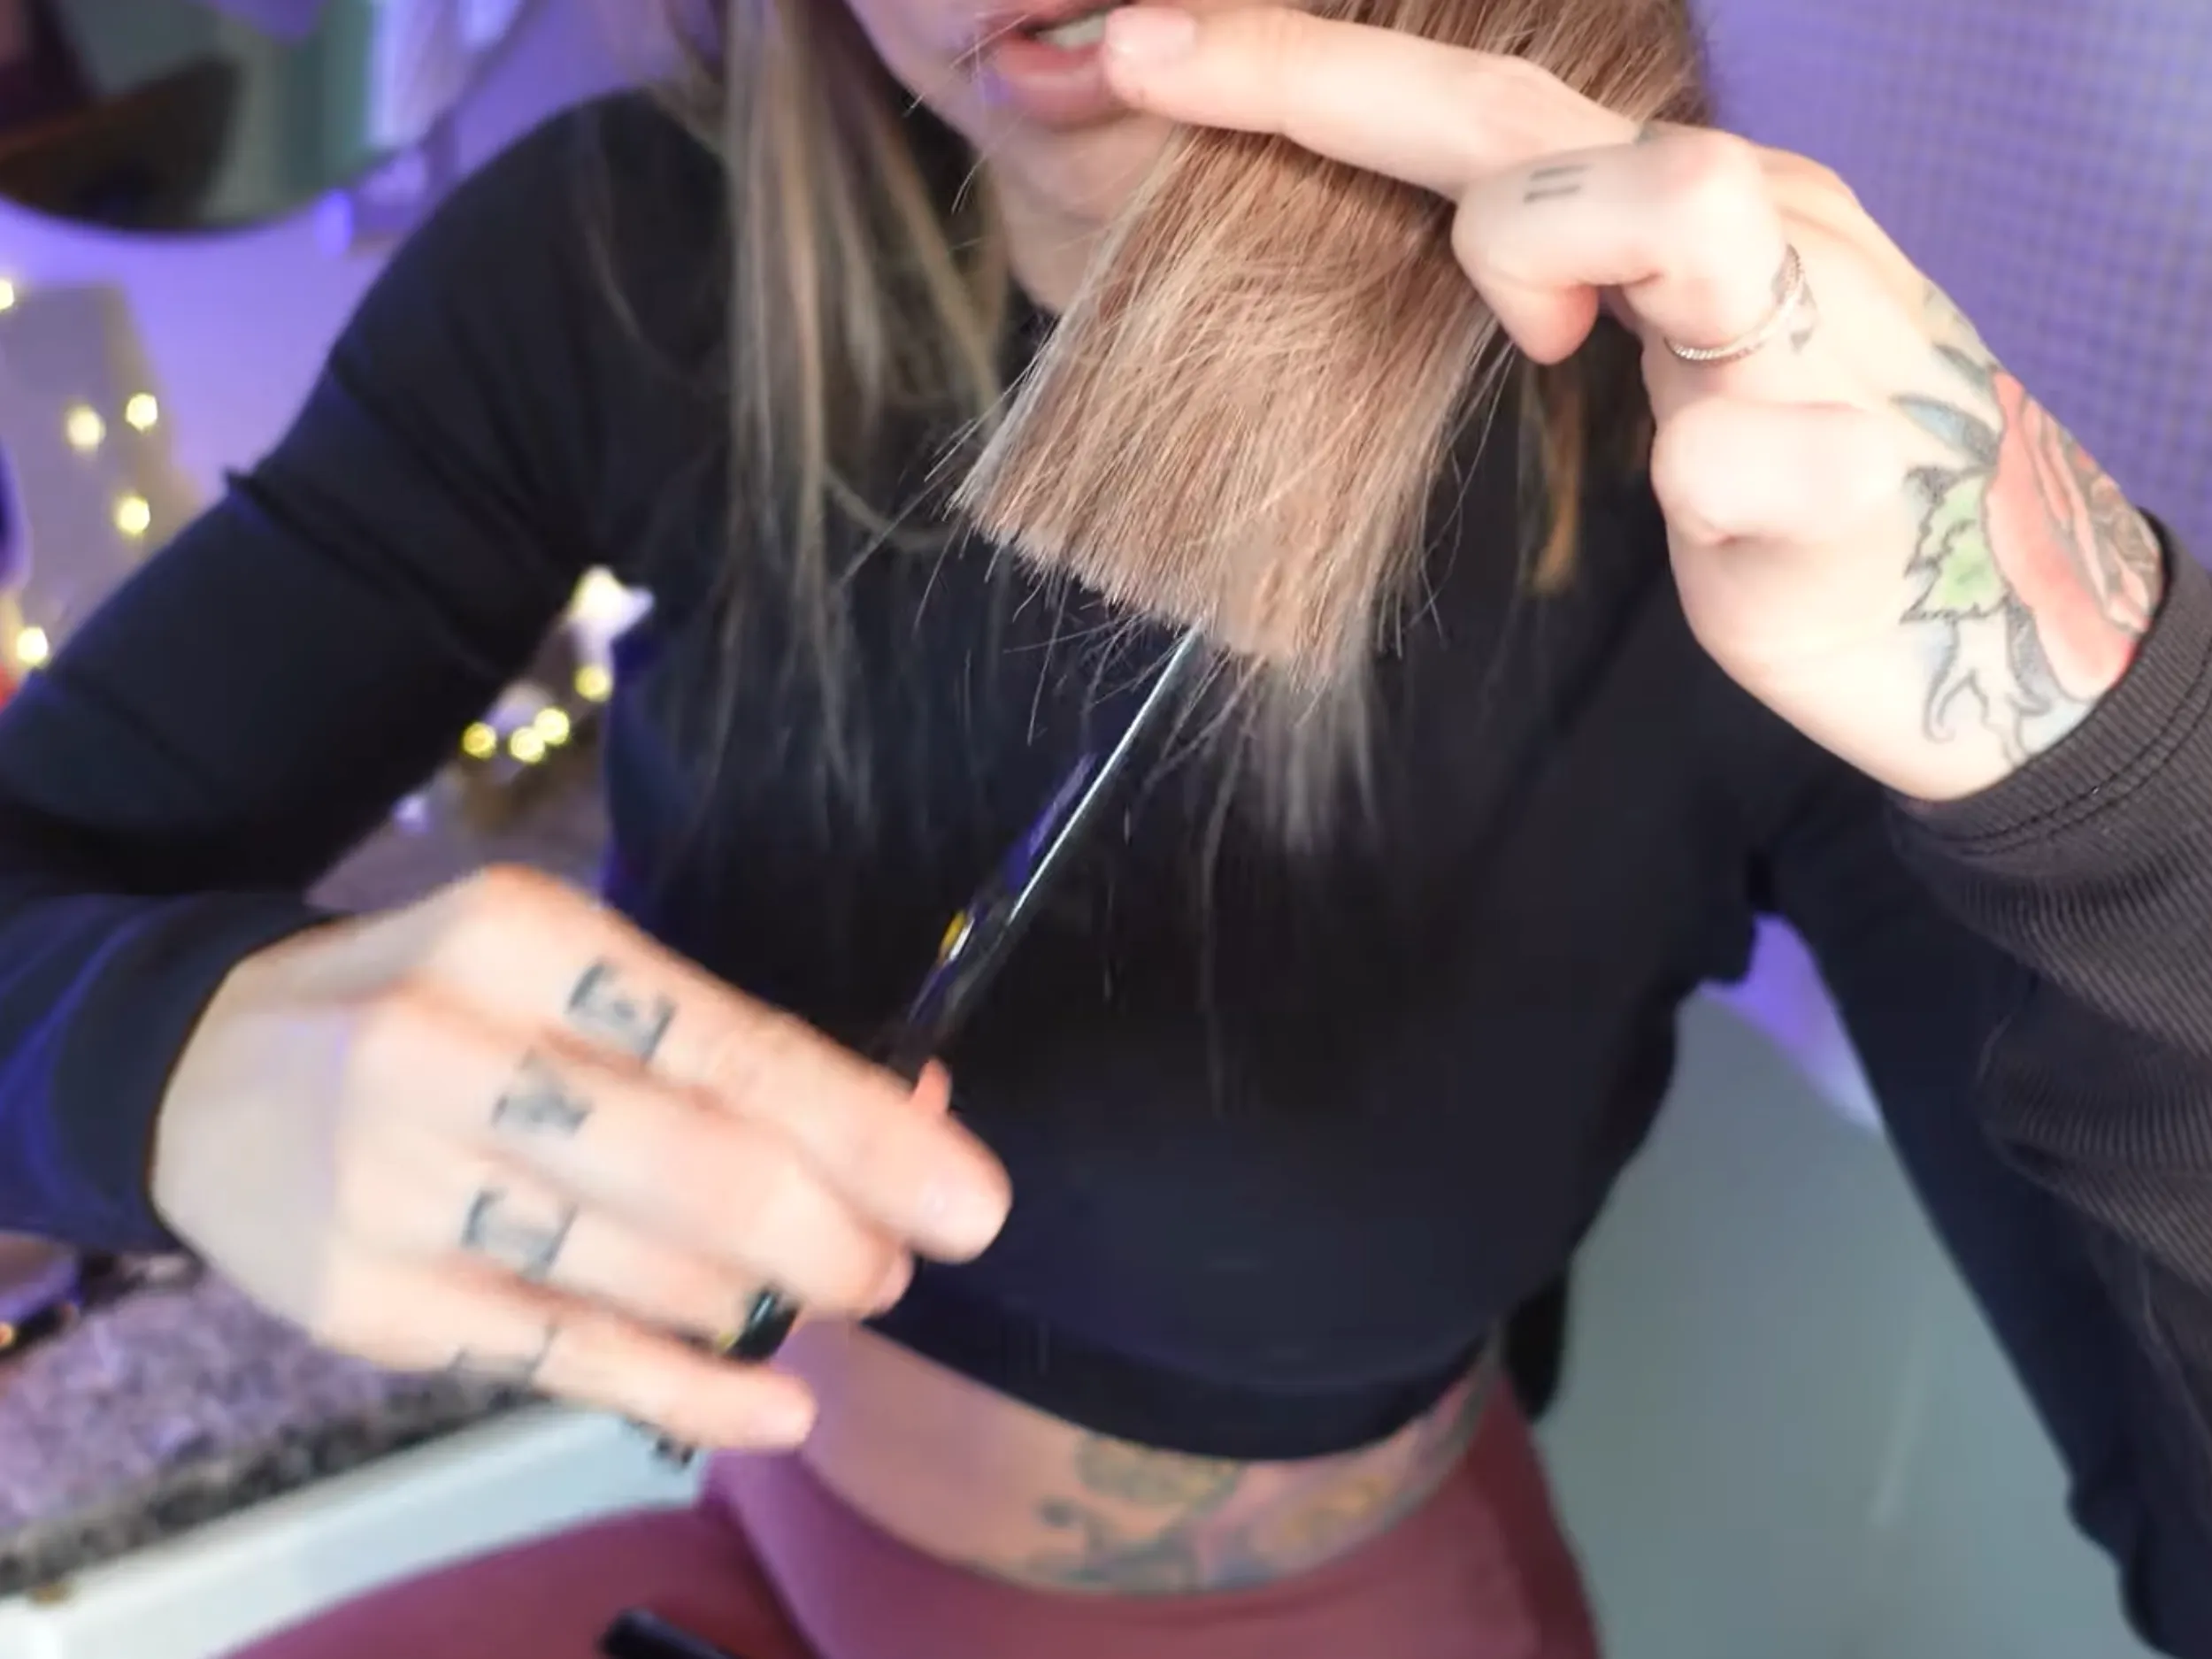
Point cutting removes blunt lines and softens the ends of your extensions. This technique takes away thickness without sacrificing length.
Hold the hair ends securely between your fingers. Cut directly upward into the extensions at different angles and points. Keep your scissors in line with the hair direction to remove density only.
Slicing adds shape around the face and creates layers in front sections. This method produces a tapered look that blends extensions with natural hair seamlessly.
Isolate the front layer section and hold it between your fingertips. Open your scissors fully and maintain this position. Slide the blades through hair in a slow diagonal motion. Keep them open and moving—avoid repeated closing and opening.
Blunt cutting creates a sharp, defined appearance. This technique fixes wispy or uneven ends after layering.
Pull all hair forward and use your fingers as a guide. Cut straight across in one clean motion. Hold scissors perpendicular to the hair shaft for a precise line.
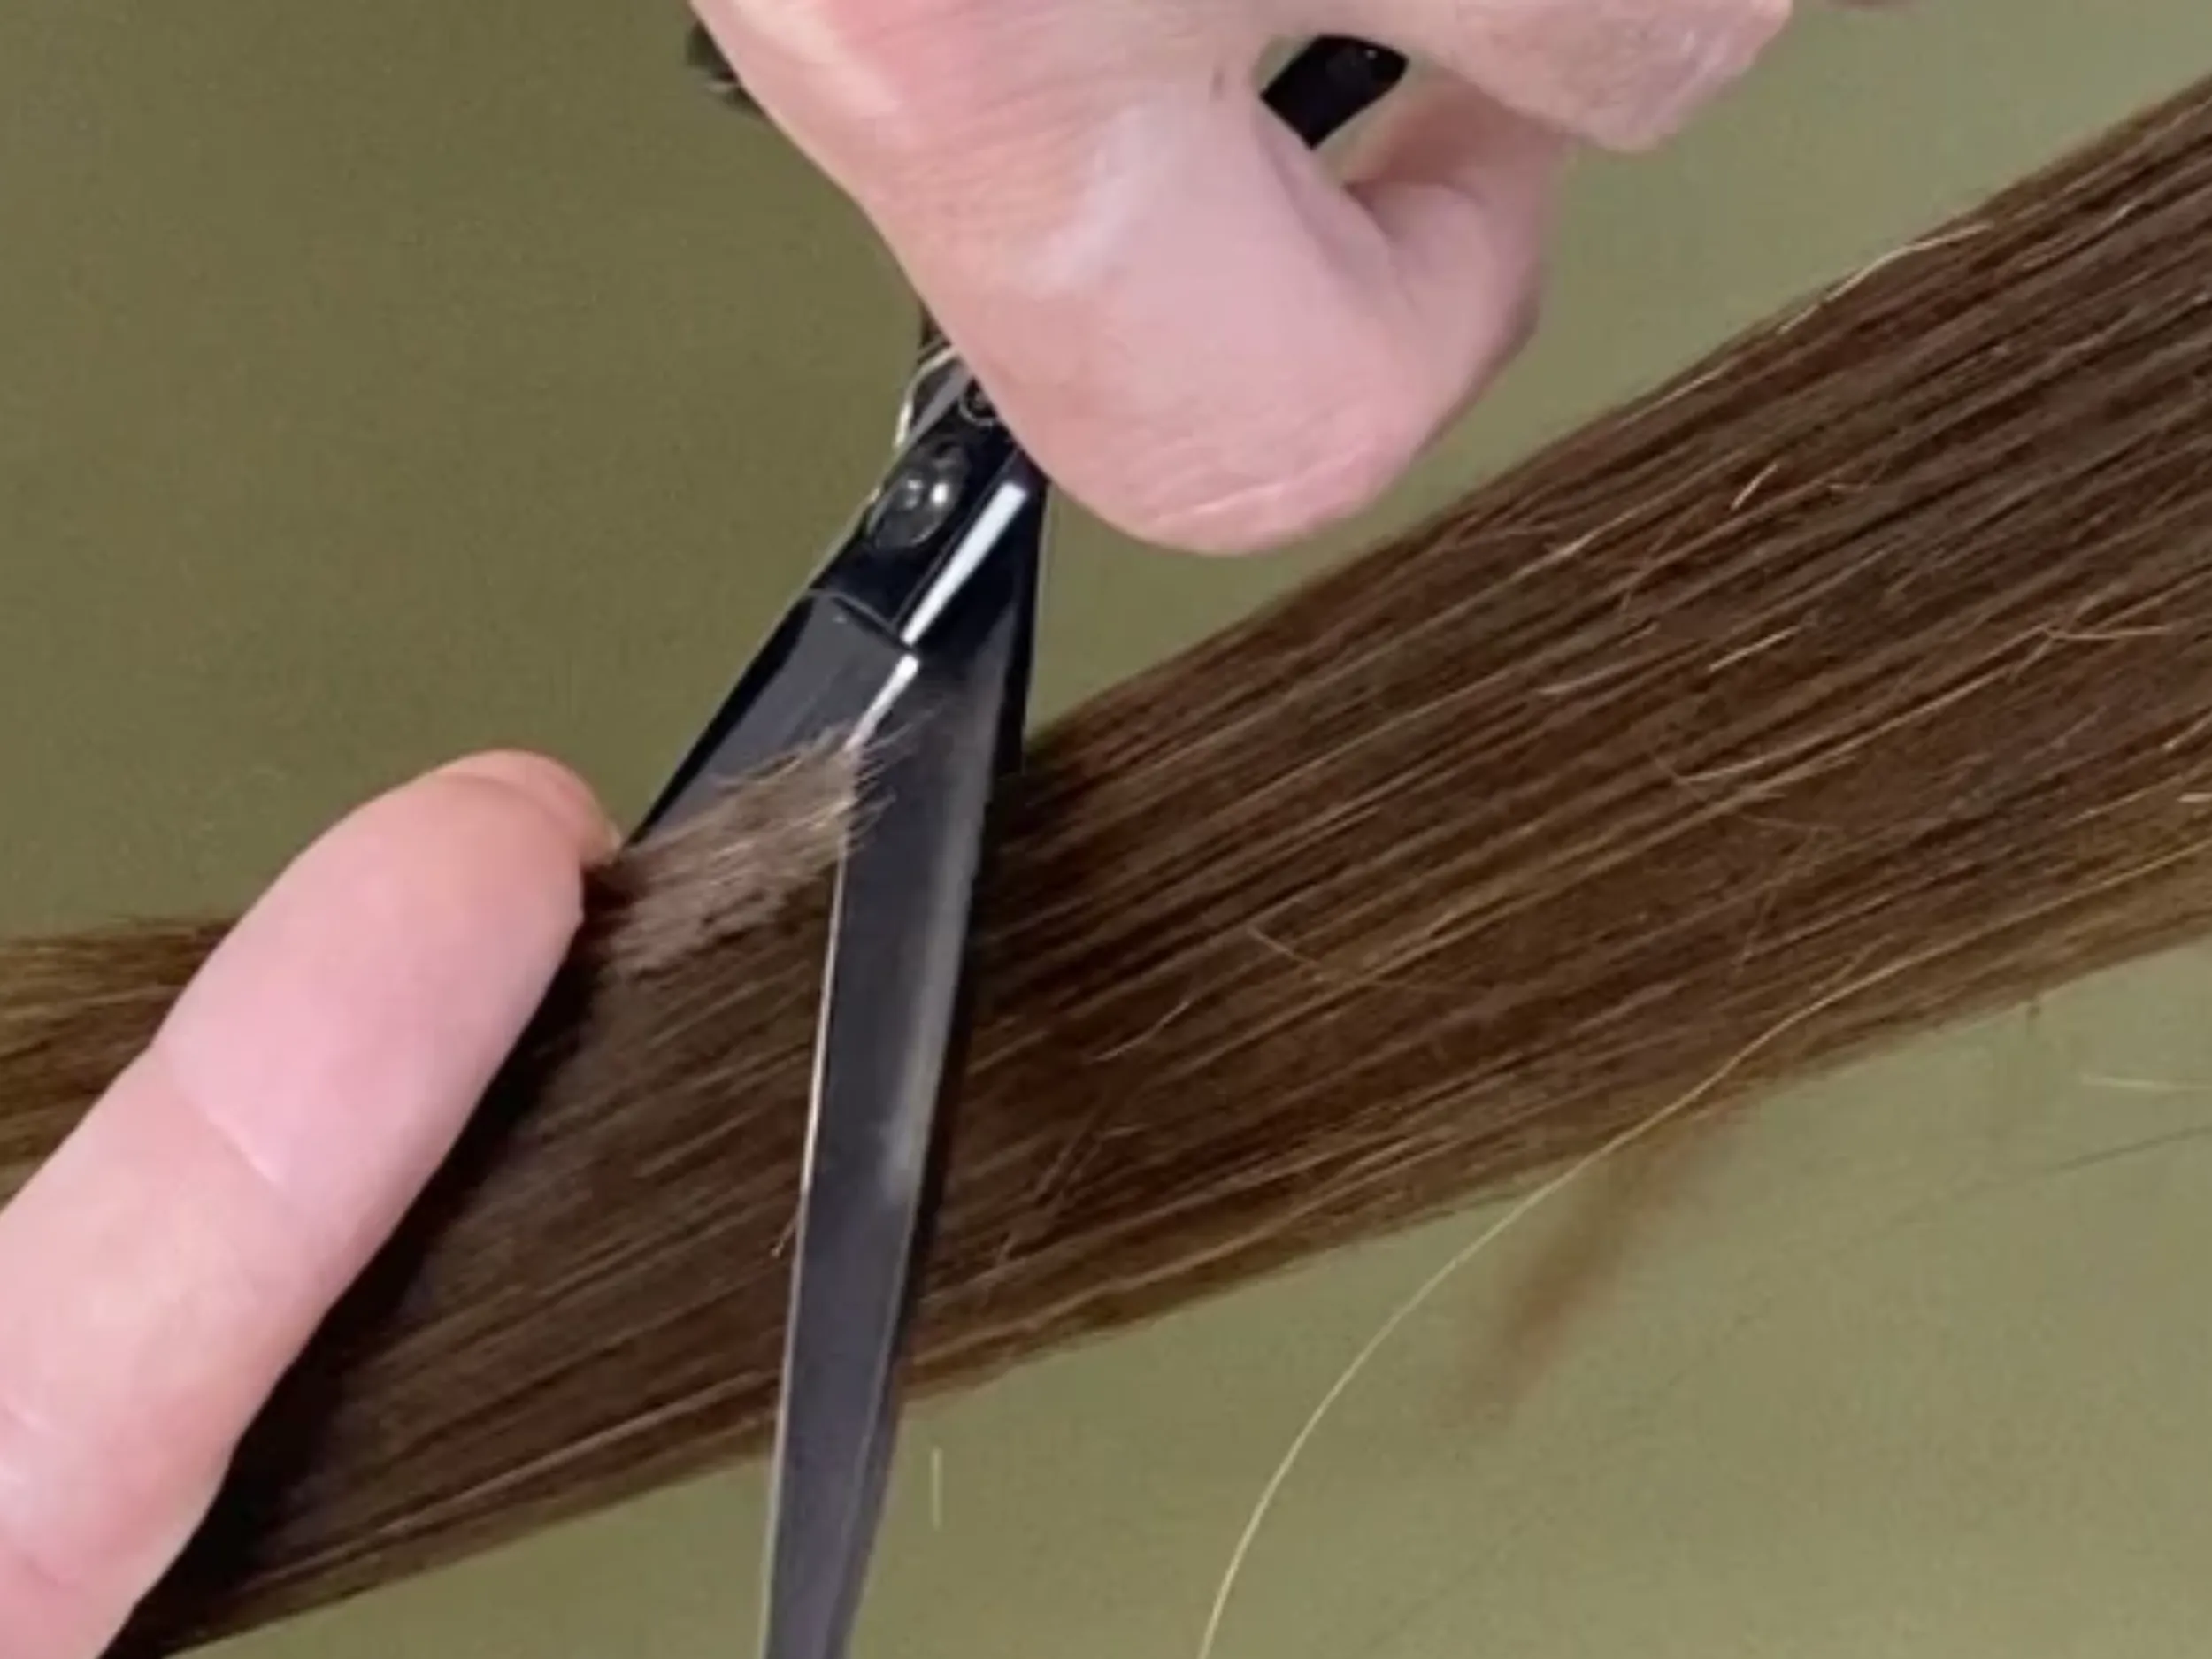
Slithering is an advanced technique similar to slicing. It removes excess bulk and creates subtle, seamless layers that add dimension and movement.
Take a section of hair and start from the midshaft. Slide shears downward toward the ends in a smooth motion. Keep blades moving and open throughout. This works best for layering extensions beyond the front sections.
Once you finish cutting, styling becomes the bridge between your natural hair and extensions. The right techniques create uniform texture that makes the transition invisible to the eye.
Three styling methods deliver the most seamless results:

Three preparation tips set you up for success when cutting hair extensions. Proper setup prevents irreversible mistakes.
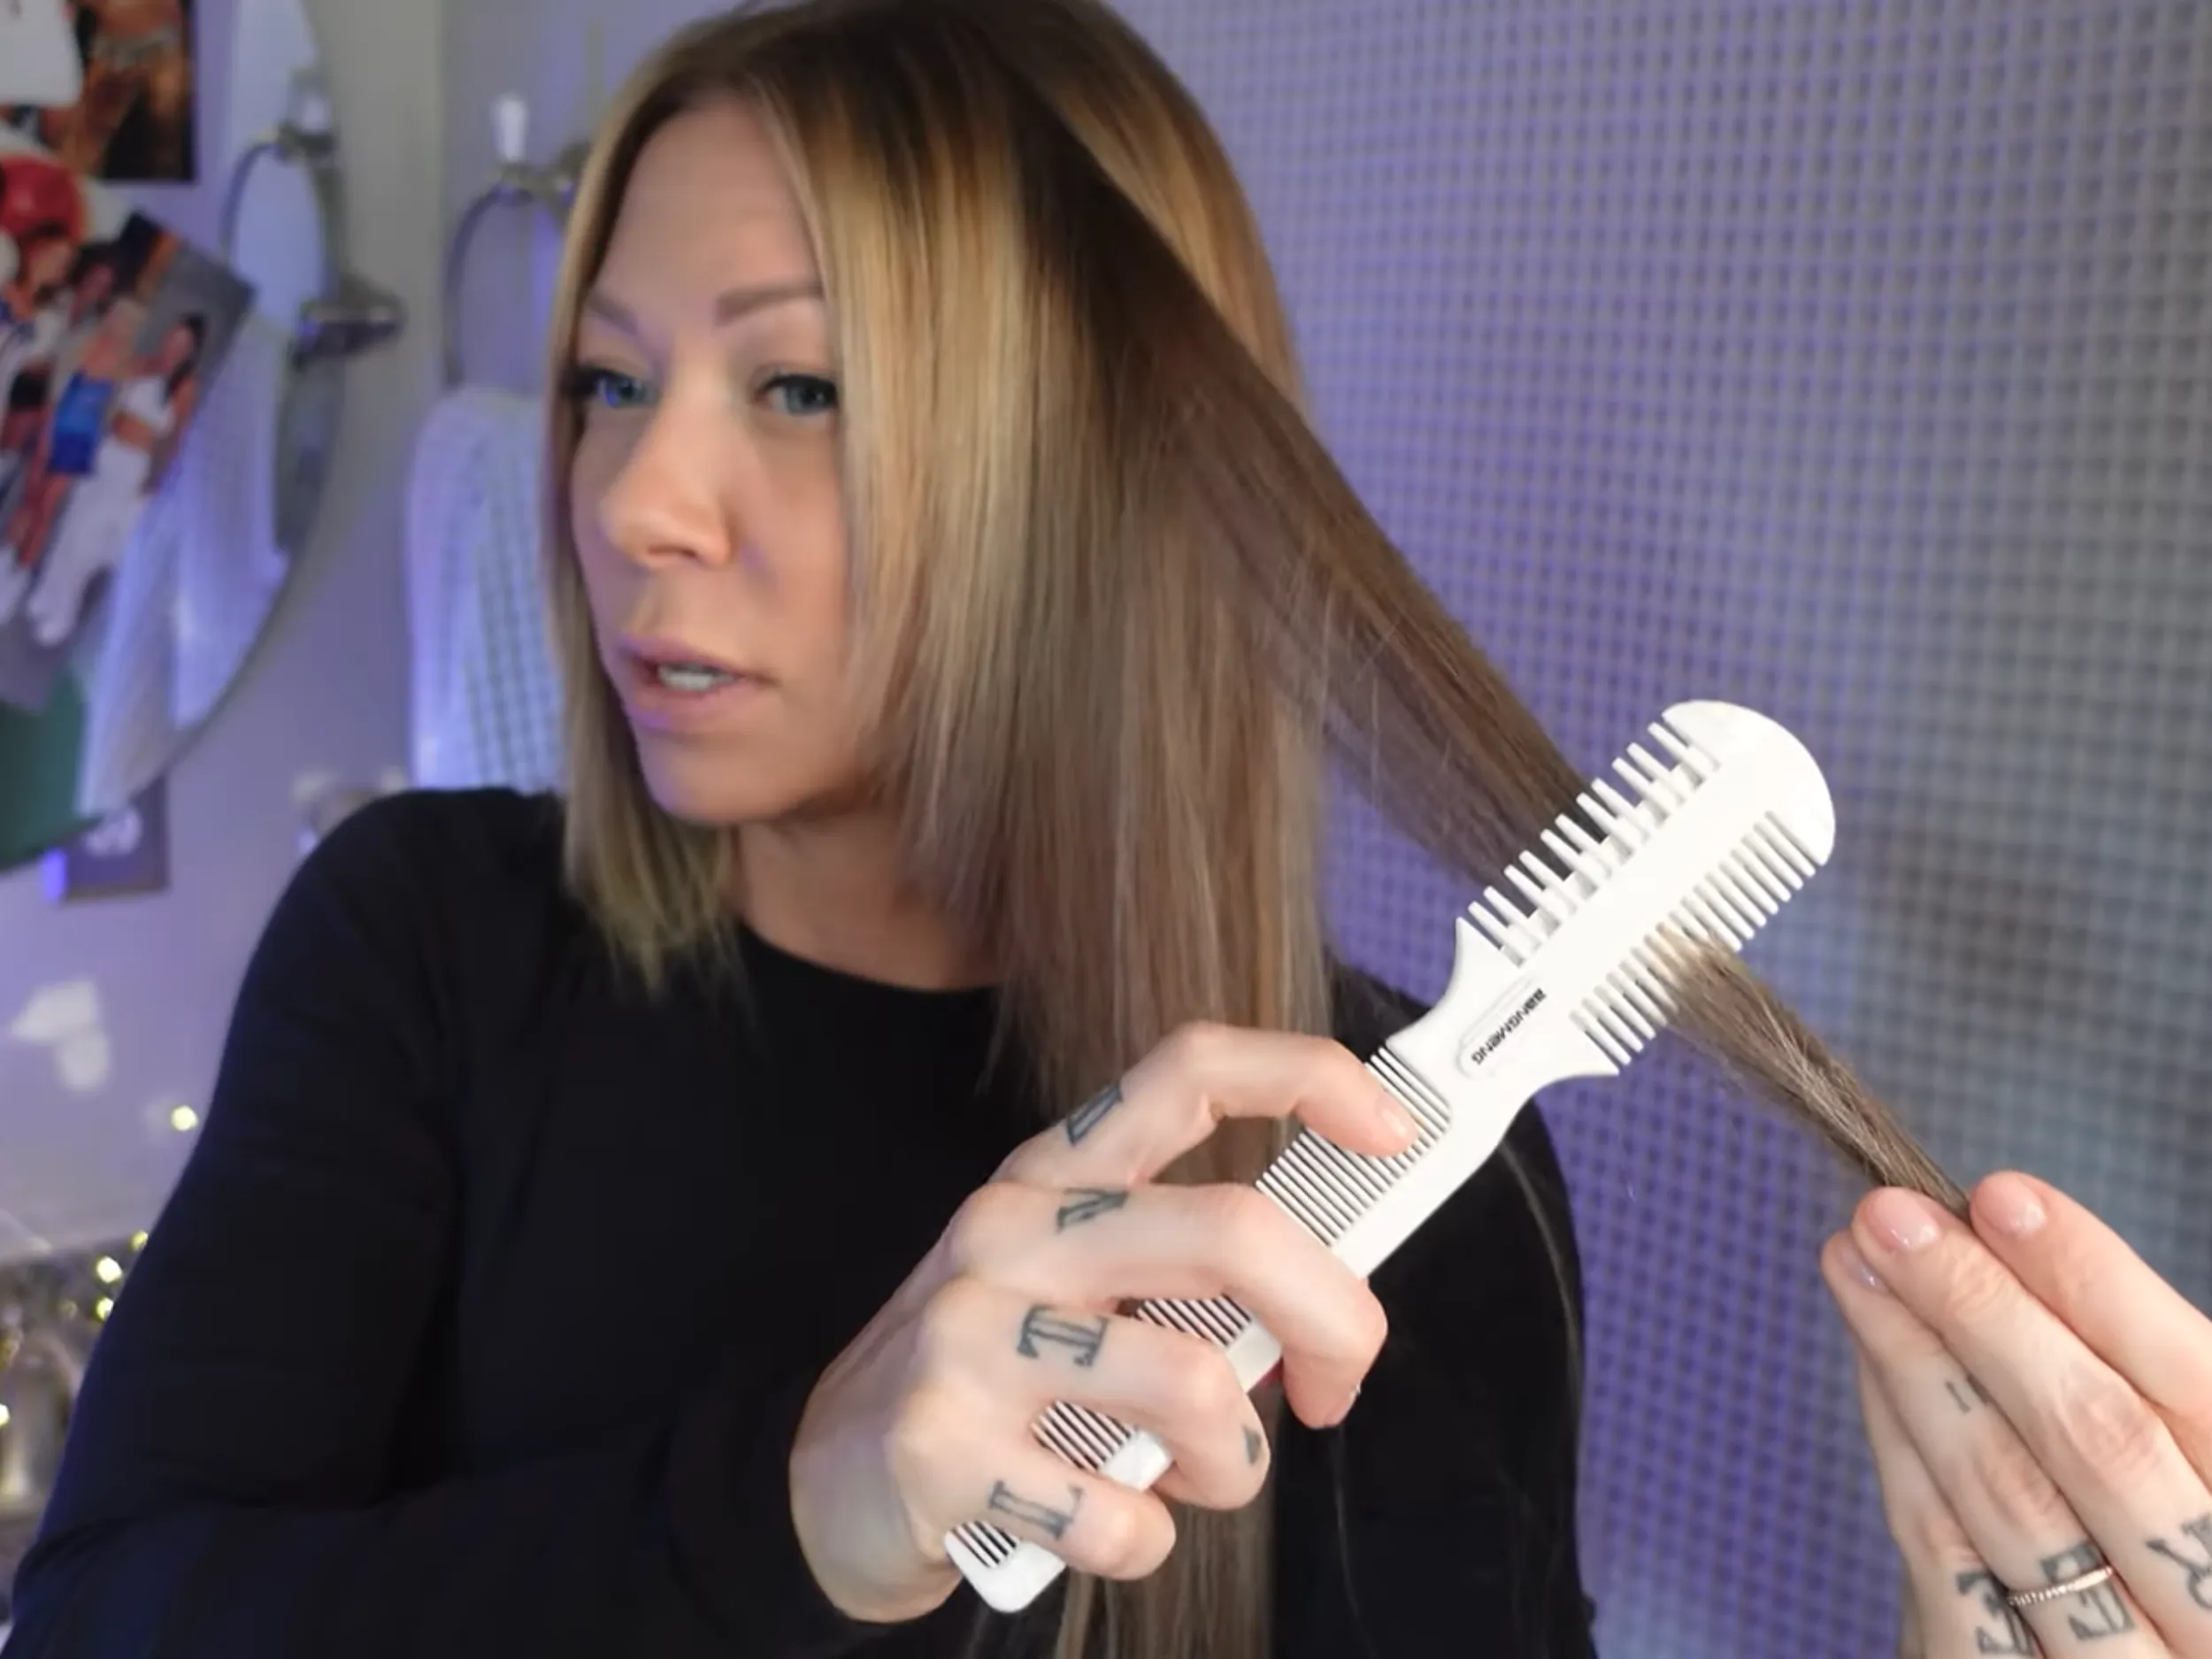
Install all extensions on your head or a mannequin head that matches your head size before cutting. Lightly brush and add loose waves or blow-dry with volume so you see the actual shape when worn. Spritz with water or leave-in conditioner until hair is slightly damp—this reveals true length and makes cutting easier.
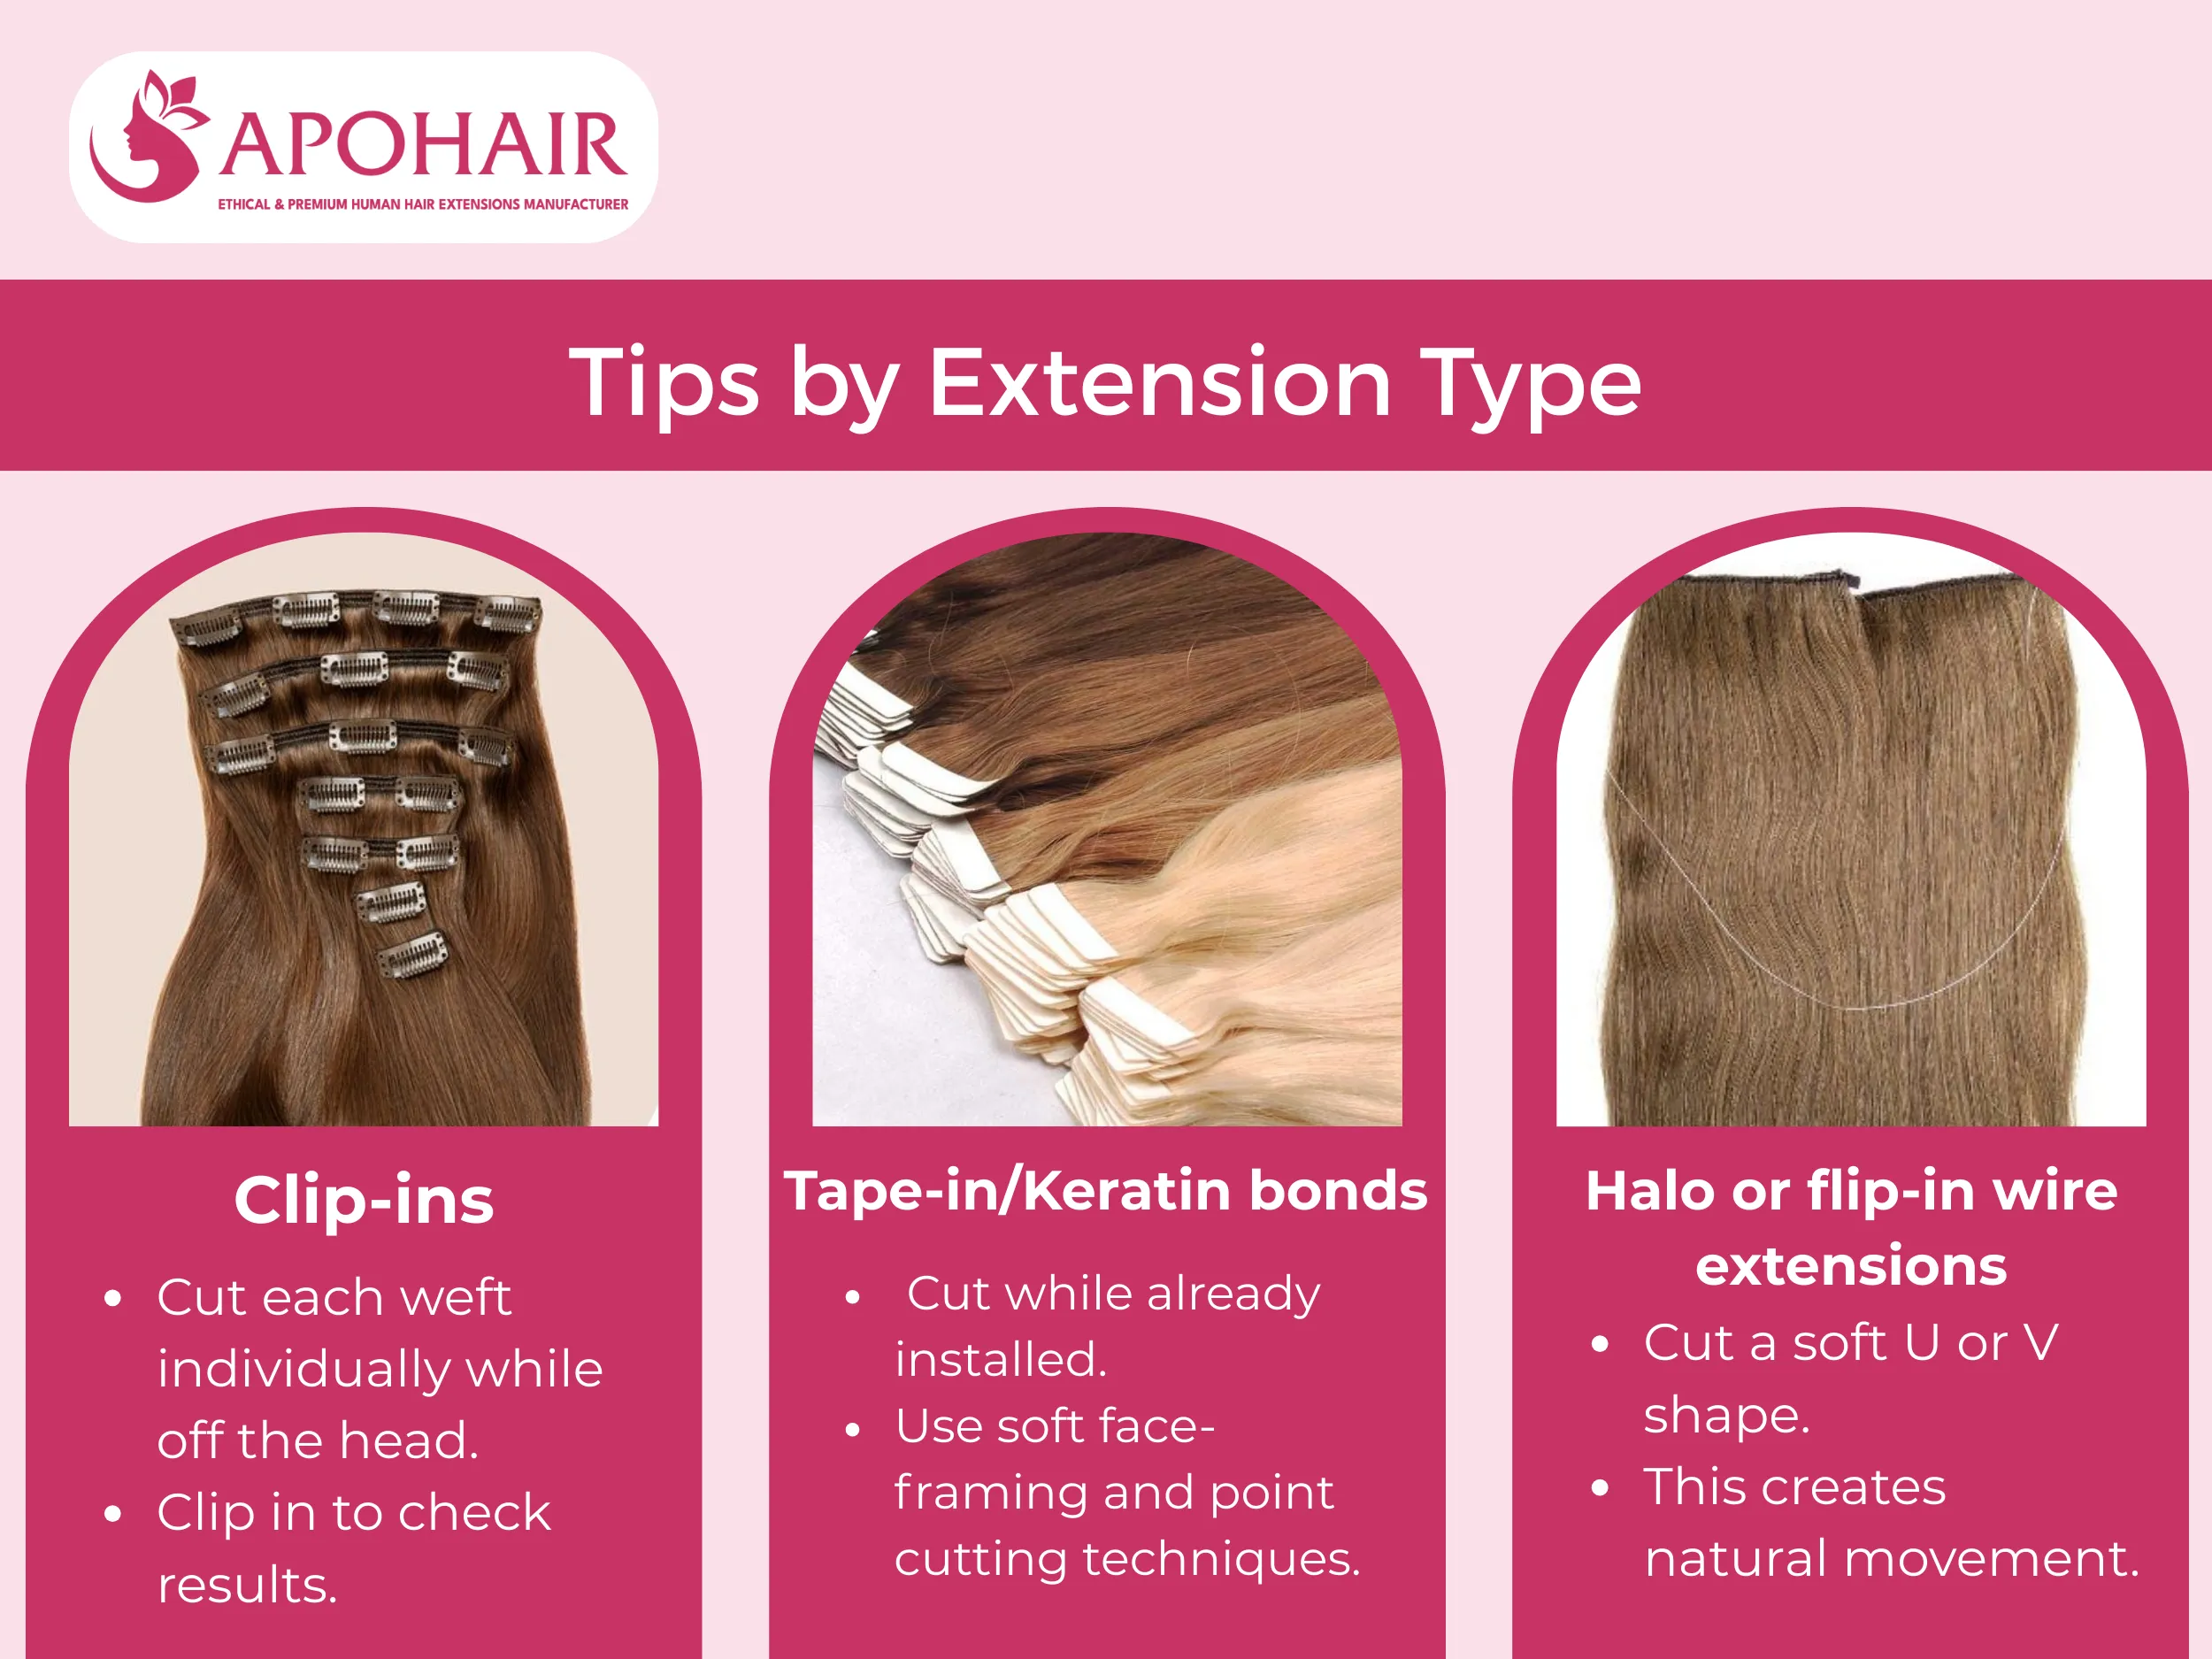
Tips by Extension Type:
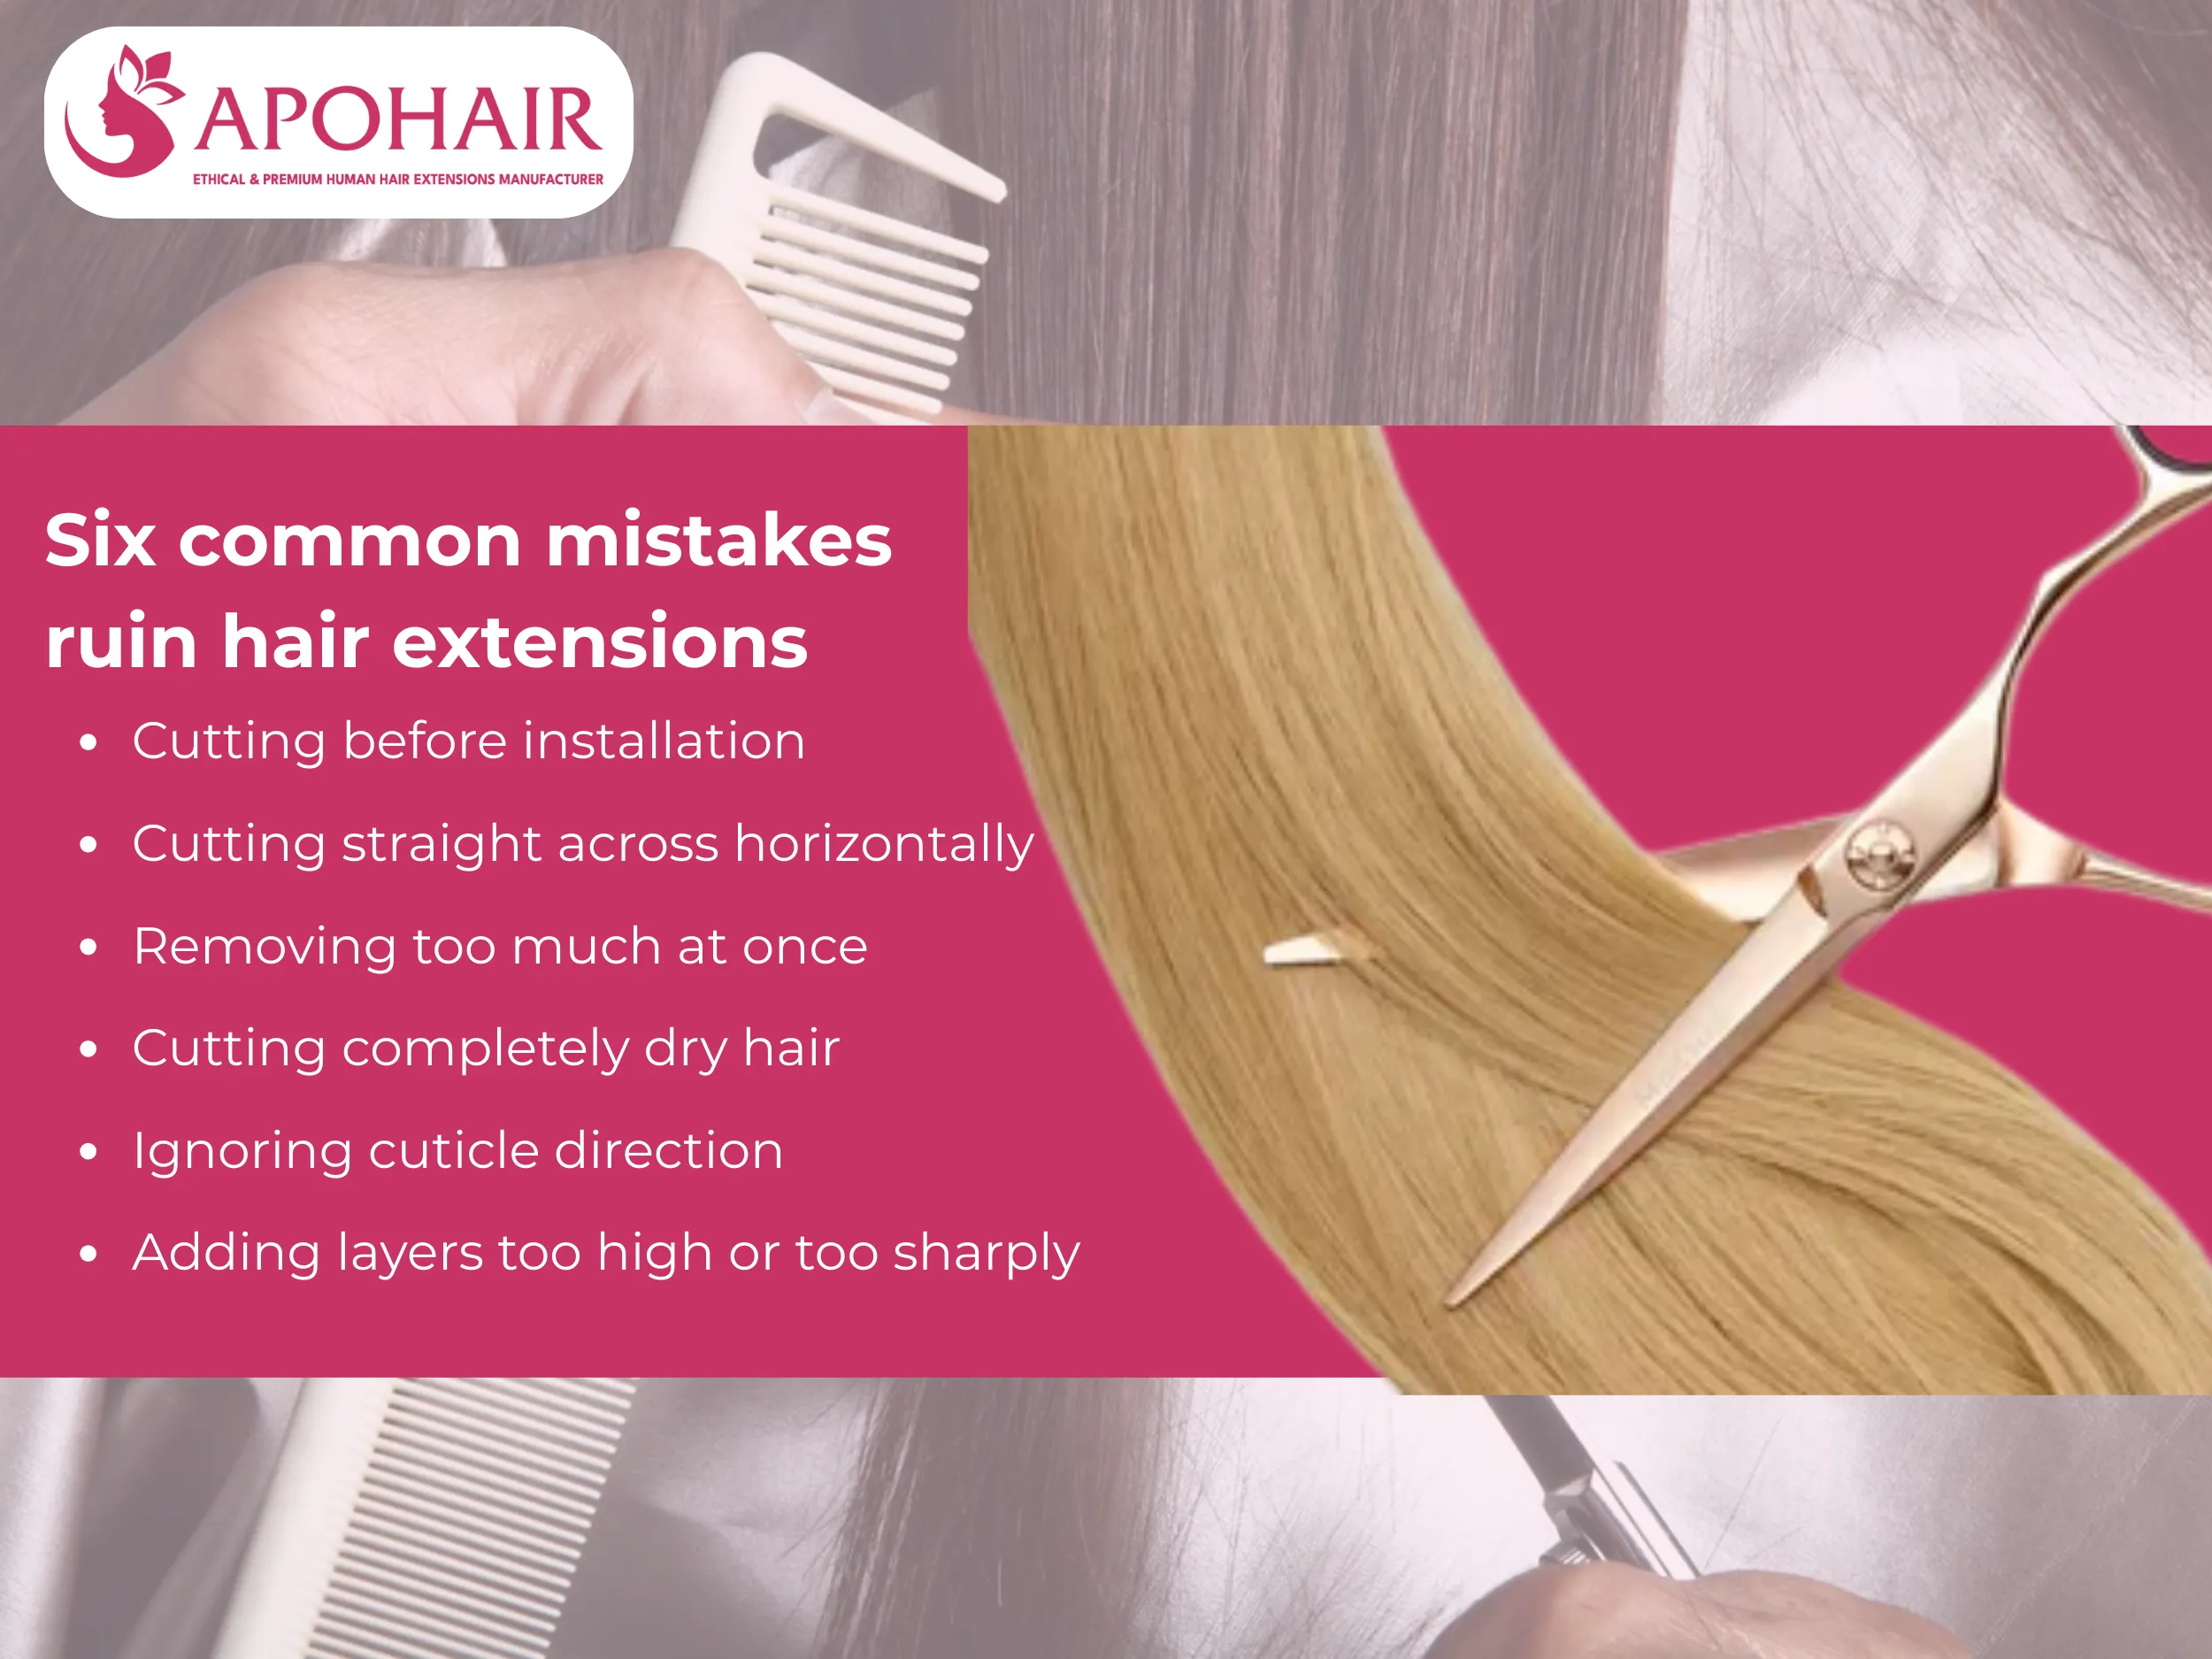
Six common mistakes ruin hair extensions during cutting. Understanding these errors protects your investment and prevents frustration.
Cutting hair extensions requires the right tools, proper preparation, and specific techniques. Use diagonal motions instead of horizontal cuts. Apply point cutting, slicing, blunt cutting, and slithering based on what each section needs. Install extensions before cutting. Work with slightly damp hair. Cut conservatively since extensions cannot grow back. With these methods from APOHAIR, you can achieve a seamless, natural blend between your extensions and real hair. If you’re looking to buy human hair from Vietnam, APOHAIR offers high-quality extensions that blend seamlessly.