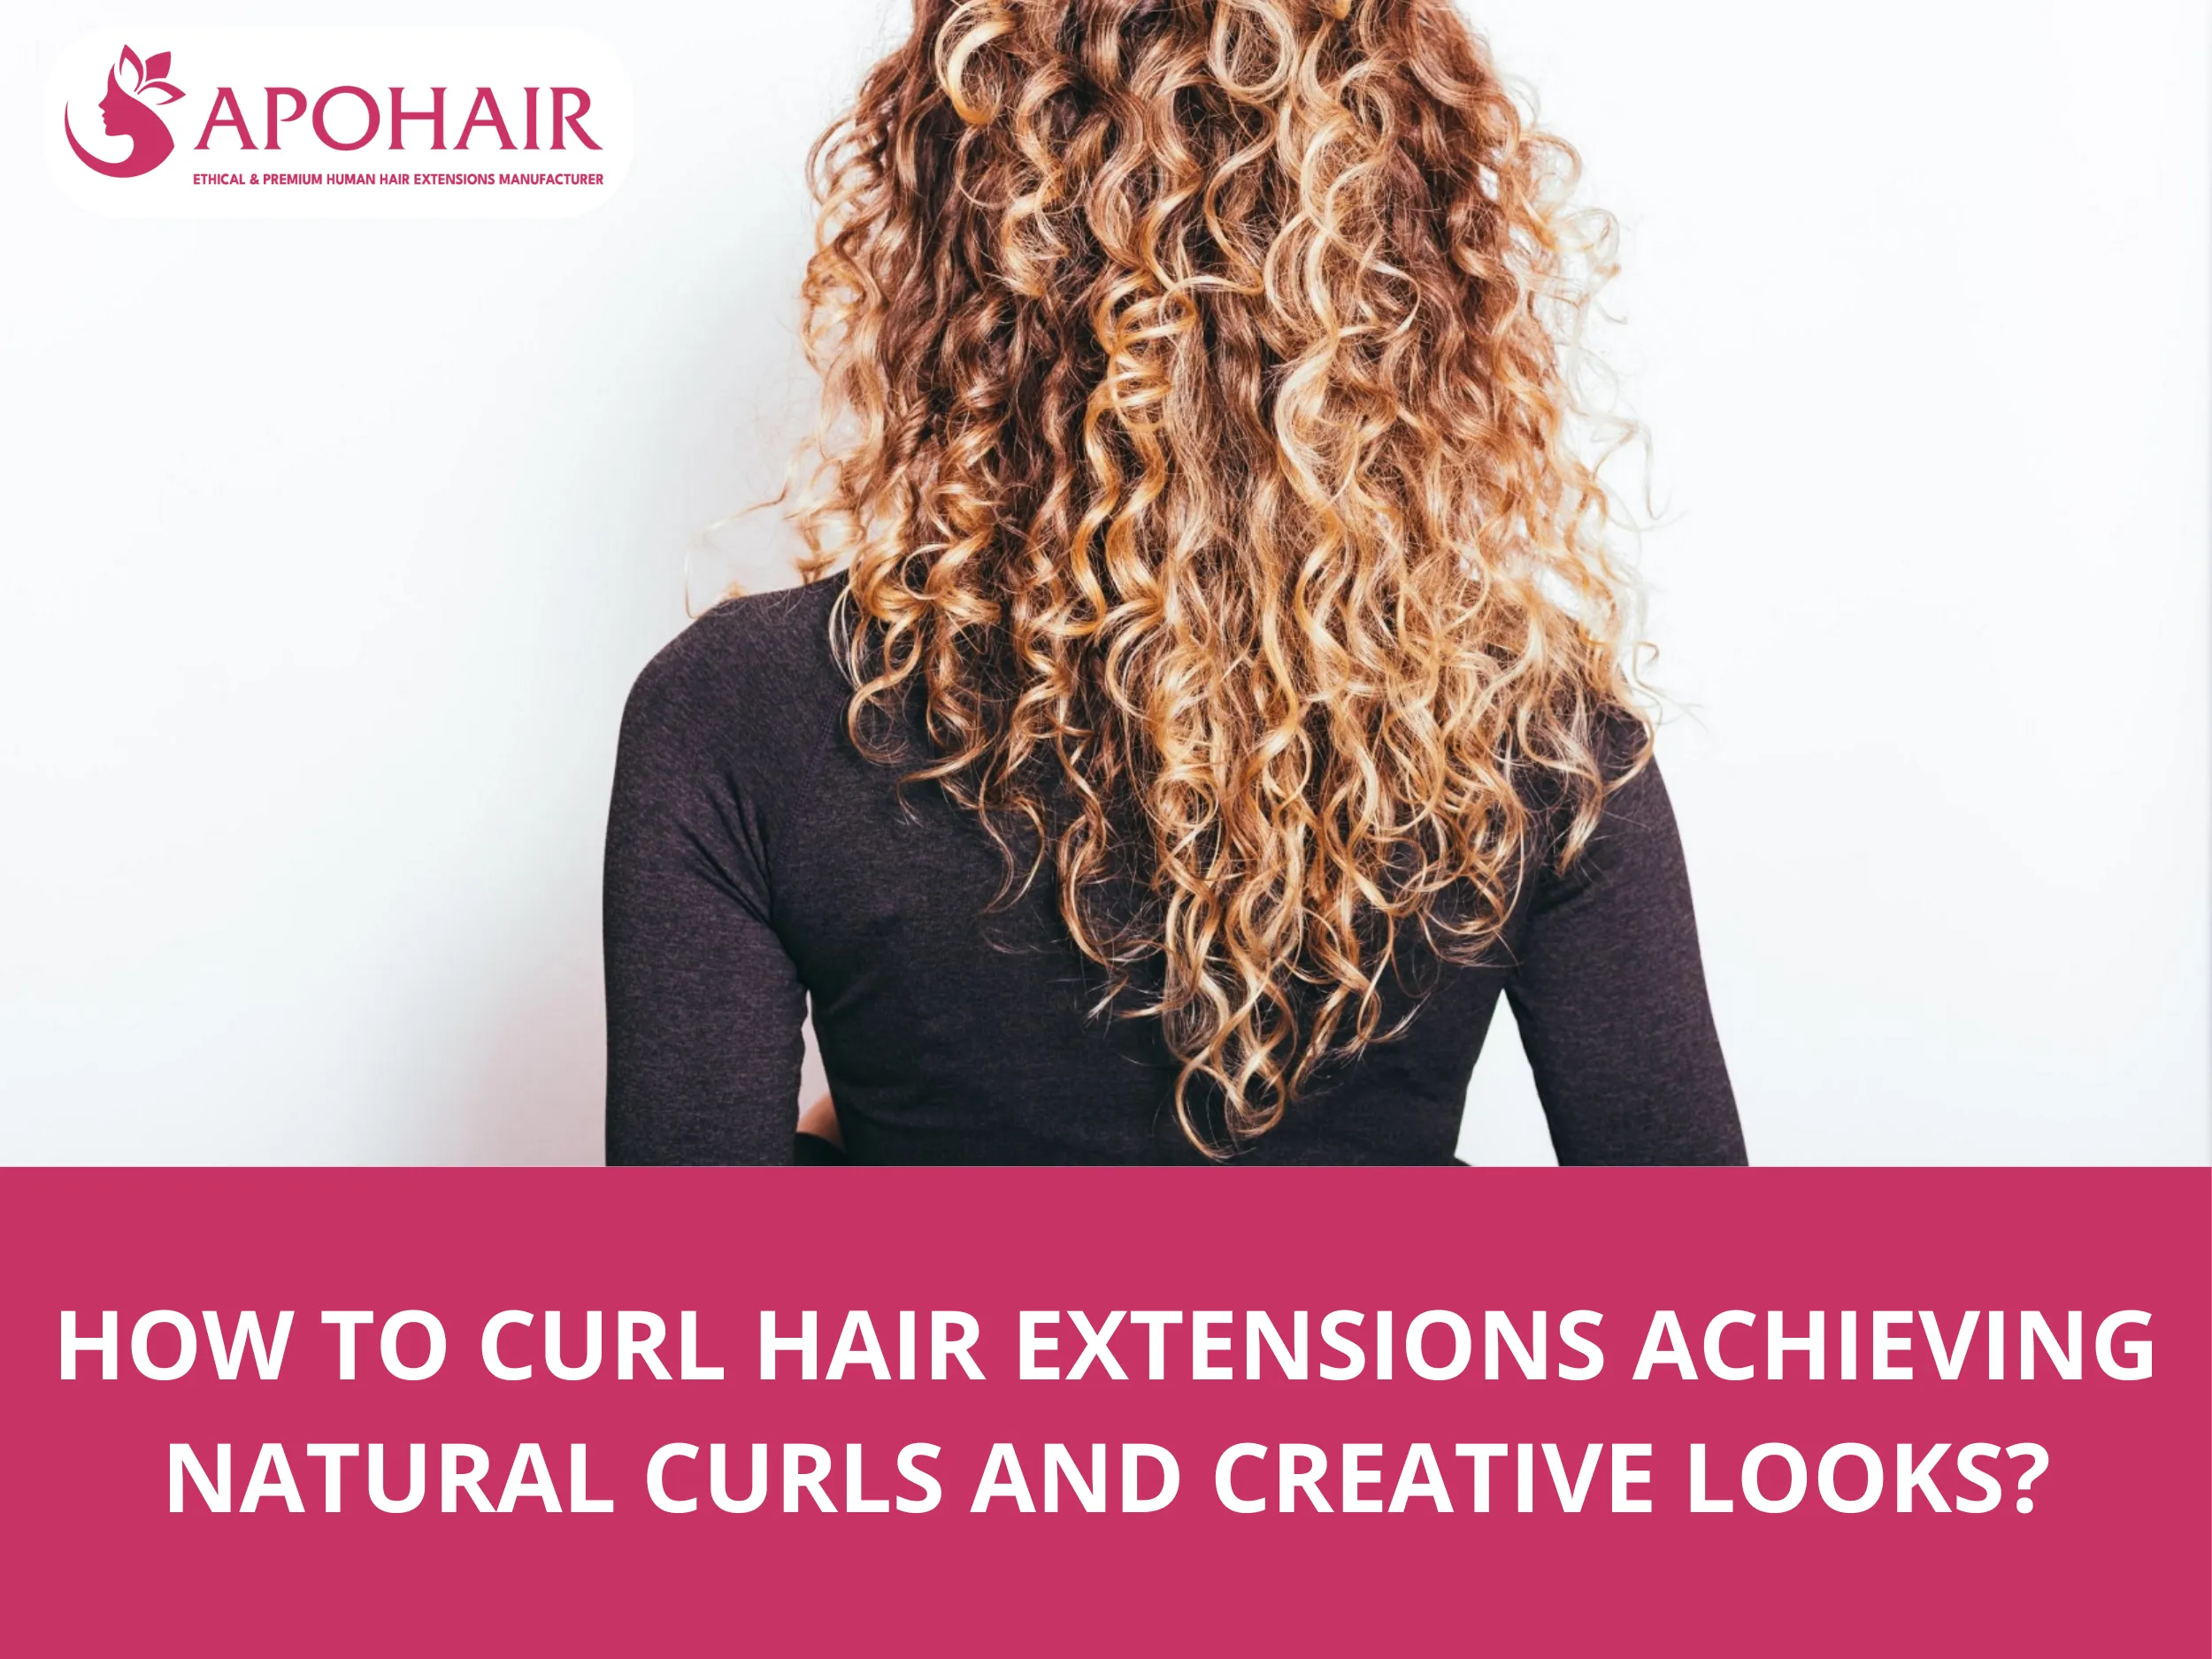
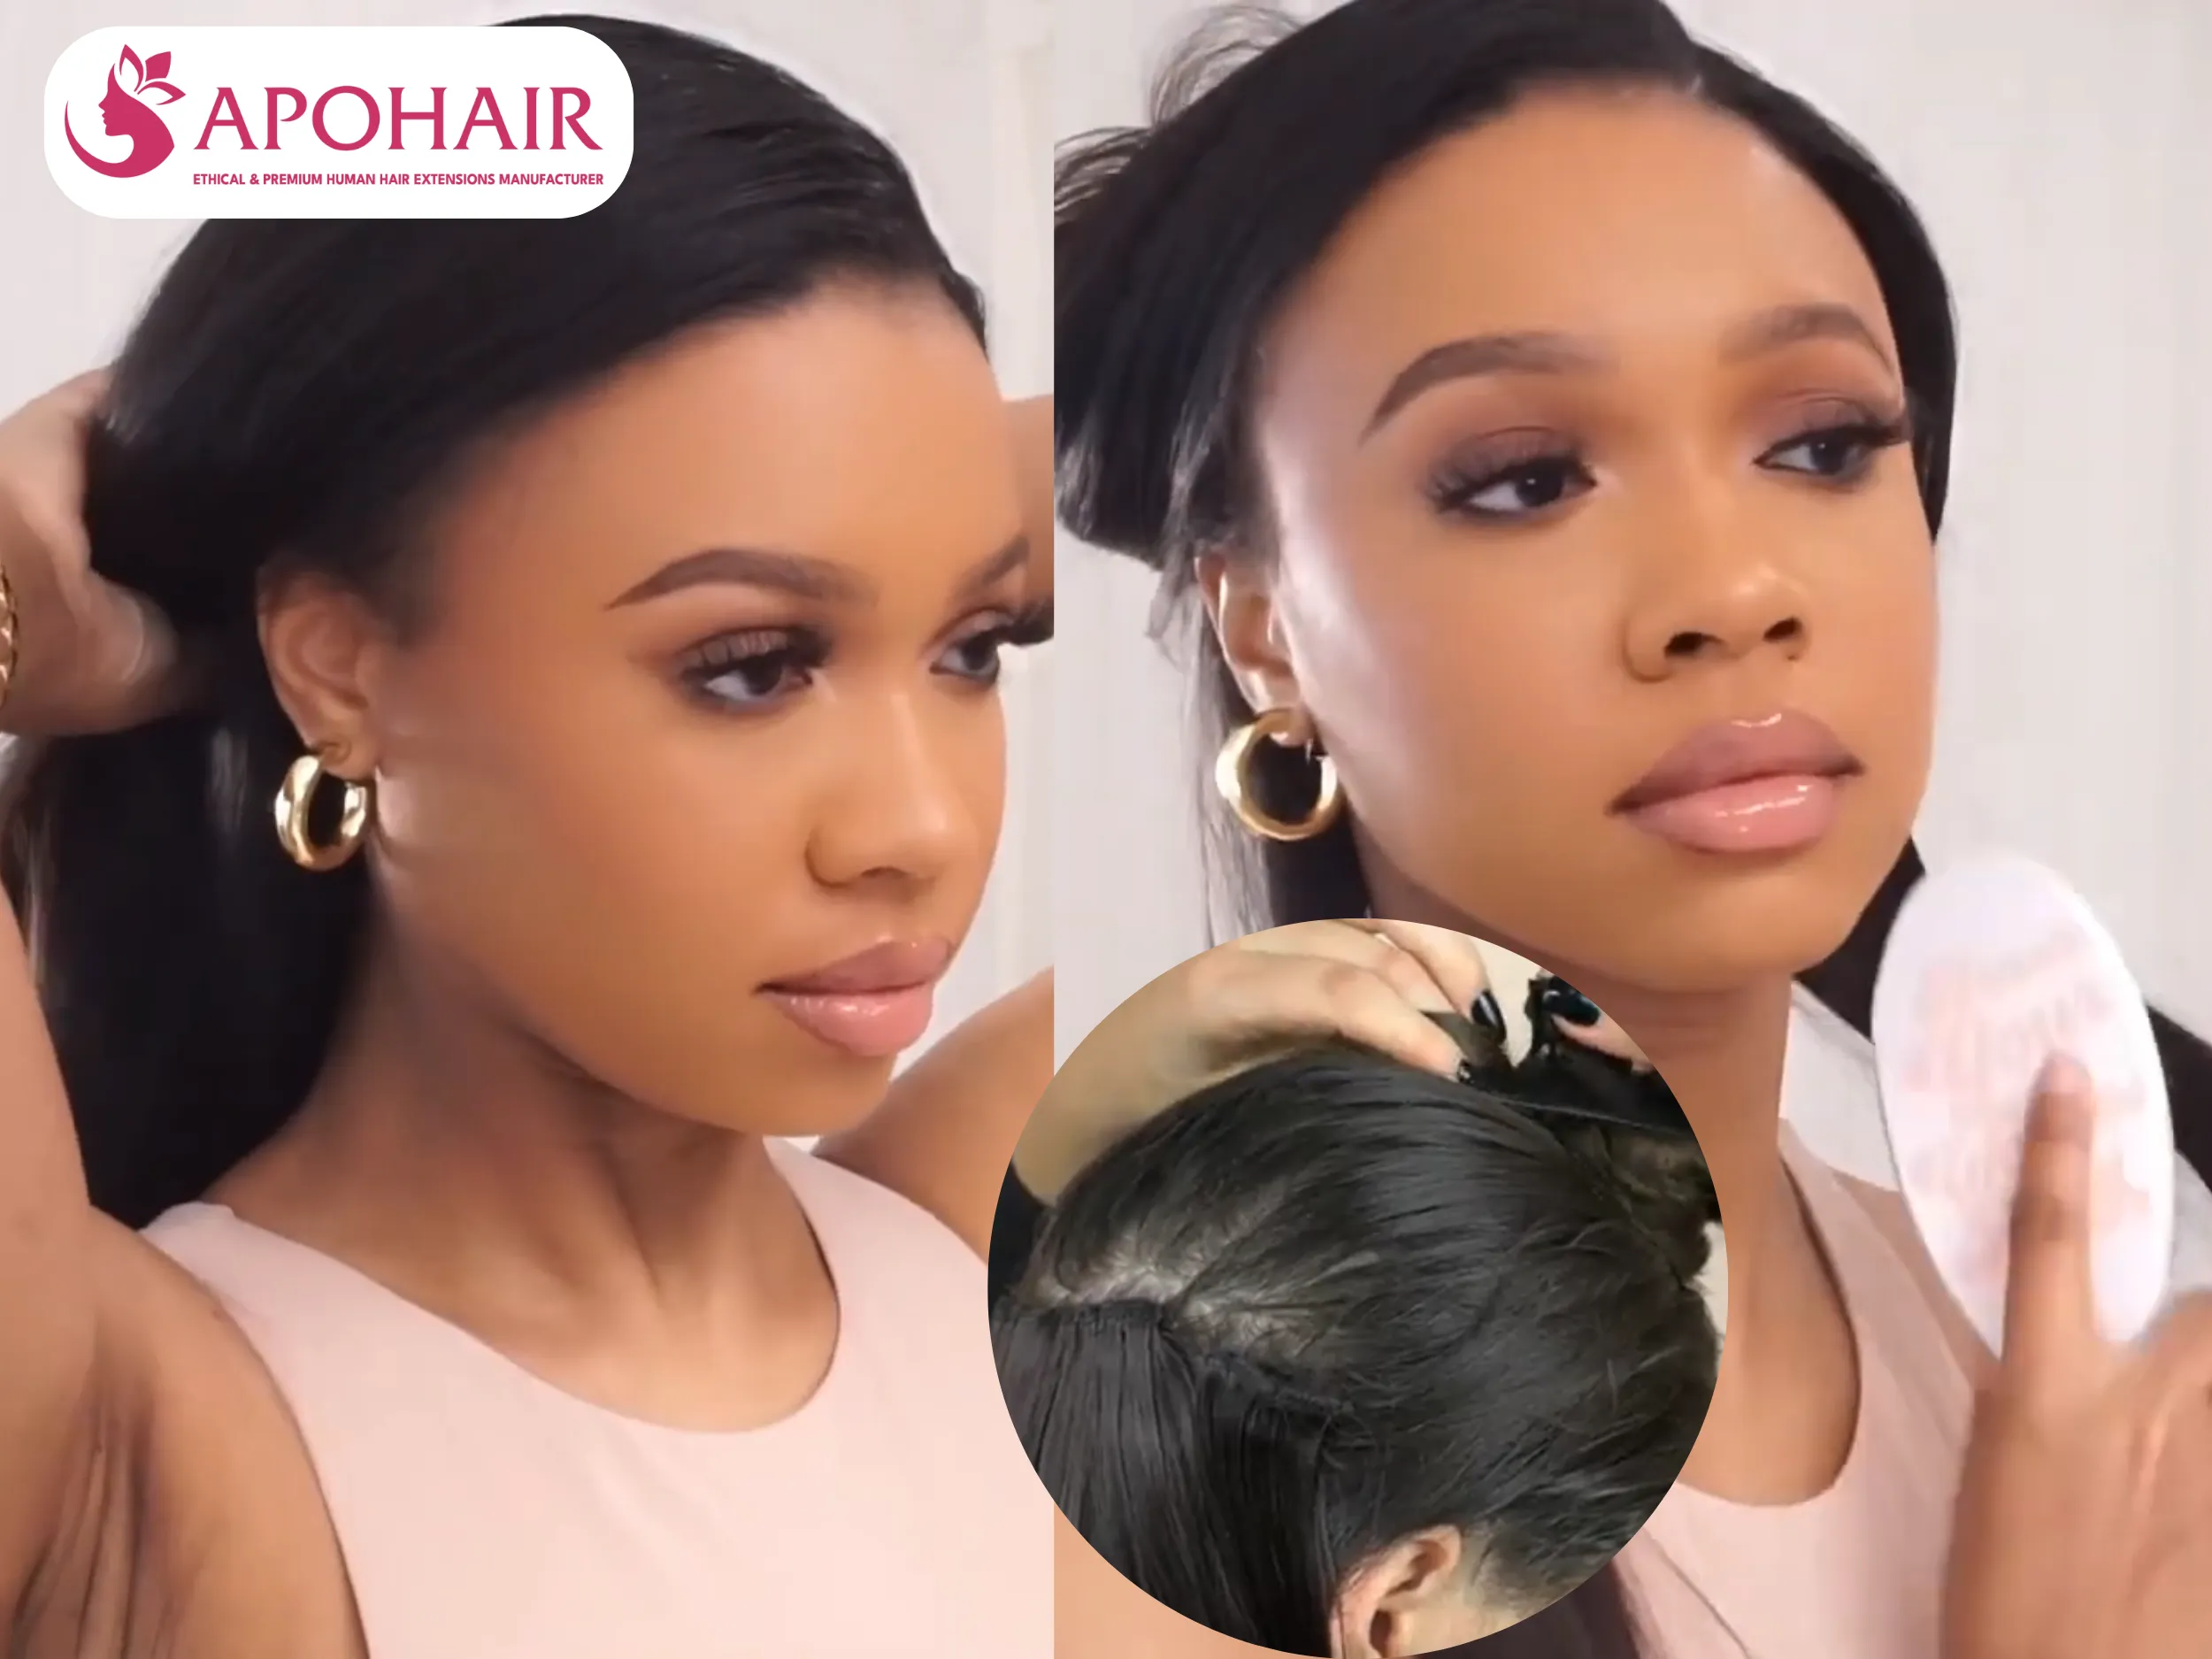
How to Curl Hair Extensions Achieving Natural Curls and Creative Looks?
December 11, 2025
Tony Phan
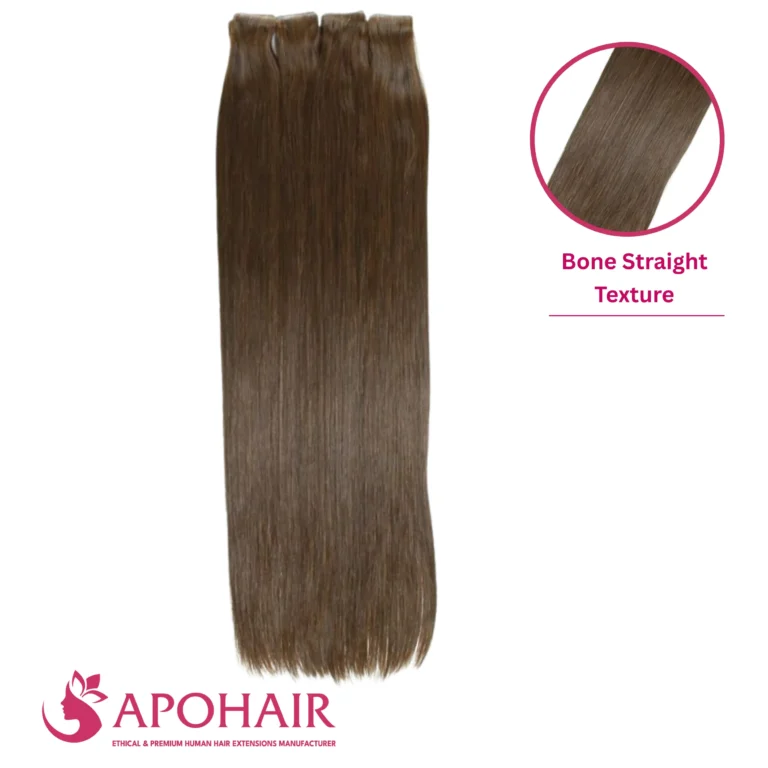
Curling hair extensions can be done using a curling iron on low to medium heat (280-320°F or 138-160°C), taking small sections and holding for 5-8 seconds. You can also curl hair extensions without heat by dampening them to 70% dry, wrapping them around cylindrical rollers at least 1.5 inches (38mm) wide, securing with clips, and letting them air dry for 4-6 hours.
This guide will walk you through every technique, tool, and styling method you need to create beautiful, lasting curls with APOHAIR extensions.
How to Curl Hair Extensions Achieving Natural Curls and Creative Looks?
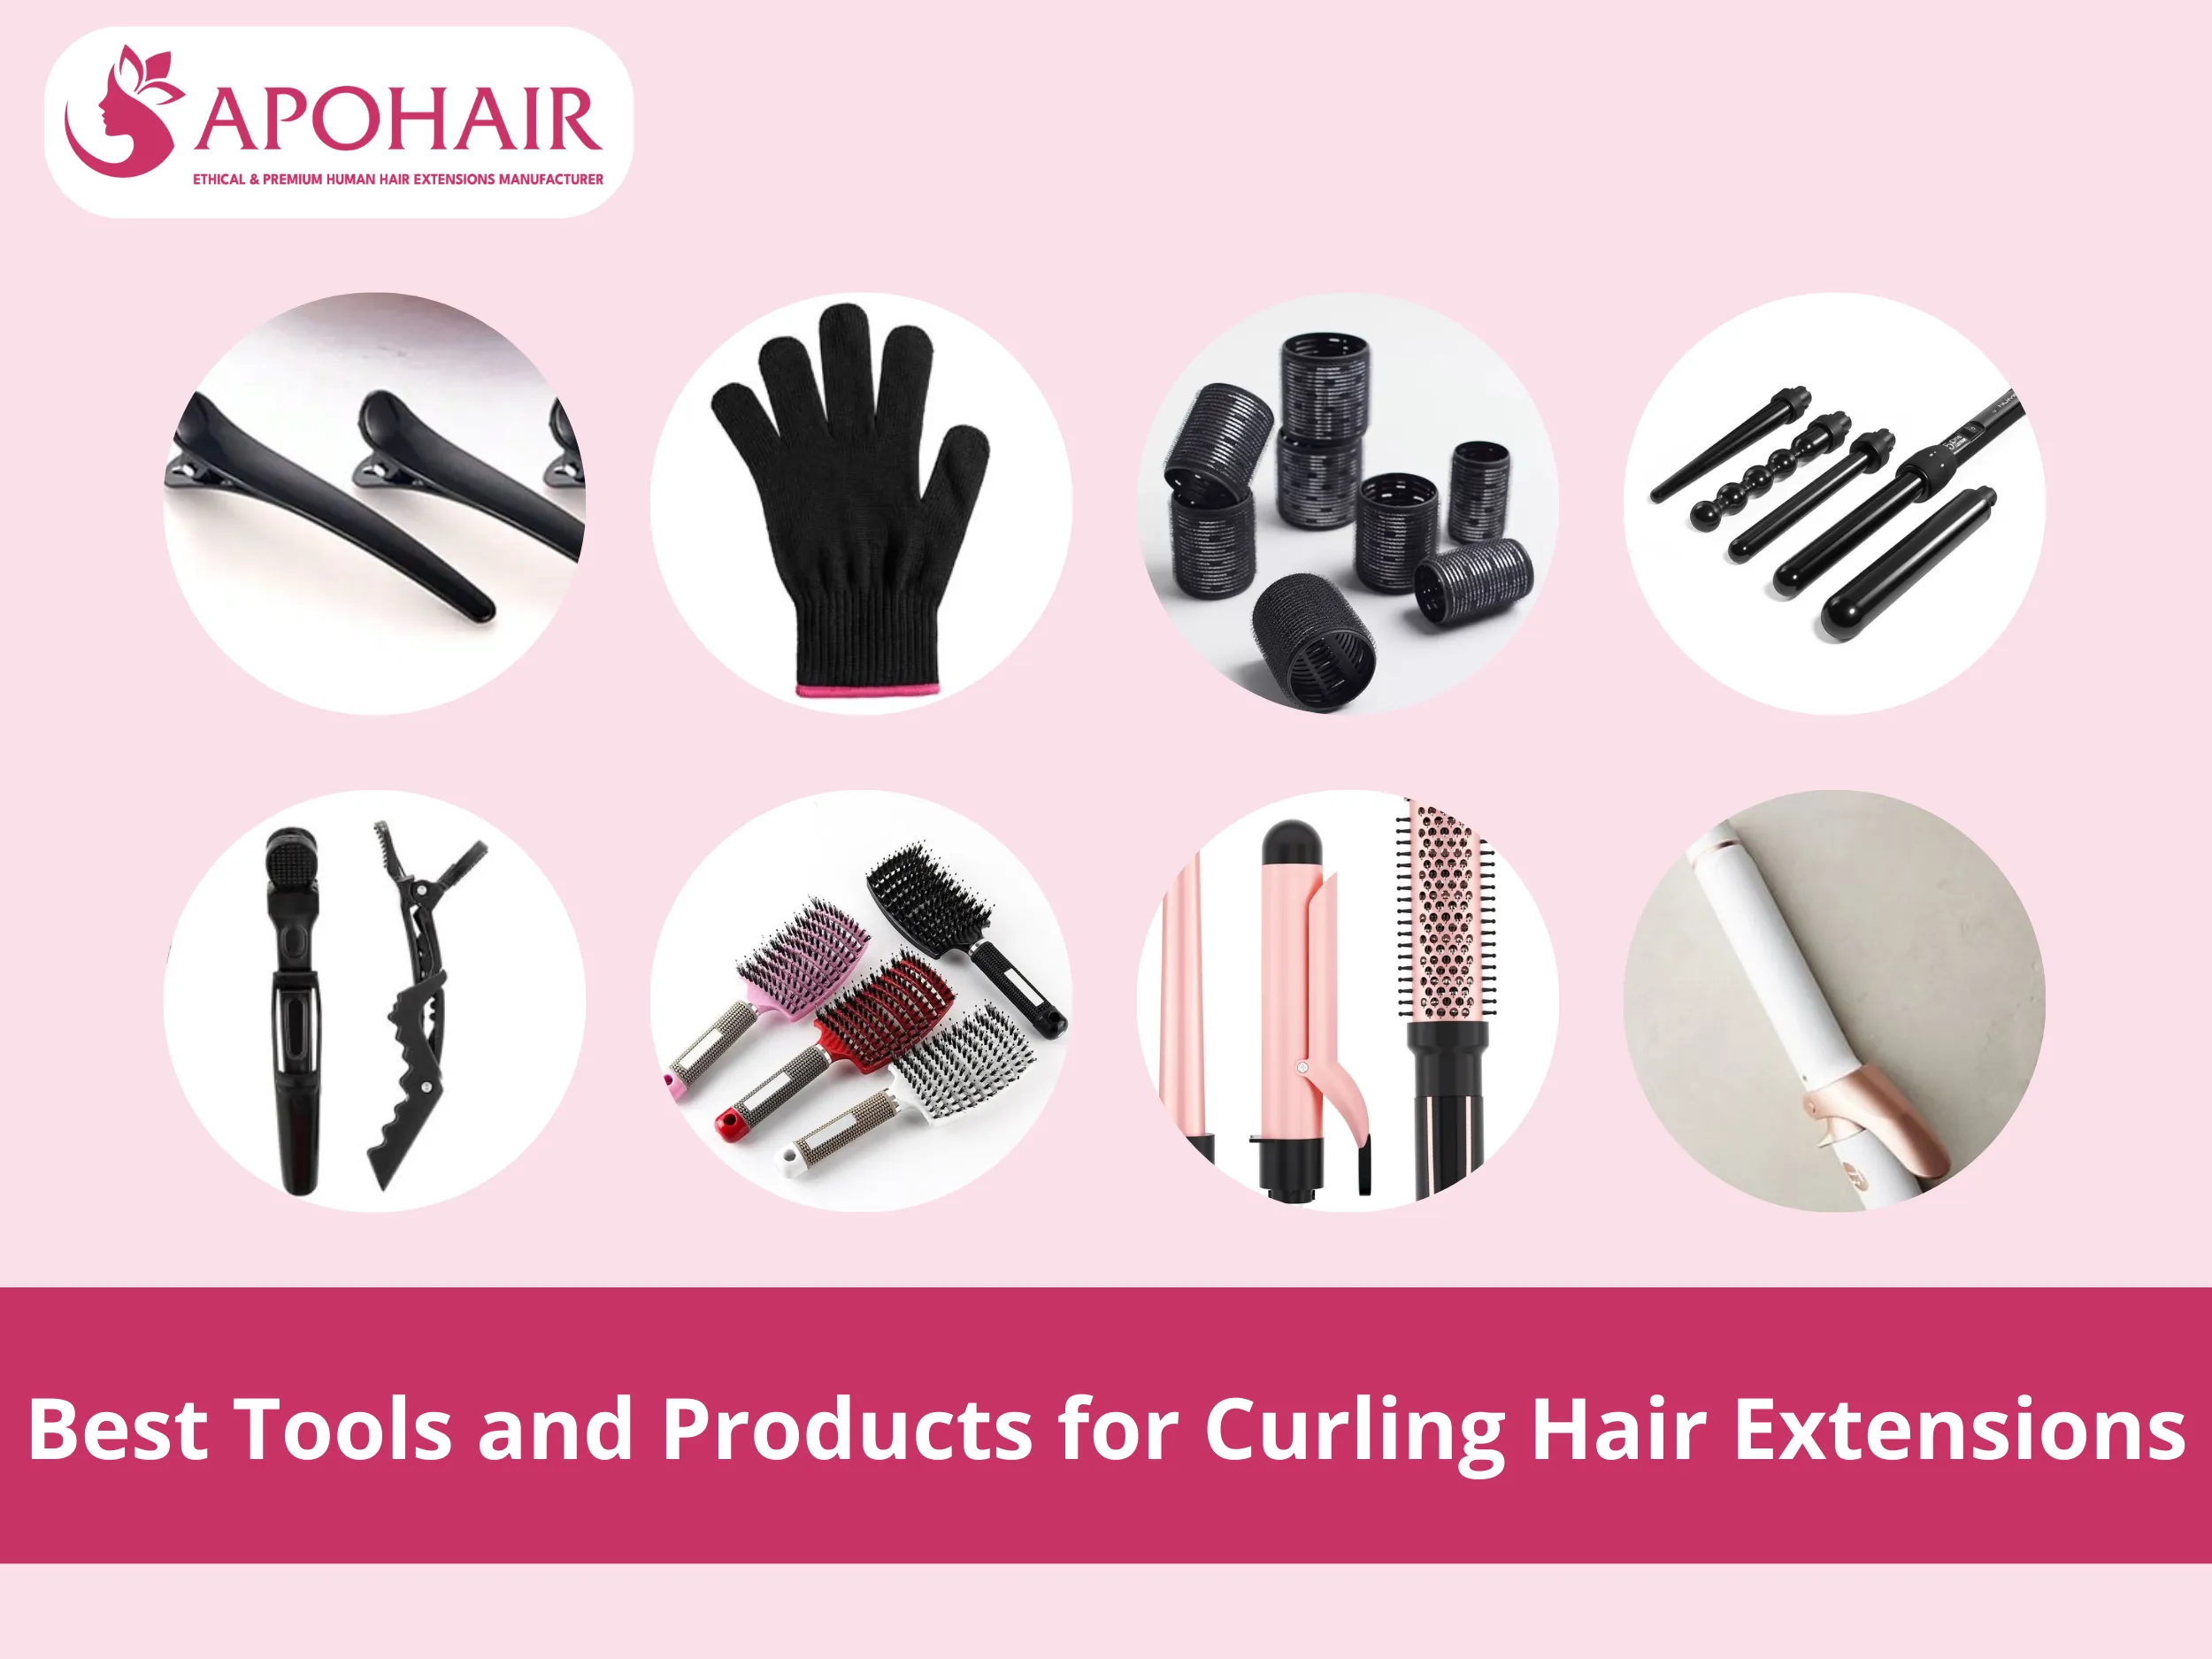
Best Tools and Products for Curling Hair Extensions
To achieve beautiful, lasting curls, you’ll first need to properly prepare your extensions using 5 simple steps, including:
Wash and Condition: Use sulfate-free products to maintain moisture.
Dry Properly: Air dry or use low heat to avoid styling tool damage.
Apply Leave-in Conditioner: Adds shine, softness, and a barrier against thermal stress.
Once prepared, make sure you have the 5 specific tools to curl your hair extensions properly and safely while maintaining their quality:
Detangling Brush
Heat Protectant Spray
Curling Iron/Wand
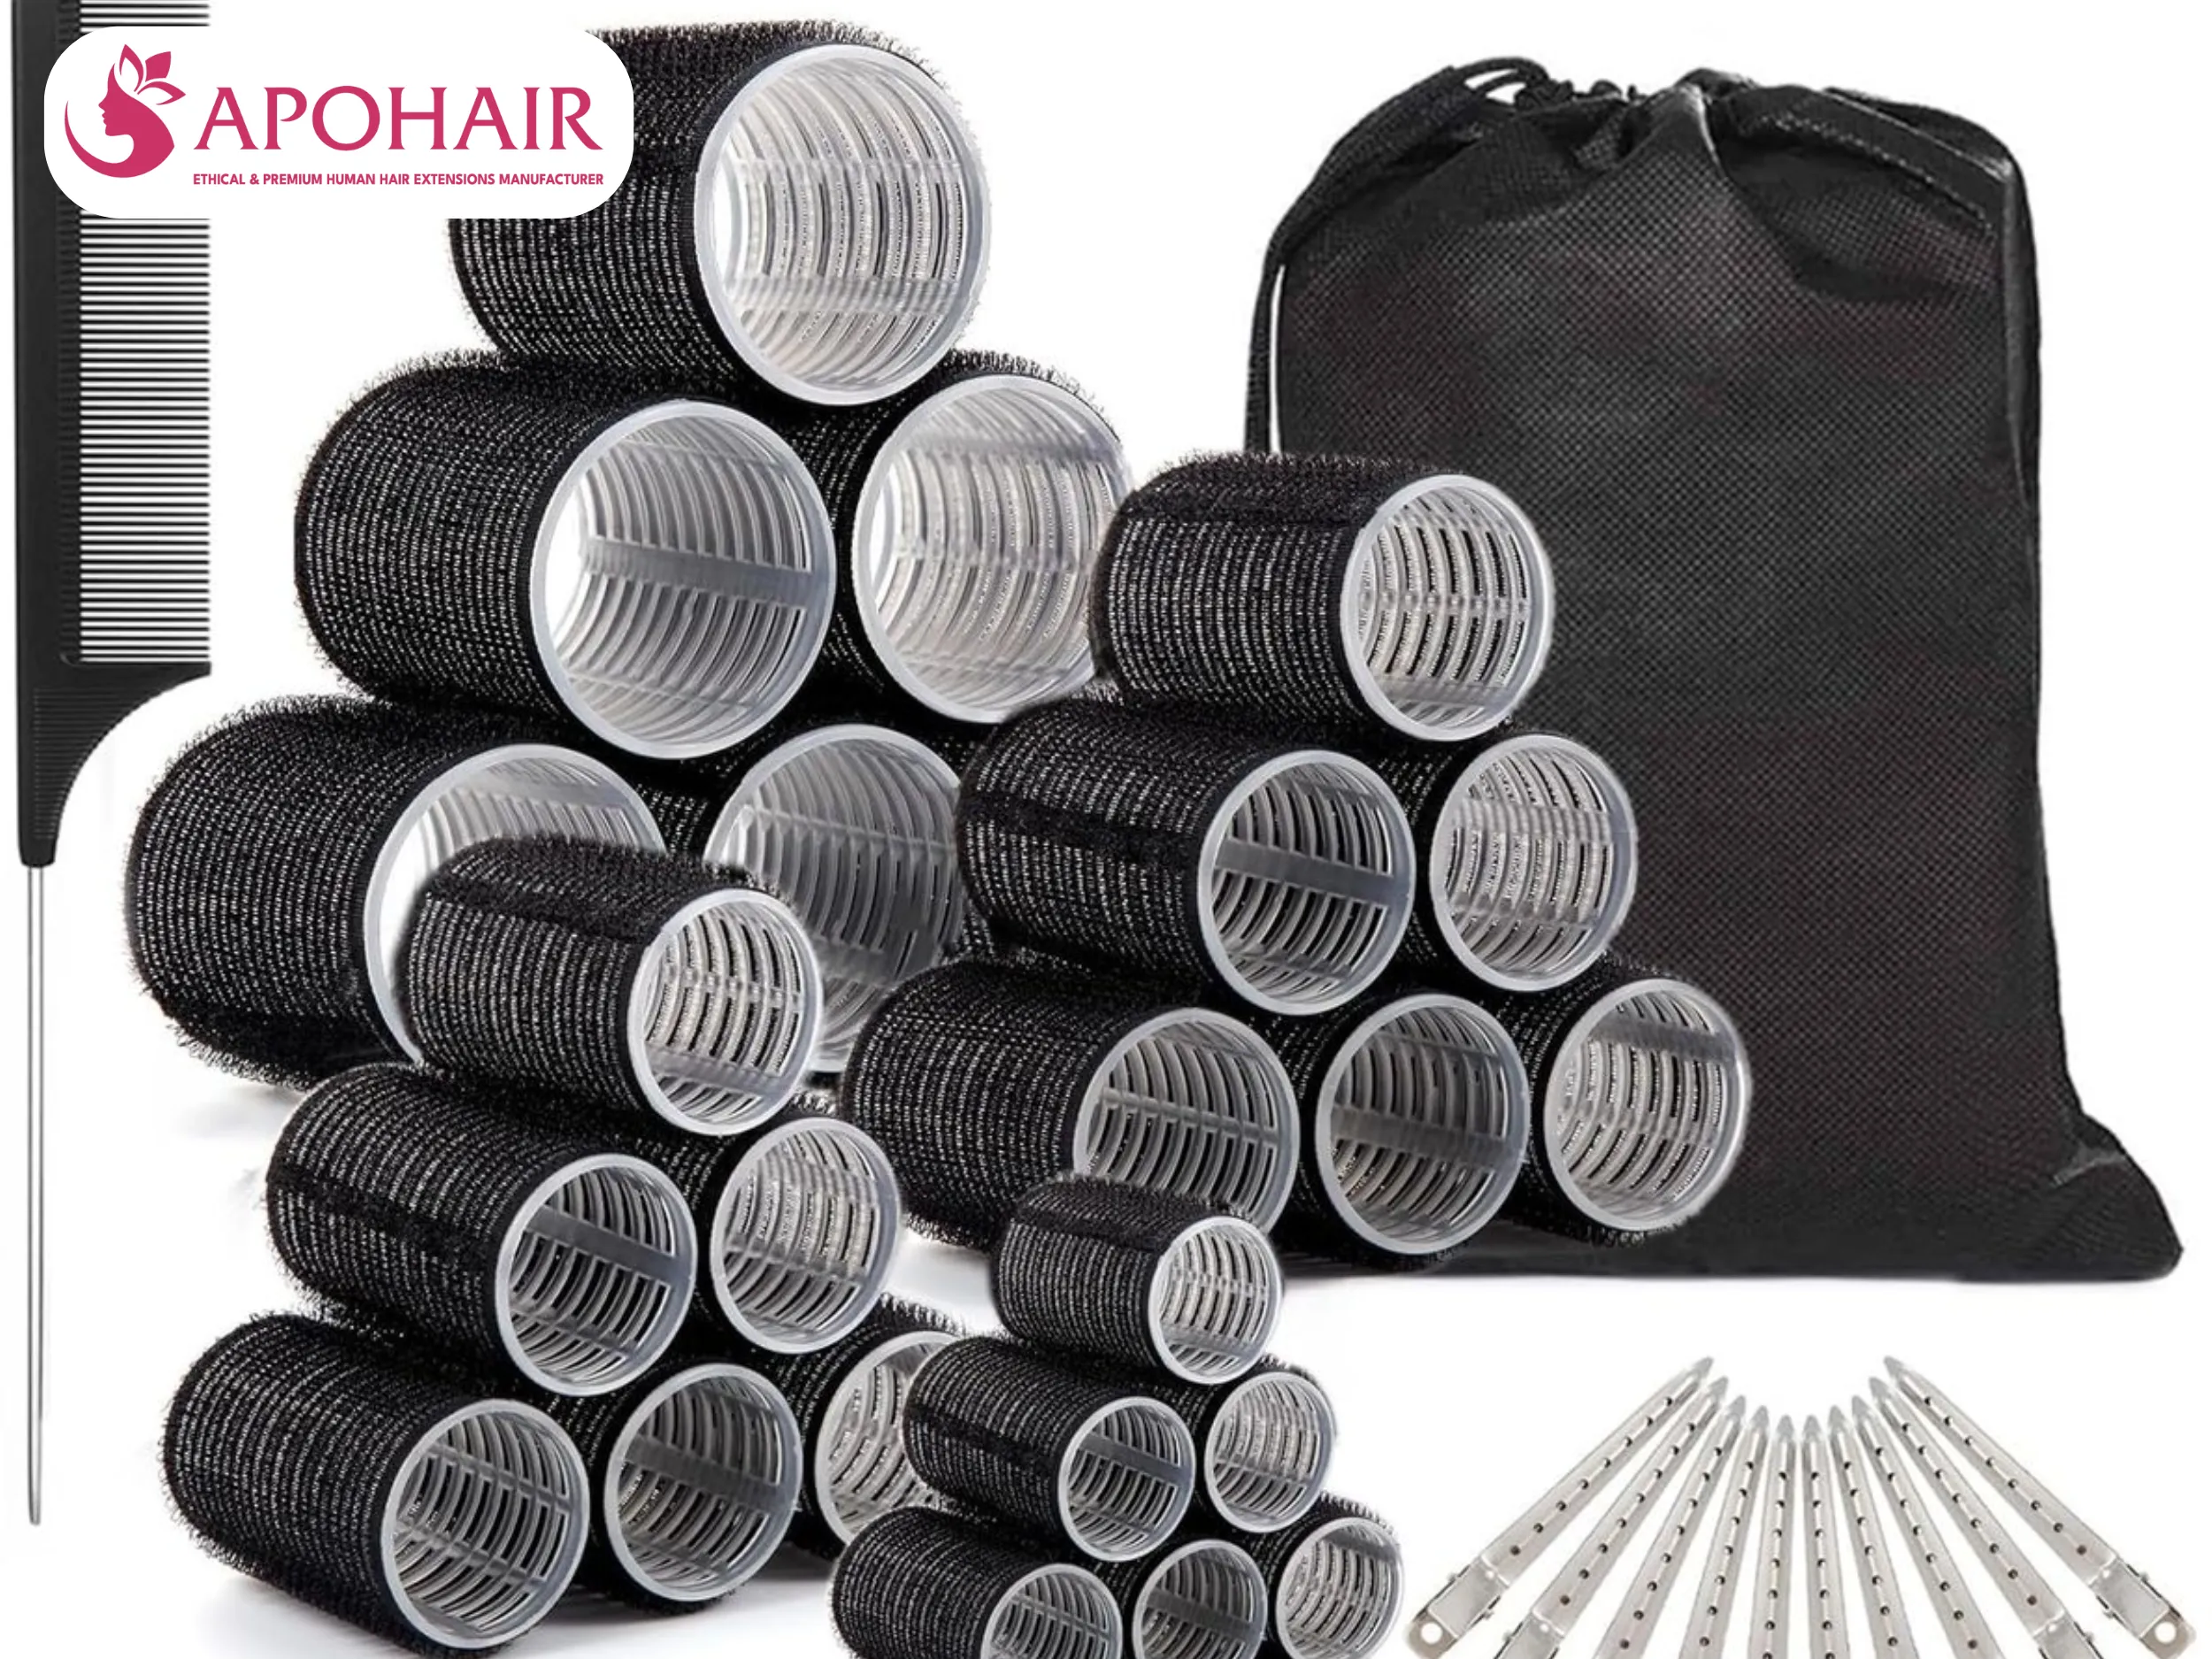
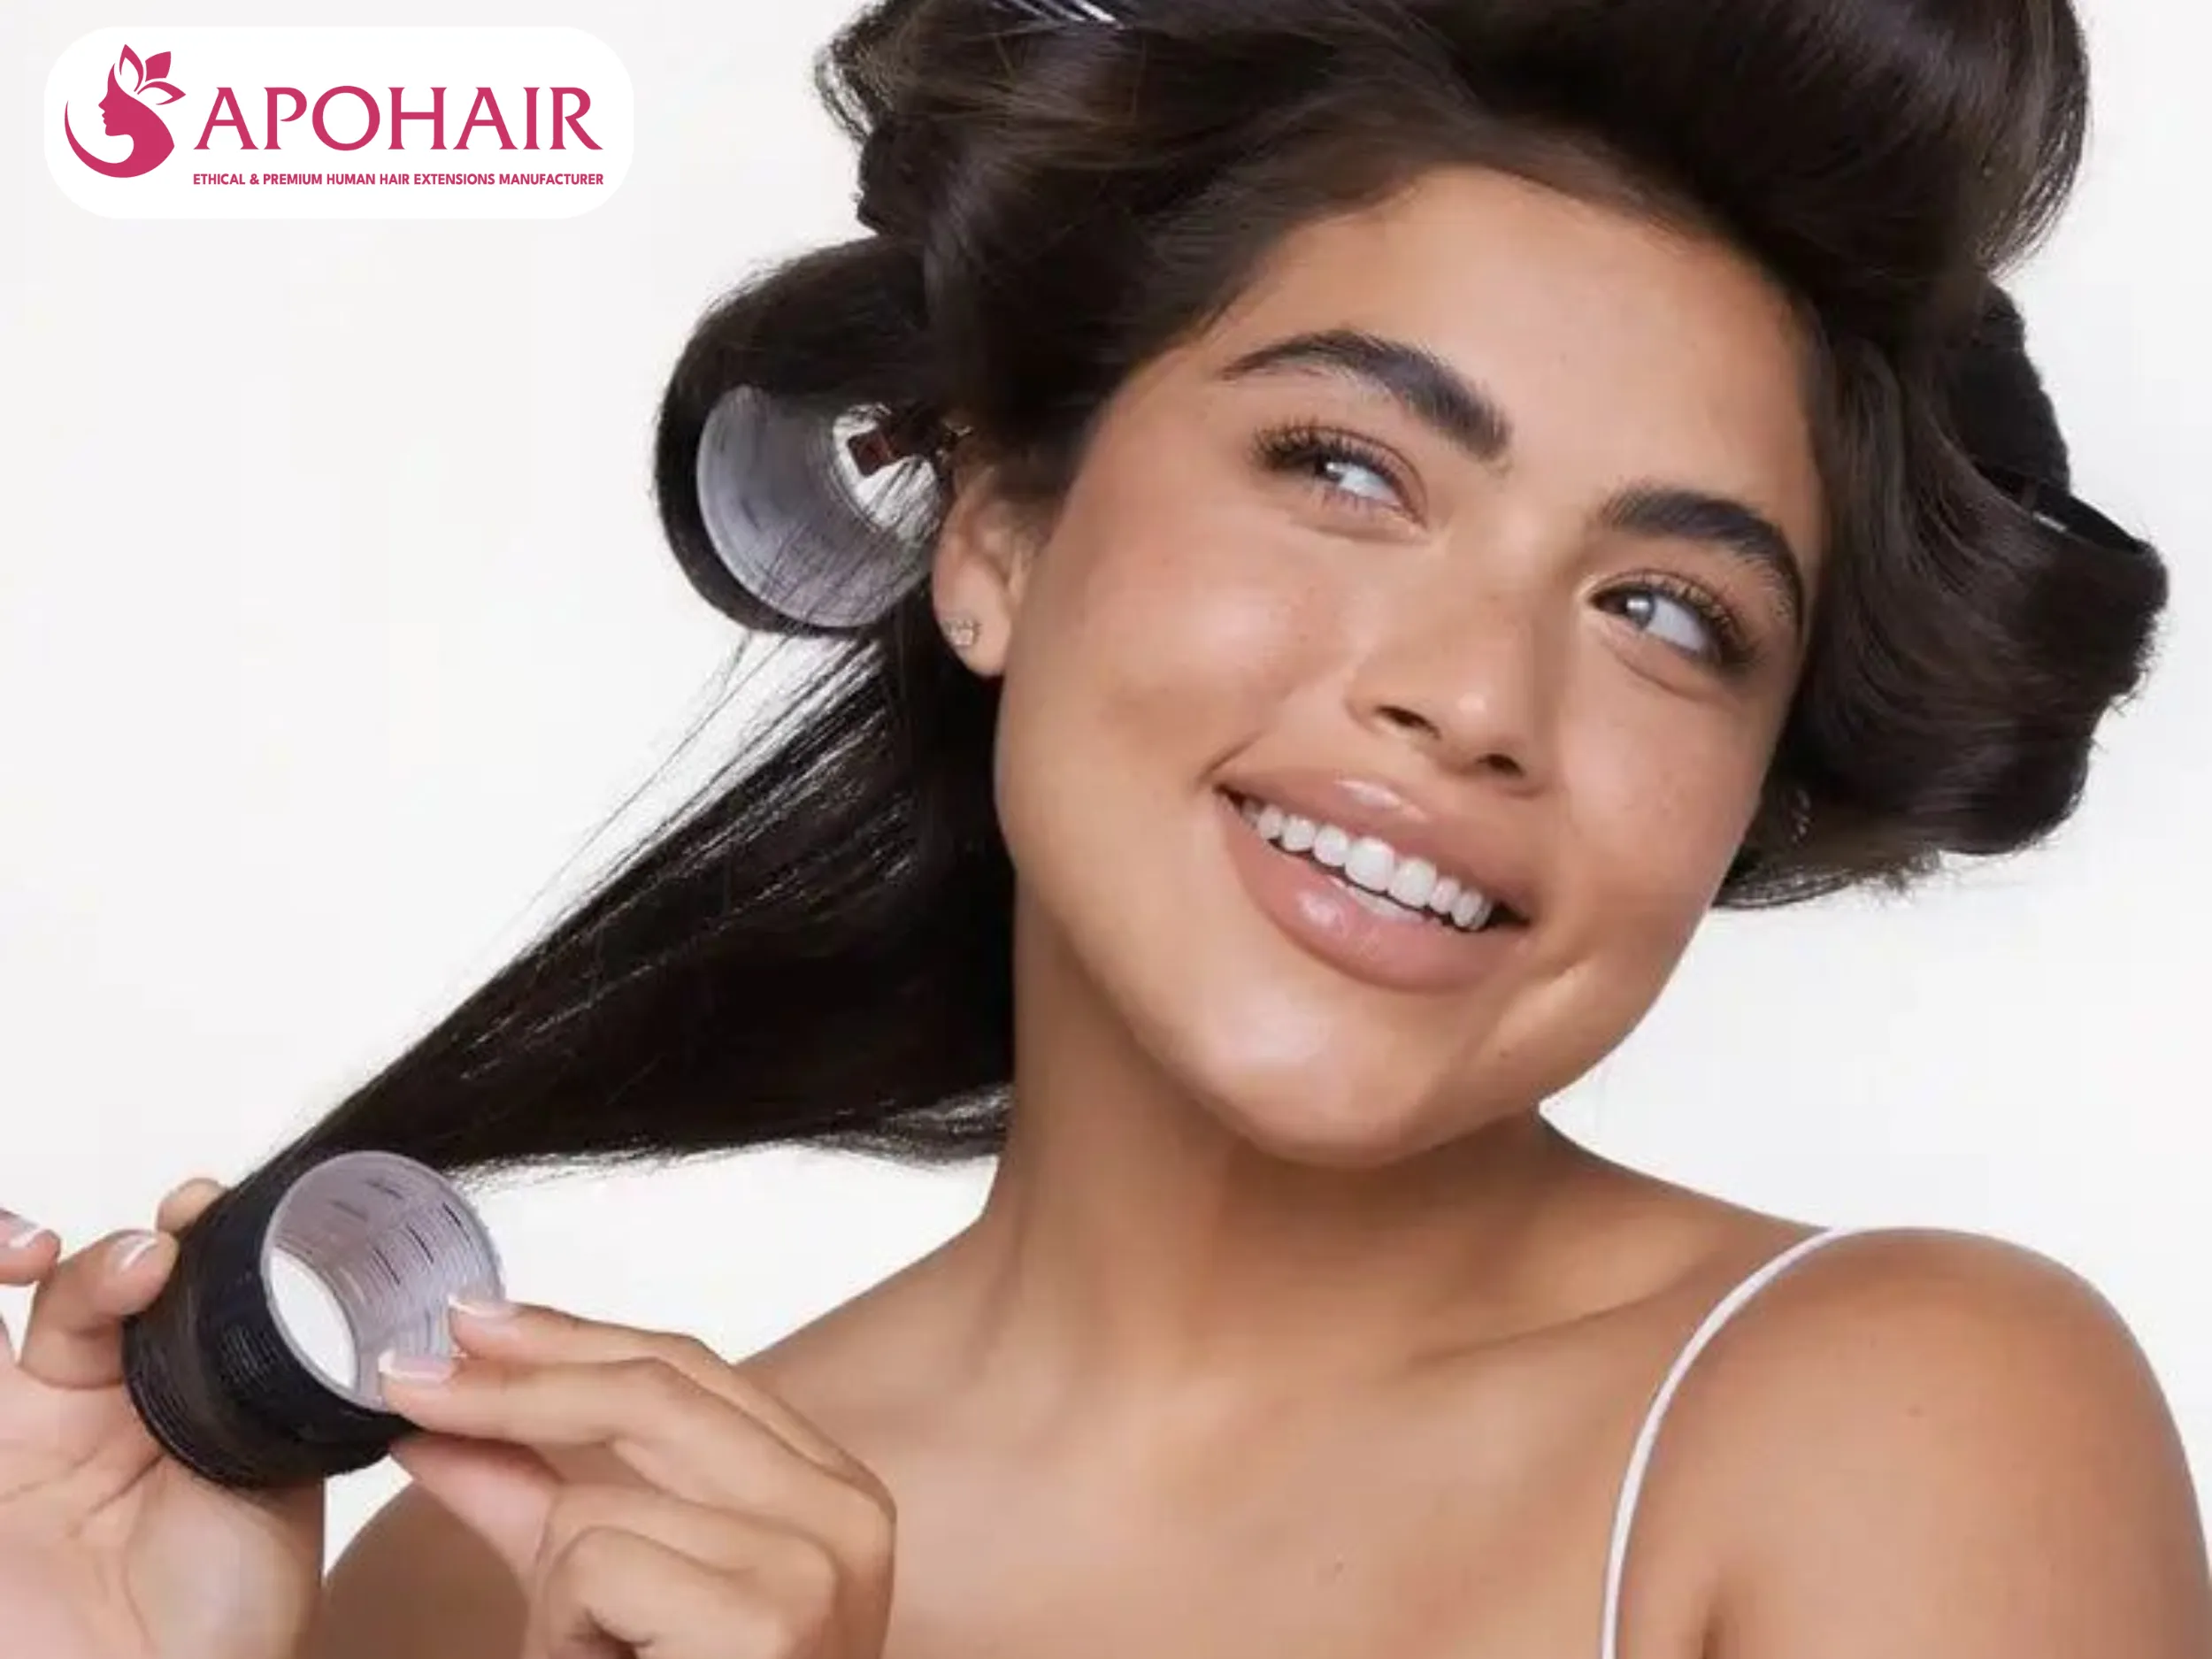
Cylindrical Hair Rollers
Water/Spray Bottle
Clips/Storage Hanger
Best Tools and Products for Curling Hair Extensions
Step-by-Step Guide to Curling Hair Extensions Safely
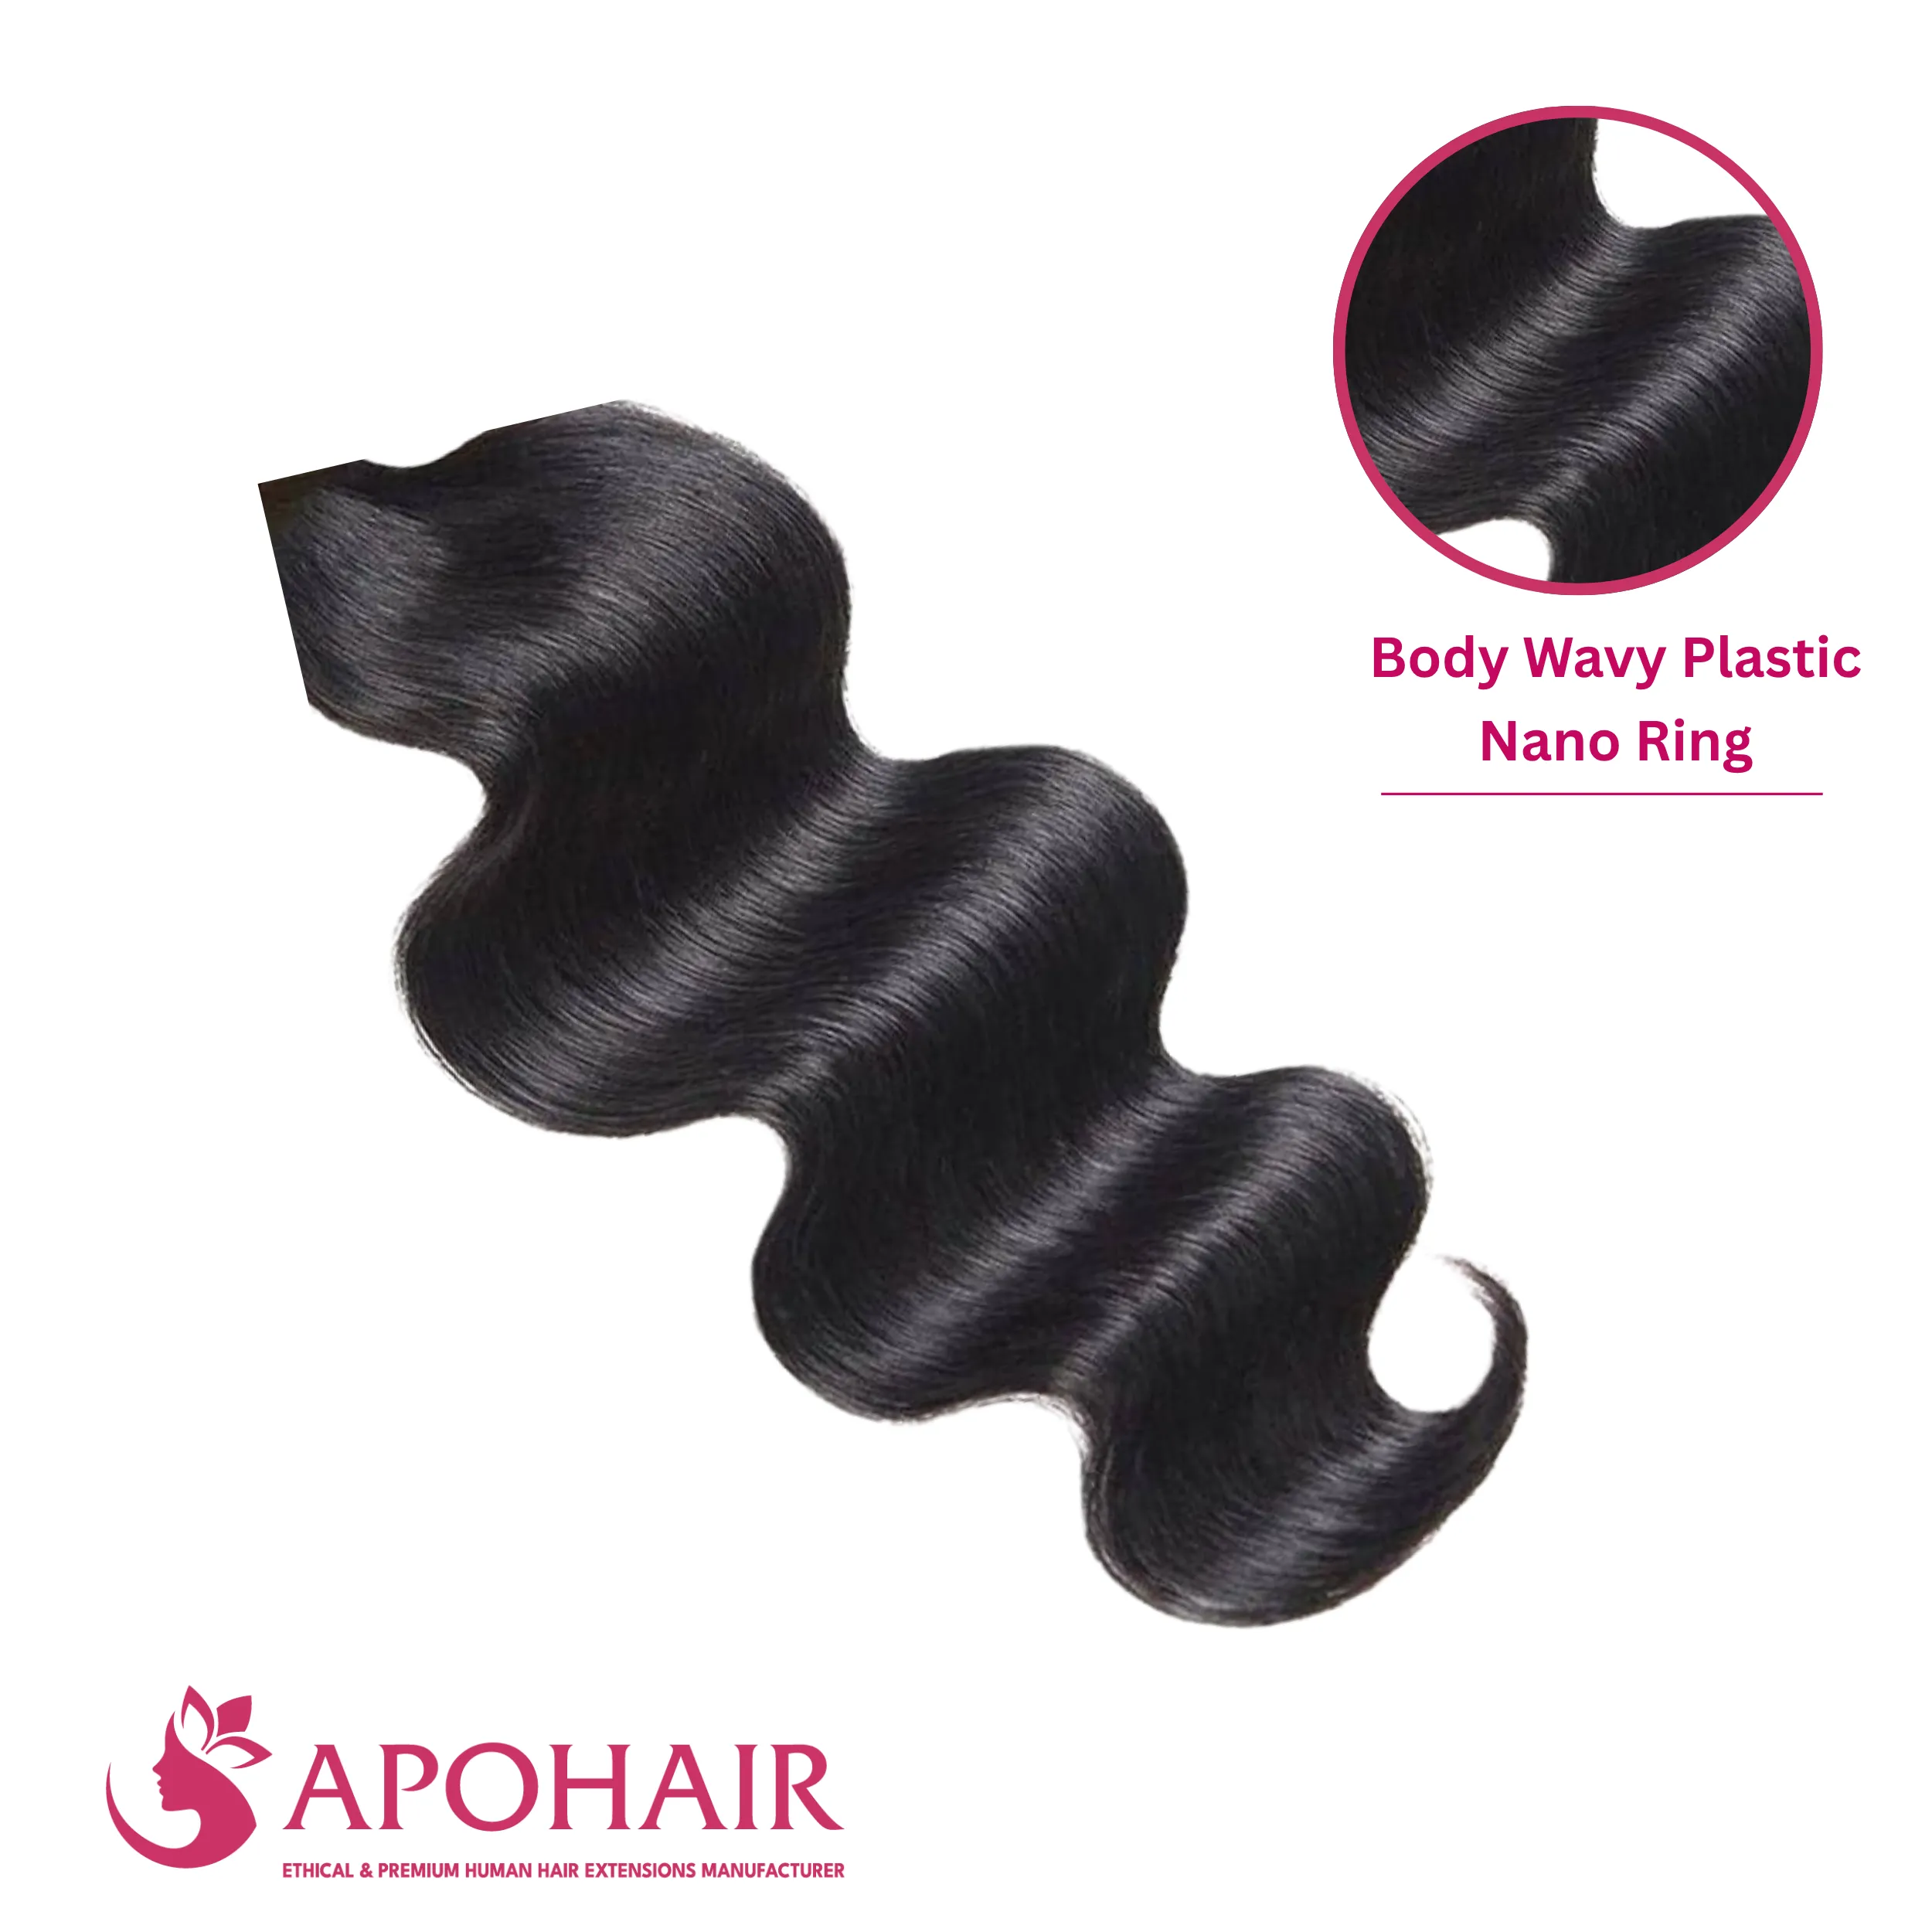
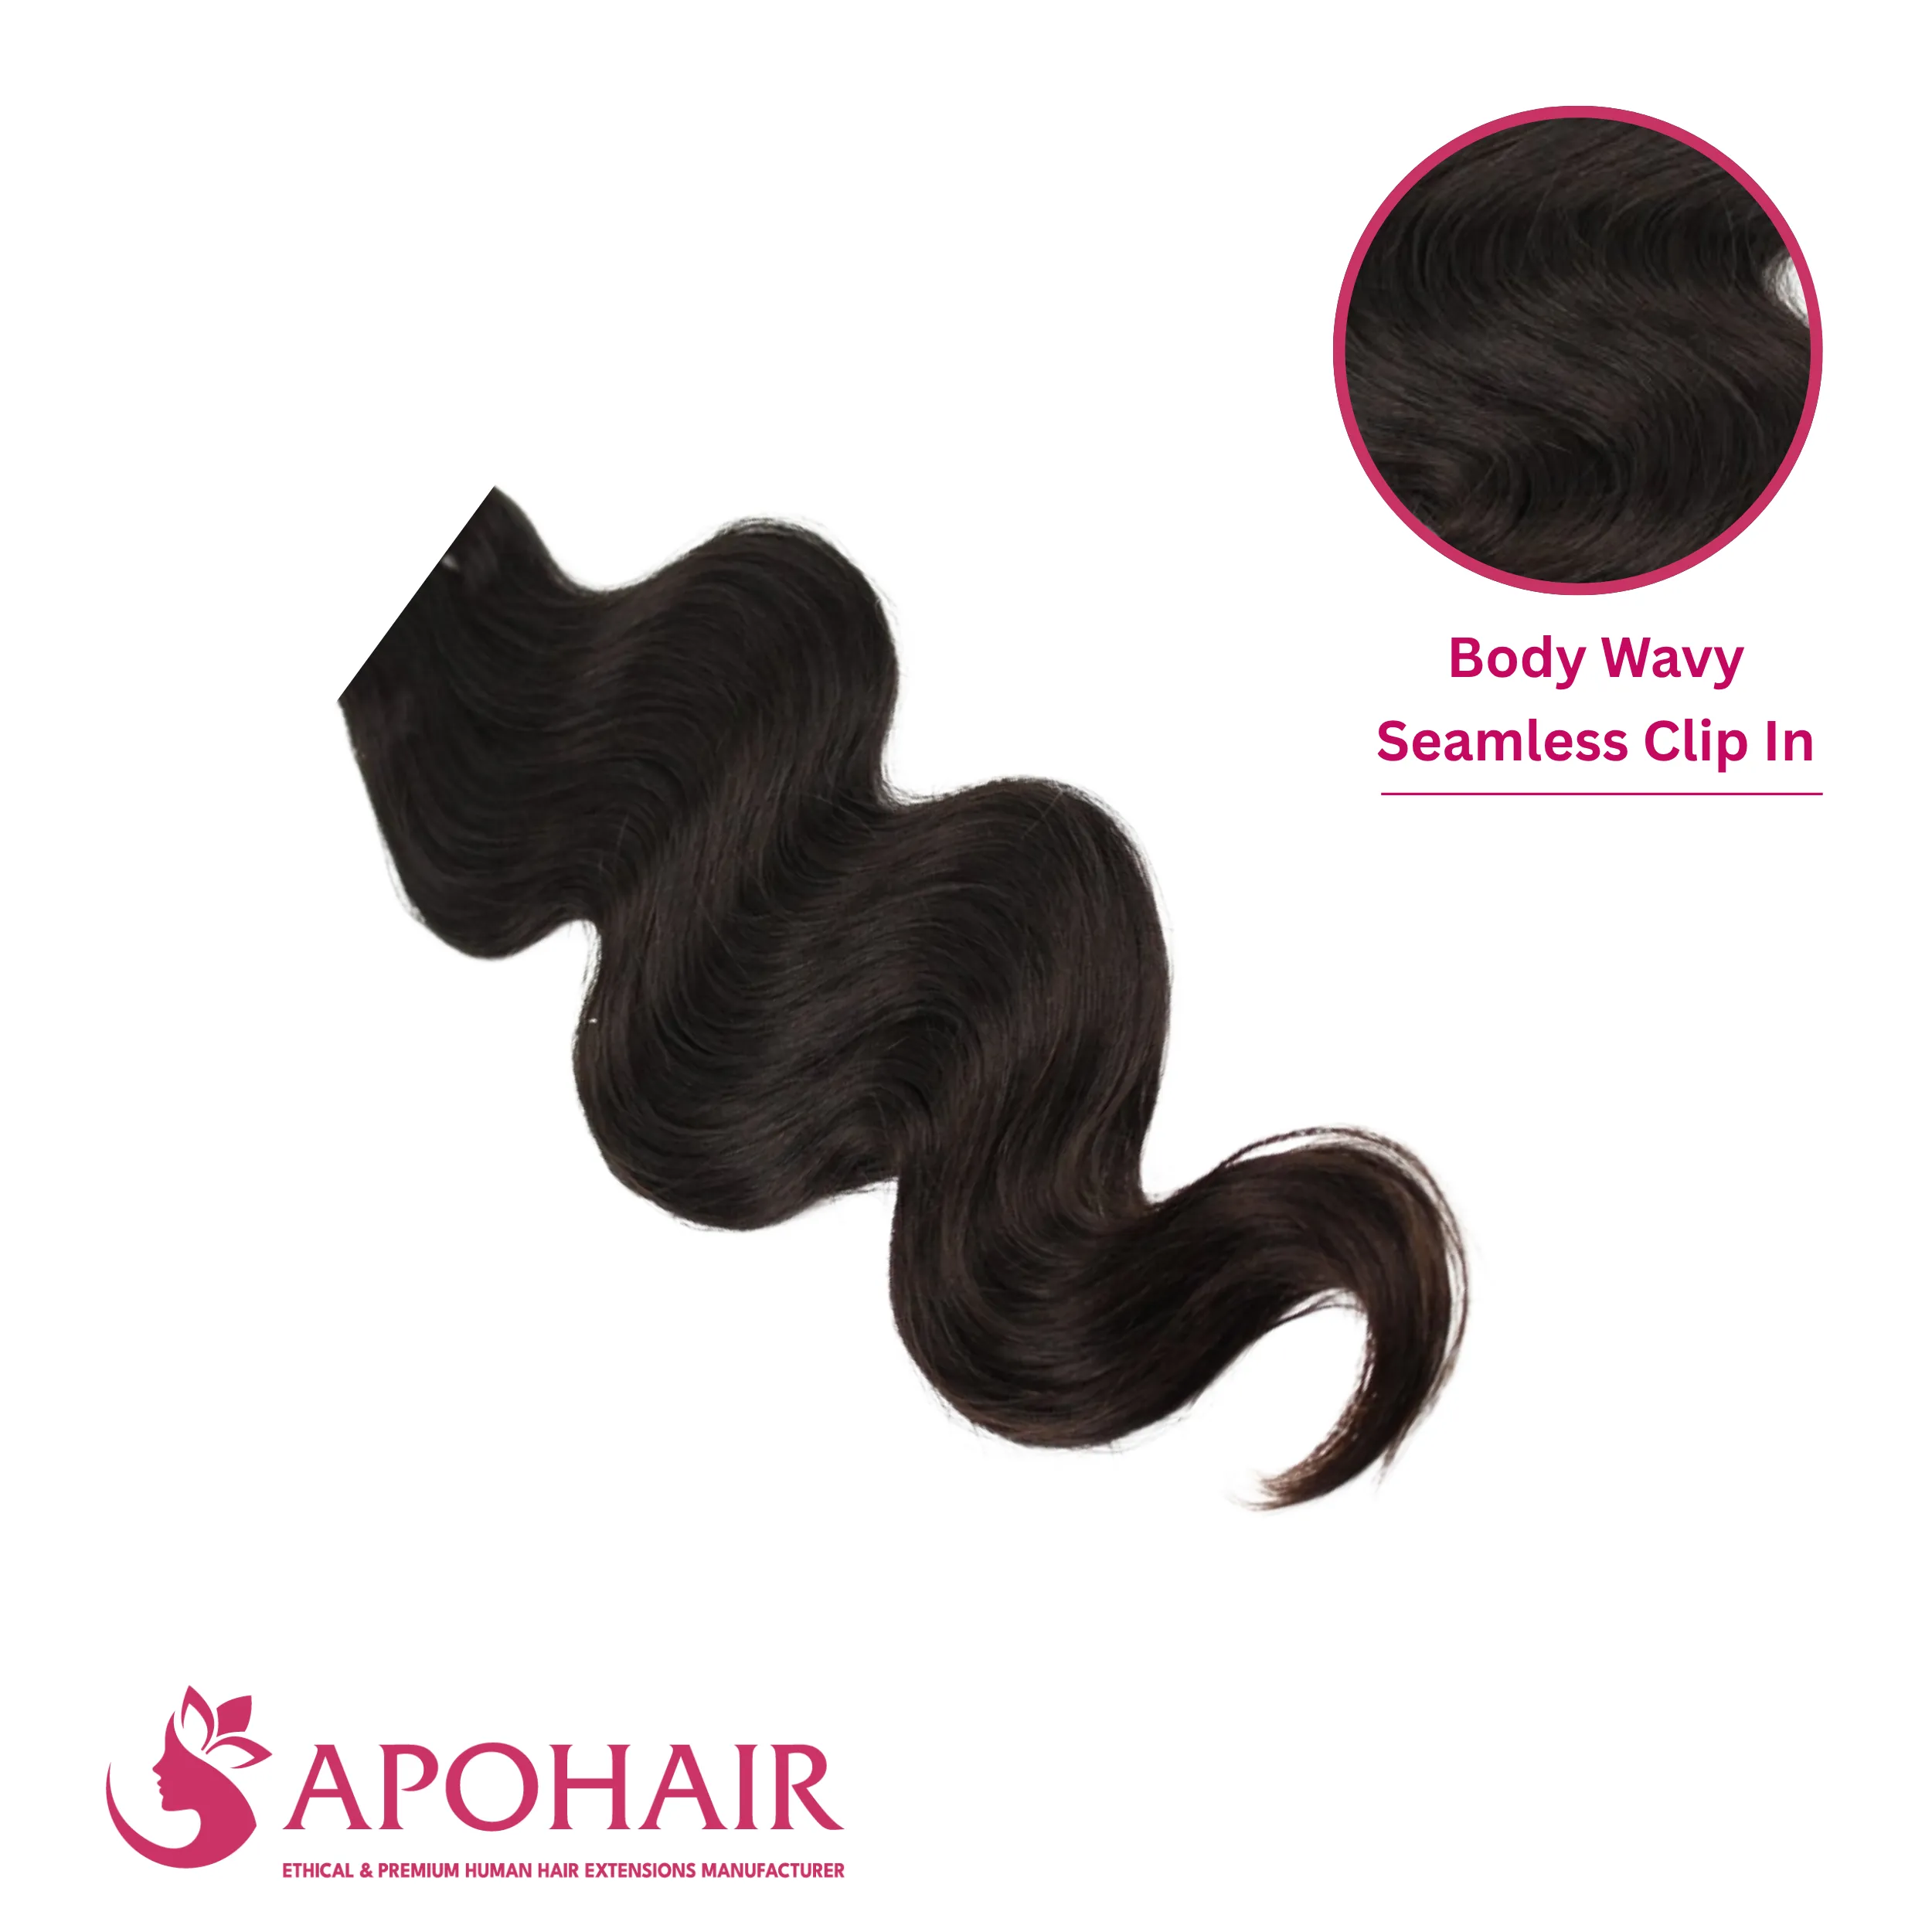
Two specific methods exist for curling hair extensions: using a curling iron with controlled heat or employing heatless techniques with rollers for safer, overnight styling.
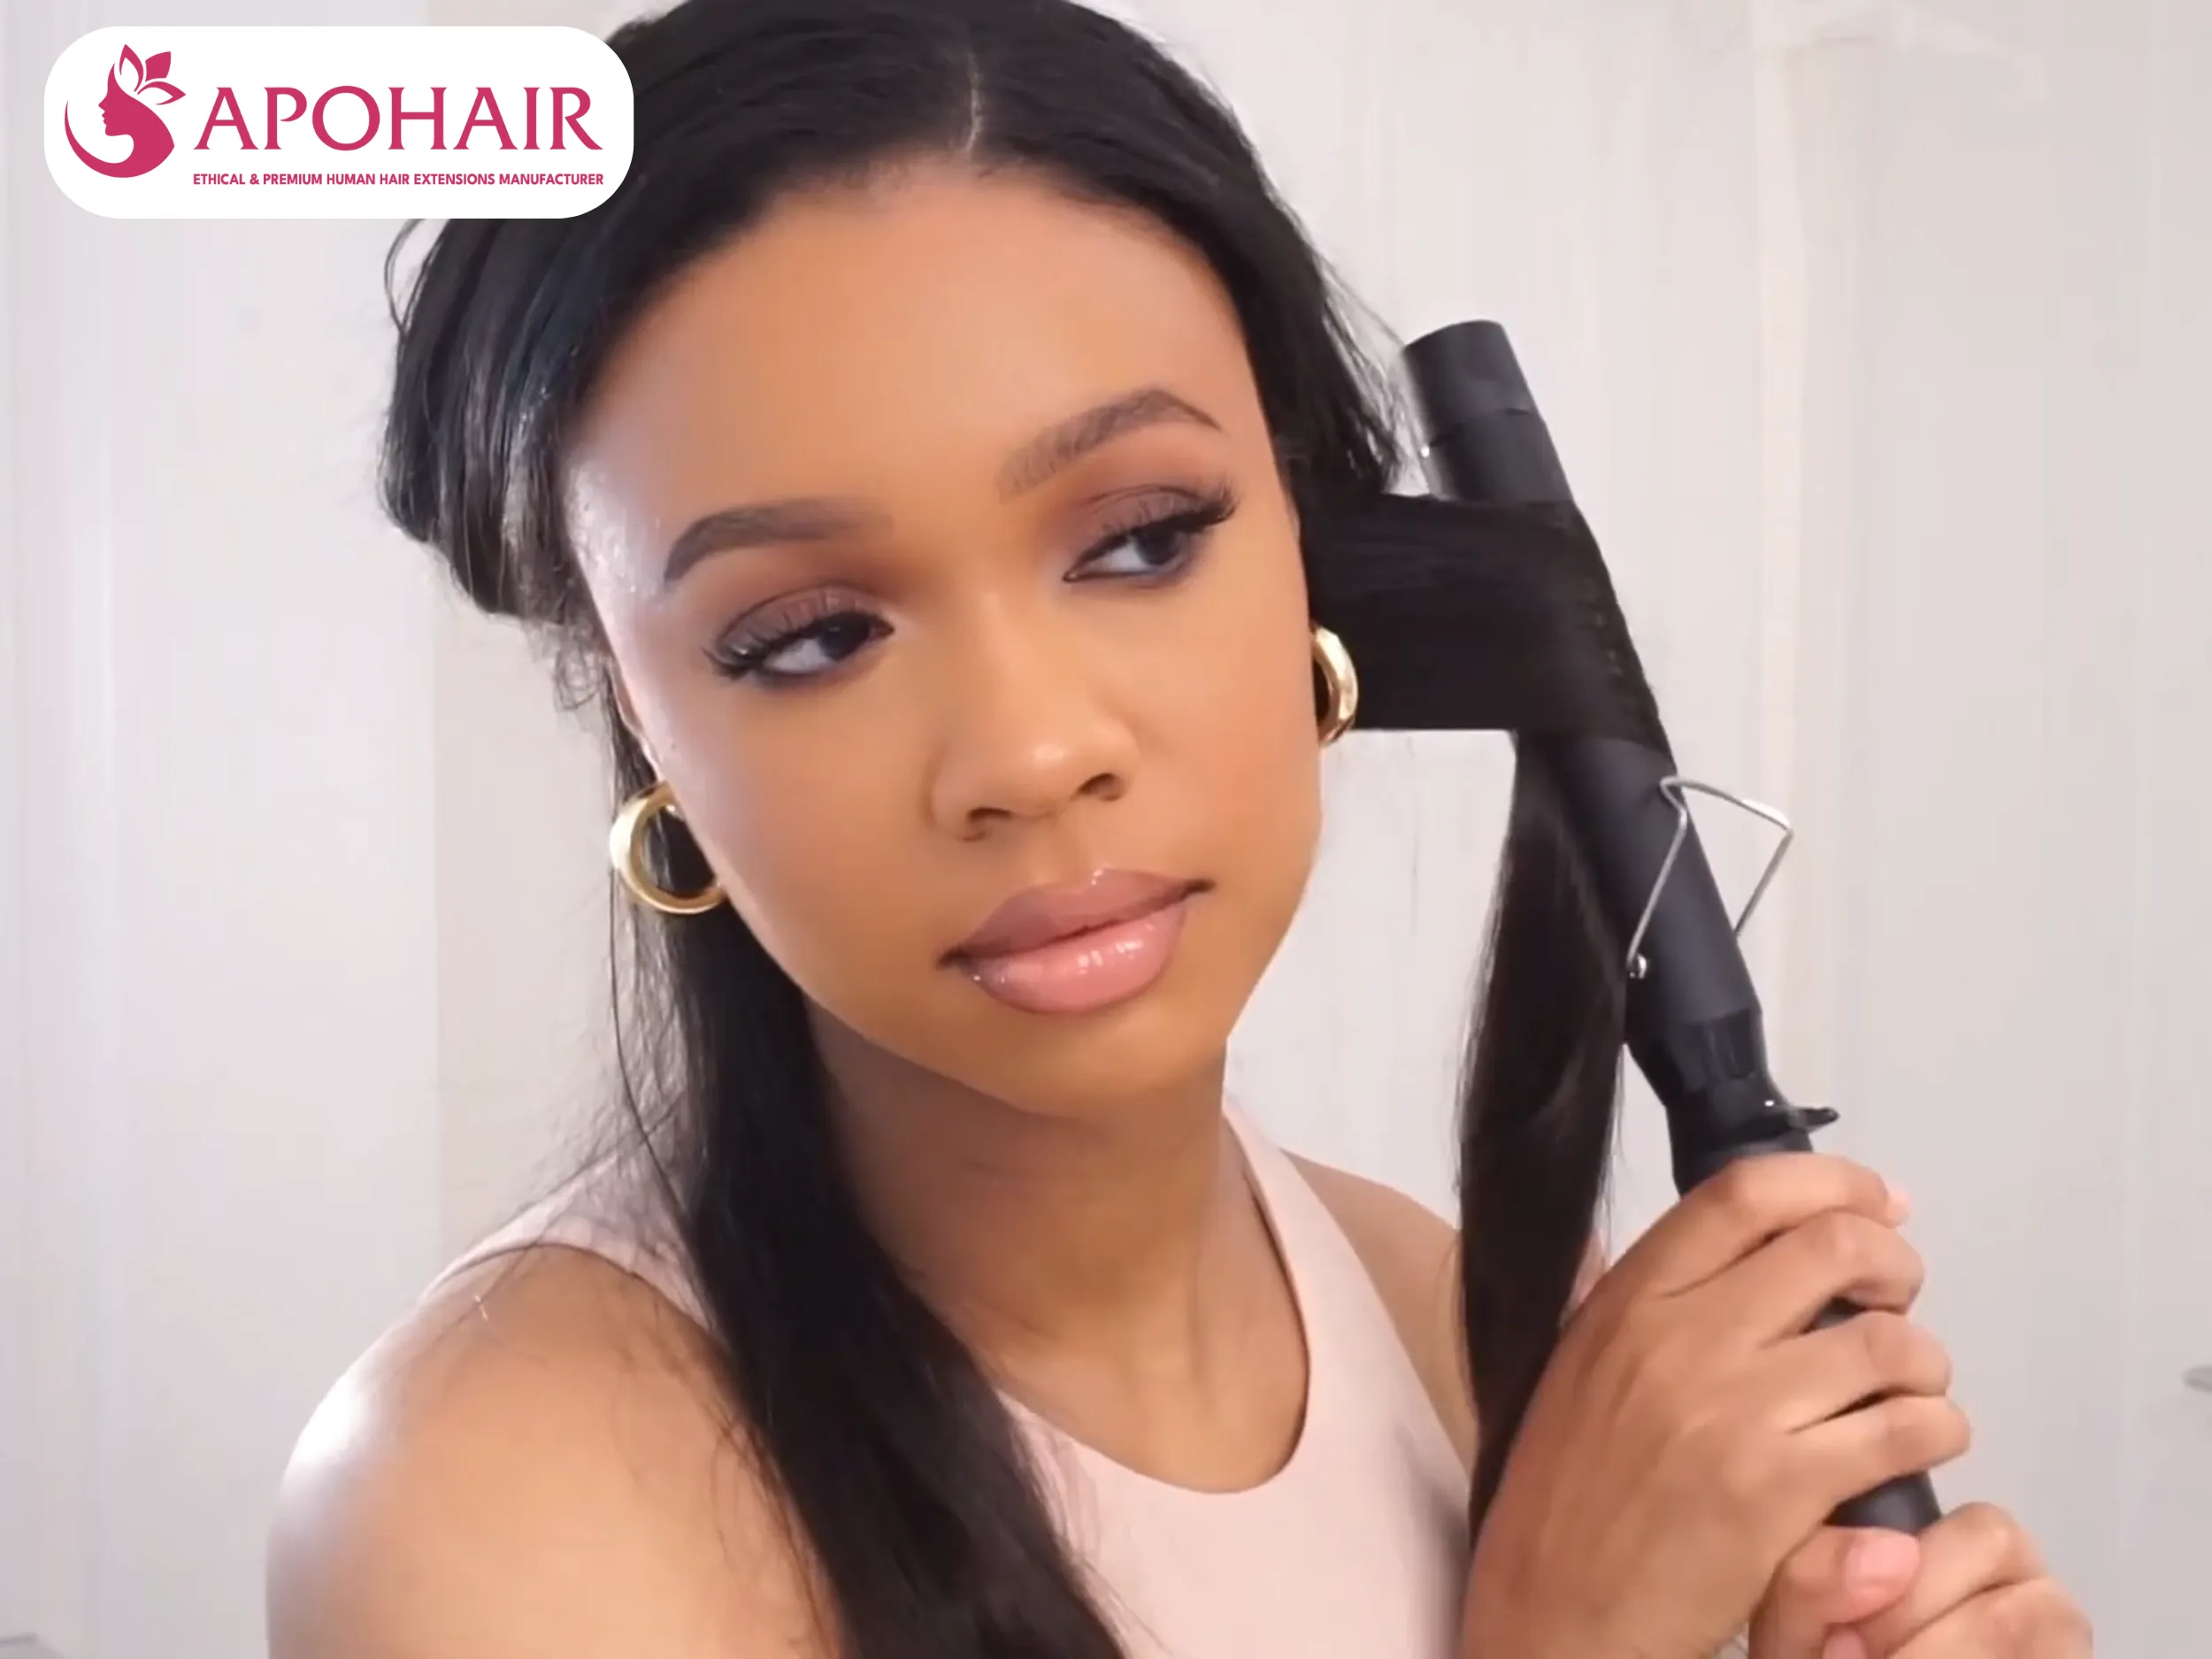
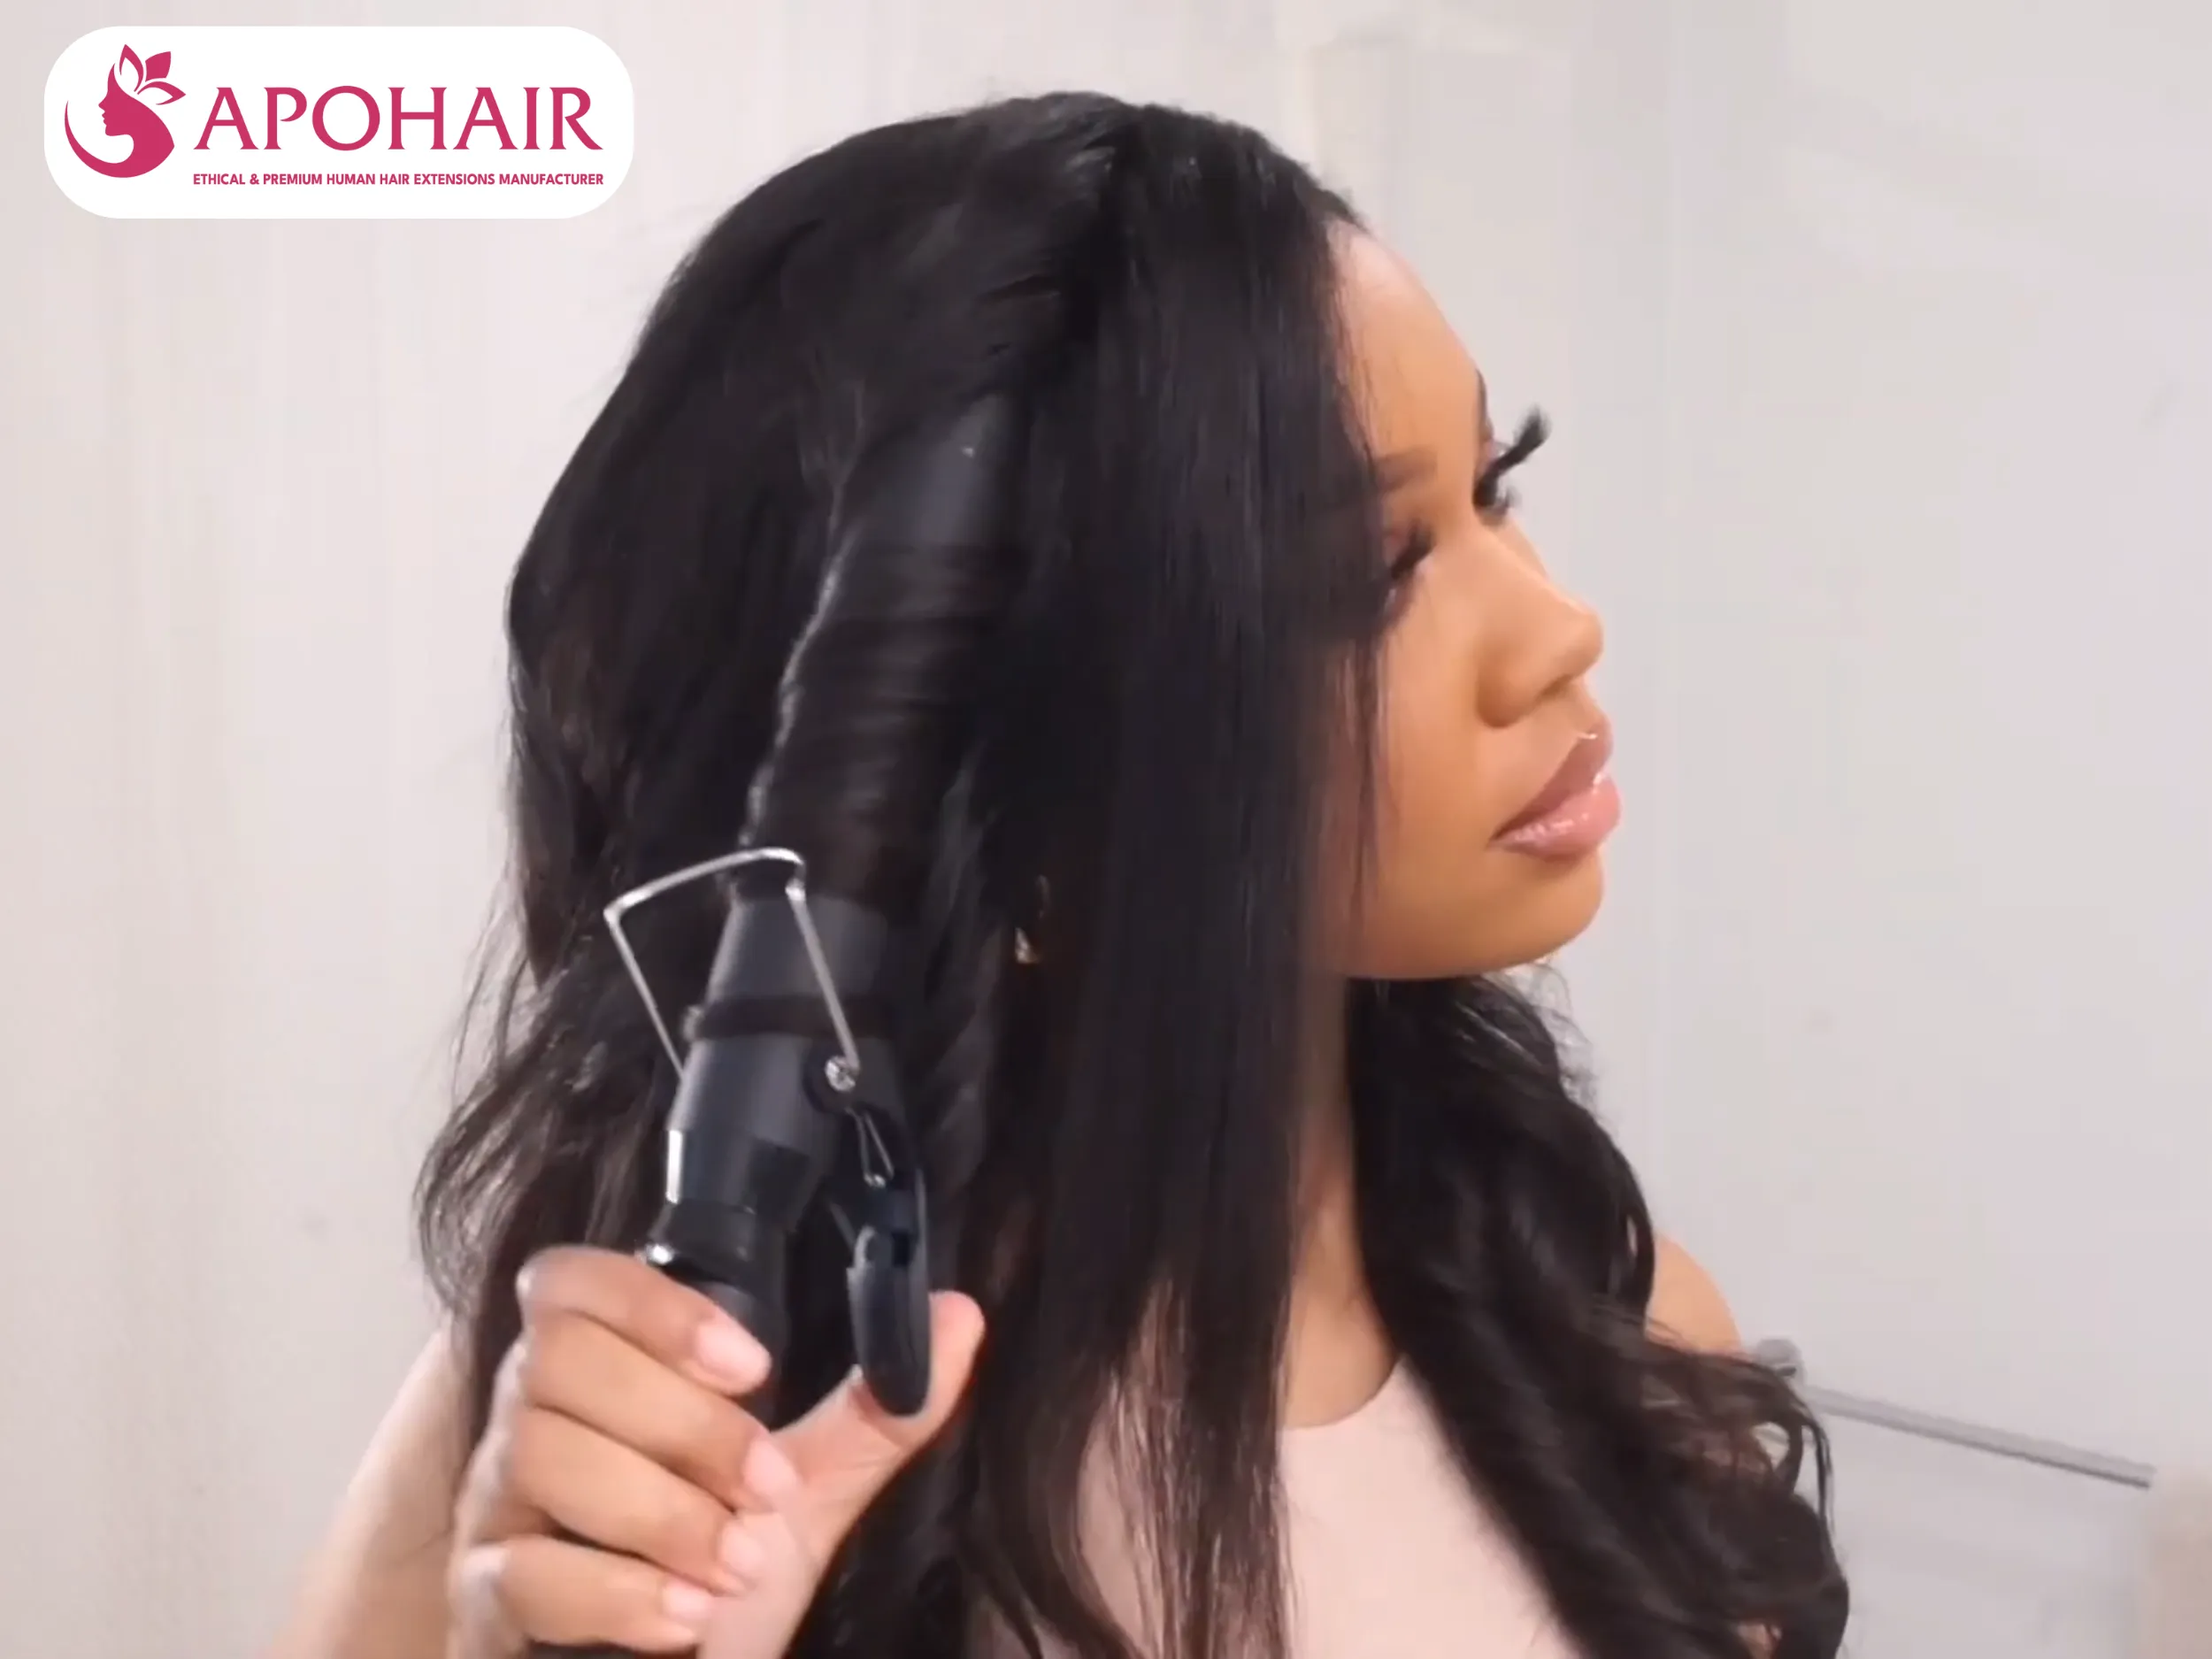
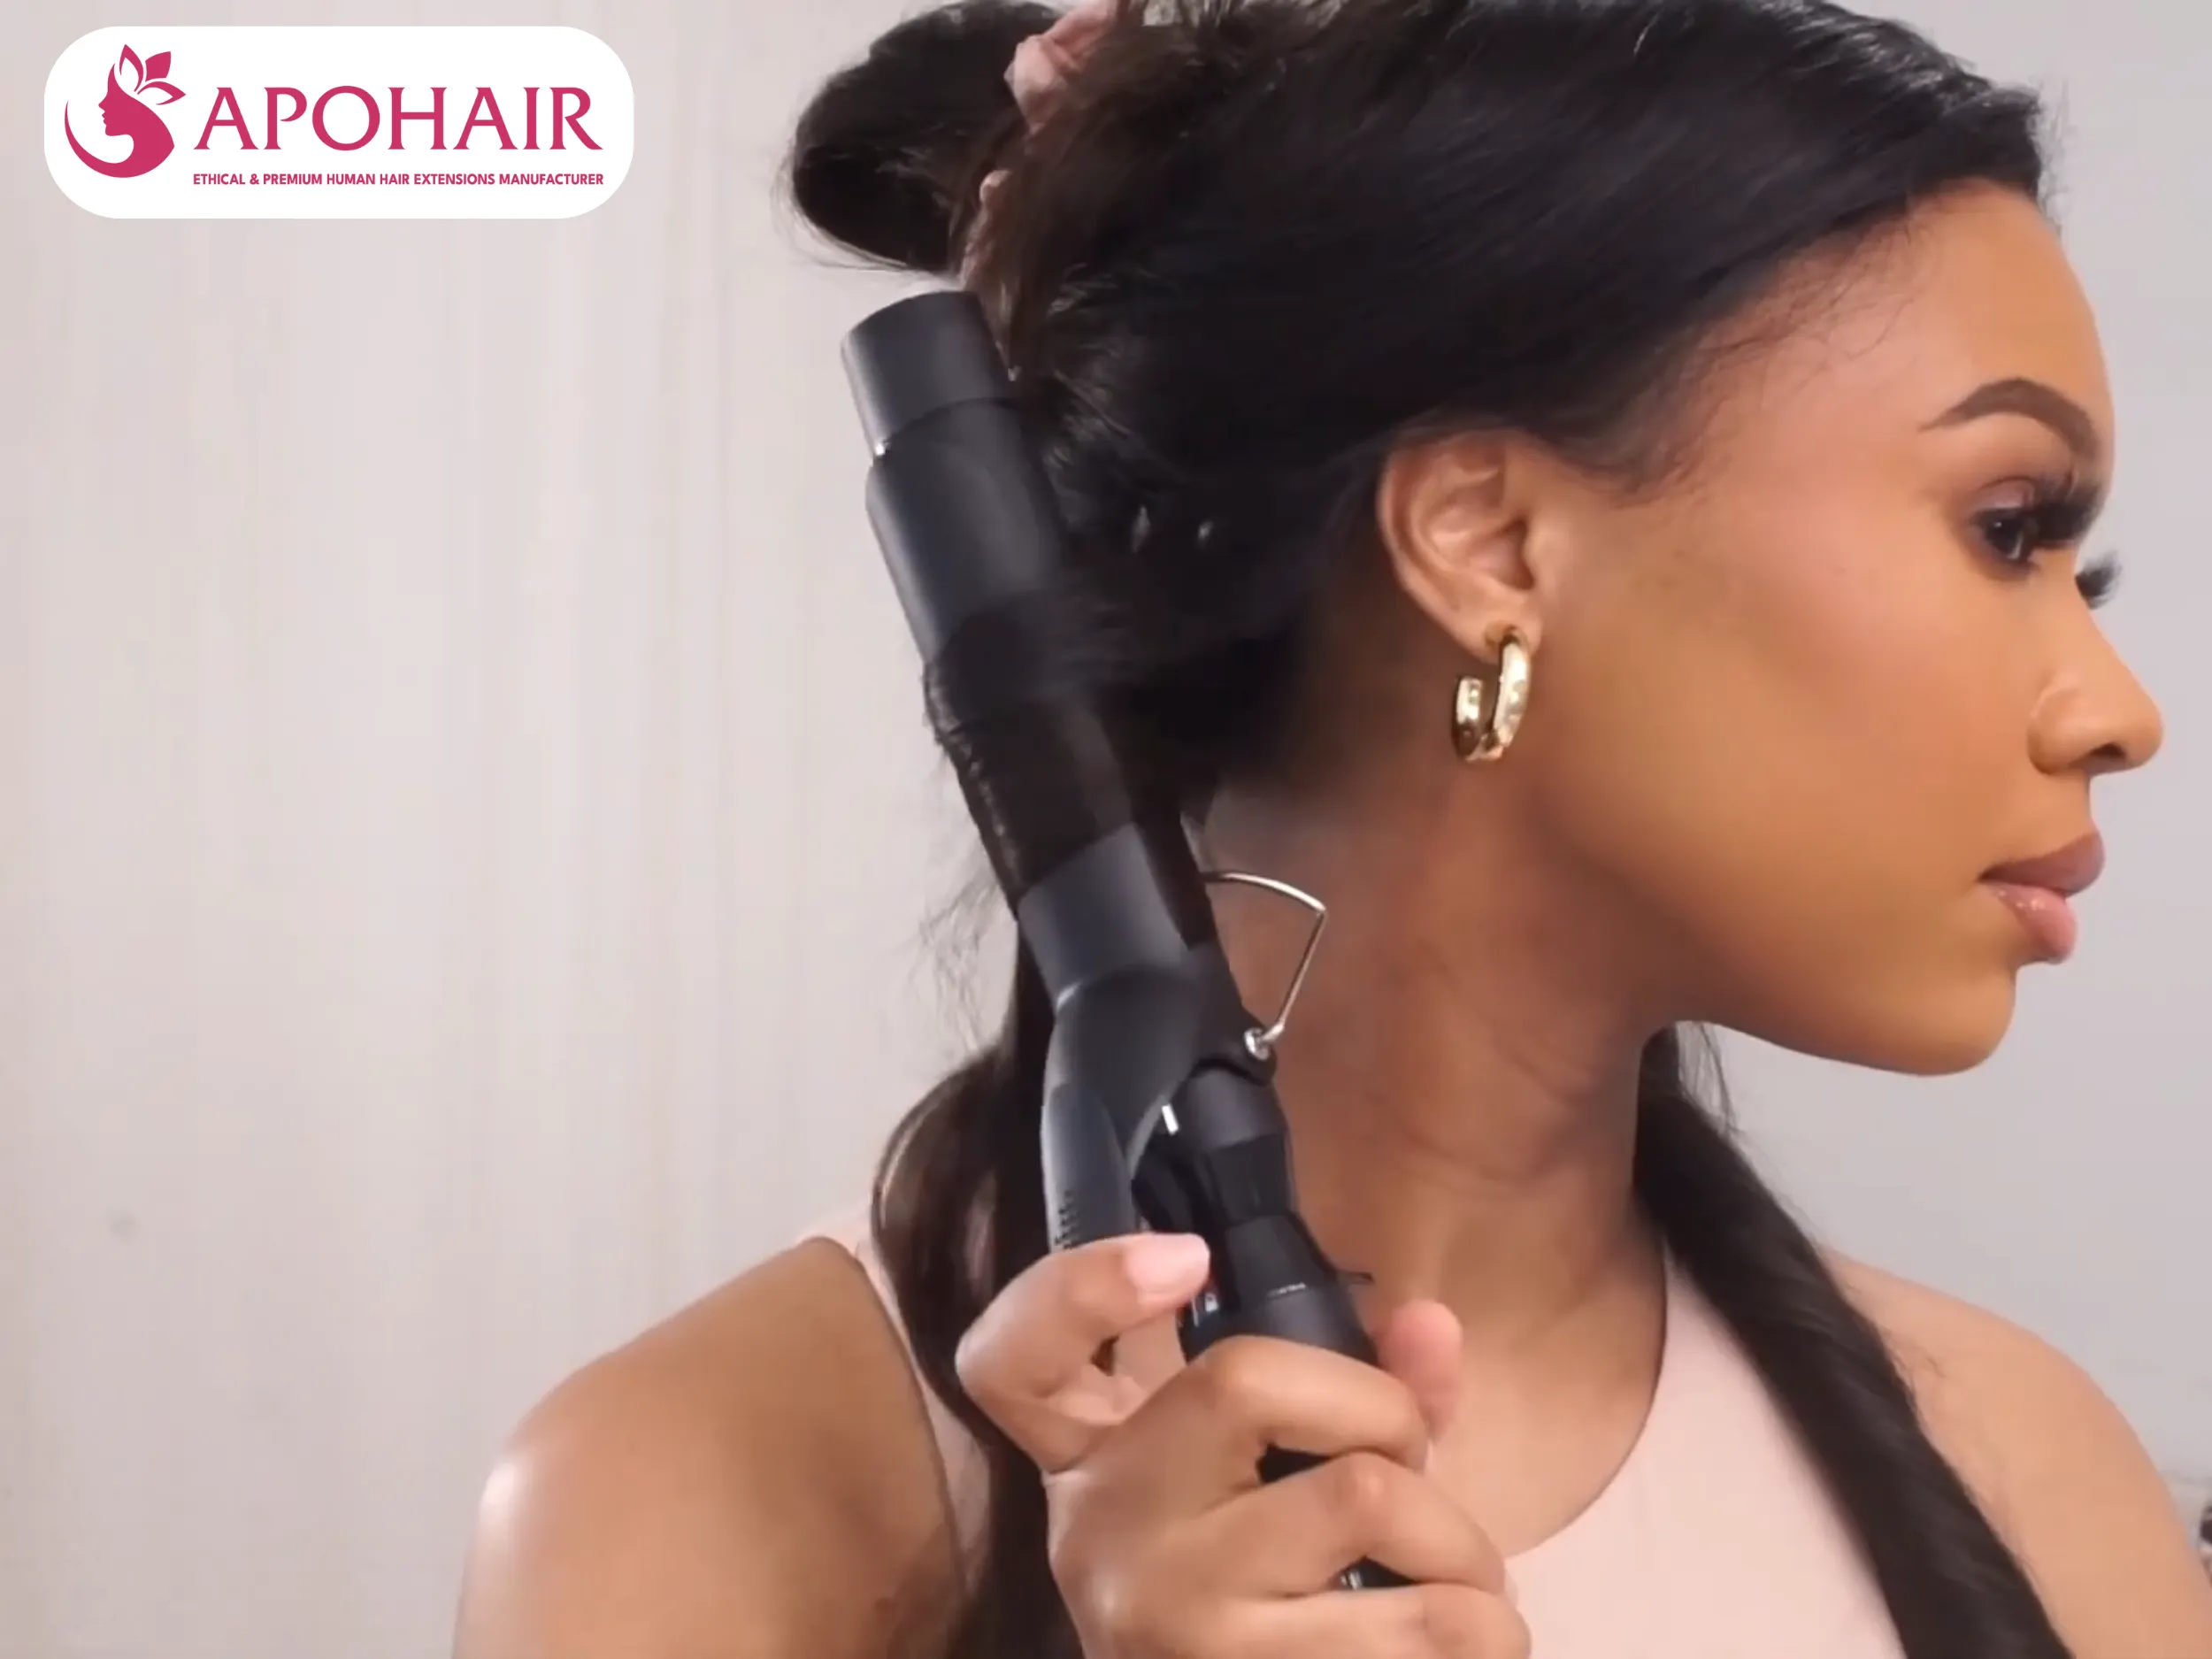
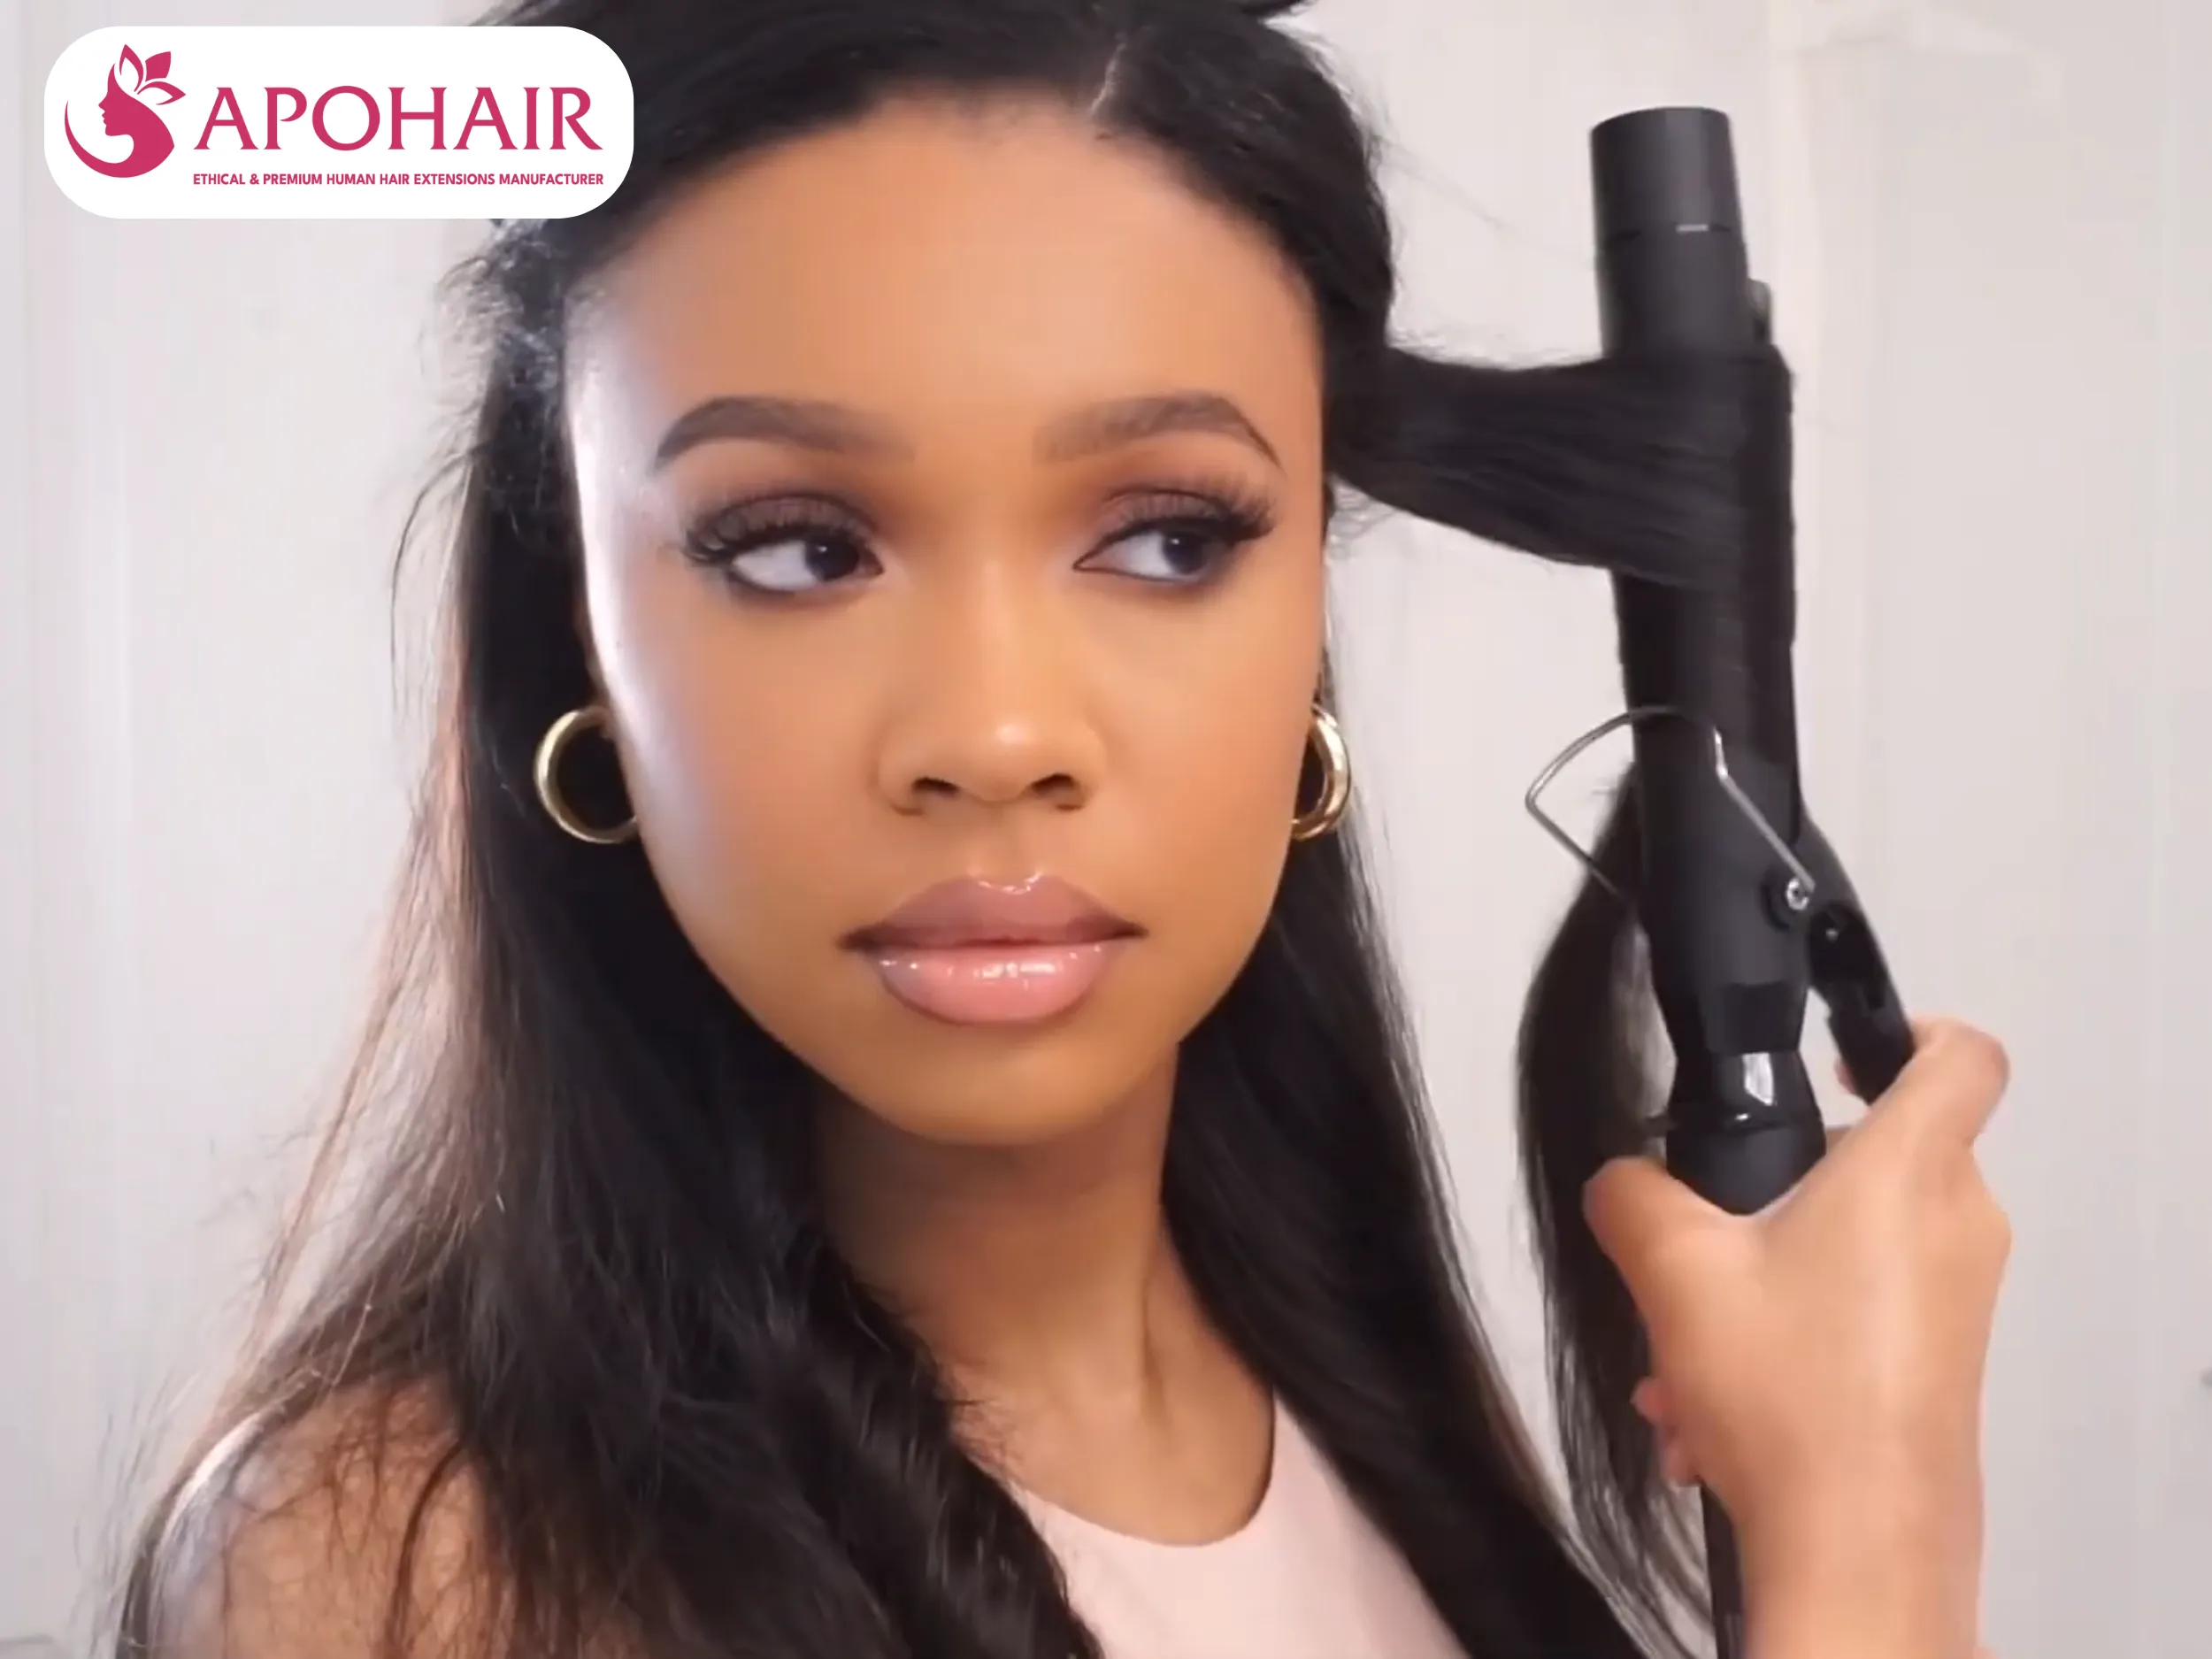
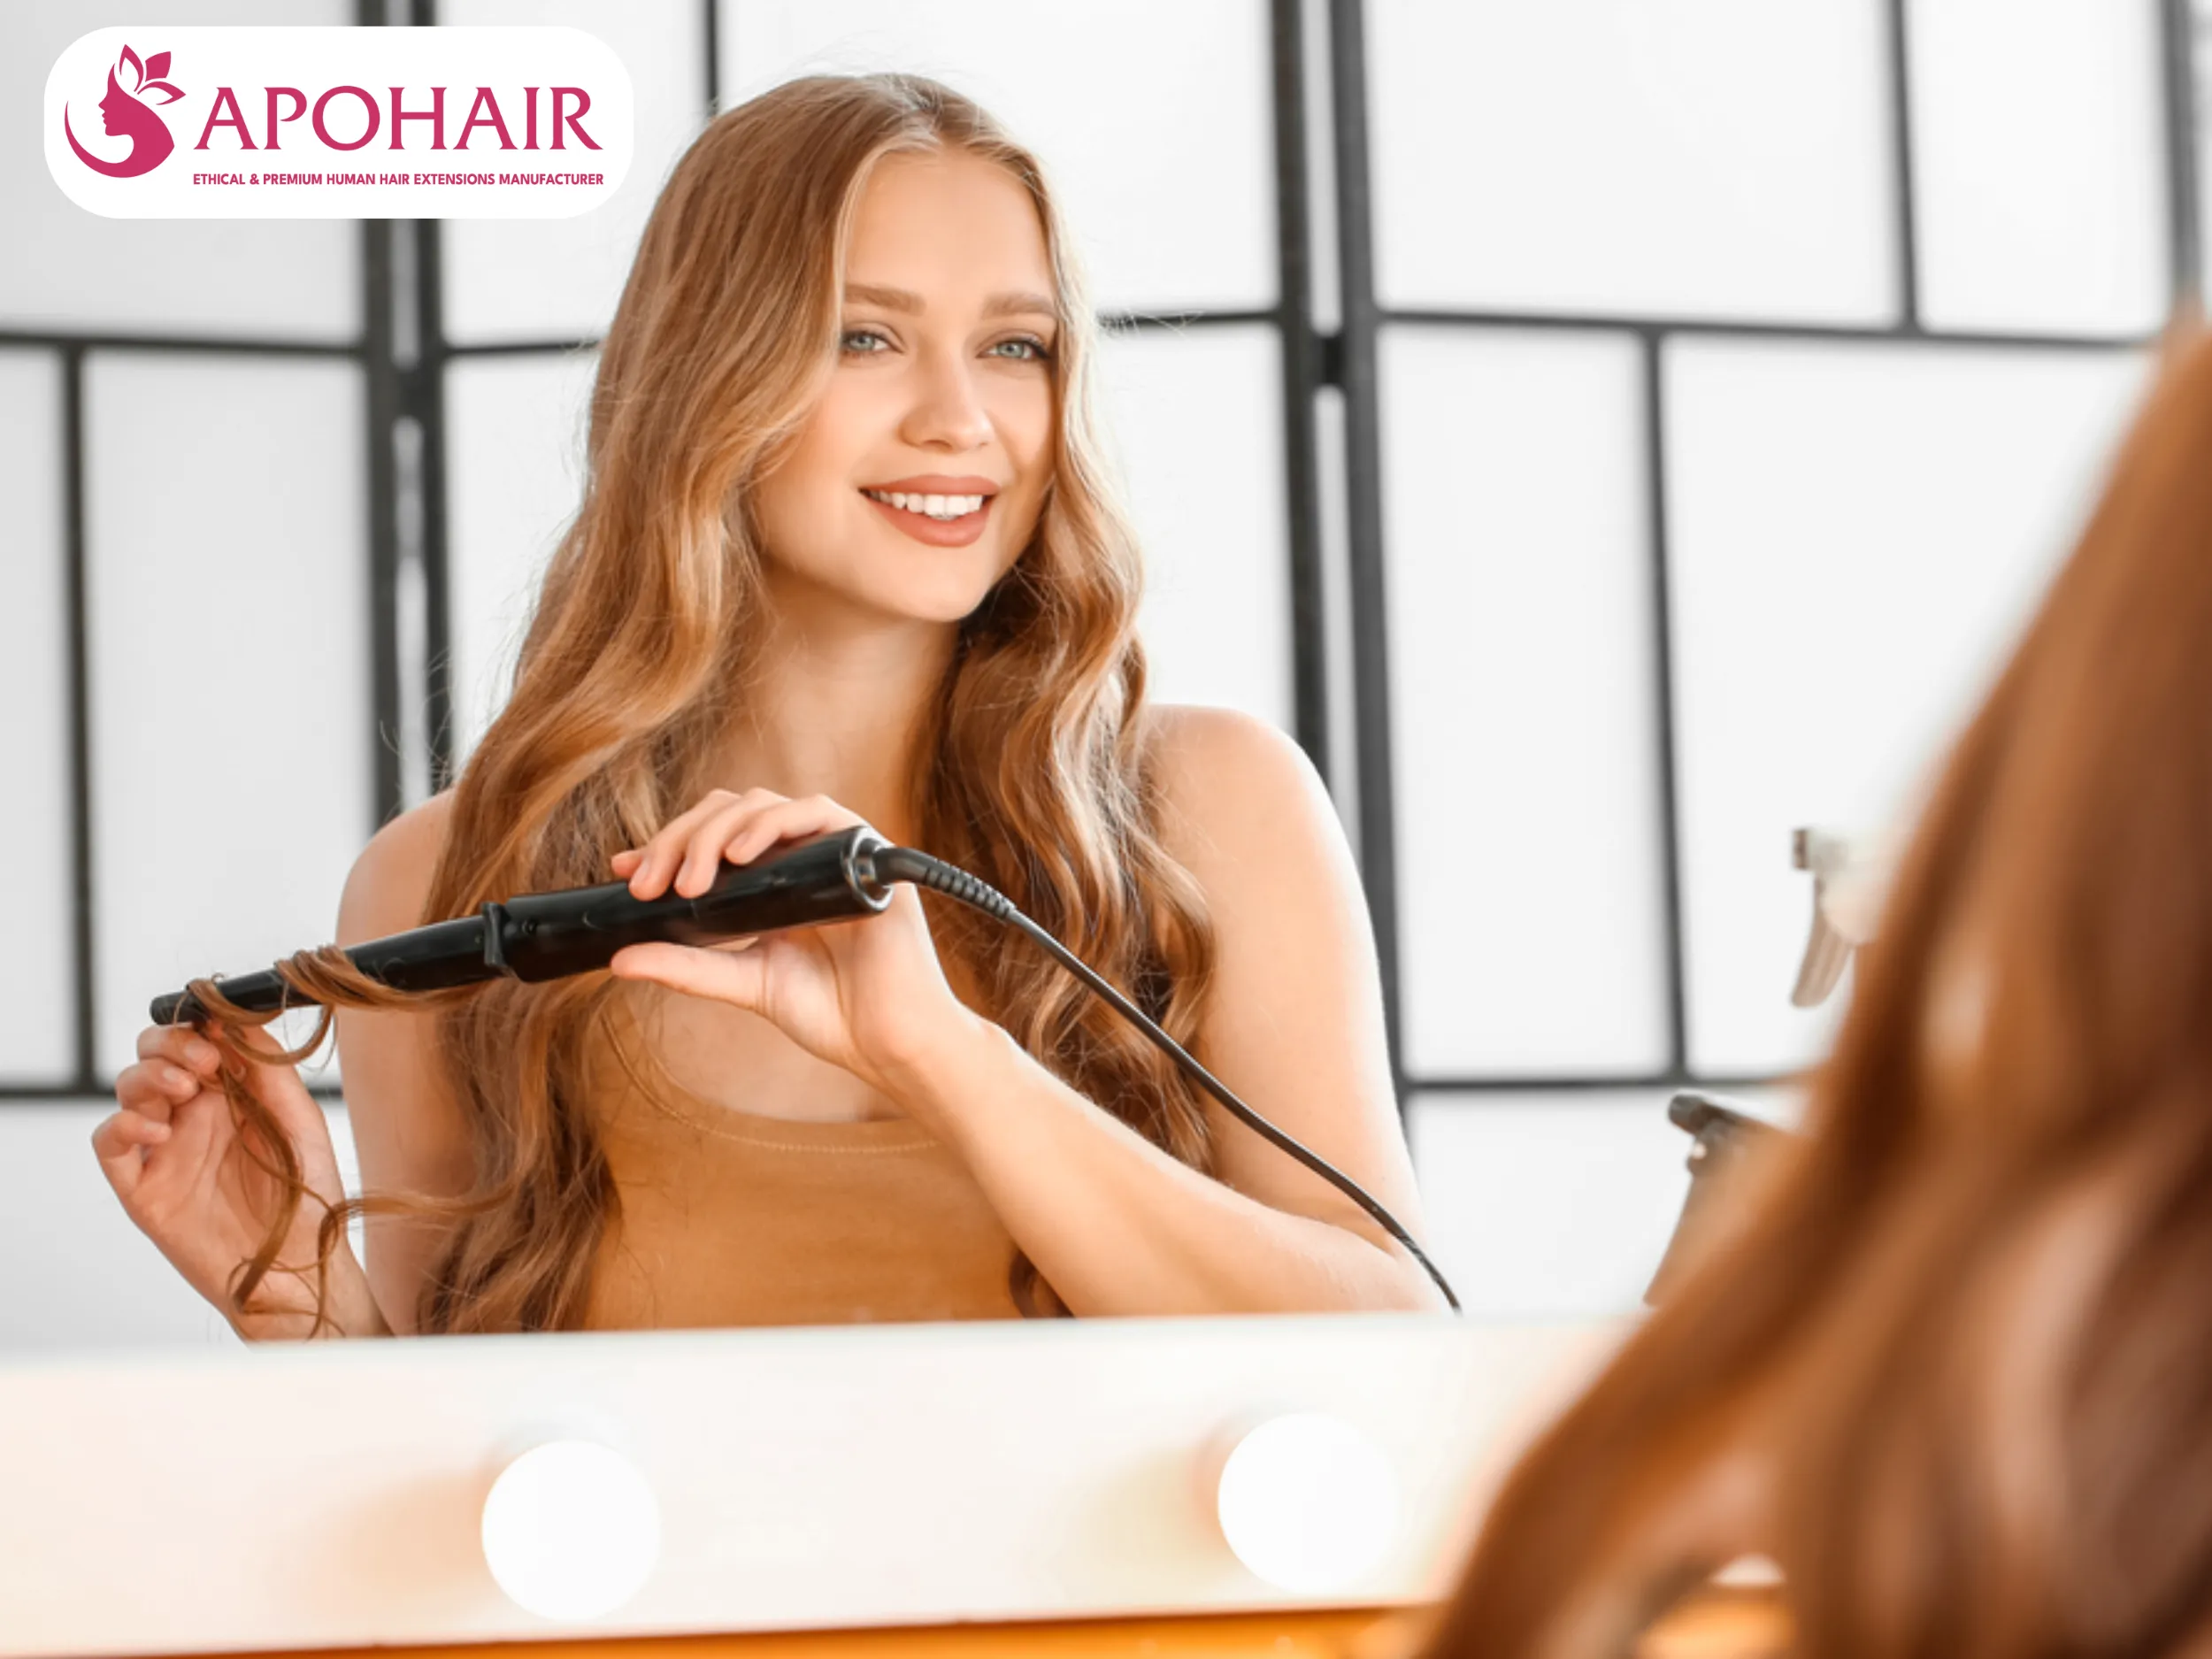
Curl hair extensions with a curling iron
Follow these 8 steps to curl your extensions safely and effectively with heat styling tools.
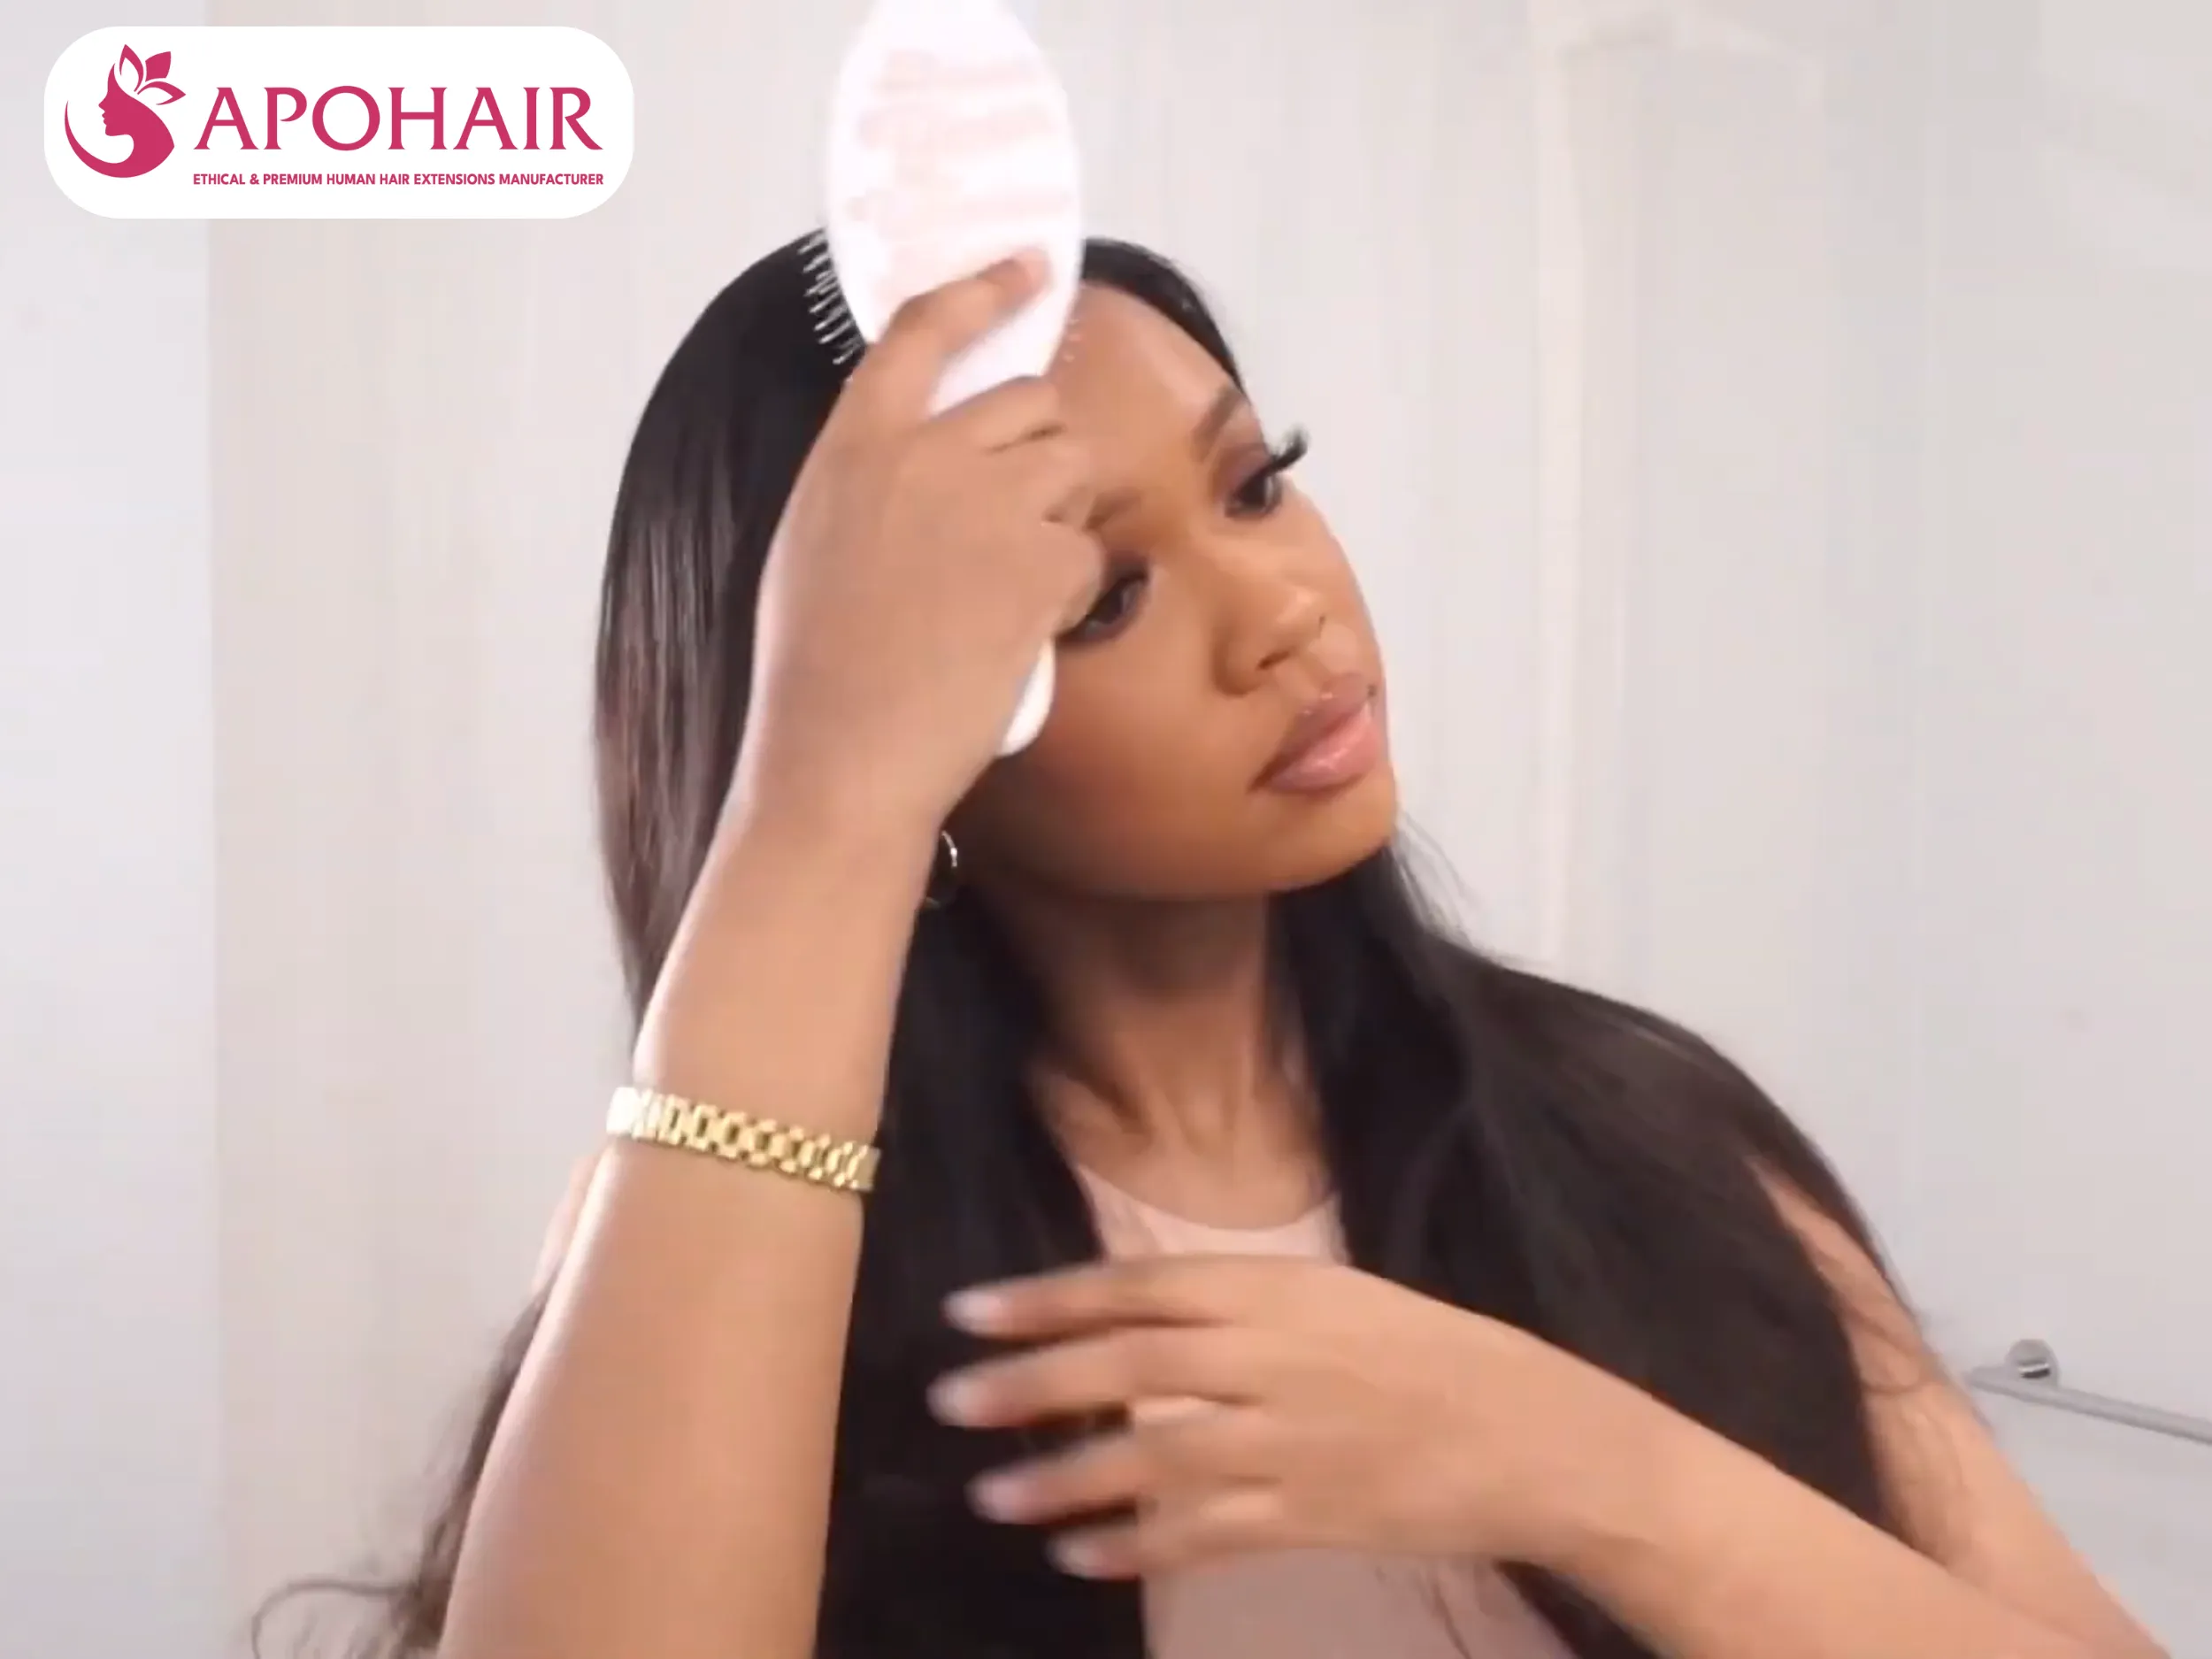
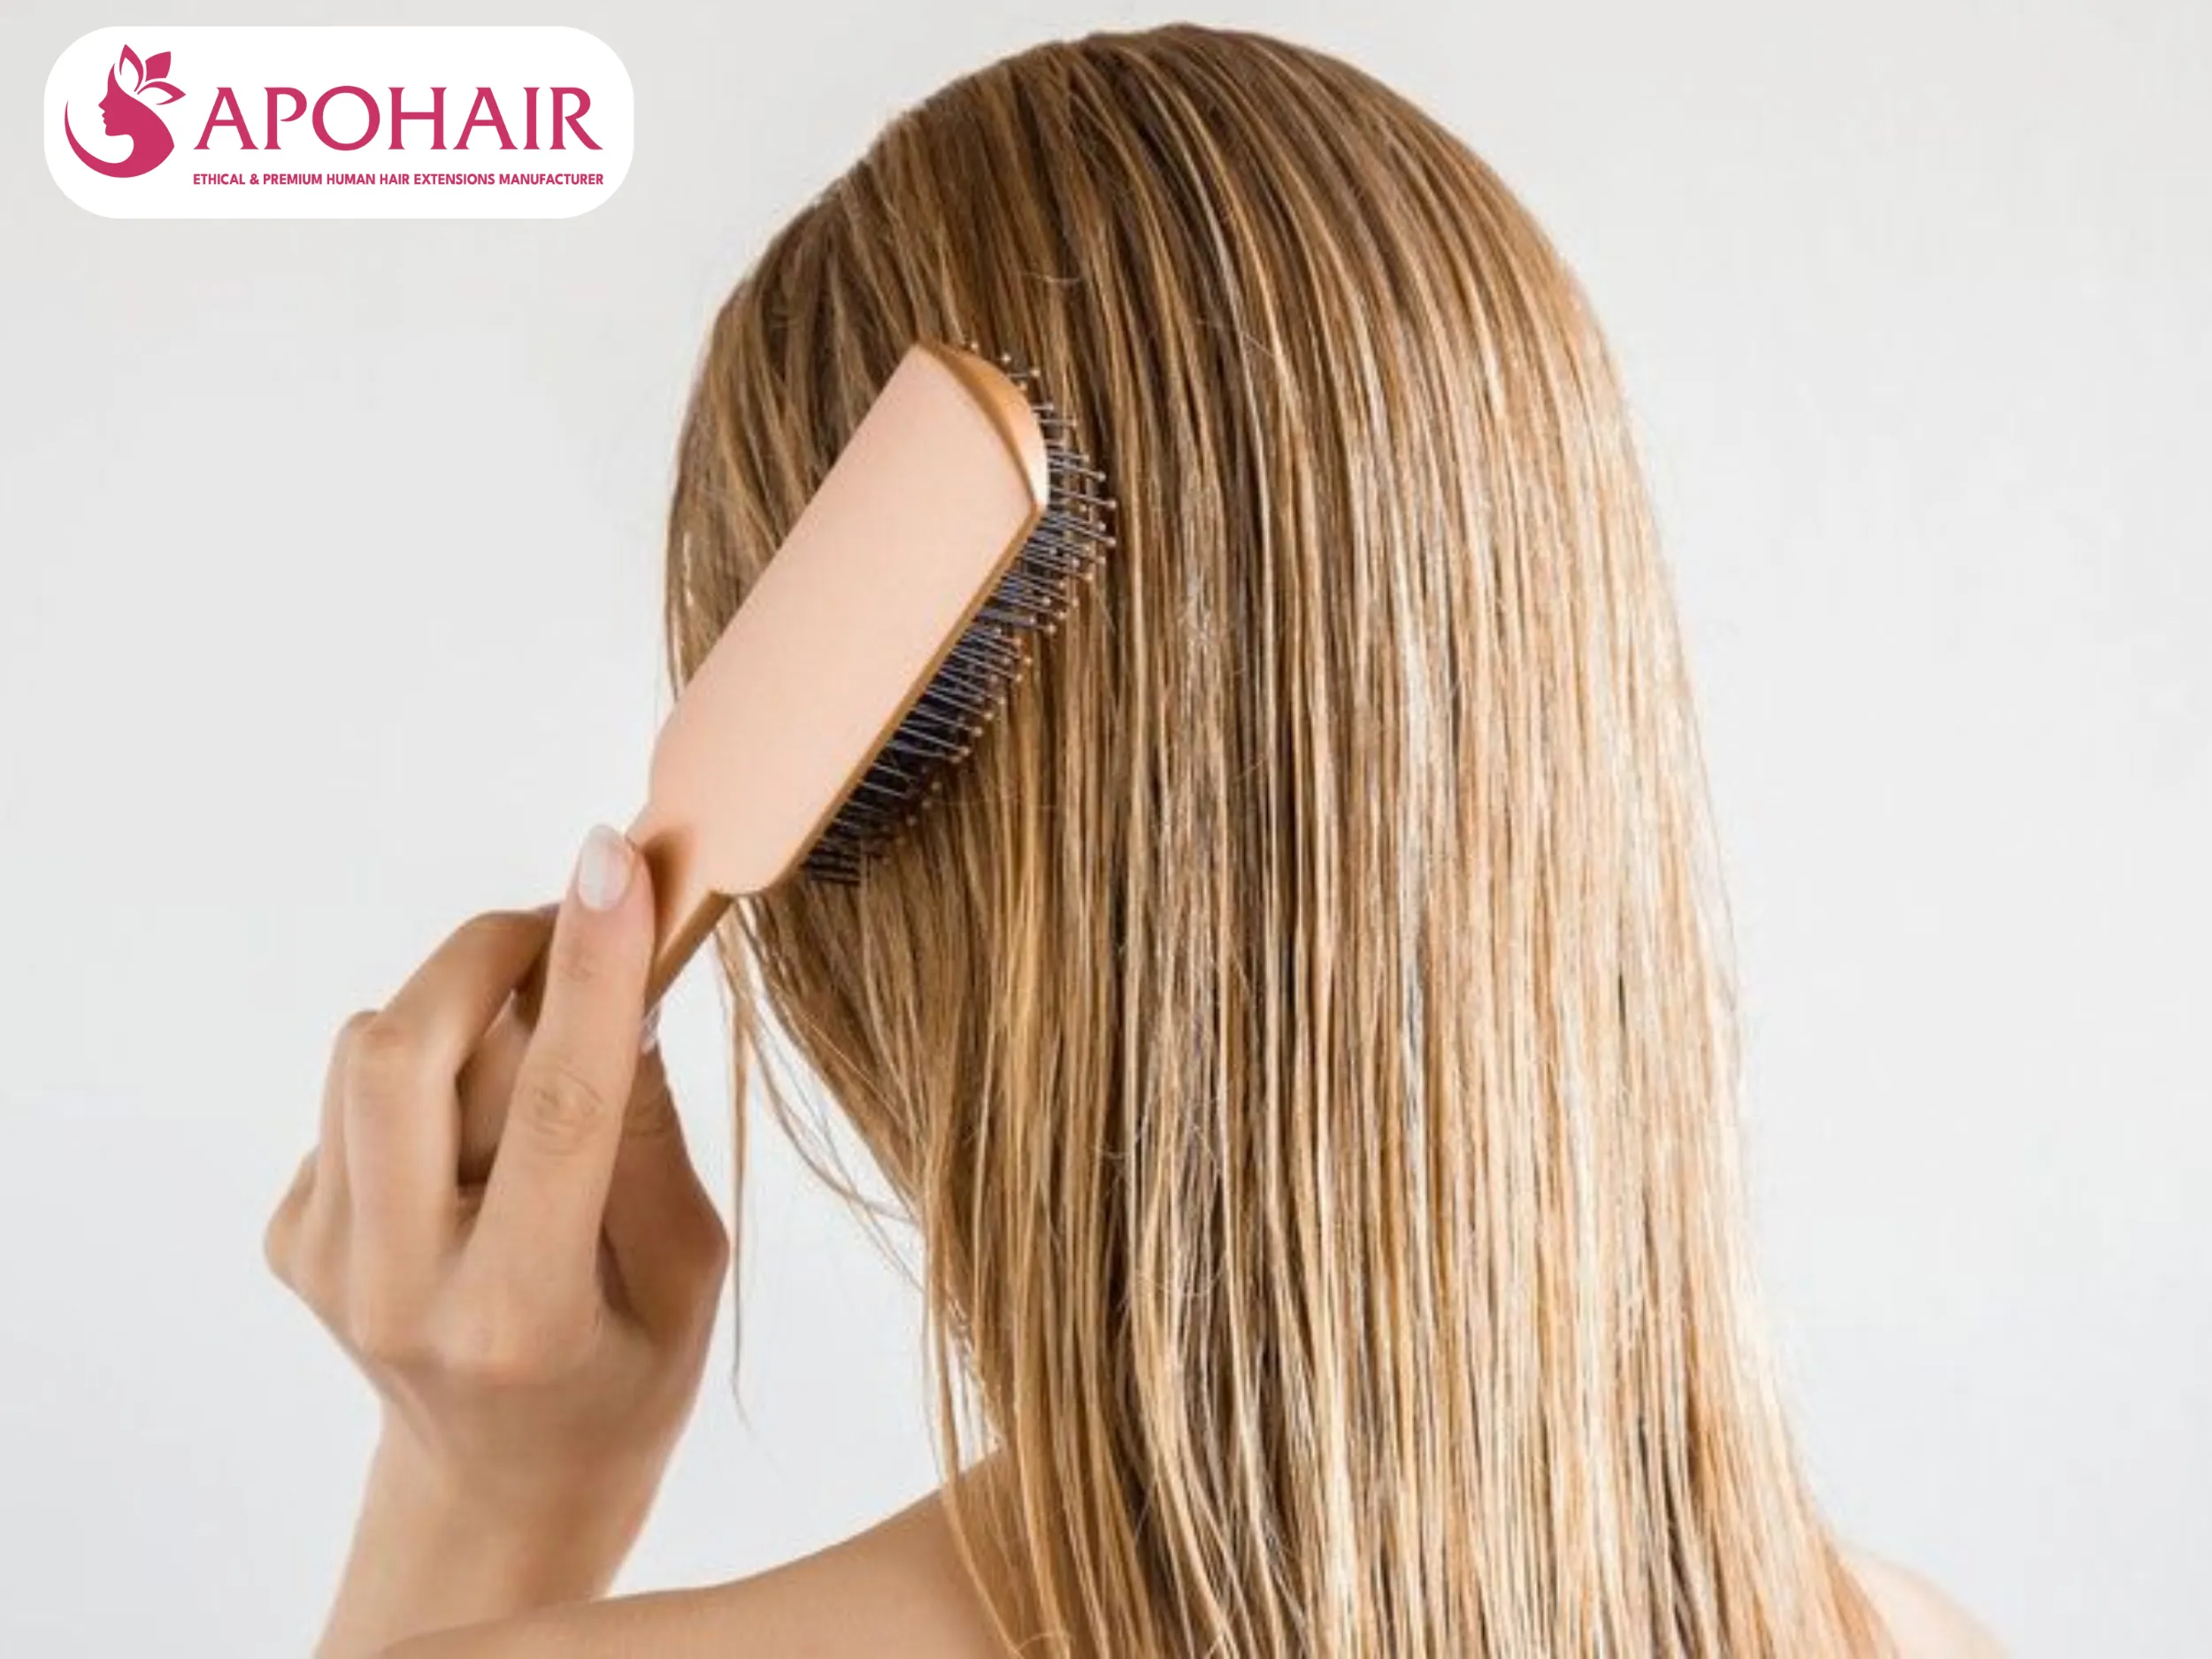
Step 1: Prep and Detangle: Brush the hair extensions thoroughly until they are completely smooth and tangle-free before starting.
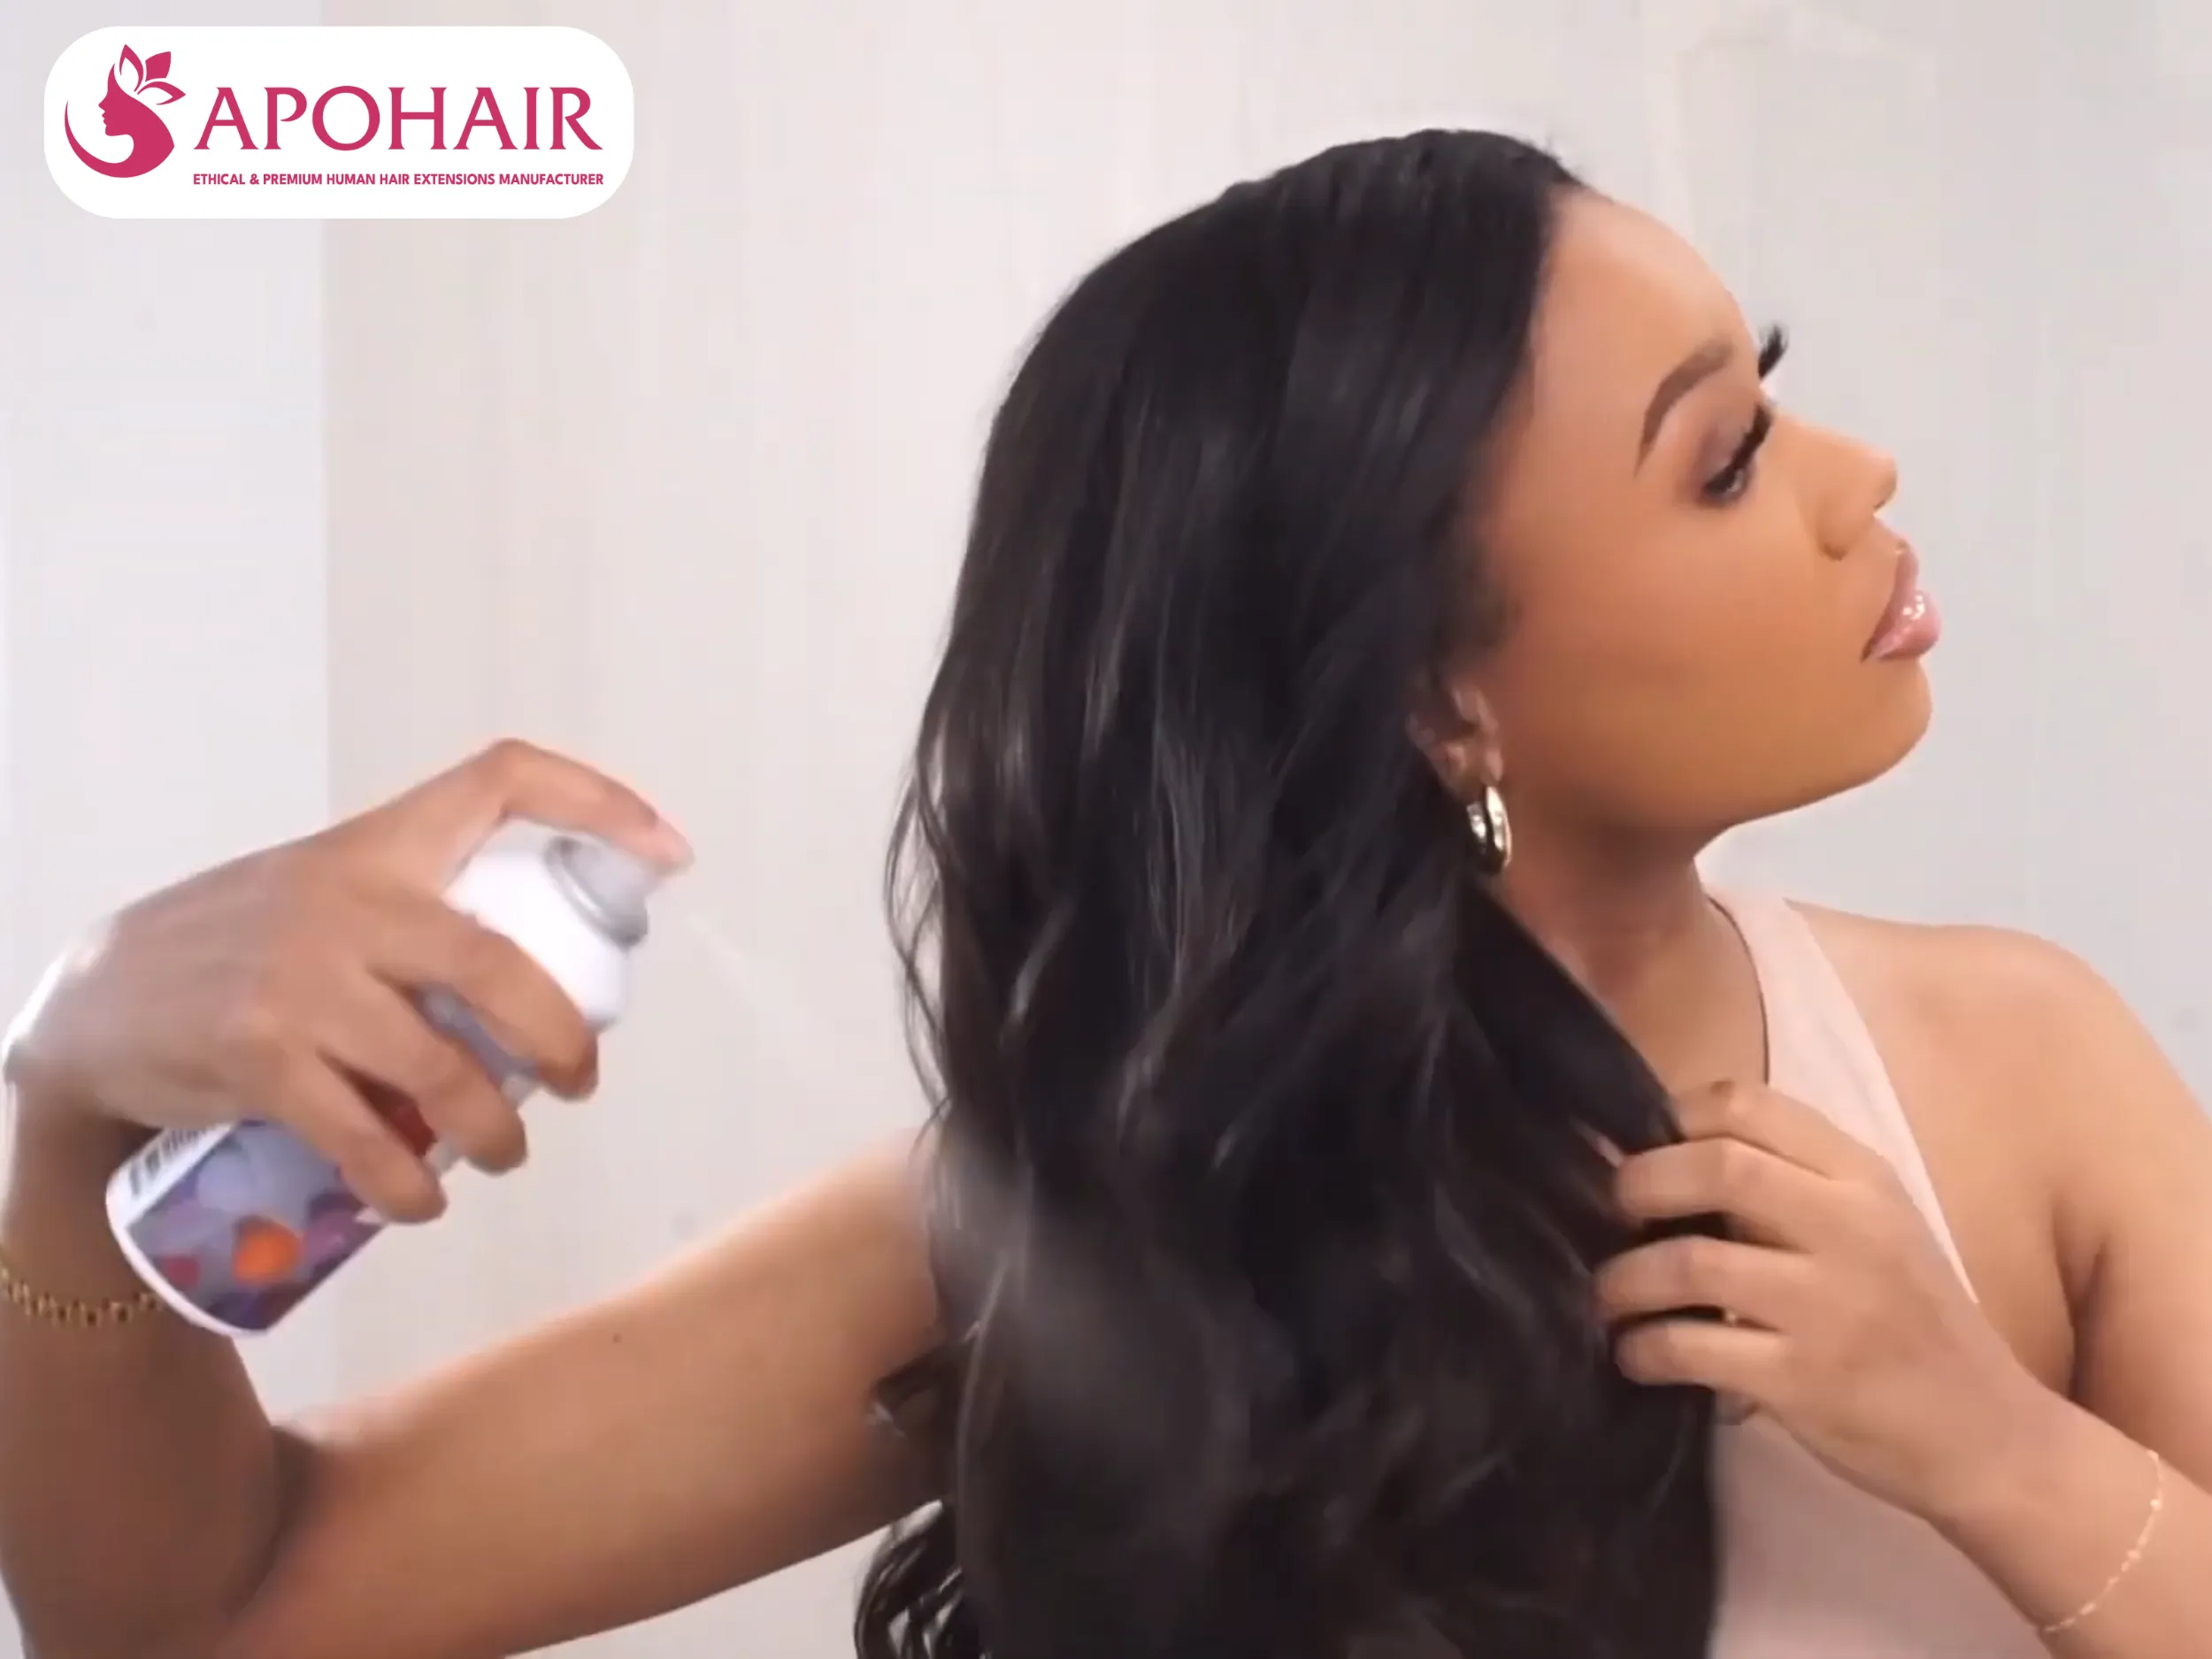
Step 2: Apply Heat Protection: Mist the entire length of the extensions with a heat protectant spray to create a protective barrier.
Step 3: Section Hair: Clip up the top section of your hair to reveal the bottom layer for easier curling.
Step 4: Curl Direction (Front): Start with the sections near the face and always curl them away from the face outward.
Step 5: Curl Technique: Focus the heat right up at the root, angling the iron slightly backward while working down the strand.
Step 6: Alternate Direction (Back): For the sections at the back, alternate the curl direction to achieve a natural blend and movement.
Step 7: Be Gentle (If Clipped In): Let go of the iron’s lever before pulling down to avoid tugging hard on clips or hair.
Step 8: Finish and Shake: Once all sections are curled, shake out the curls gently and apply texture spray if desired.
Heatlessly curl hair extensions
Follow these 7 steps to create curls without any heat damage using cylindrical rollers for gentle styling.
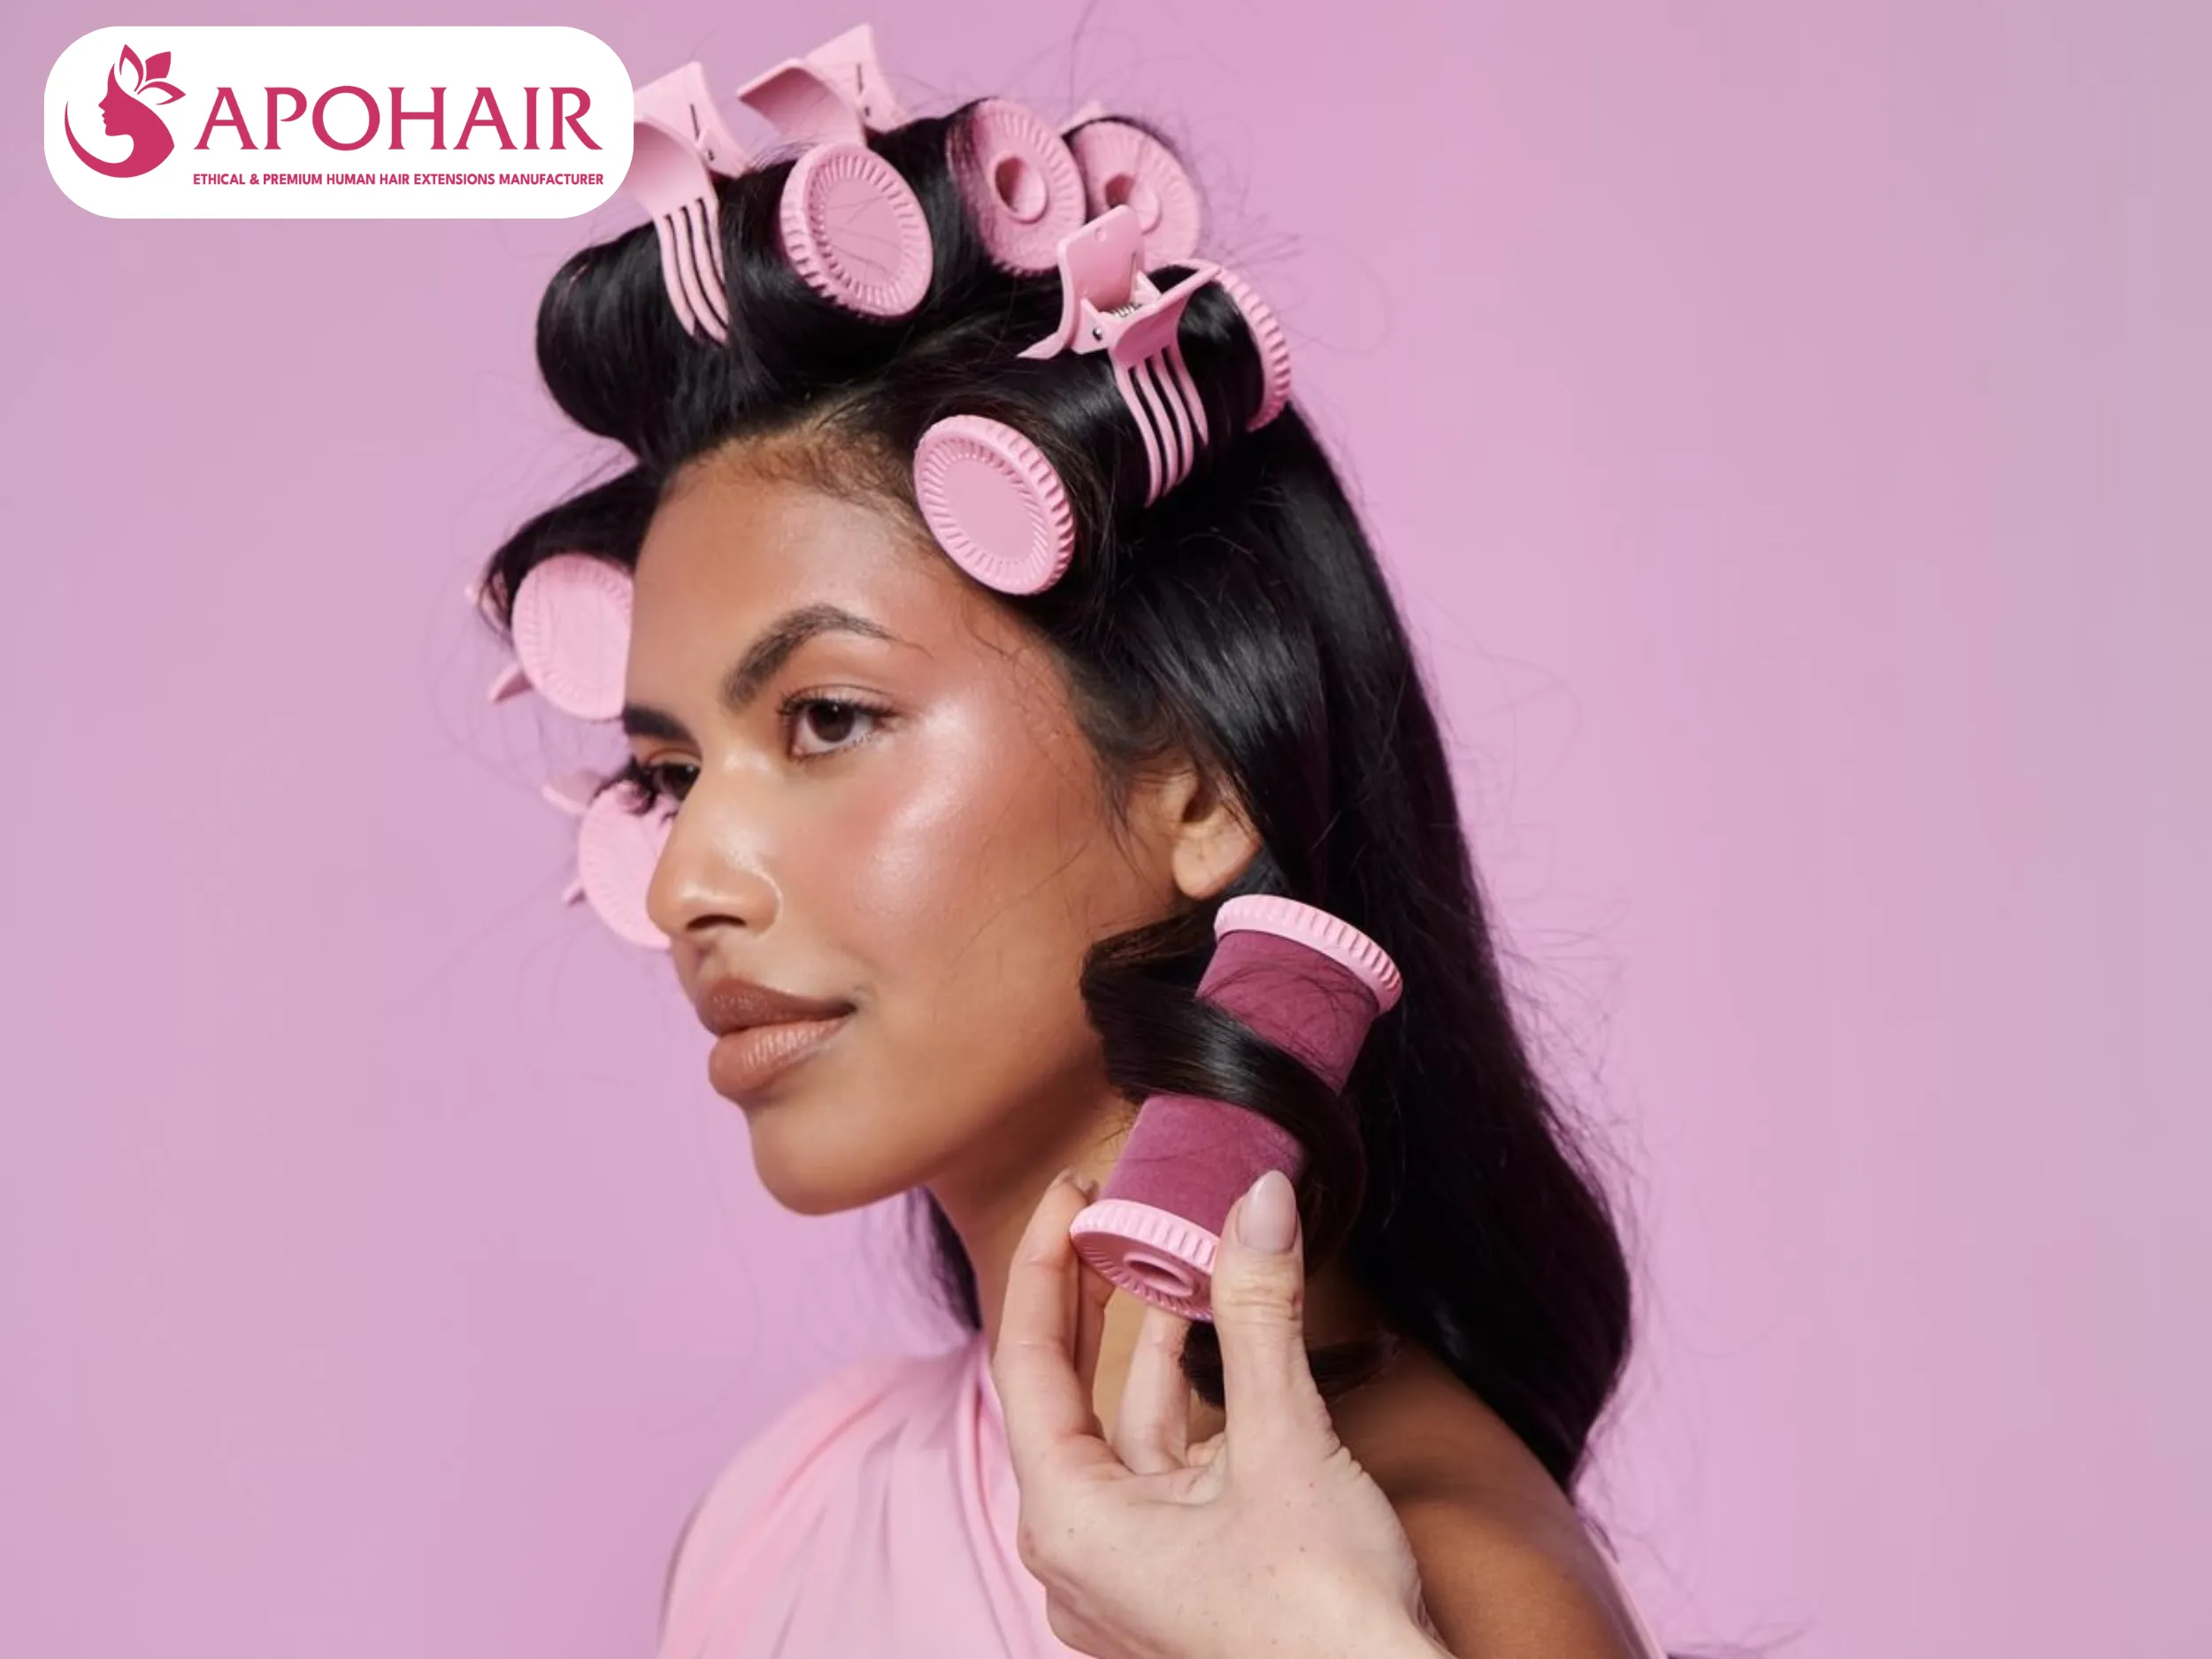
Step 1: Select Rollers: Choose cylindrical hair rollers that are at least 1.5 inches (38mm) wide for soft, loose curl formation.
Step 2: Dampen Hair: Use a spray bottle or wet fingers to dampen the extensions until they are about 70% dry.
Step 3: Prep Wefts: Take each weft and fold it several times so its width matches the width of the roller.
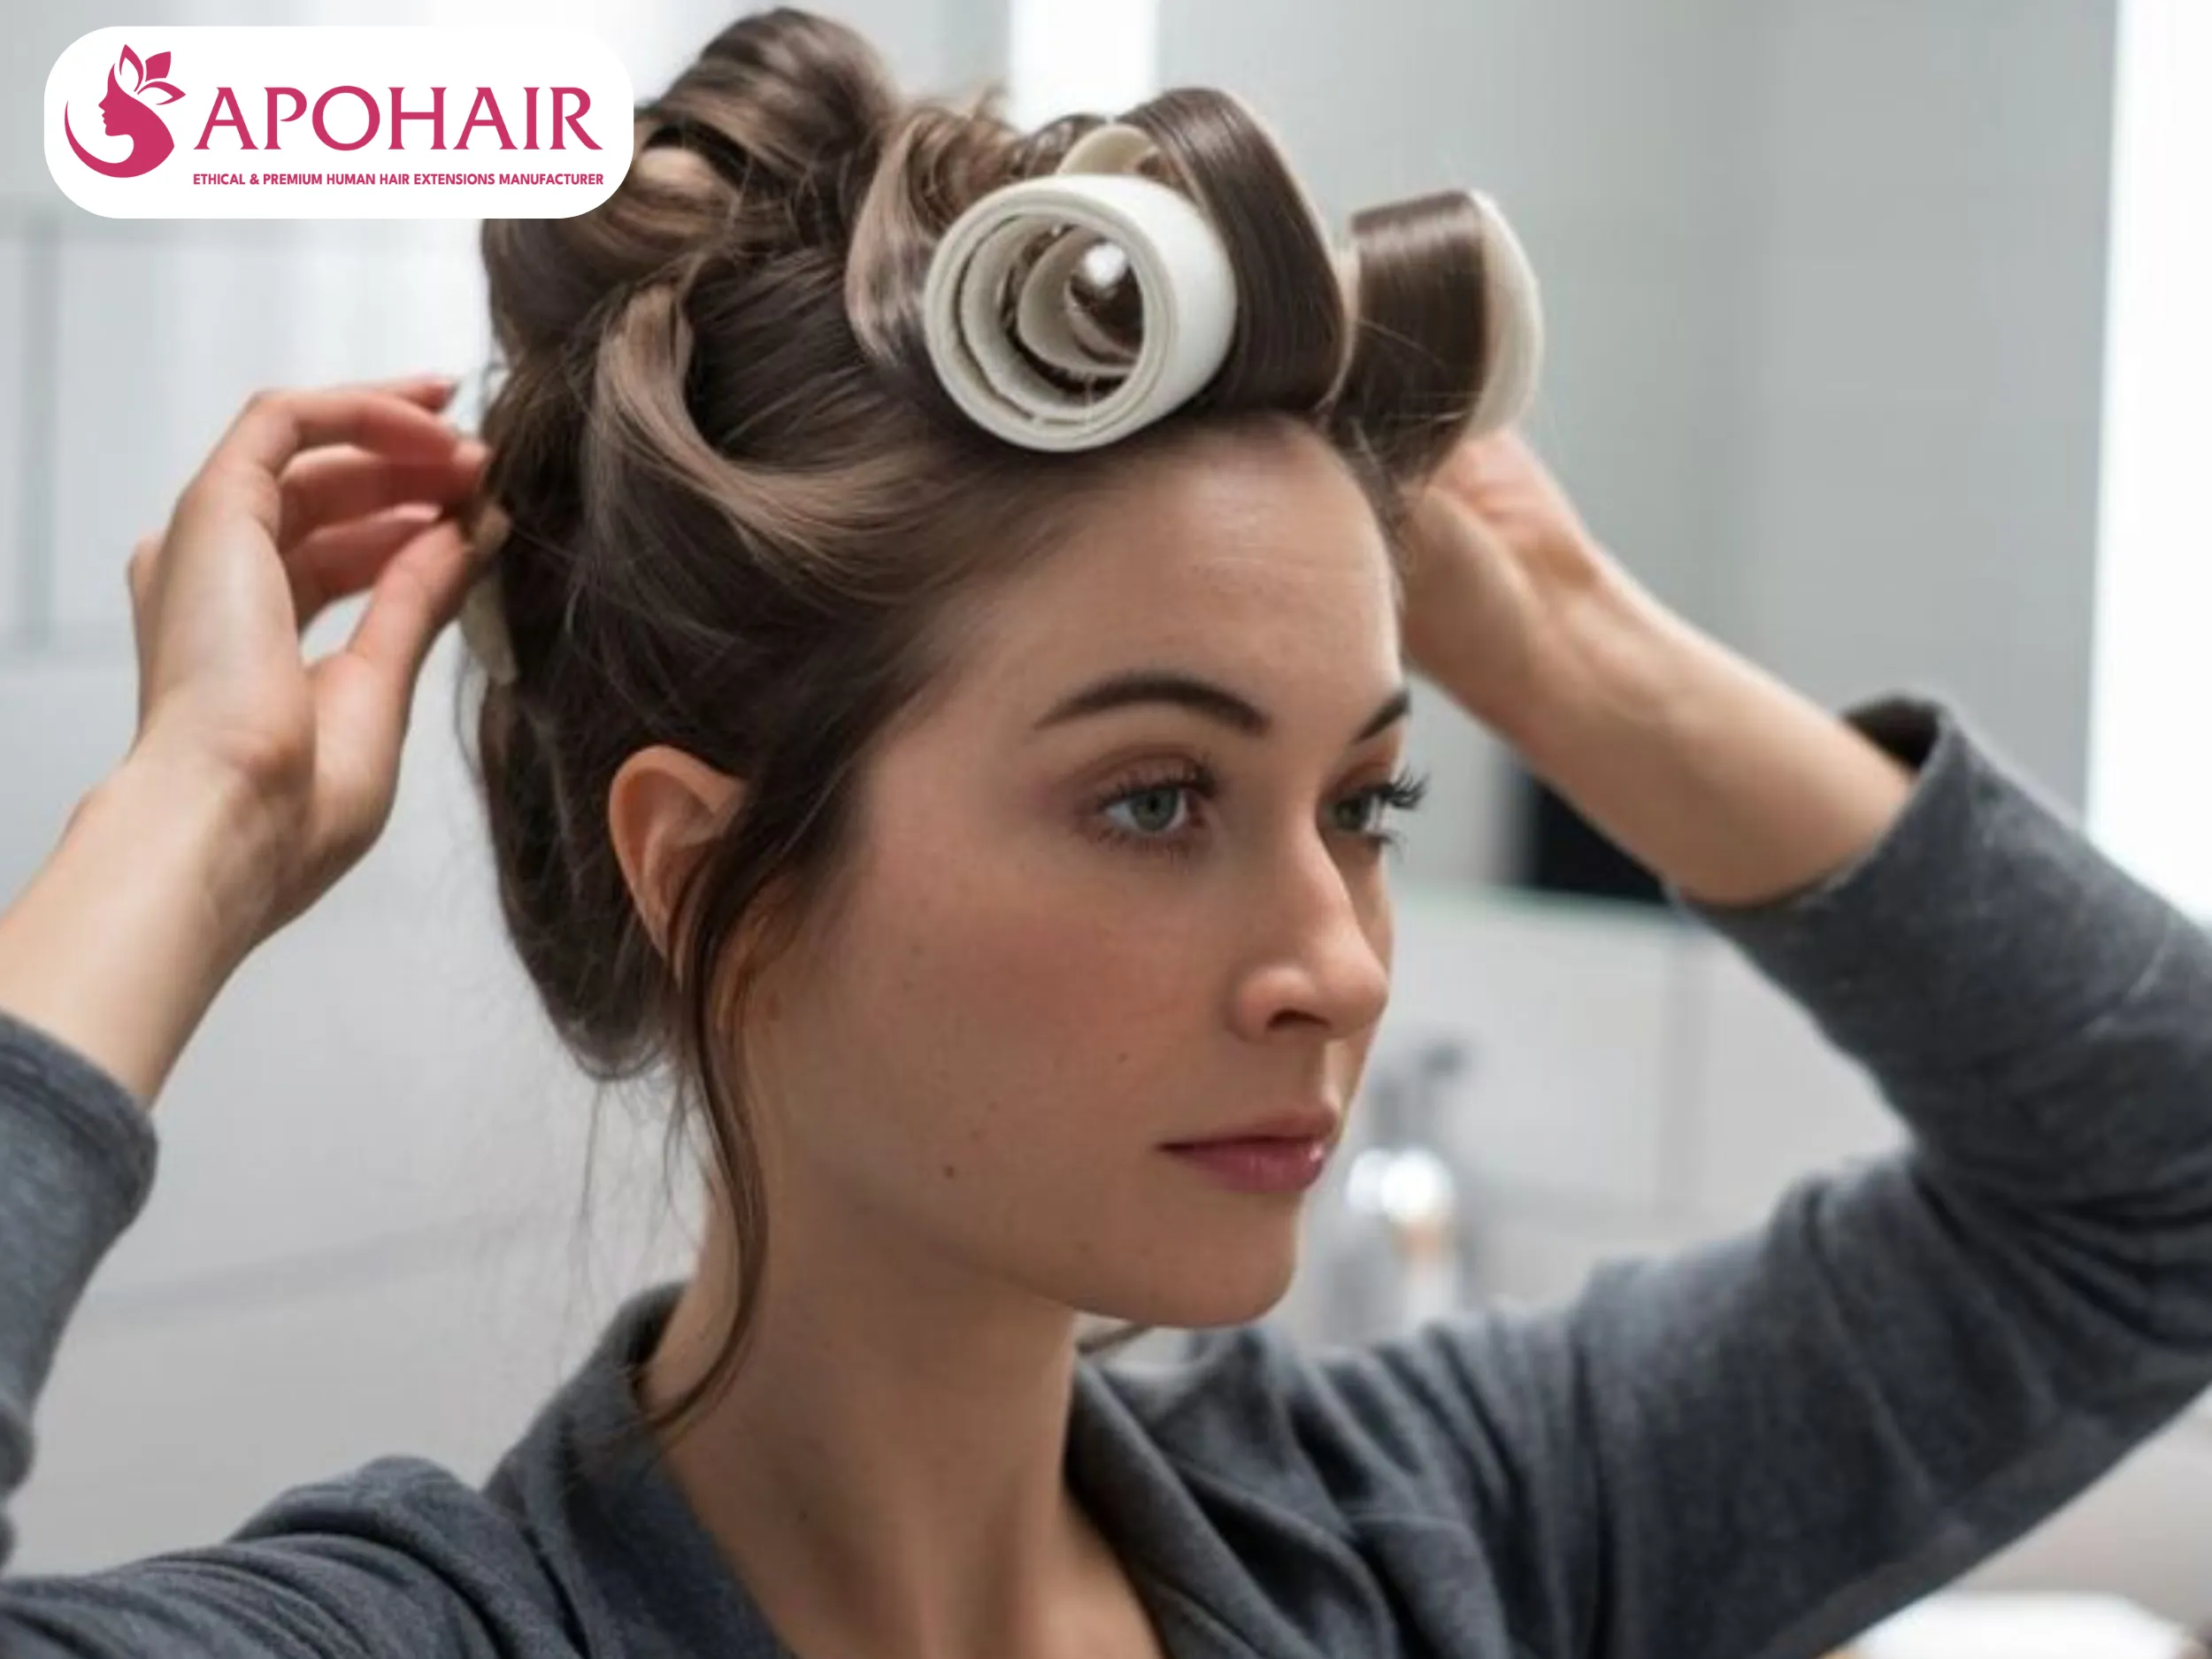
Step 4: Roll the Hair: Hold the section upside down, secure the end onto the roller, and wrap the remaining hair around it.
Step 5: Secure and Wait: Secure the roller with a clip and allow the hair to dry completely for 4-6 hours or overnight.
Step 6: Remove Rollers Safely: Place your finger inside the roller and move it in a circular motion to unroll gently without damage.
Step 7: Style: Attach the curled extensions to your hair and style as desired with minimal product application for natural movement.
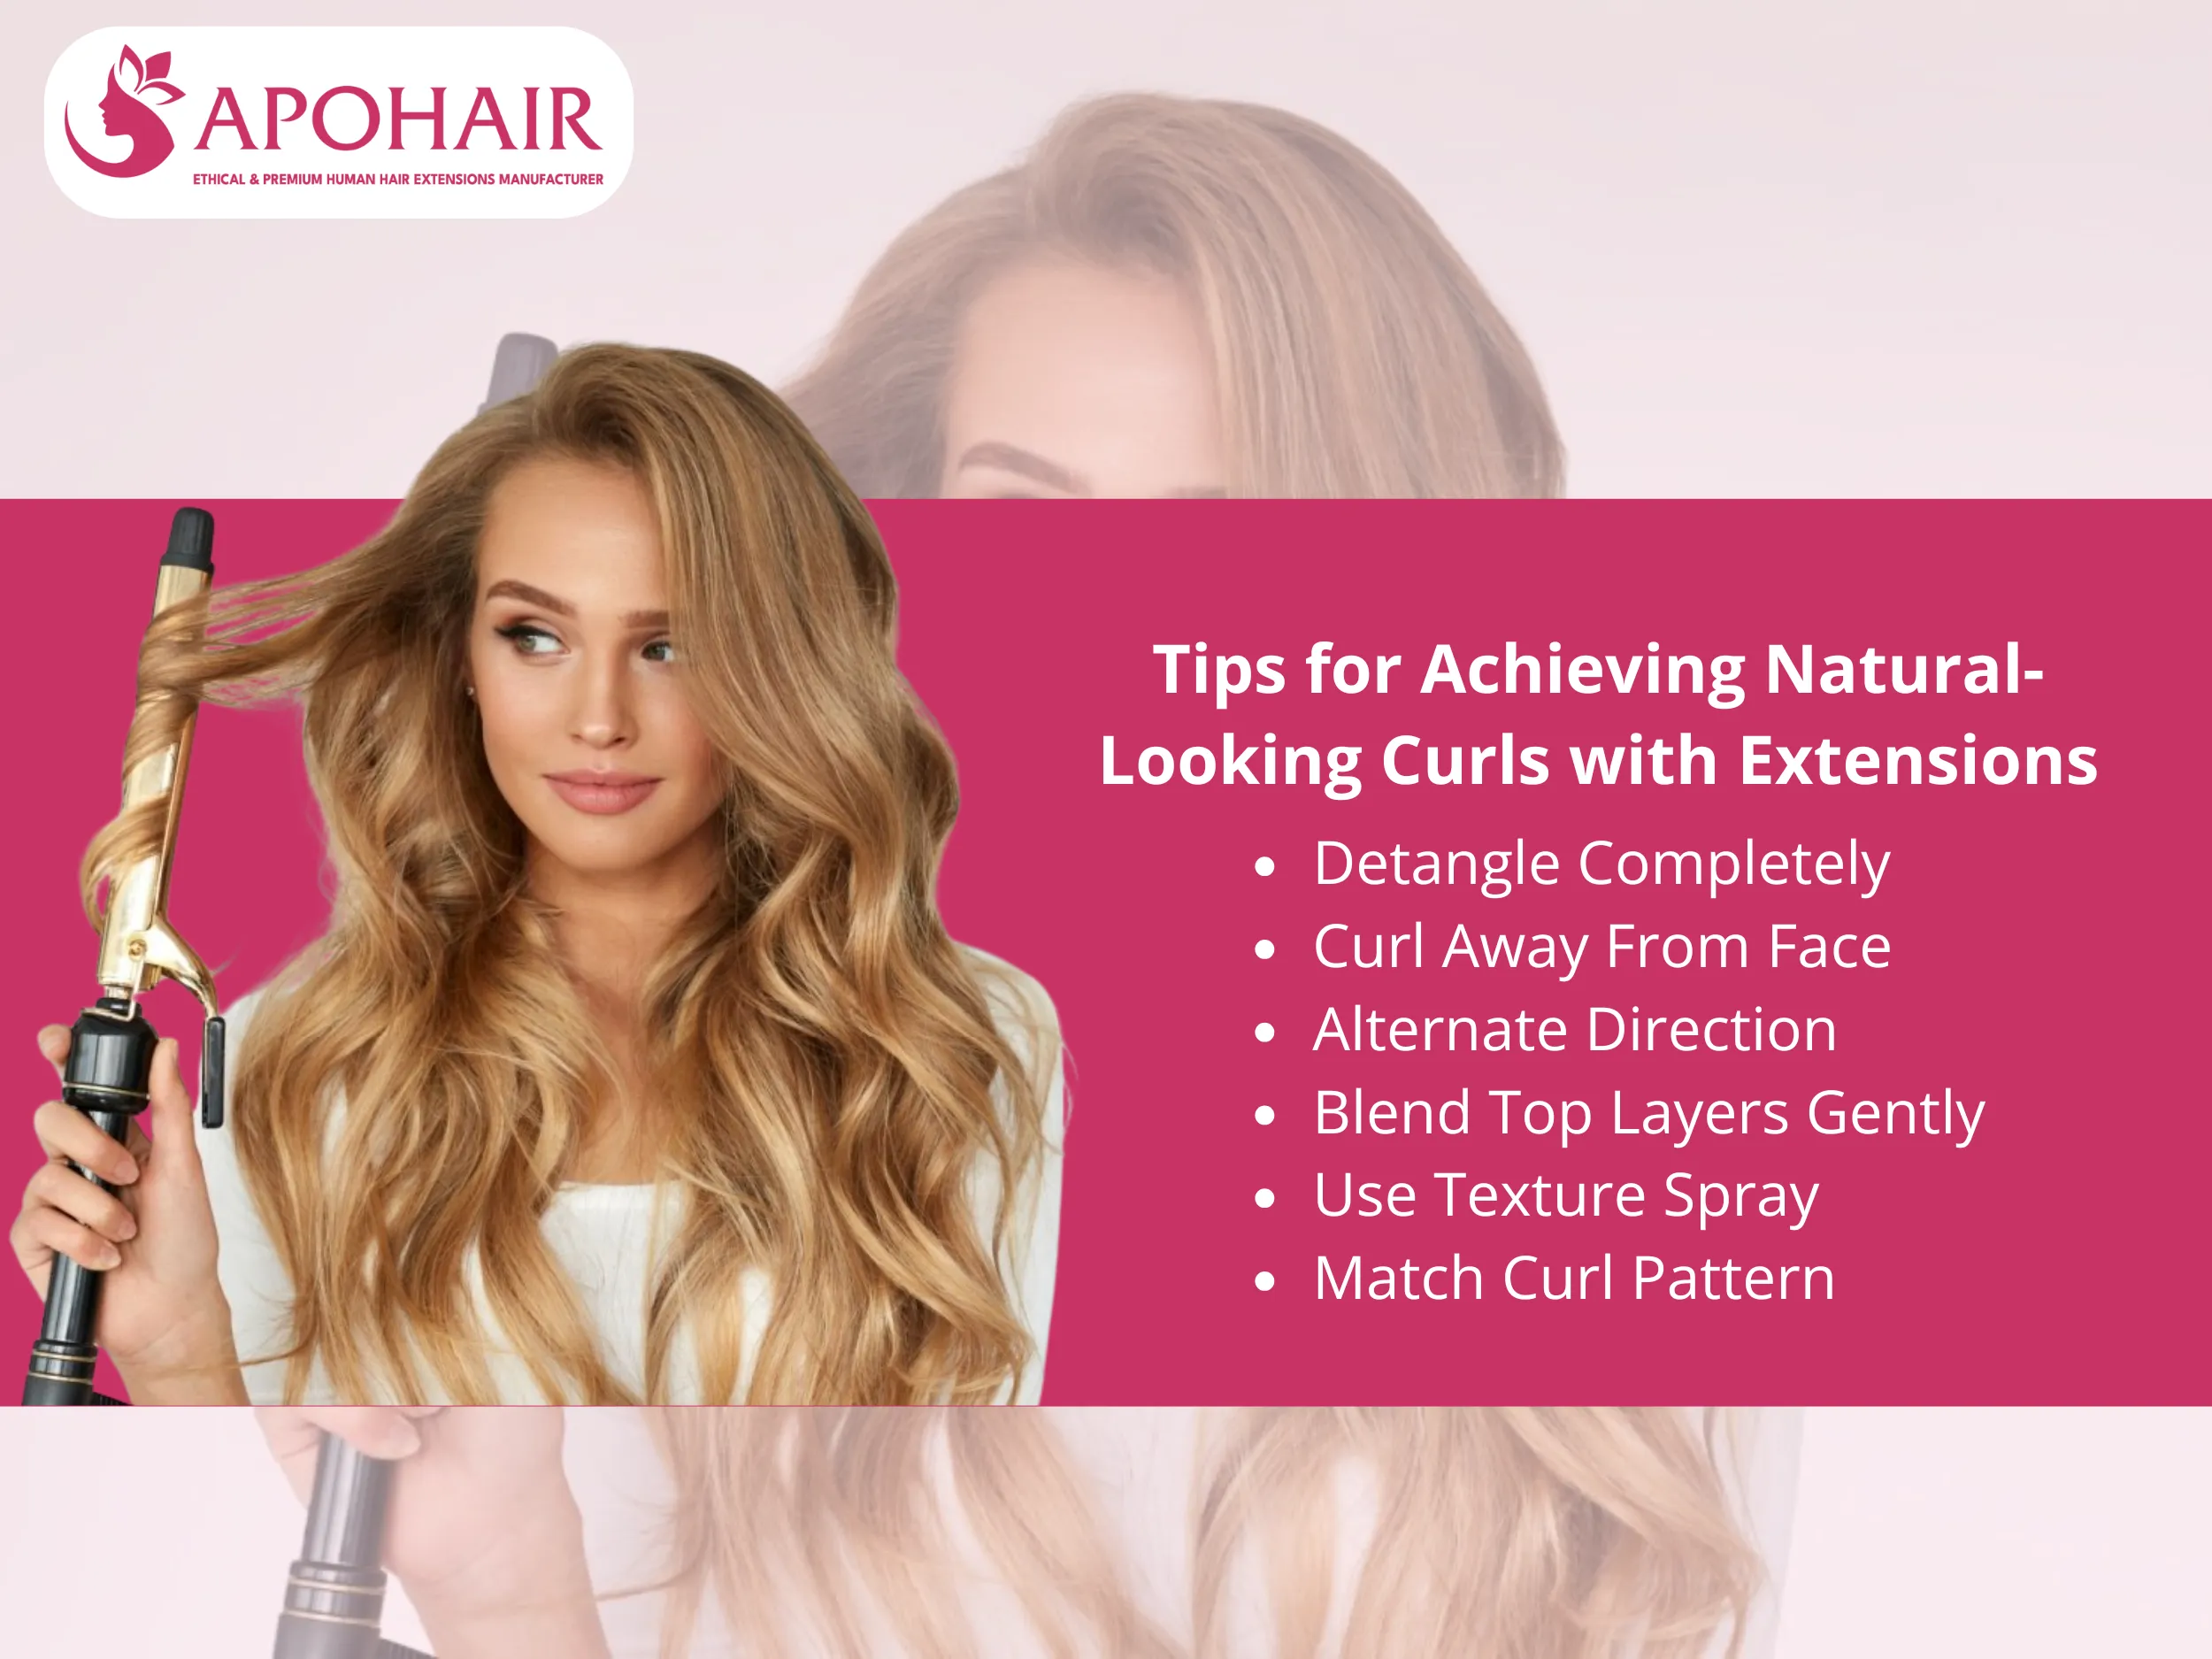
Tips for Achieving Natural-Looking Curls with Extensions
Six specific tips will help you create curls that blend perfectly with your natural hair texture and appear authentic.
Detangle Completely: Always start with smooth, fully brushed-out extensions to prevent tangling during the curling process.
Curl Away From Face: Curl the face-framing sections outward away from the face for a flattering, natural frame.
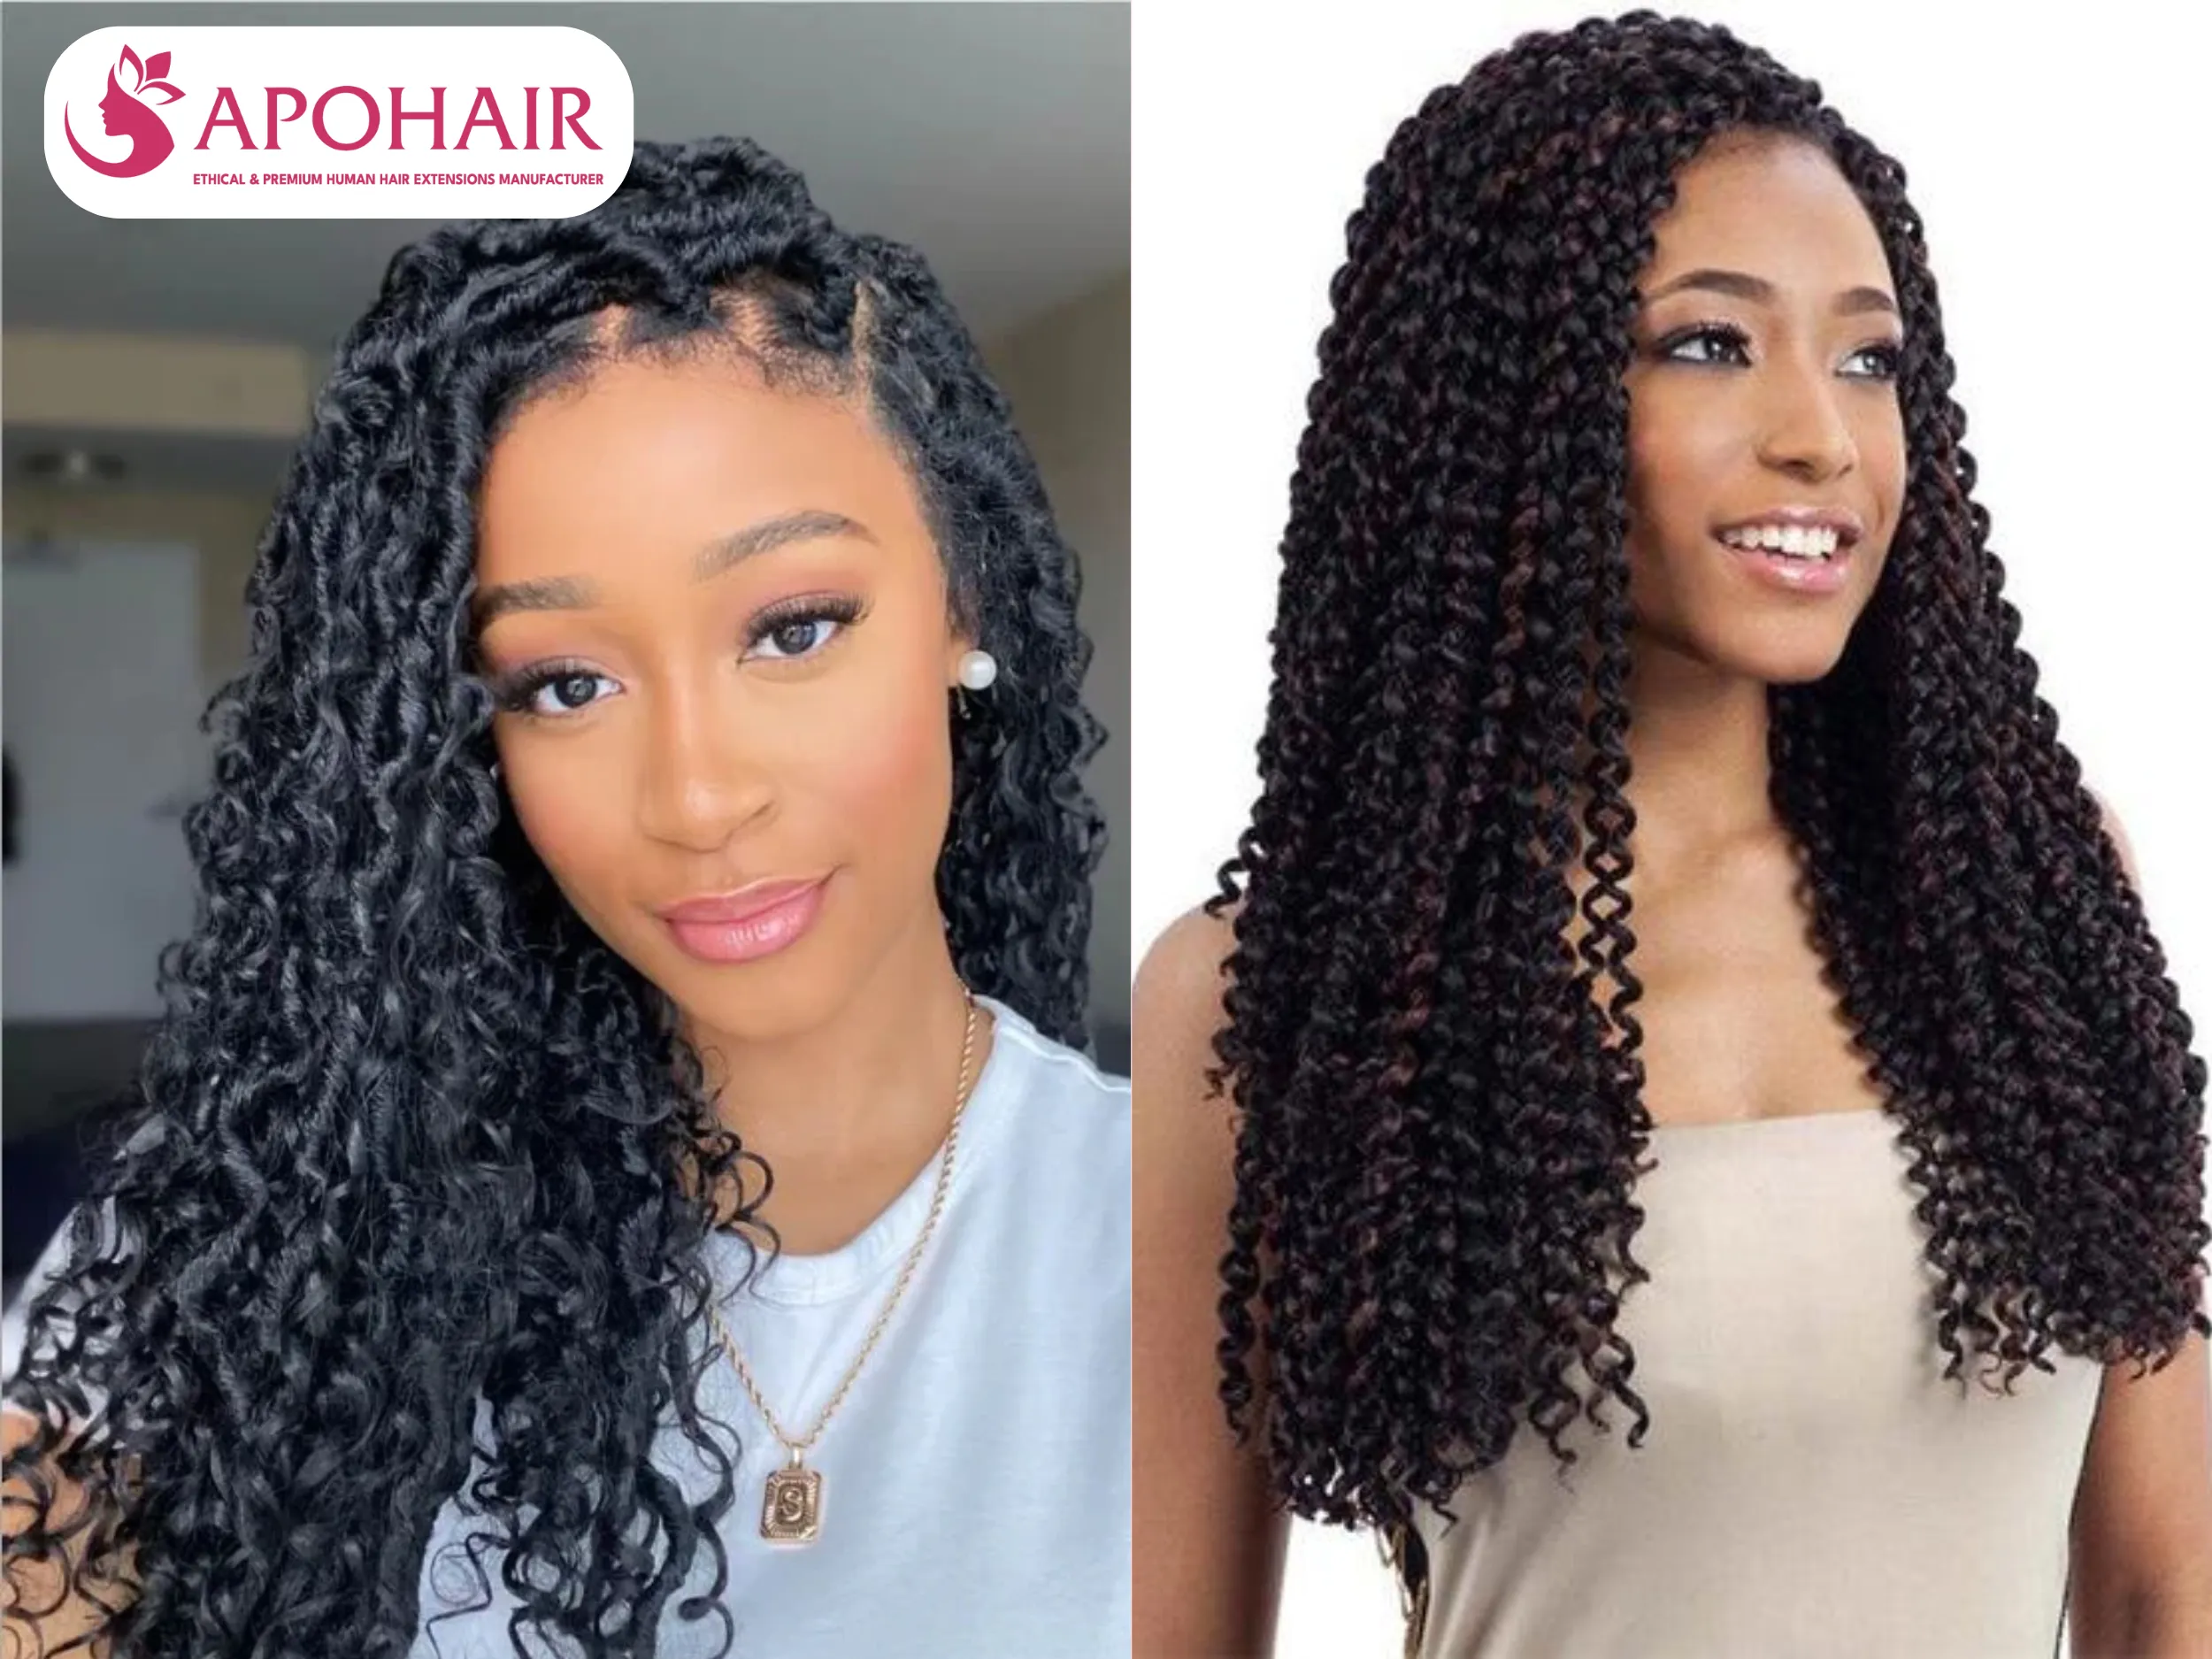
Alternate Direction: Vary the curl direction away and toward in the back sections to create natural movement and dimension.
Blend Top Layers Gently: For the final layer, use bottom curls as a guide with less heat for soft integration.
Use Texture Spray: Finish by shaking out the curls and applying texture spray for volume and natural-looking movement.
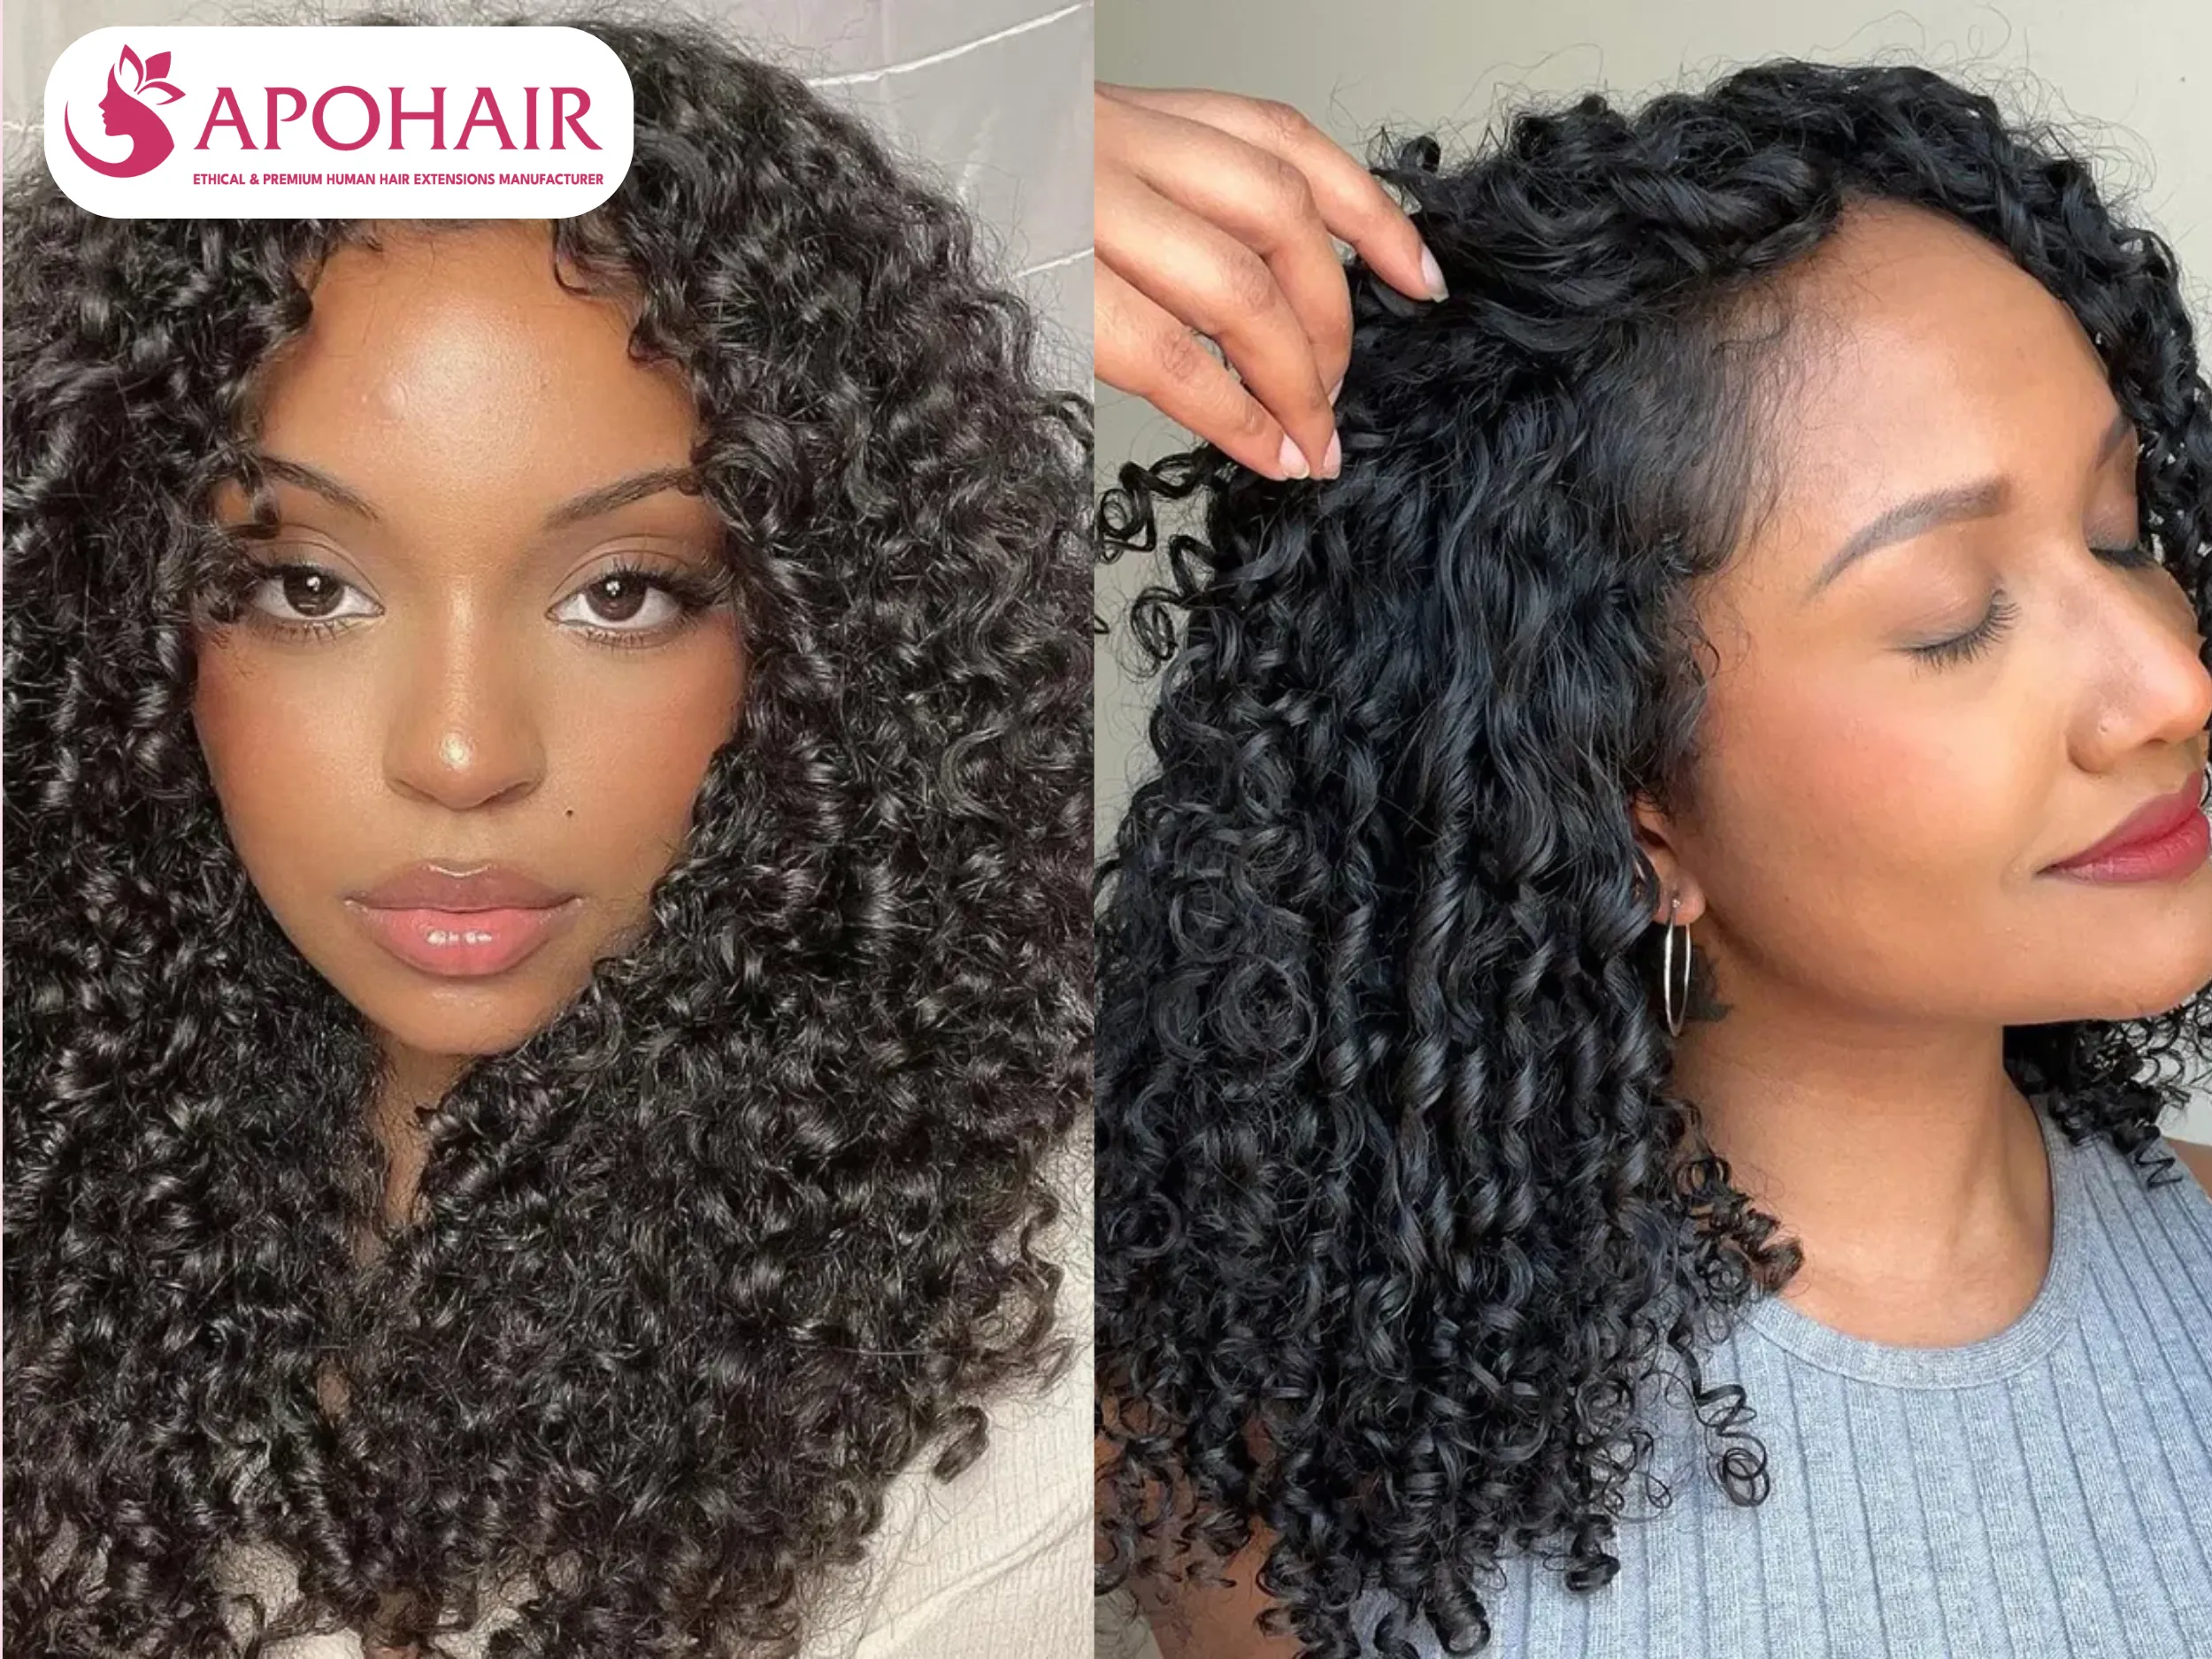
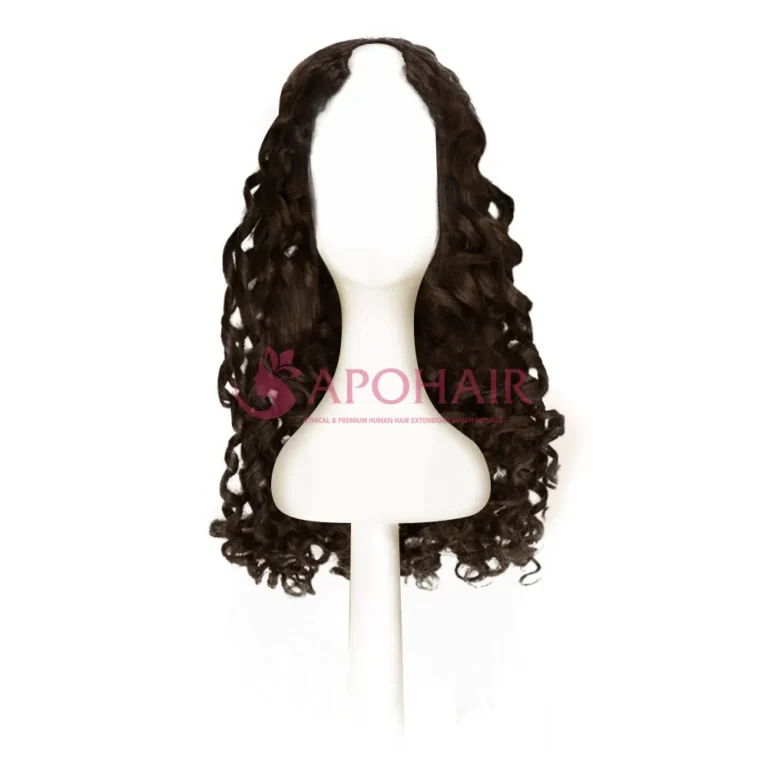
Match Curl Pattern: Try to match the size and tightness of the extension curls to your natural hair’s curl pattern.
Tips for Achieving Natural-Looking Curls
Curling Hair Extensions: Choices for Timing
Three timing options exist for curling hair extensions, each offering different benefits depending on your styling needs and schedule.
Curl Before Clipping (Off the Head): Curl extensions separately before placing them on your head for overnight or heatless methods when your natural hair is wet.
Over-The-Hair Technique: Clip extensions high on the crown for curling, then move them to the final position for better curl direction control.
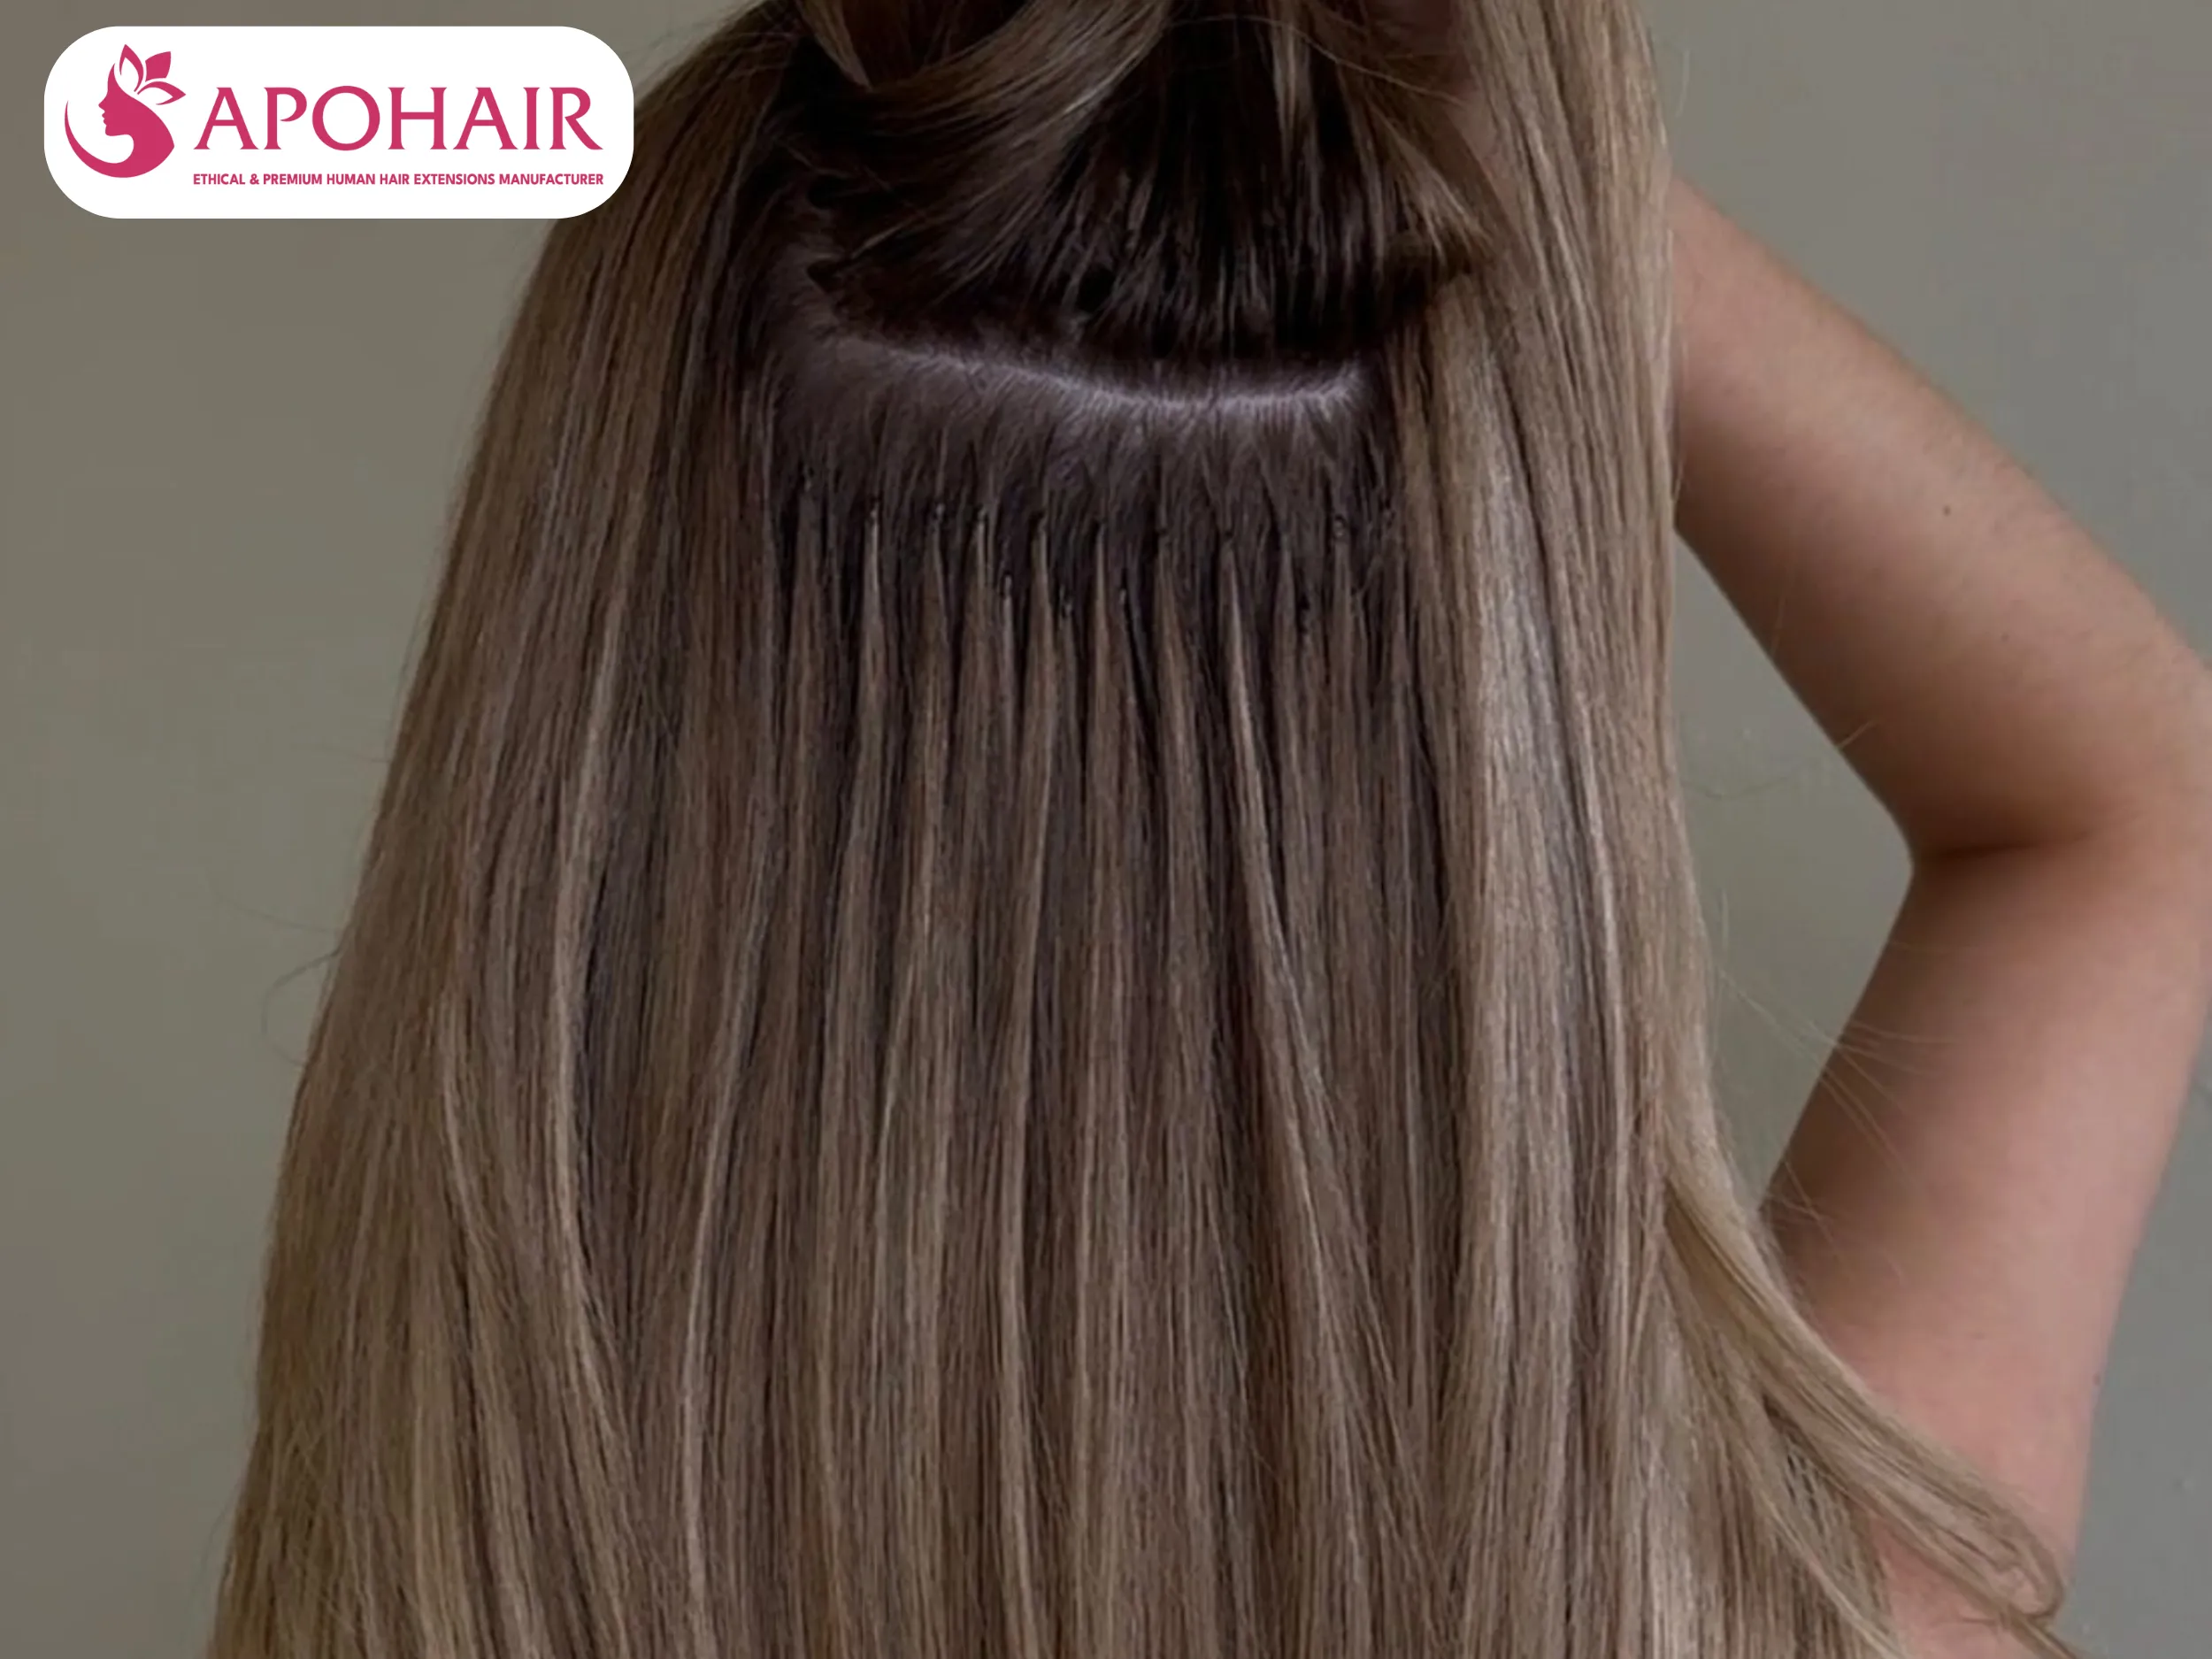
The Clipped-In Curl (All Together): Clip extensions in their final spot and curl them with your natural hair for quick styling and seamless blending. Only use gentle methods that avoid tugging on the clips or natural hair.
Three timing options exist for curling hair extensions
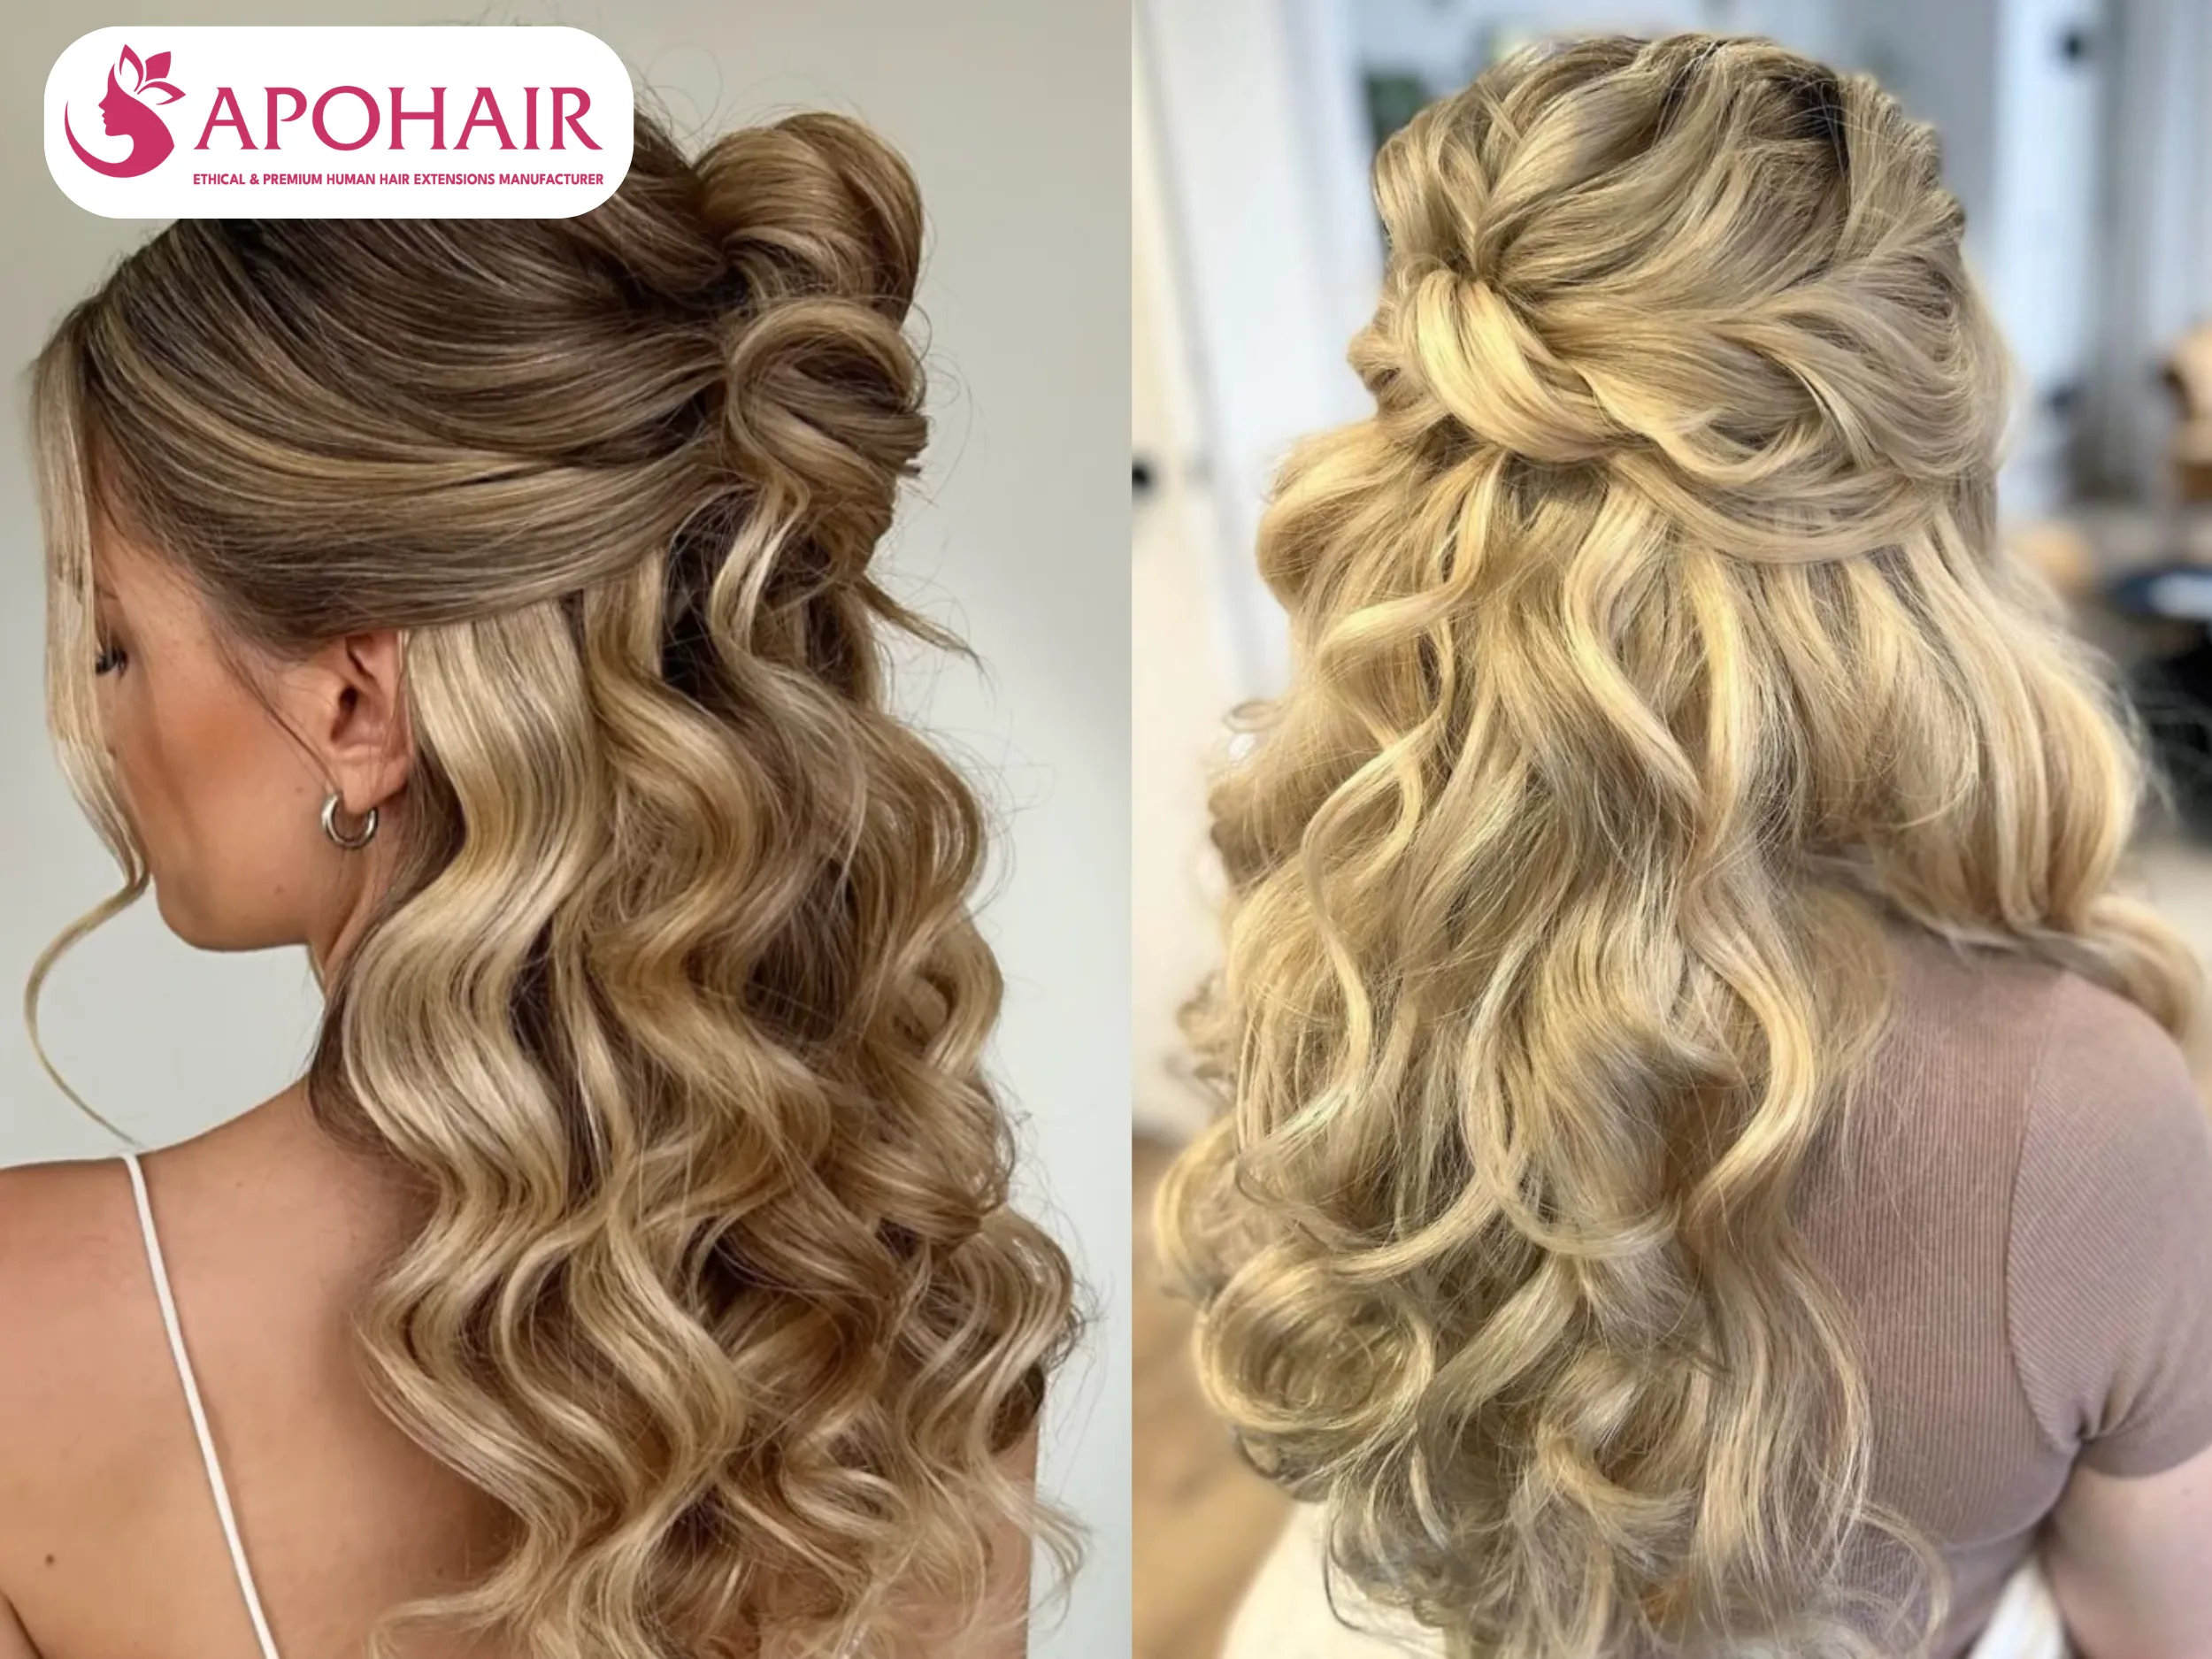
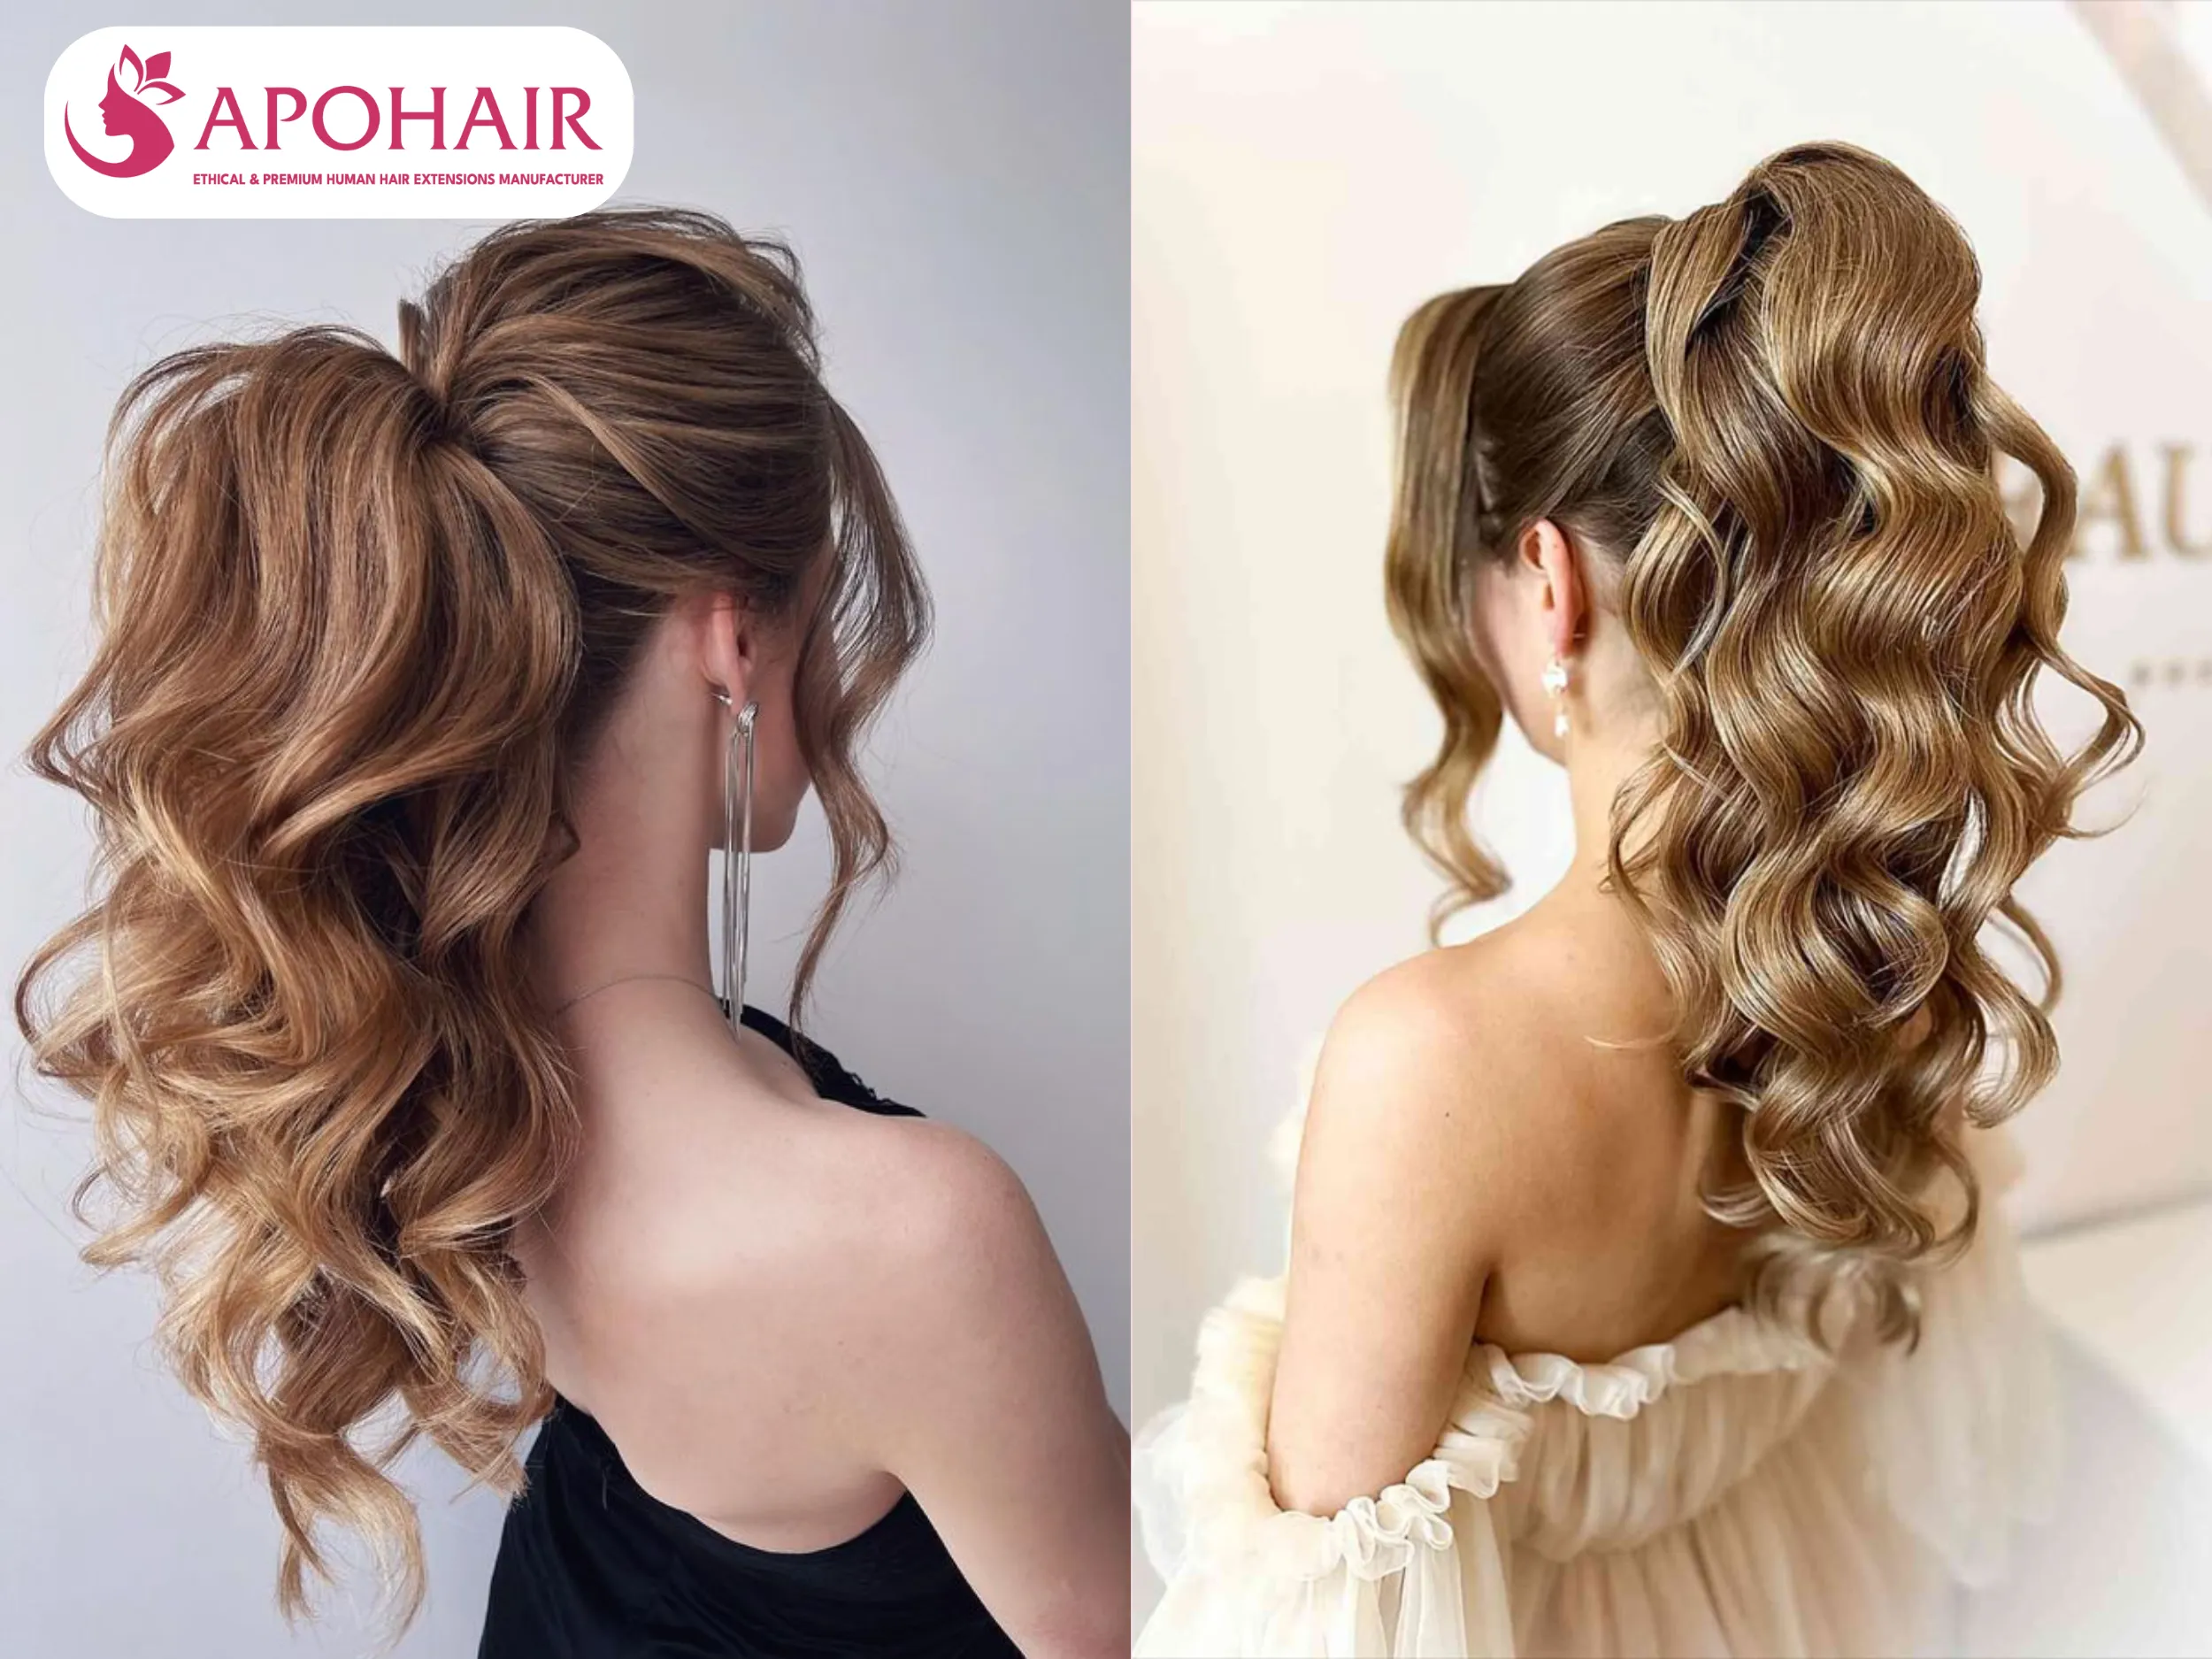
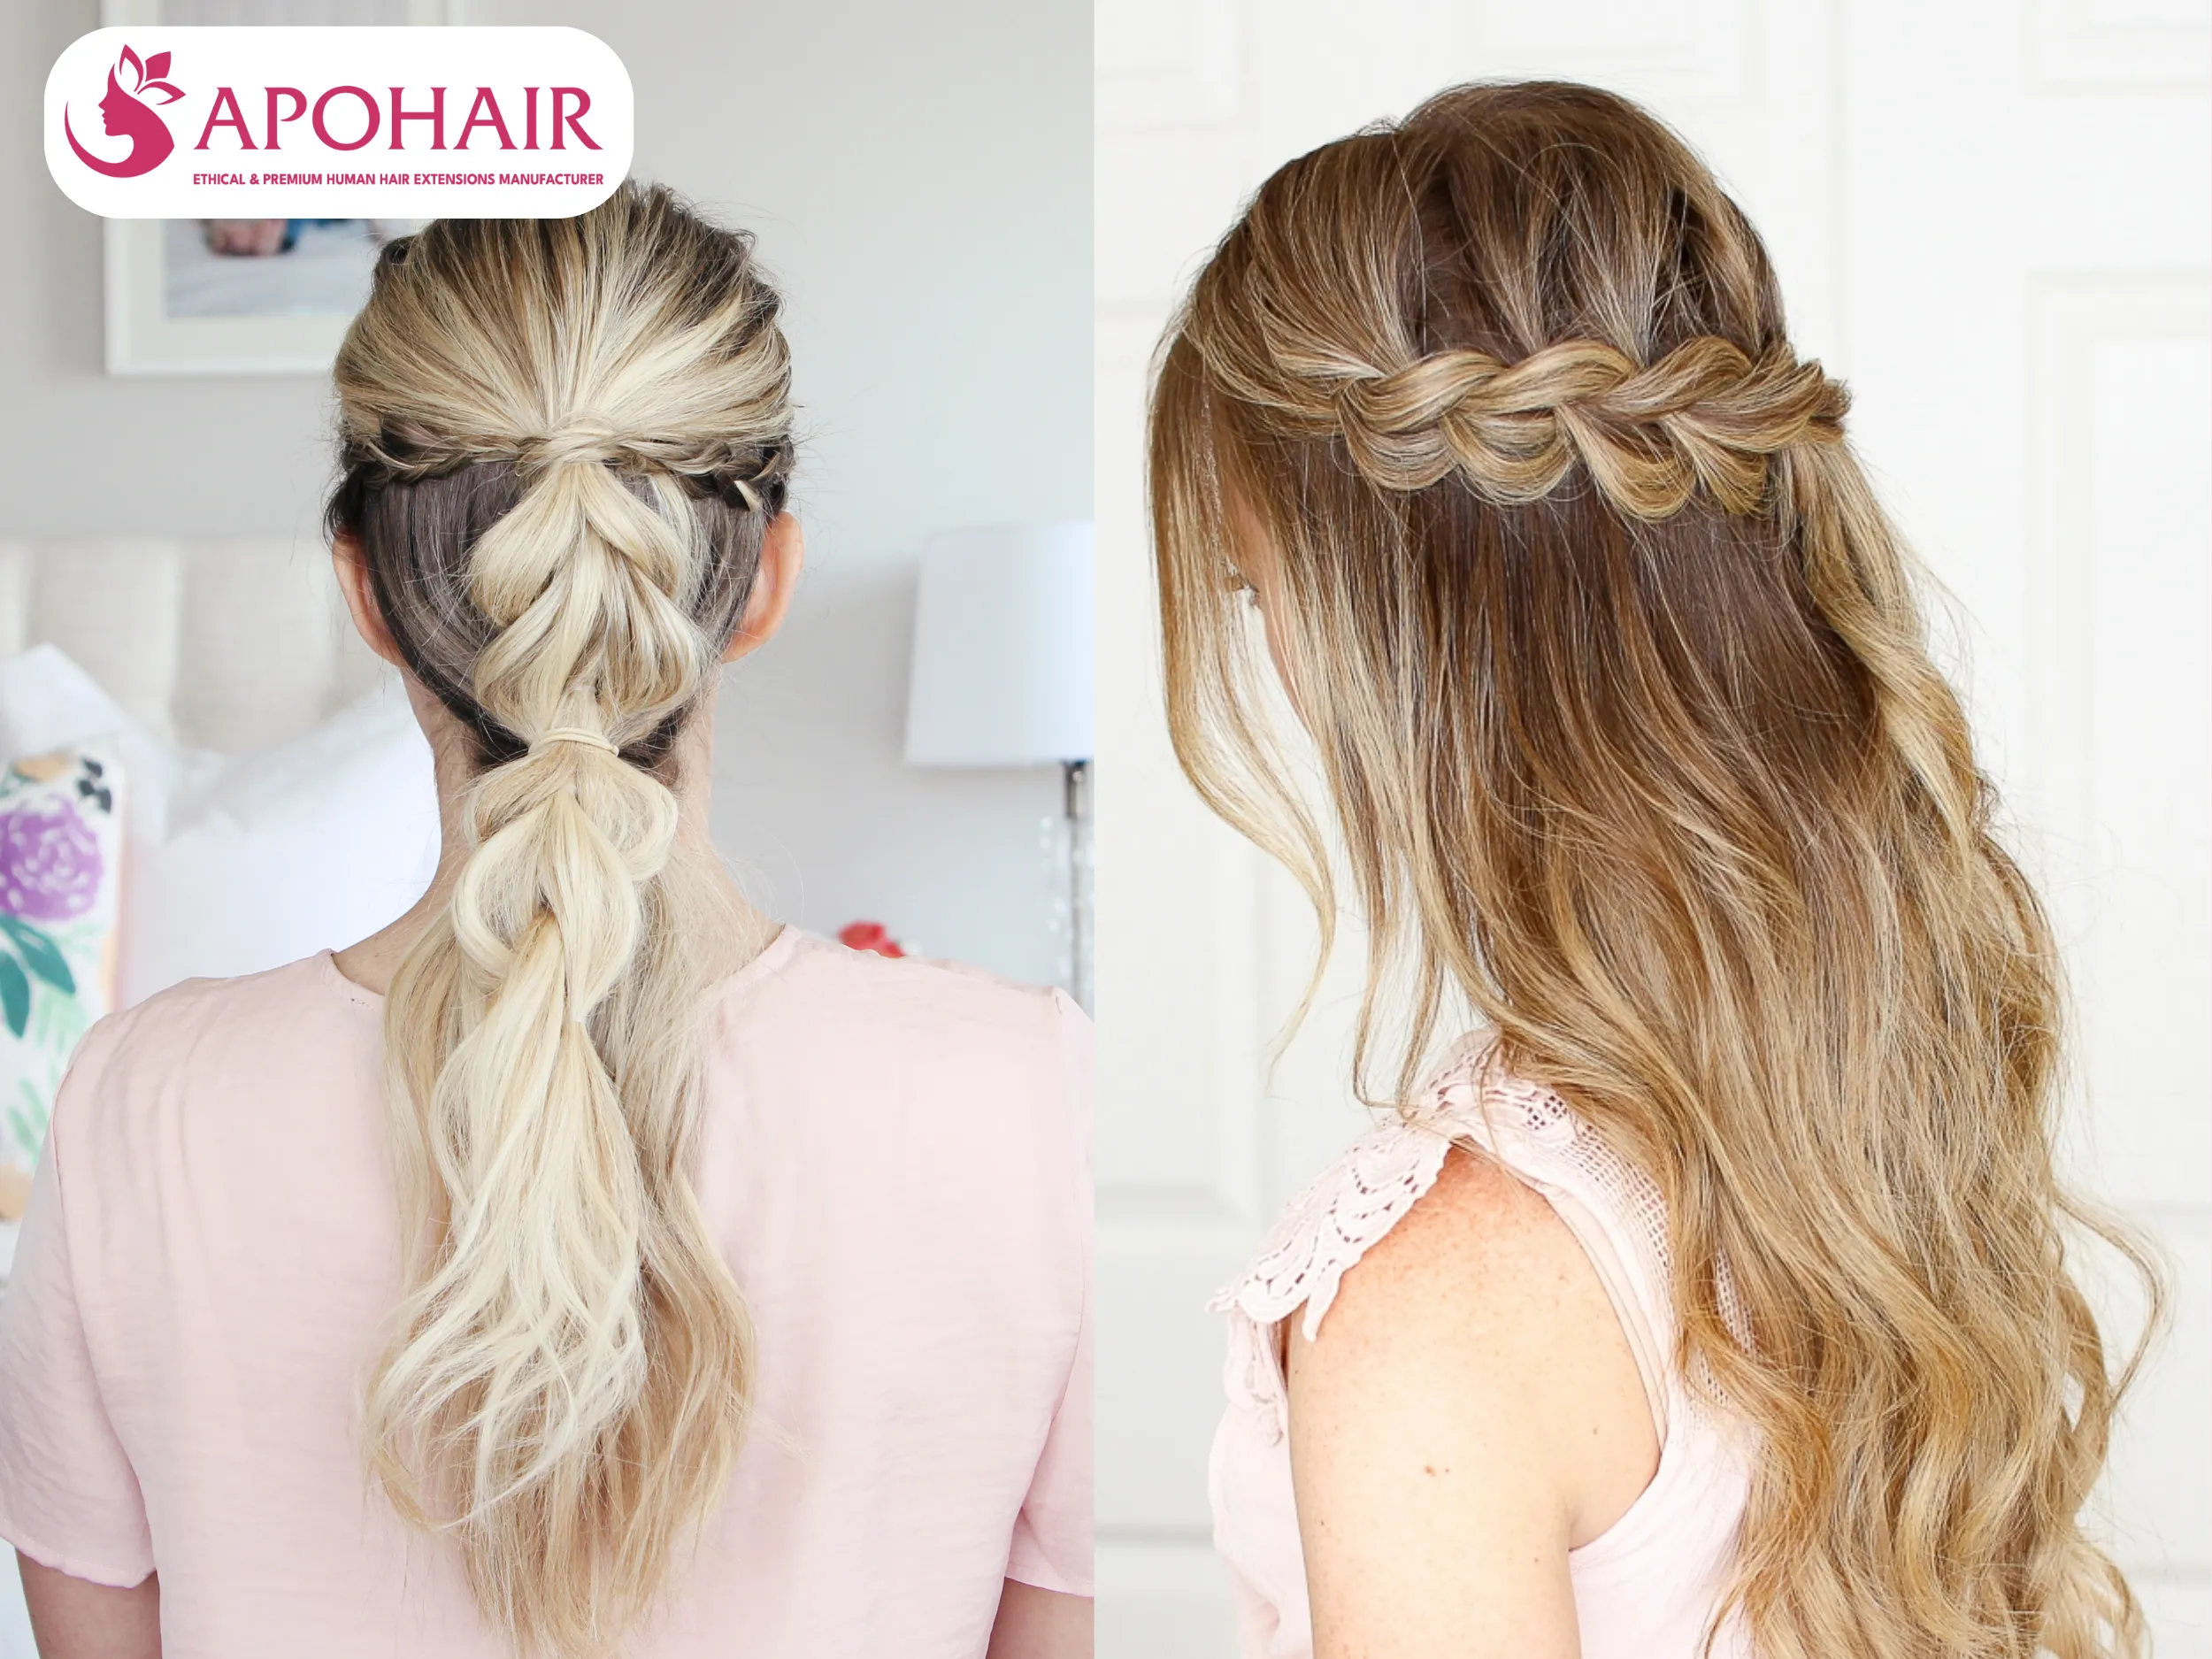
Creative Hairstyle for Curled Hair Extensions
Thirteen creative hairstyles transform curled extensions into stunning looks for any occasion or personal style preference you might have.
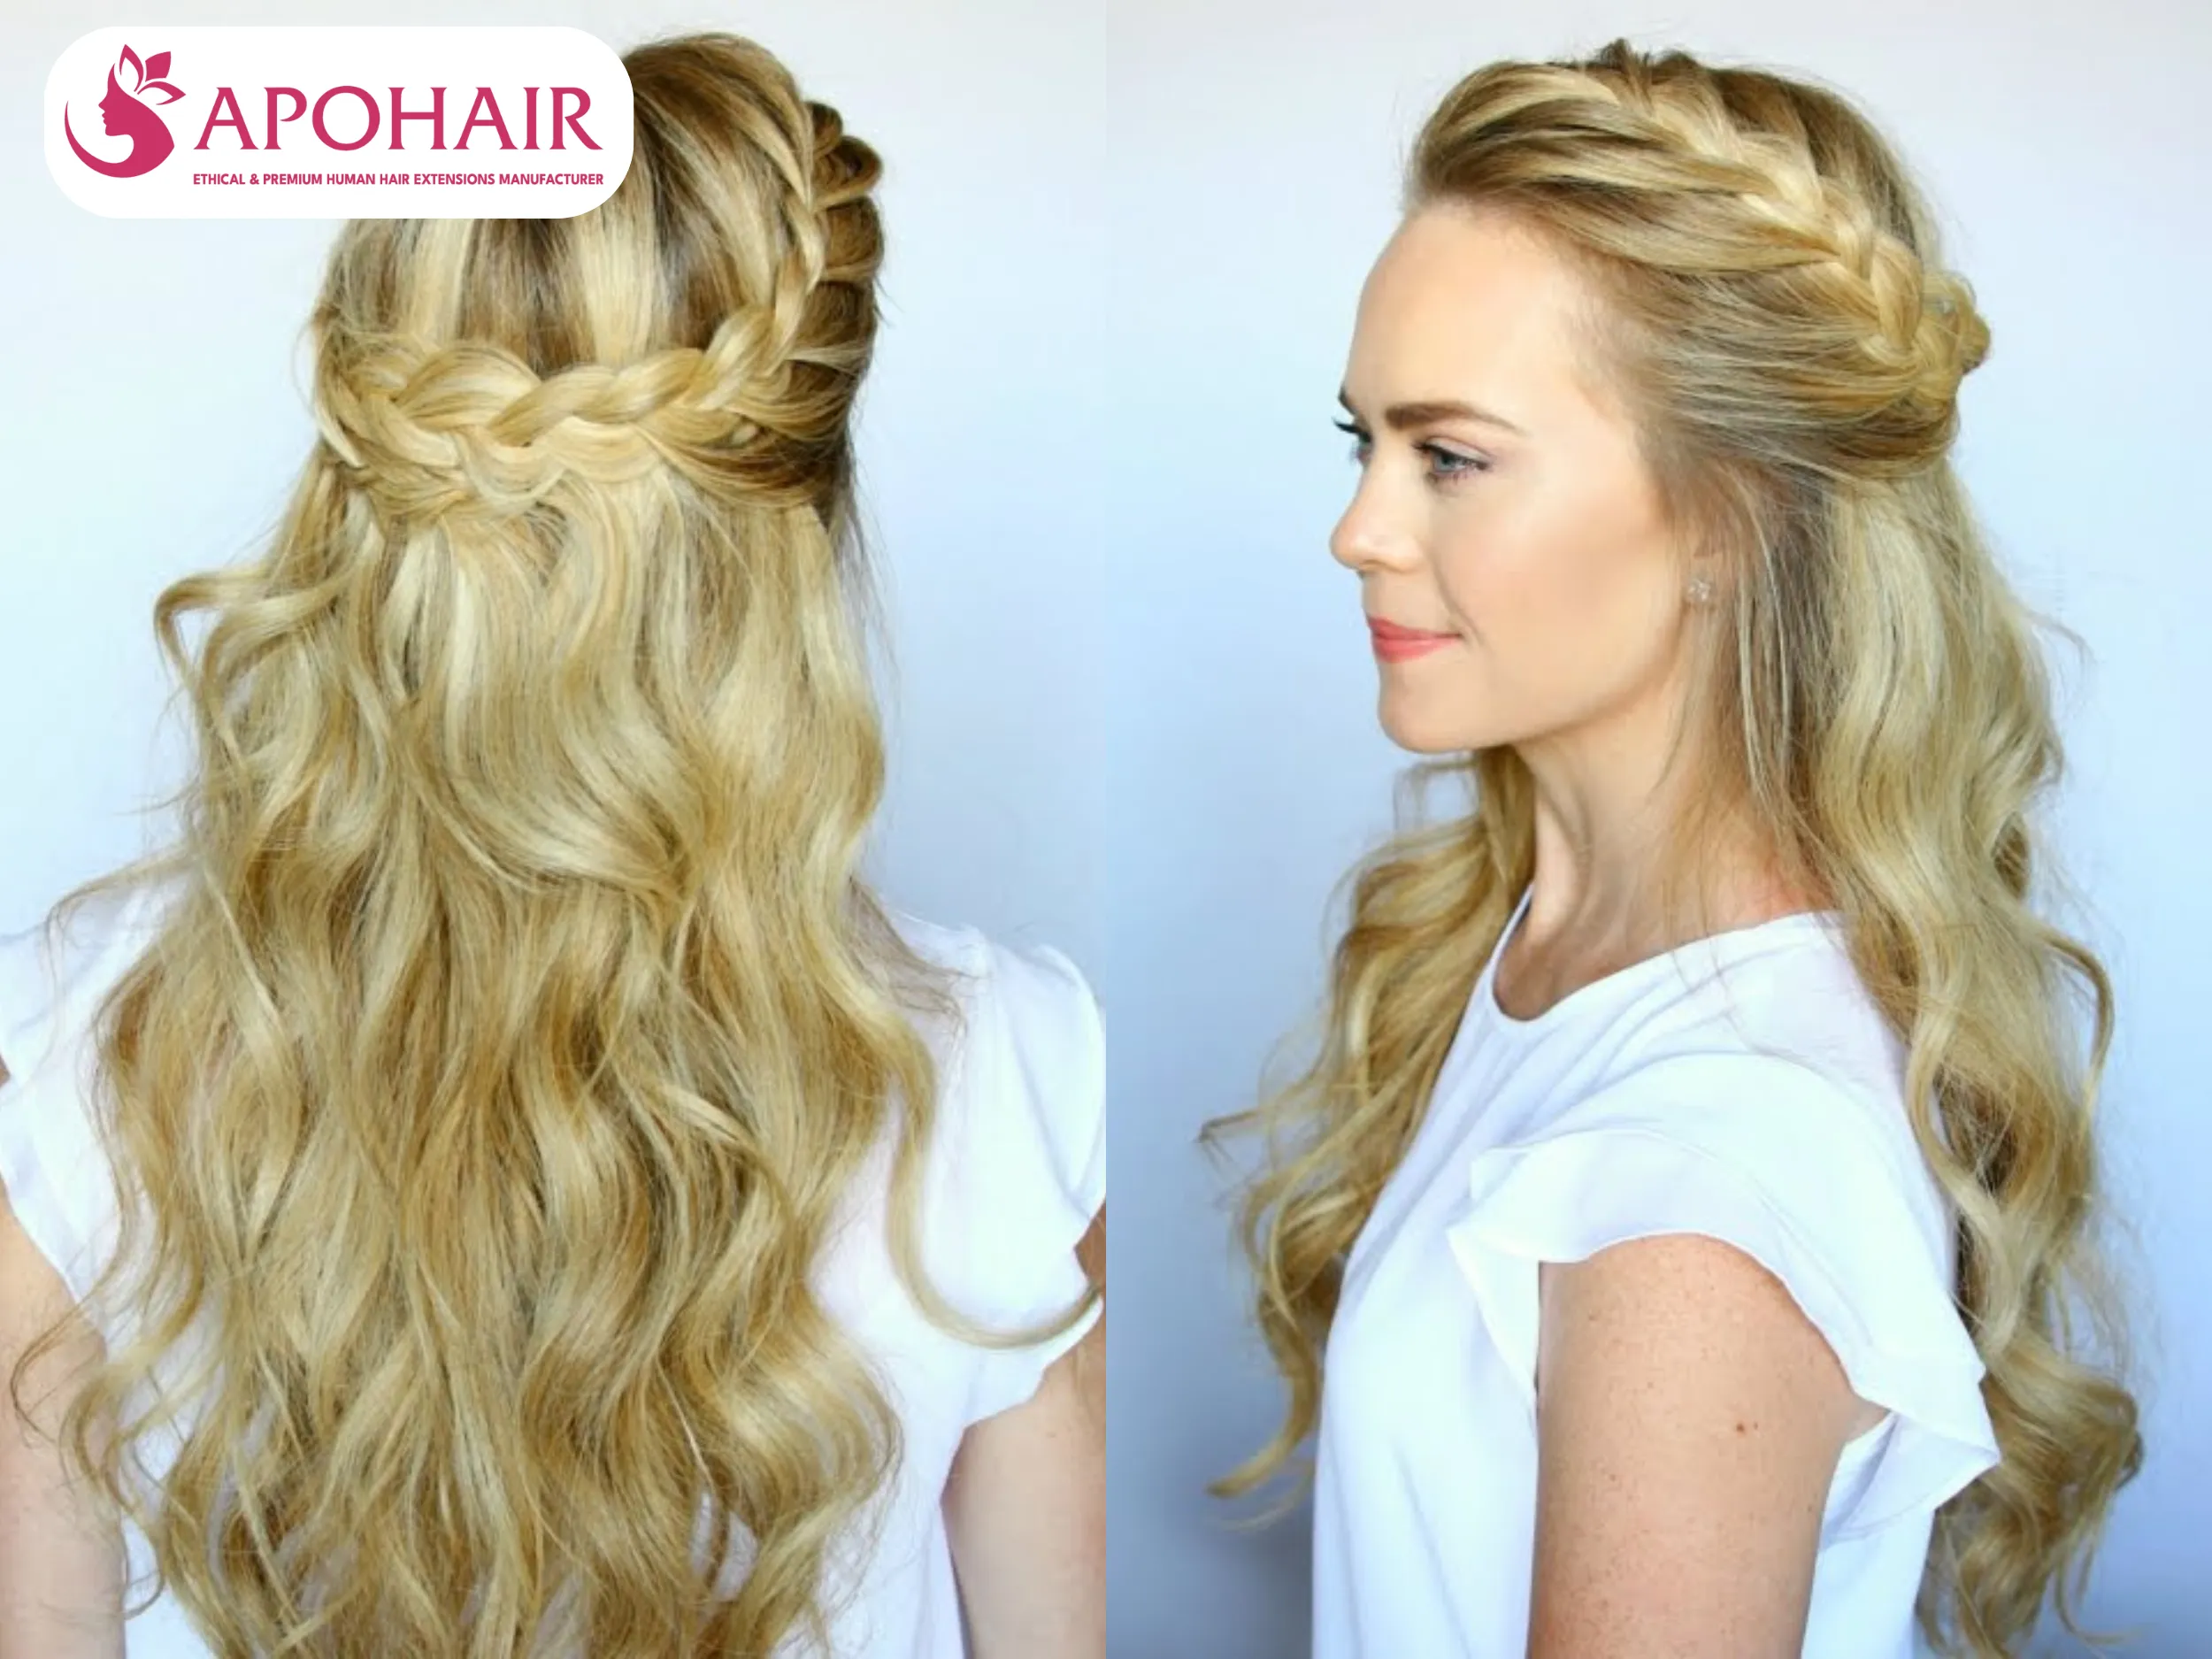
The Classic Half-Up, Half-Down Style: Top section secured with elegant pins while curls cascade freely for a timeless, sophisticated look that works for any event.
The Curly Voluminous High Ponytail: Curls pulled high create instant luxury and drama while soft tendrils frame the face for a polished yet playful appearance.
The Bohemian Curly Braid: Two loose side braids gently pulled apart create relaxed, free-spirited charm perfect for casual outings or festival-inspired looks.
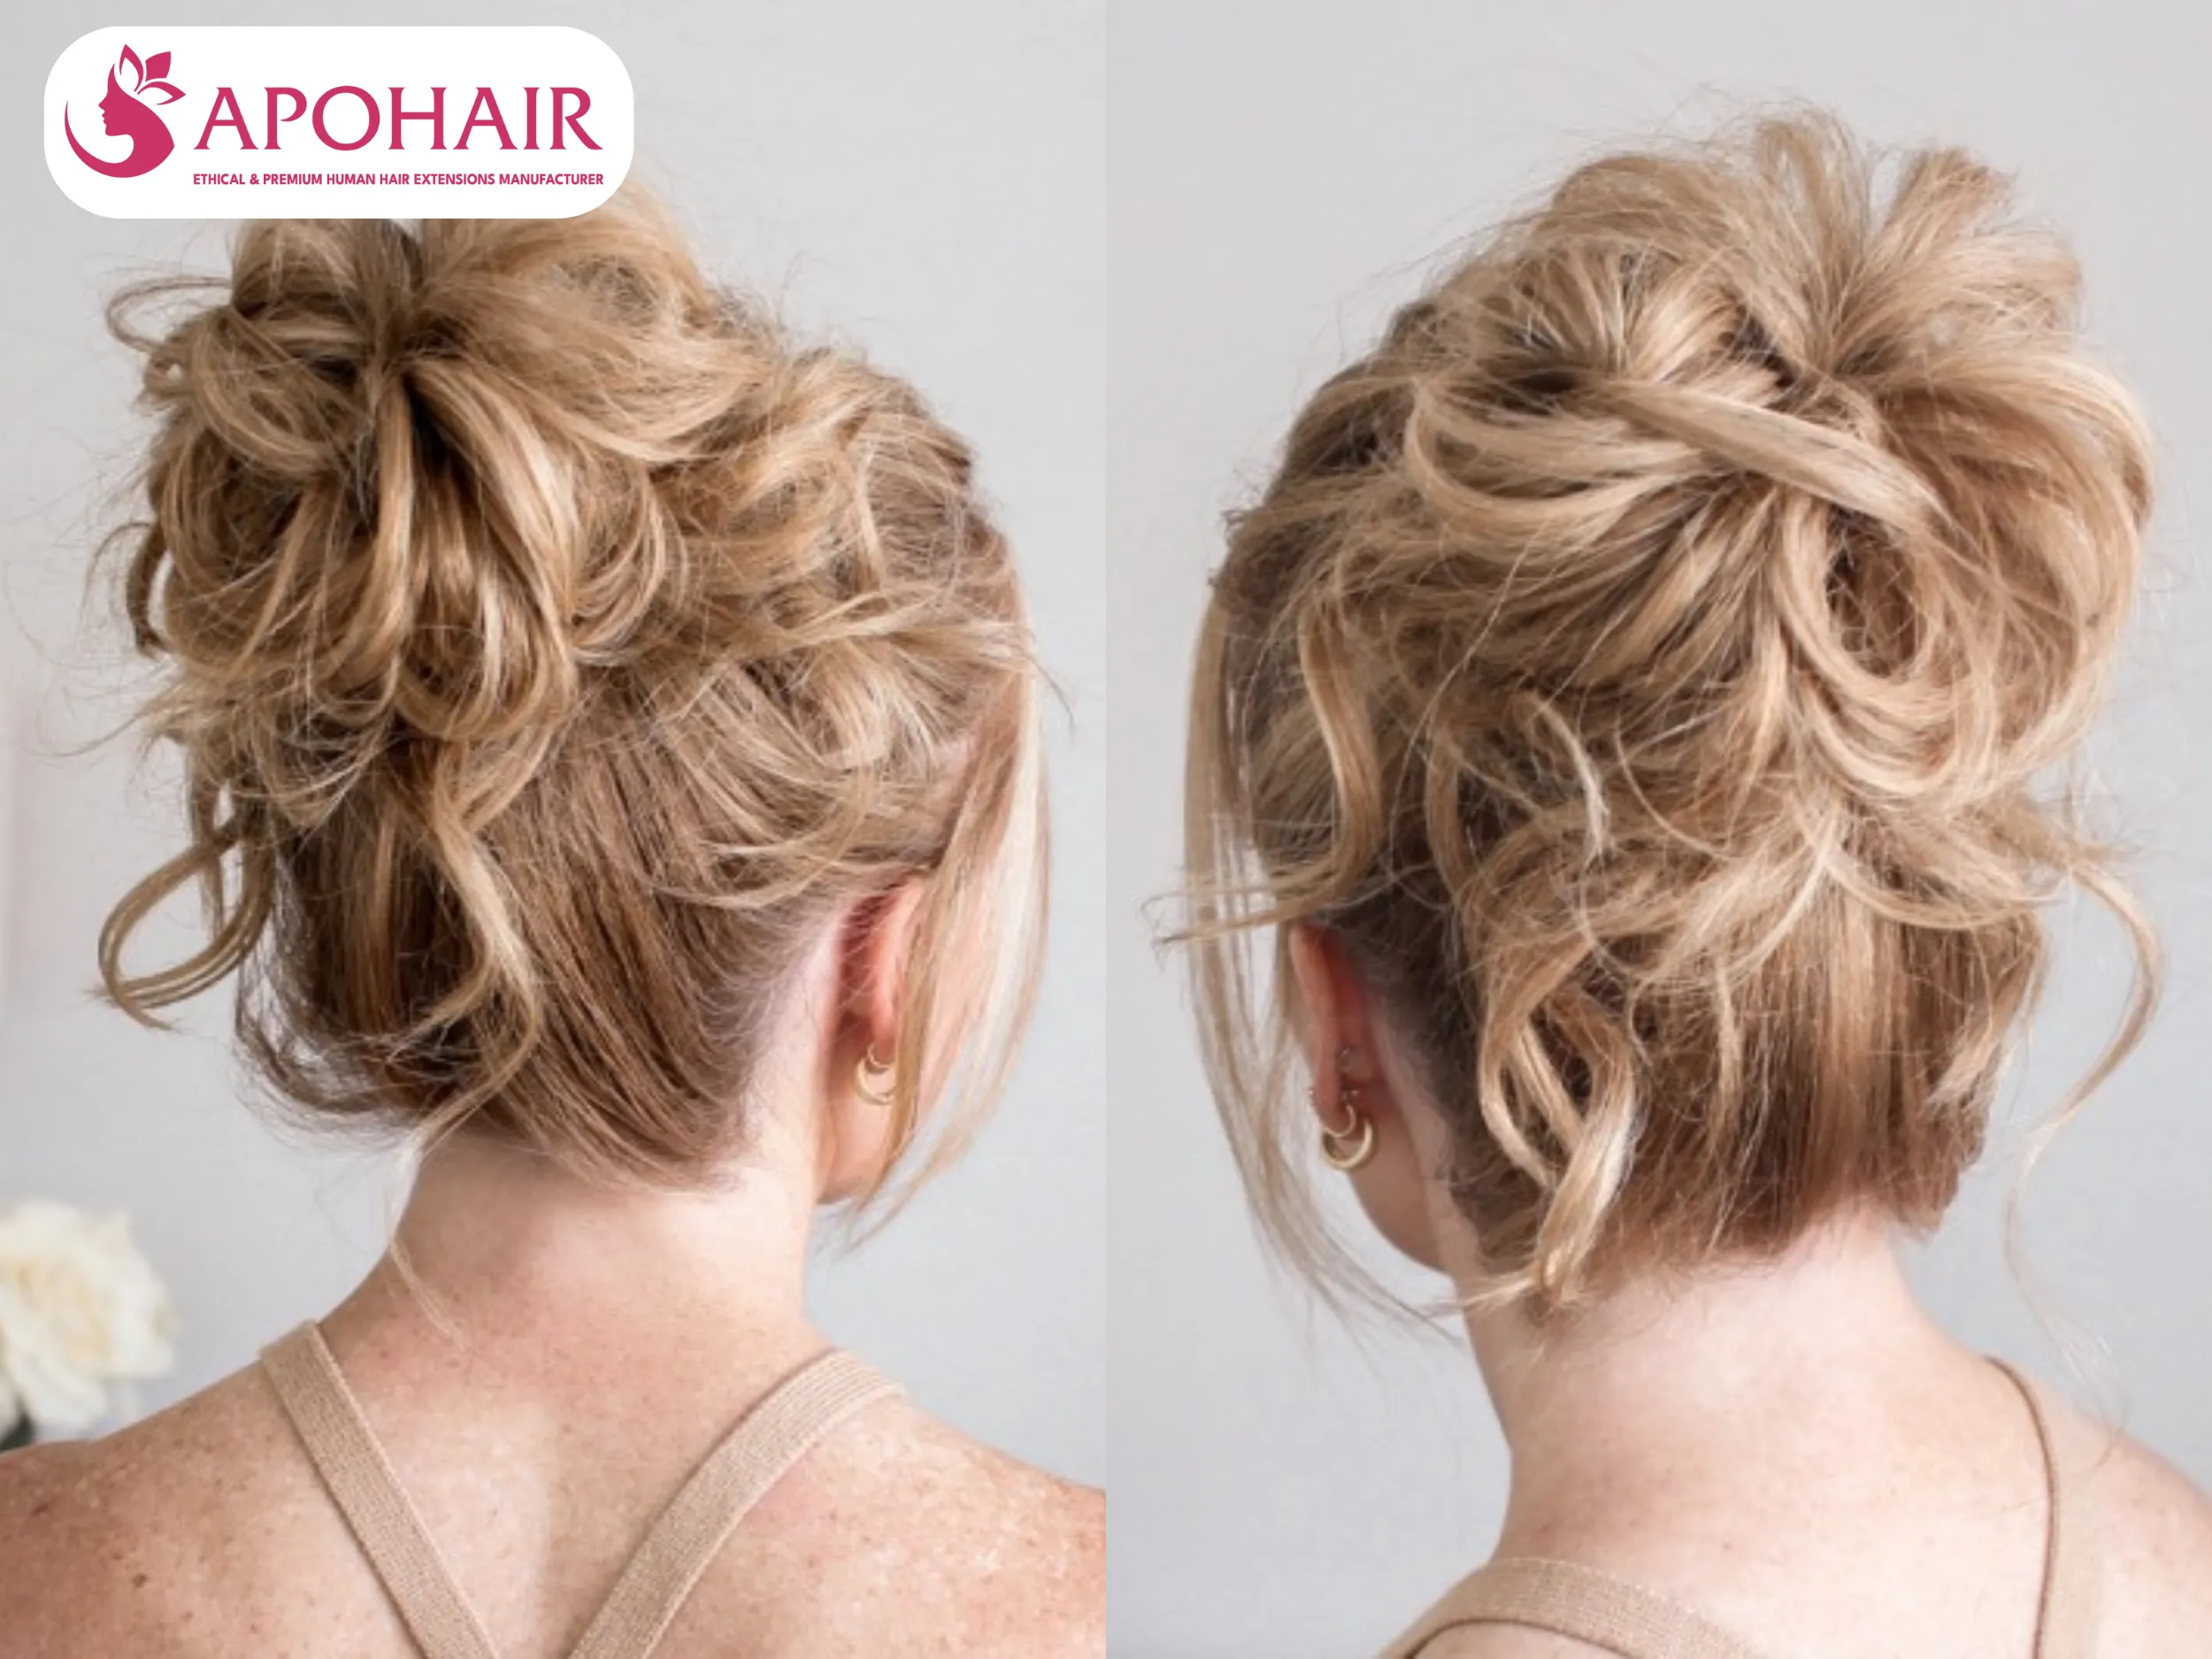
The Messy Bun with Curls: Loose curls gathered high in an intentionally undone style offer playful, romantic sophistication for everyday wear or special events.
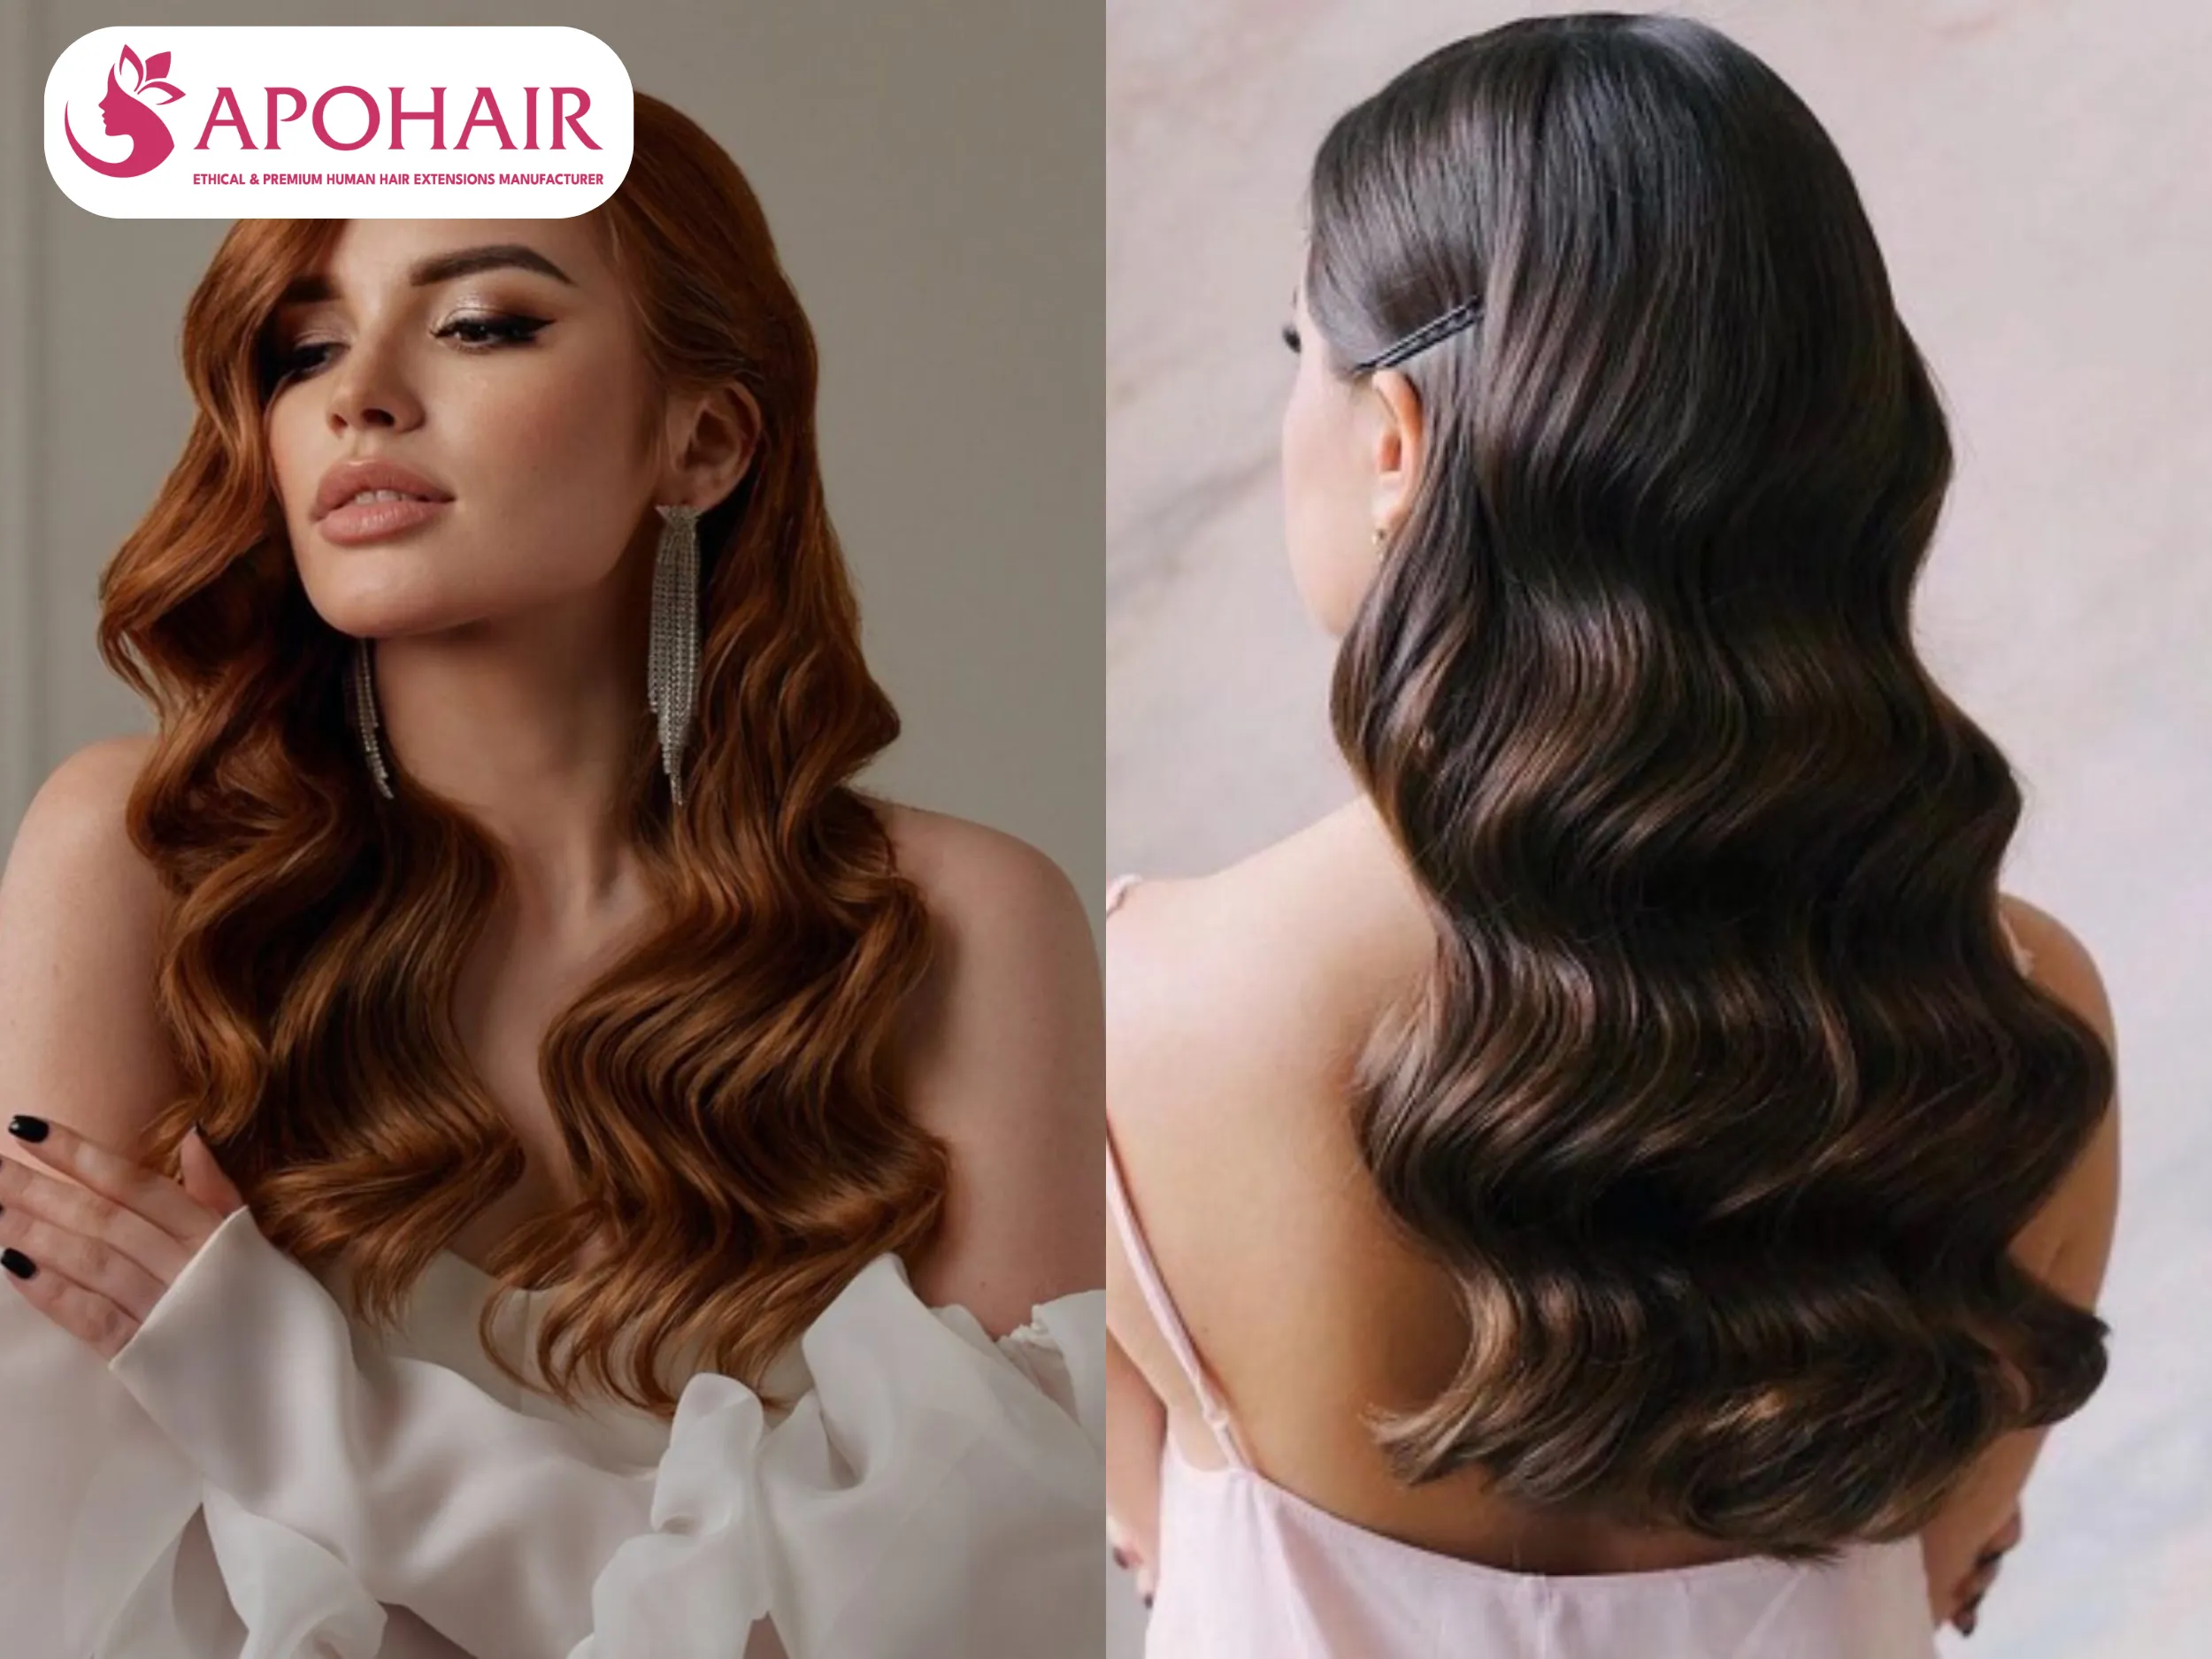
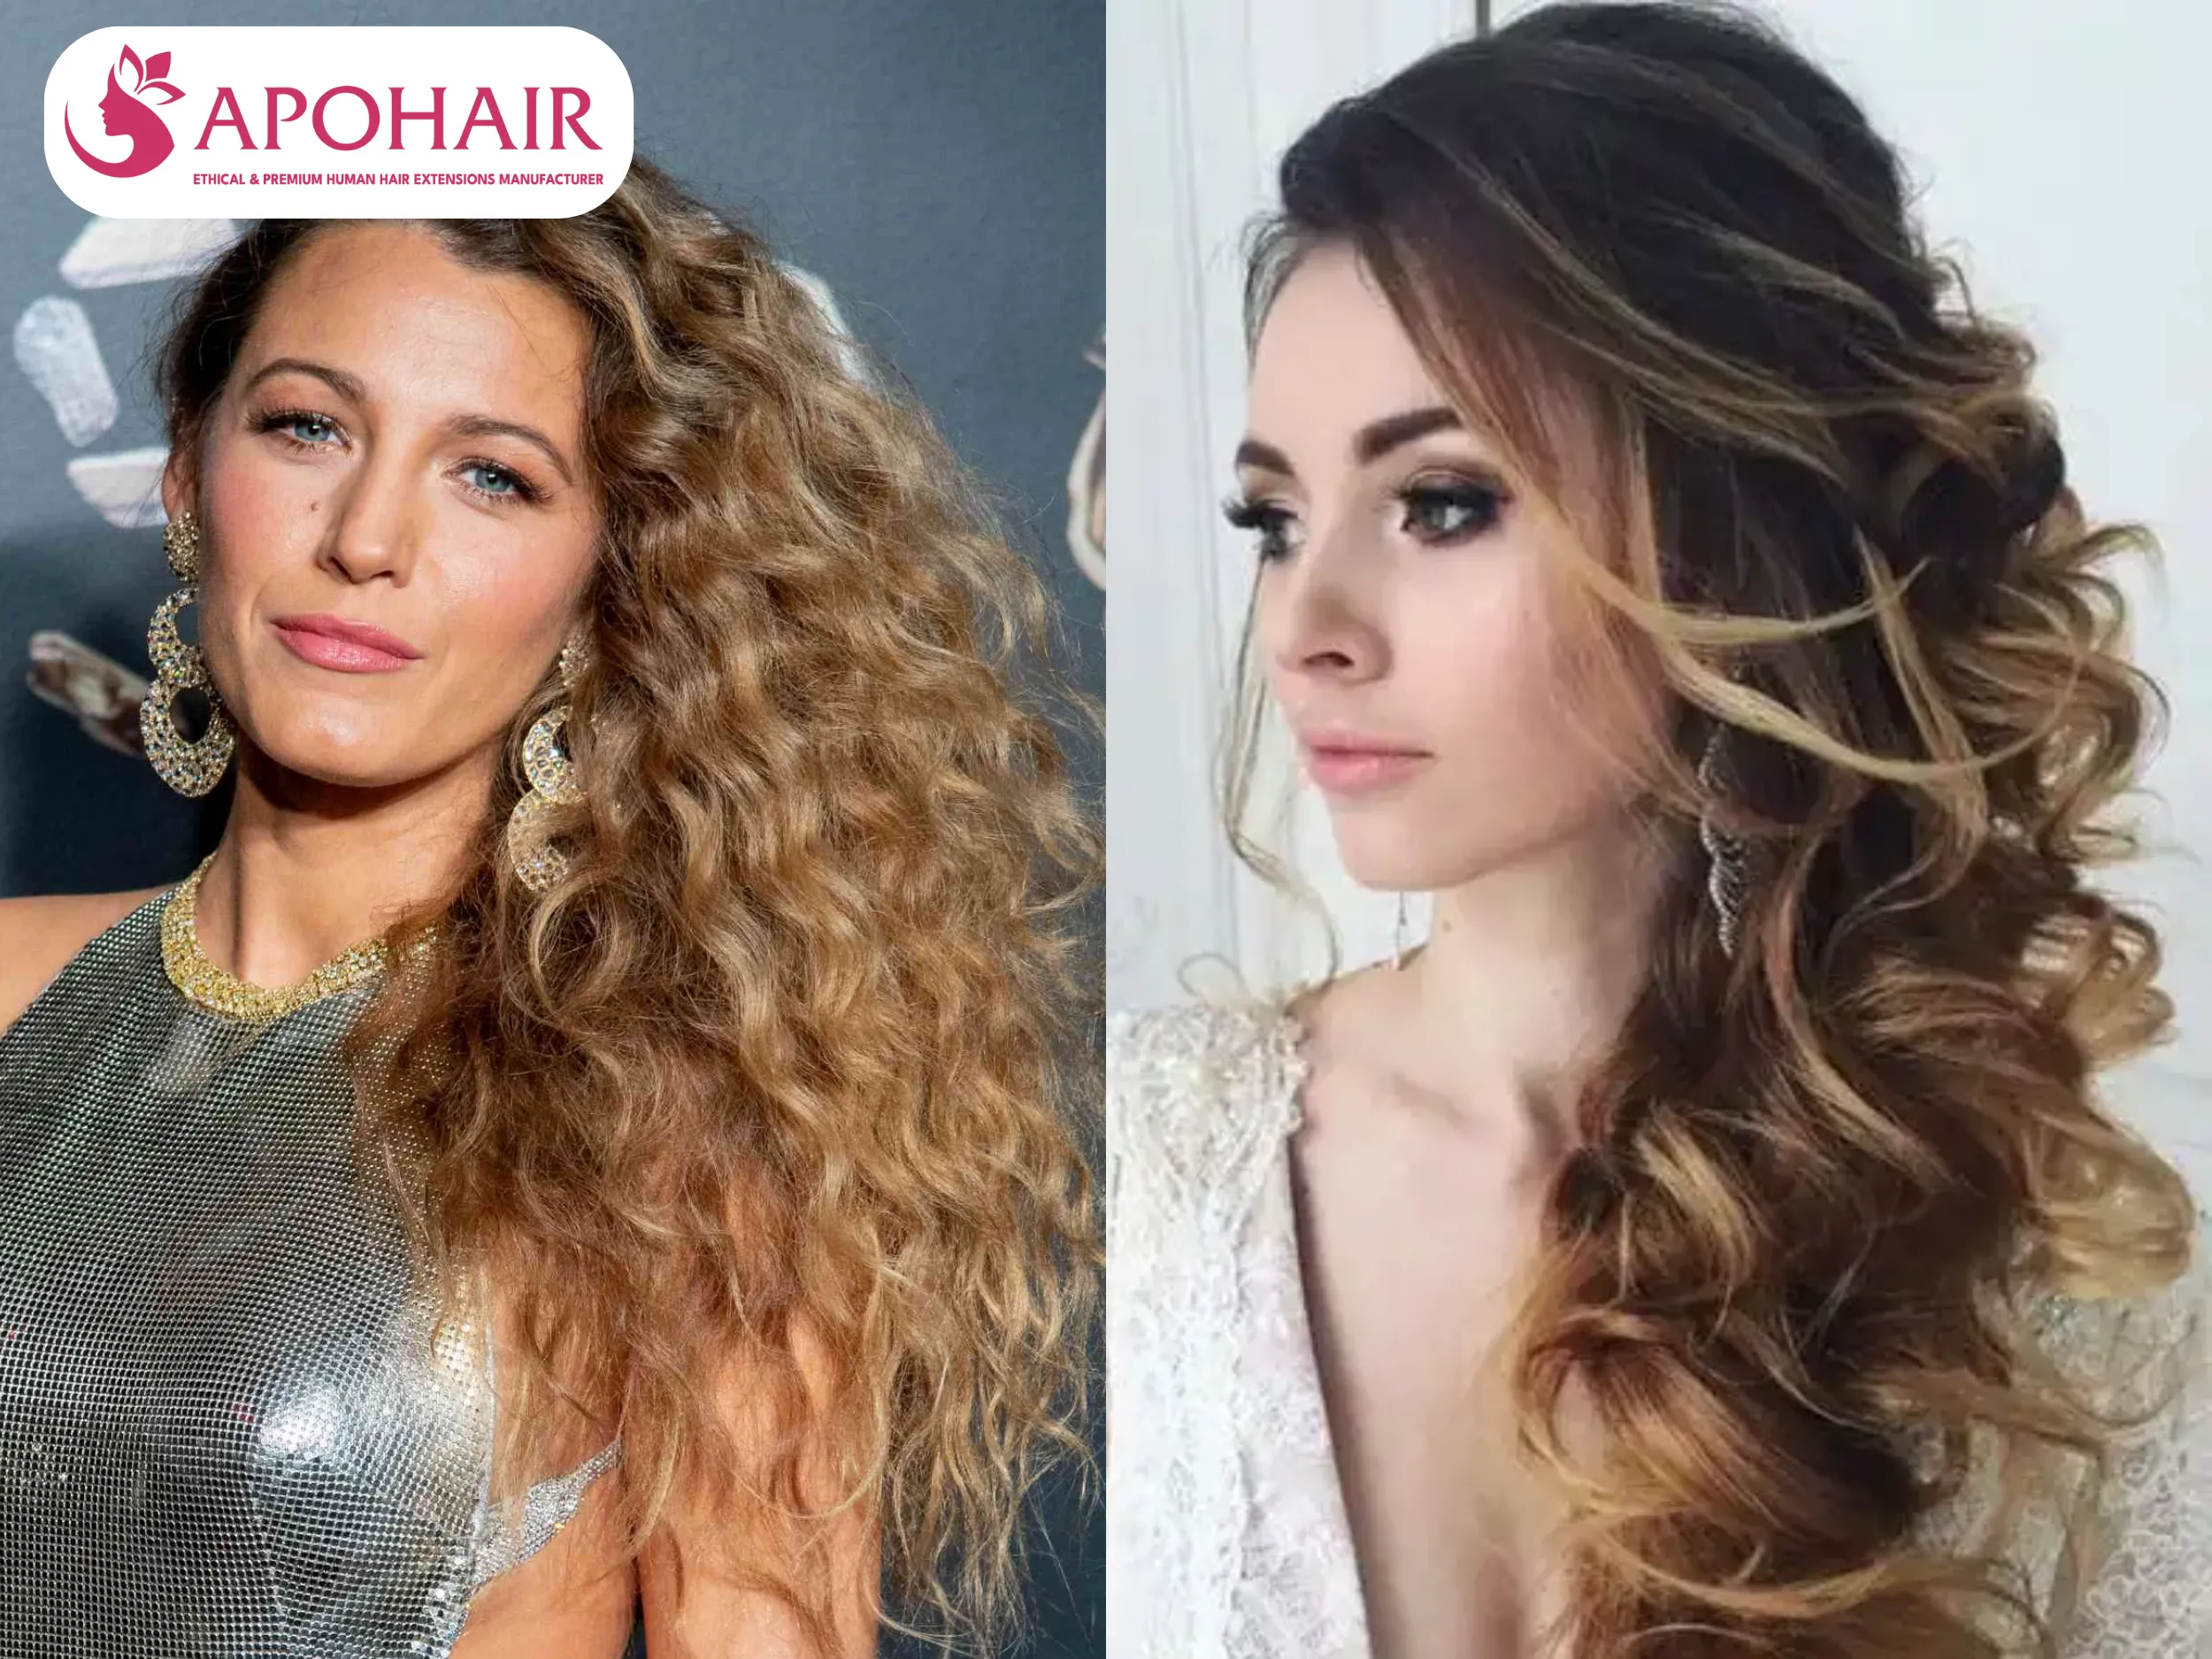
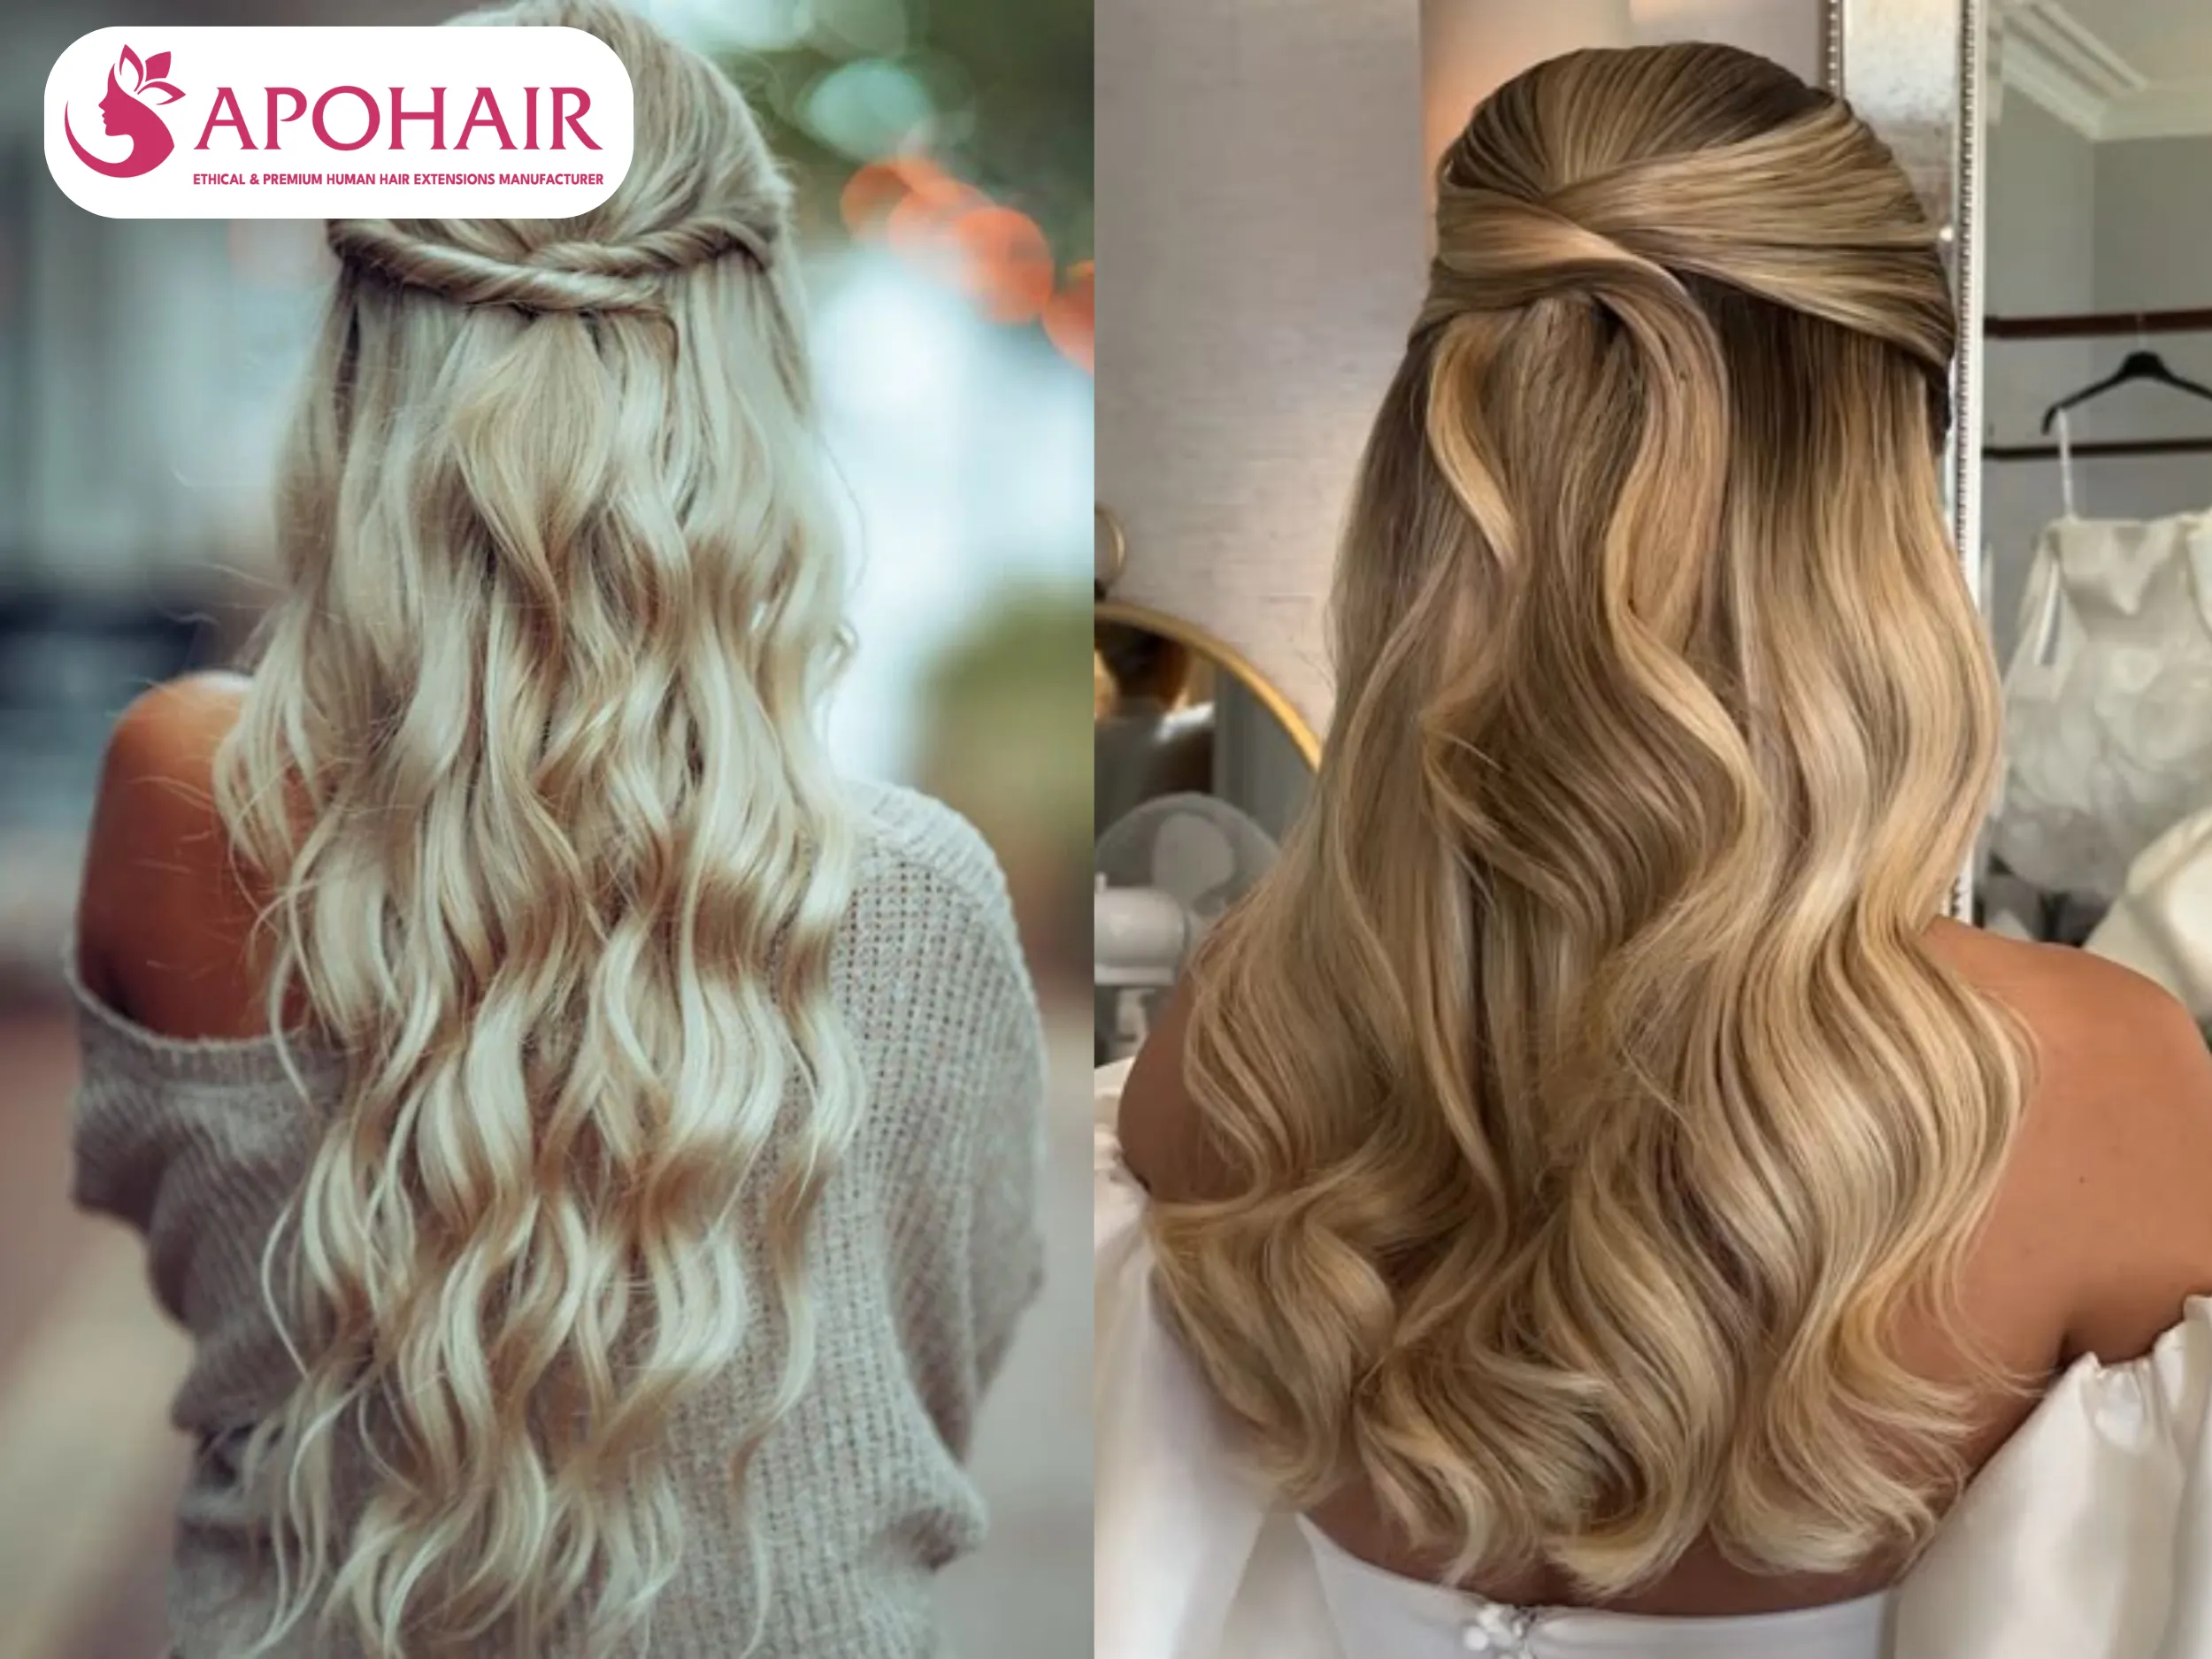
The Glamorous Hollywood Waves: Loose waves created with a large barrel iron then brushed out with shine spray deliver red-carpet worthy elegance and timeless beauty.
The Side Swept Curls: Parted deeply to one side with curls secured and flowing over one shoulder creates elegant asymmetry perfect for formal occasions.
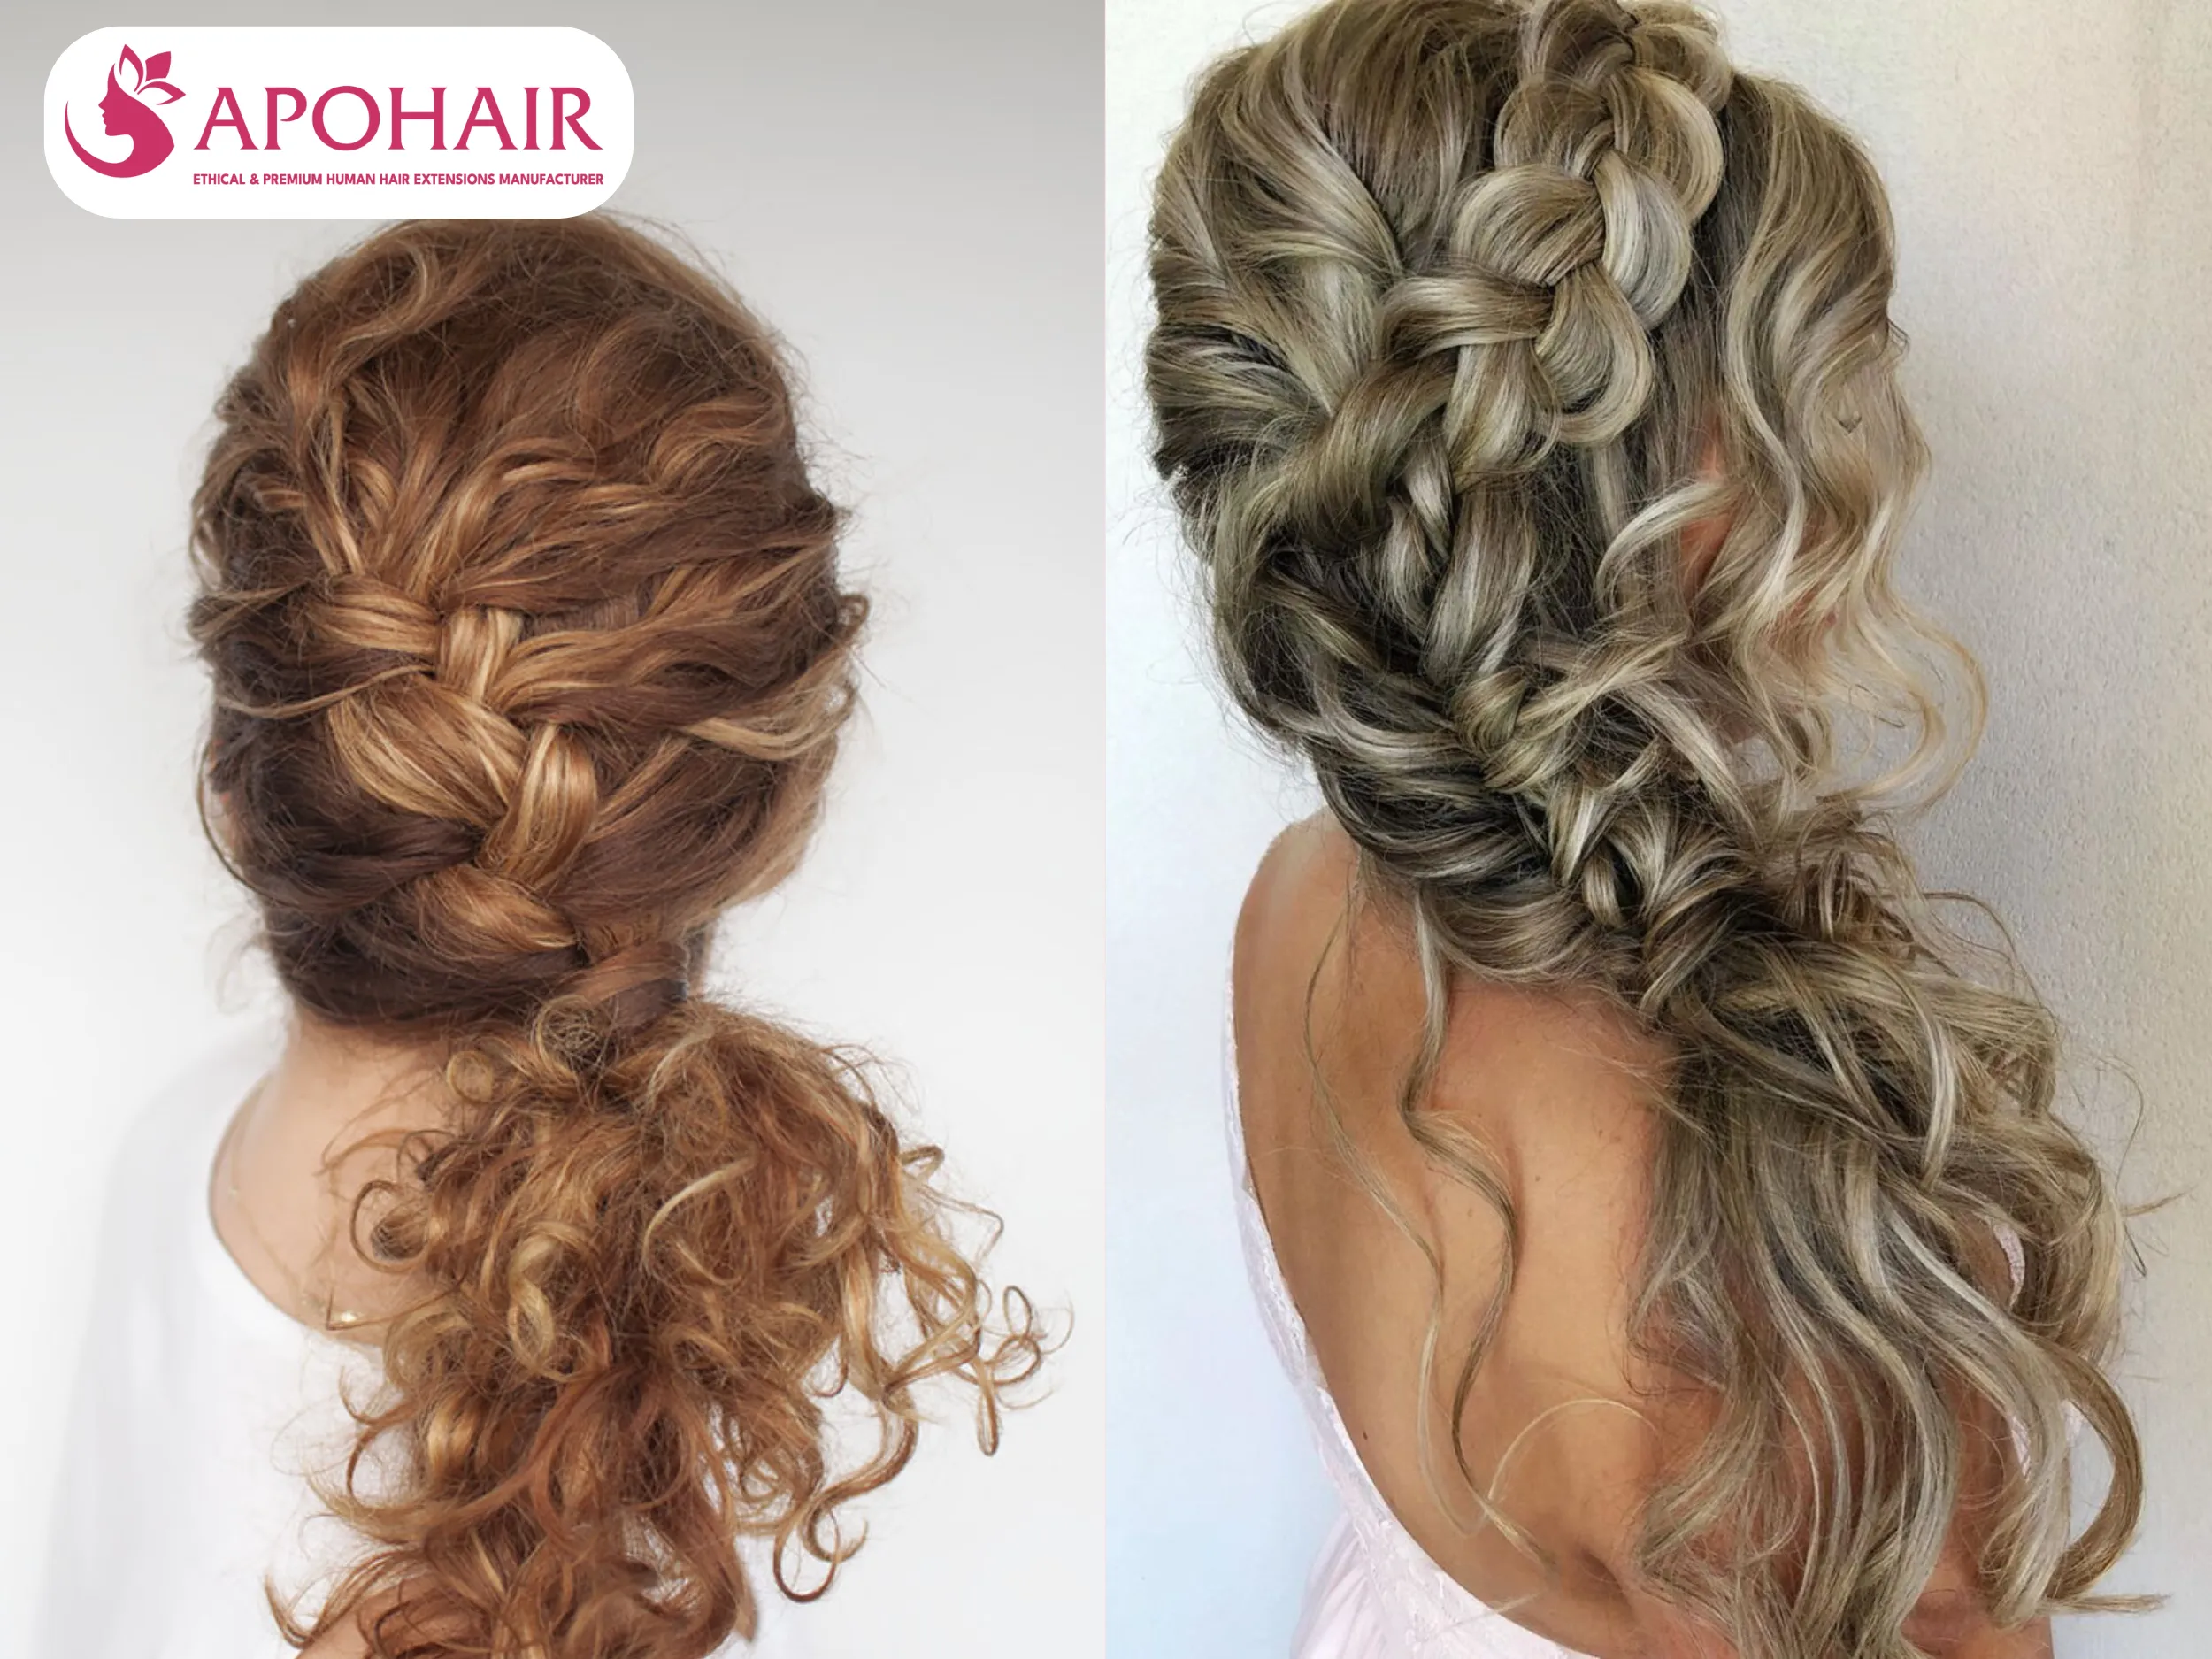
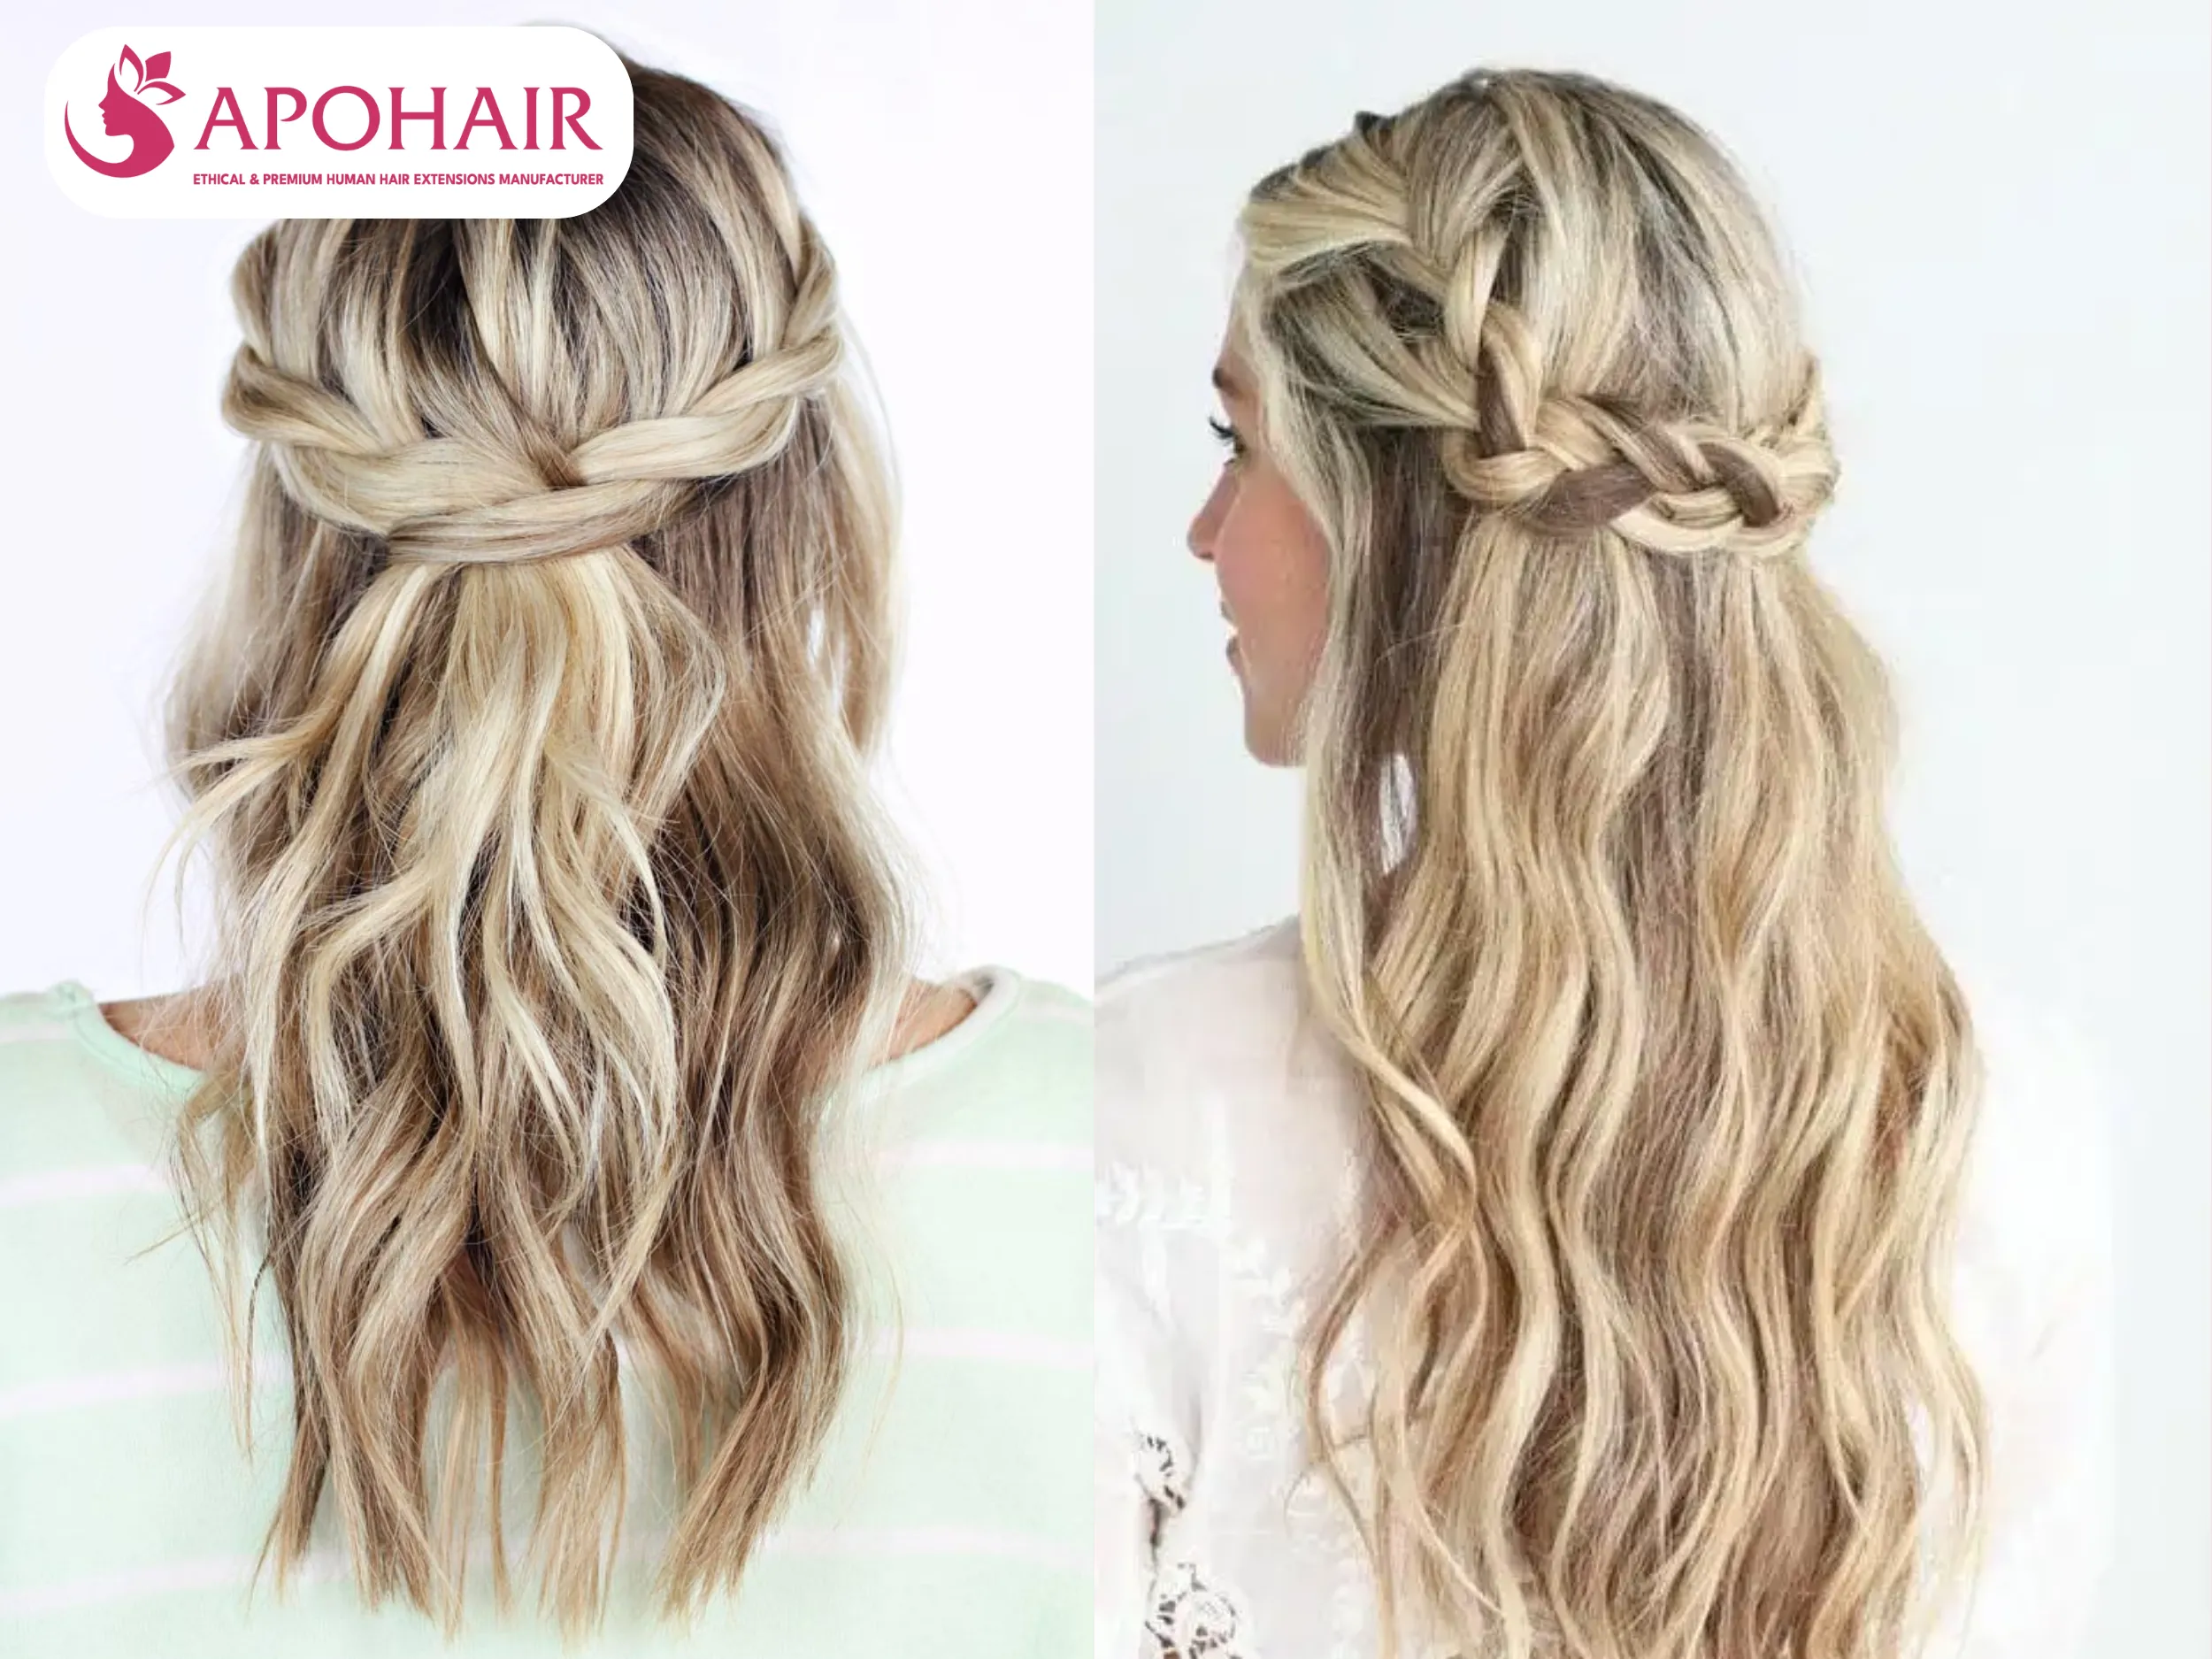
The Braided Crown: Two French braids crossed and pinned at the back create a regal crown effect with curls flowing beneath for bohemian elegance.
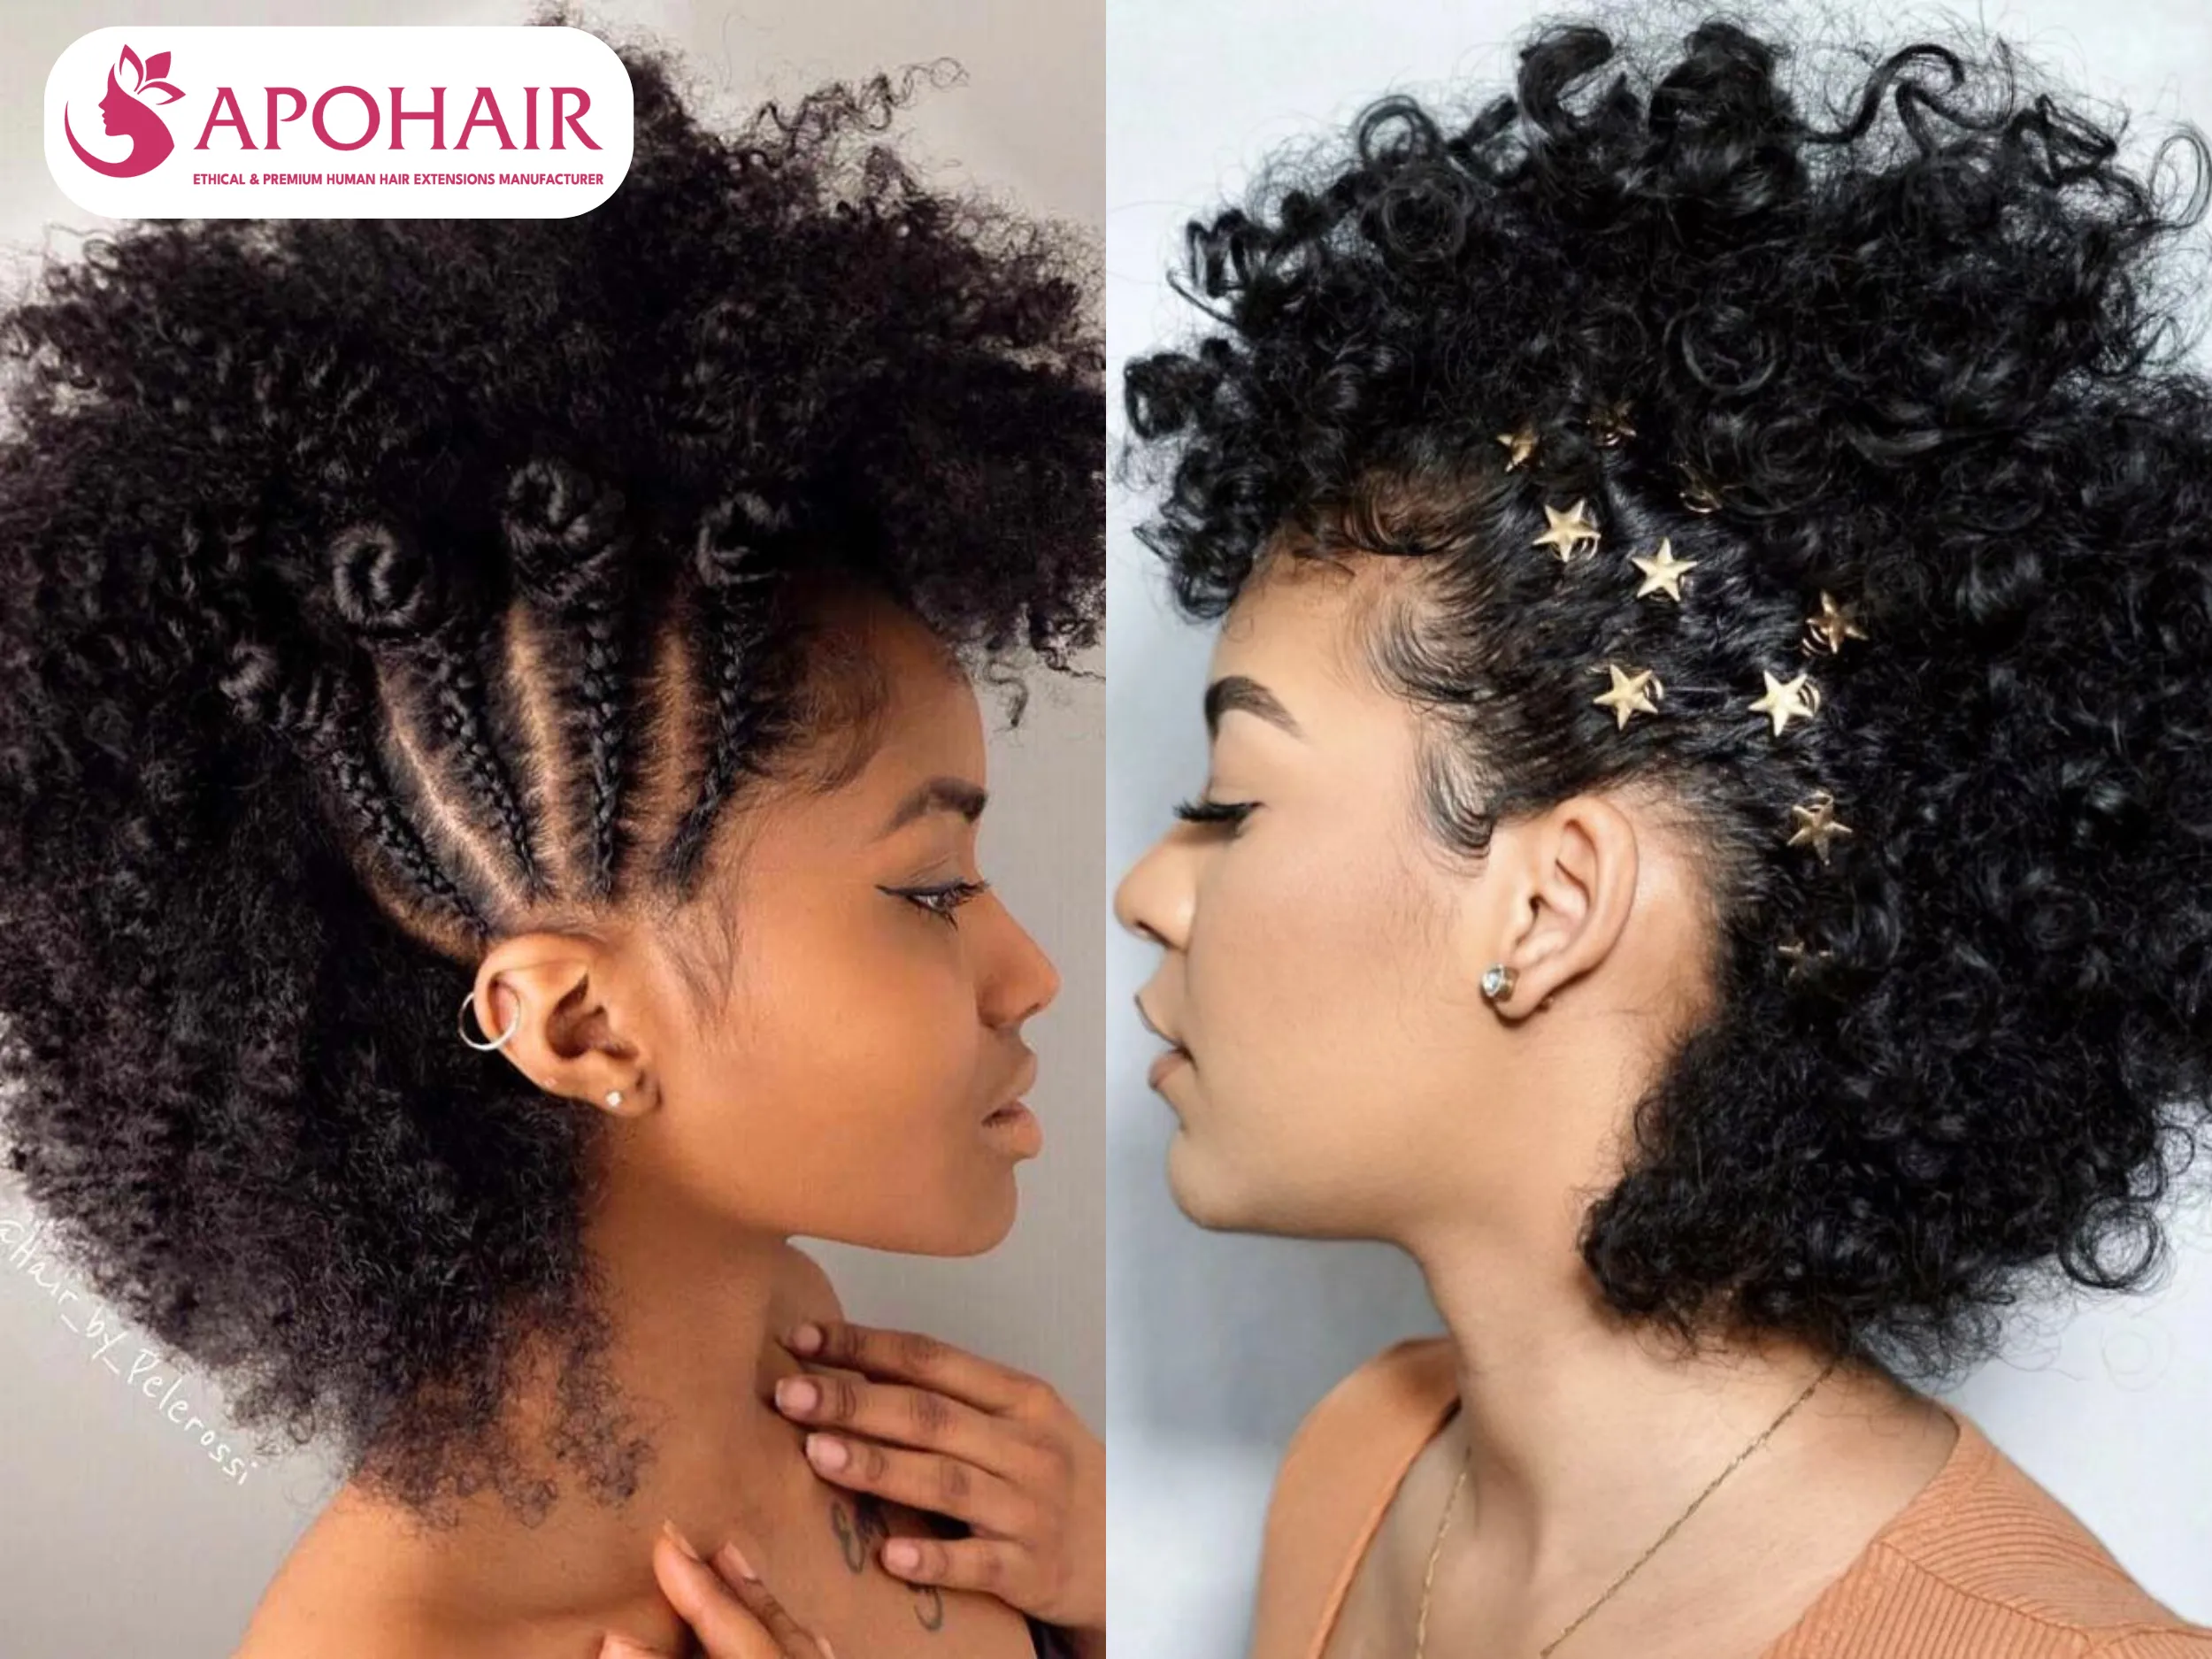
The Curly Faux Hawk: Middle section pinned up dramatically while sides flow free creates a bold, edgy look for those who love contemporary styling.
The Curly Side Braid: Hair swept to one side and loosely braided creates a carefree, youthful look perfect for daytime activities or casual gatherings.
The Curly Pixie Cut (Using Extensions): Extensions cut short and styled sassy create a statement look without the commitment of cutting your natural hair permanently.
Pulled Back Braids: Symmetrical fishtail braids along the hairline meet at the nape, creating a pulled-back style that showcases curls while keeping hair controlled.
Twist Pull Back: Two sections twisted from the part and quickly pinned at the back create an effortless style that highlights your curls beautifully.
The Romantic Halo Braid (Twisted Updo): Criss-cross twists around the crown form a delicate updo design that combines elegance with romantic, whimsical appeal for special moments.
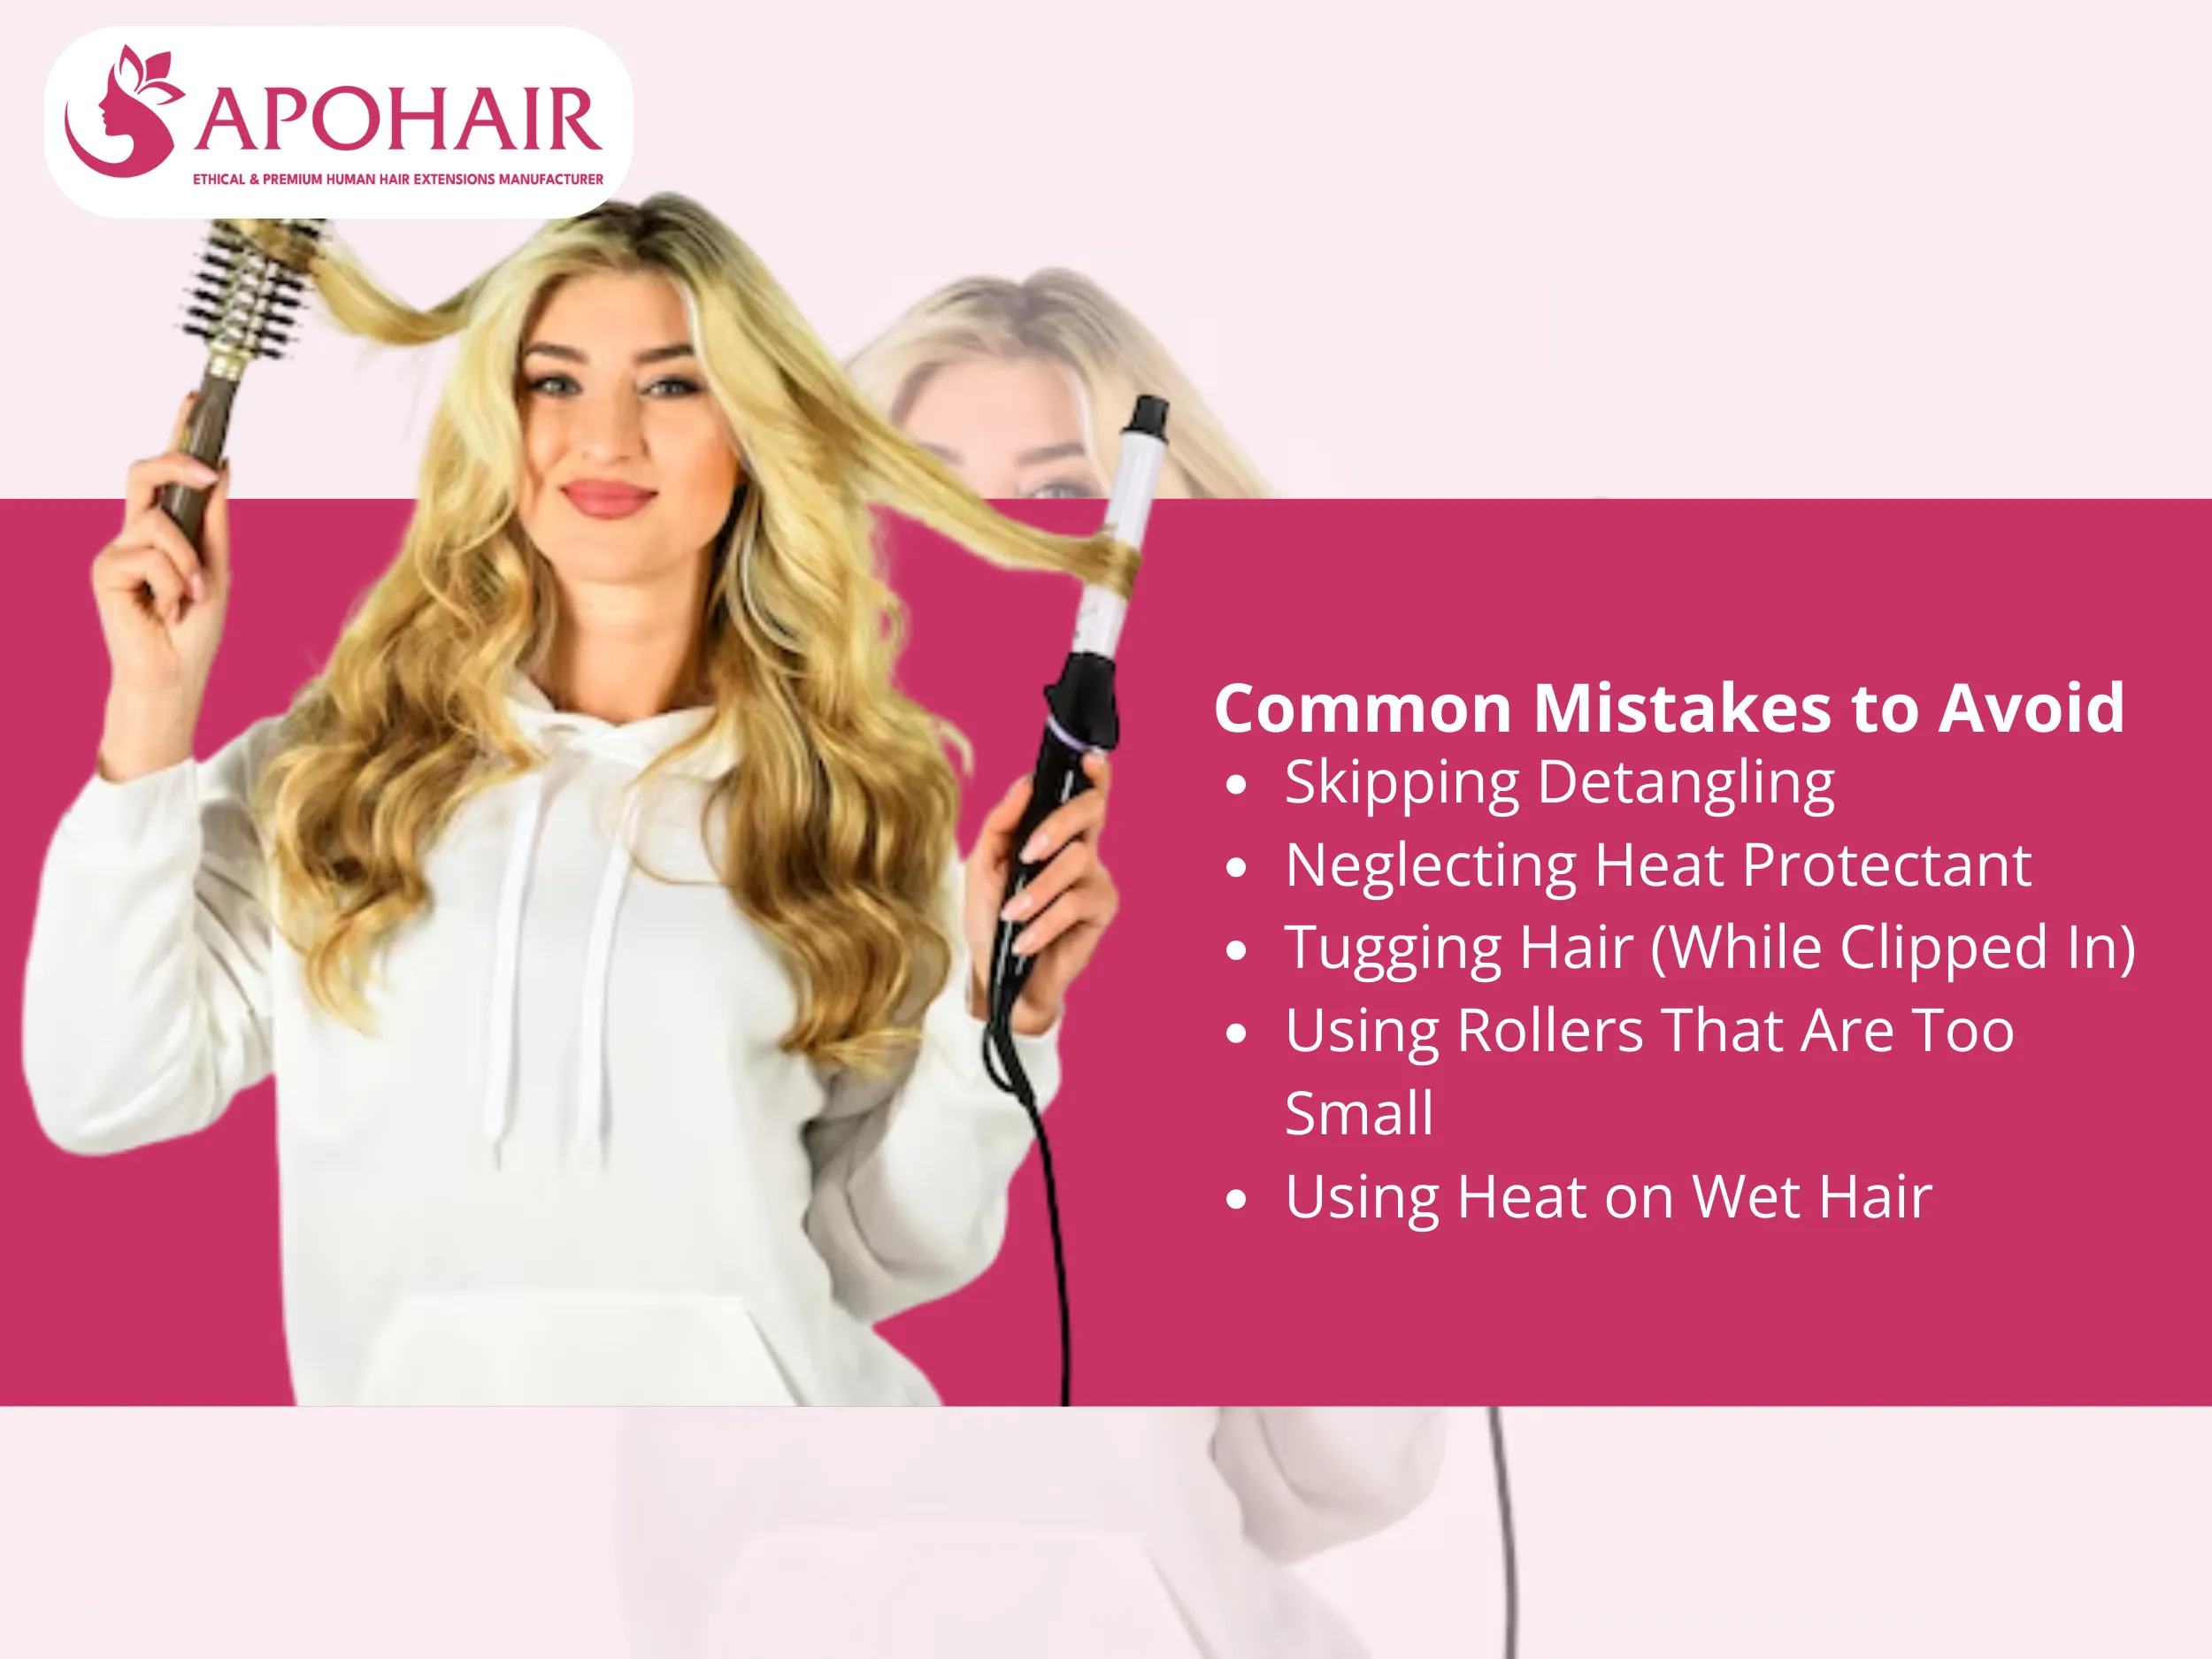
Common Mistakes to Avoid When Curling Hair Extensions
Five common mistakes can damage your extensions or create unnatural-looking curls that don’t blend well with your natural hair texture.
Skipping Detangling: Not brushing extensions before curling leads to tangles, uneven curls, and potential damage to the hair strands and weft.
Neglecting Heat Protectant: Failing to apply heat protectant spray can cause severe heat damage and shorten the lifespan of your extensions.
Tugging Hair (While Clipped In): Hard pulling can cause the wefts to slip from your natural hair or damage the root area significantly.
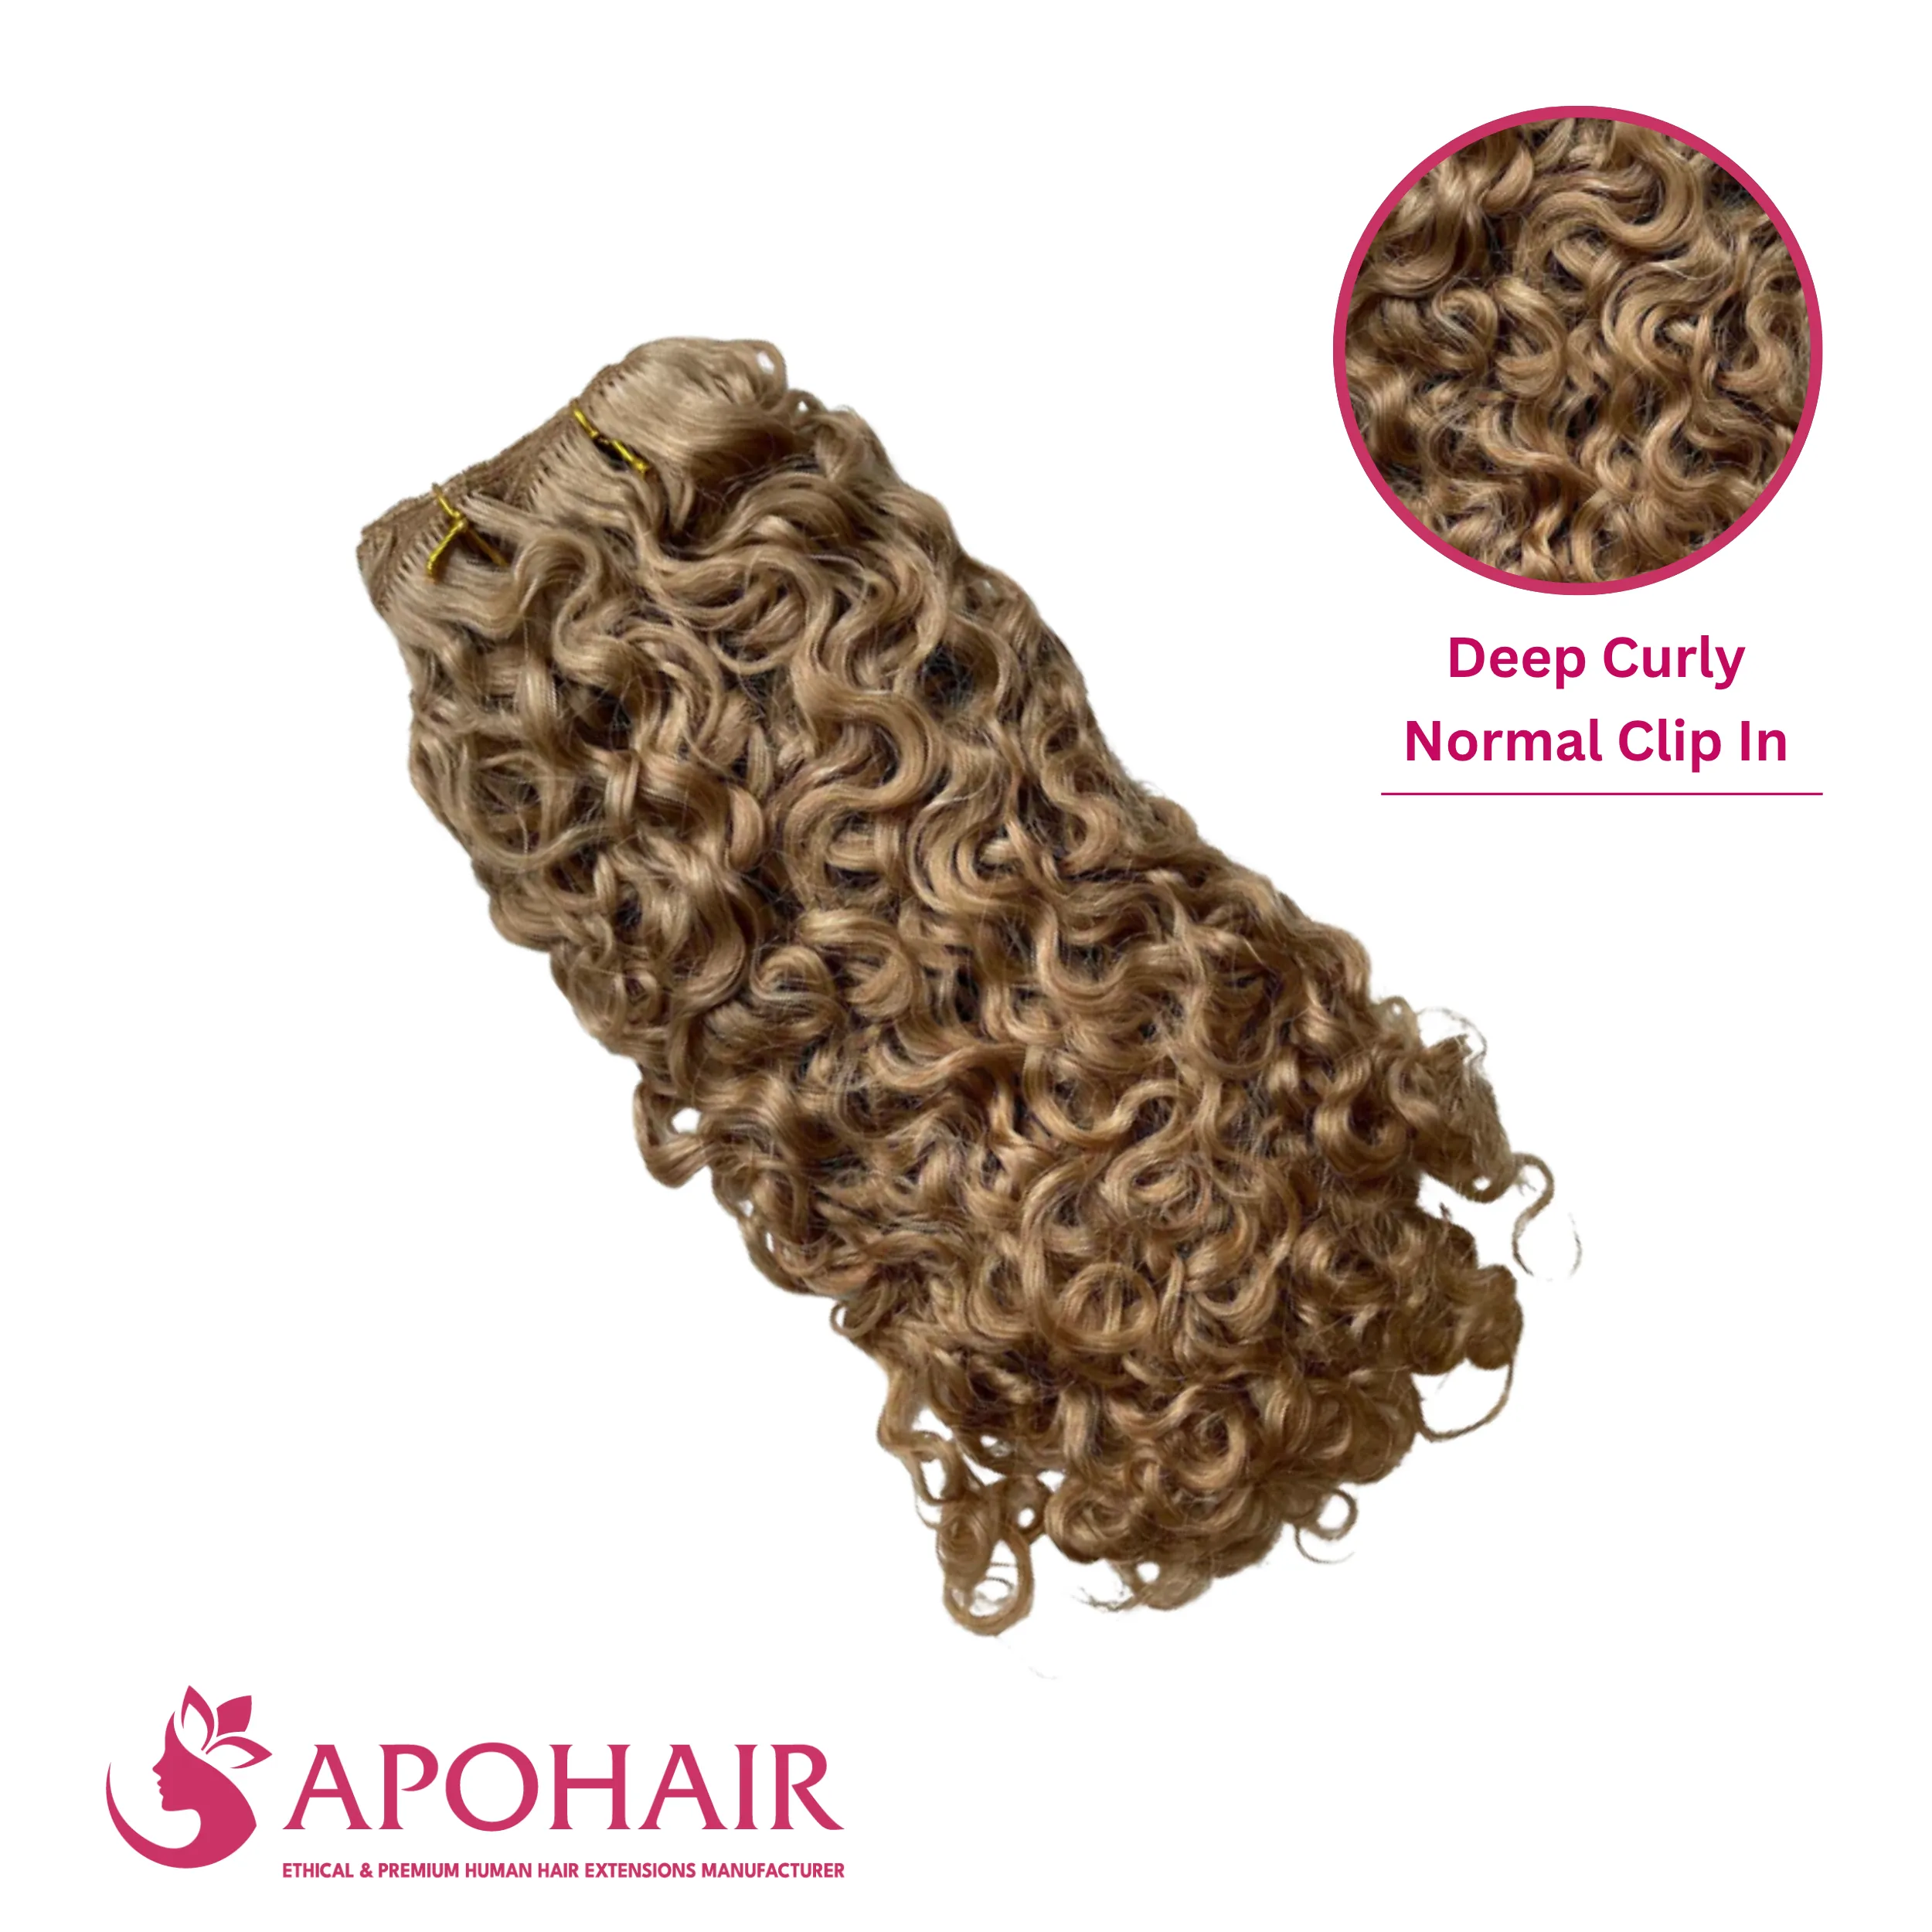
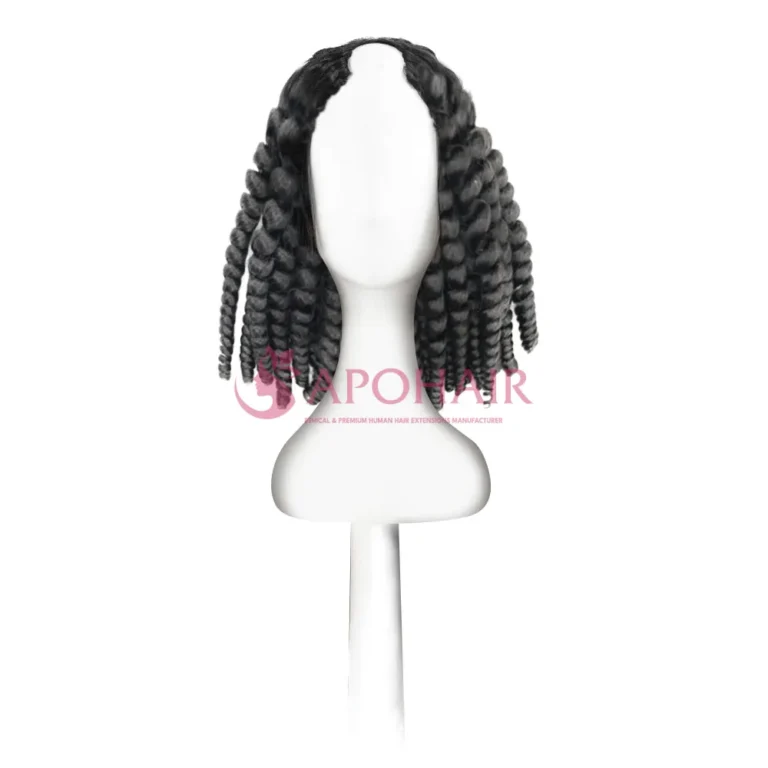
Using Rollers That Are Too Small: Small rollers result in tight curls instead of the desired soft, loose look that appears natural and flowing.
Using Heat on Wet Hair: Only curl with heat when hair is 100% dry; for heatless methods, hair should be 70% dry only.
Common Mistakes to Avoid When Curling Hair Extensions
Curling hair extensions requires the right tools, proper preparation, and choosing between heat or heatless methods based on your hair type and styling needs. APOHAIR extensions are crafted from 100% Vietnamese Virgin human hair, making them an ideal choice for salons and distributors looking for wholesale hair extensions in Vietnam, while allowing you to curl, style, and transform them just like your natural hair without compromising quality or longevity. Start with proper detangling, apply heat protectant, and experiment with different curling techniques to find what works best for your lifestyle and desired look.
Tony Phan
Phan Van Toan (Tony Phan), born in 1980, is the esteemed CEO of Apohair, a renowned company specializing in hair extensions. With a passion for the beauty industry, Toan has accumulated extensive experience in the field of hair extensions. His journey began 12 years ago when he recognized the transformative power of high-quality hair extensions and their ability to boost confidence and enhance natural beauty.