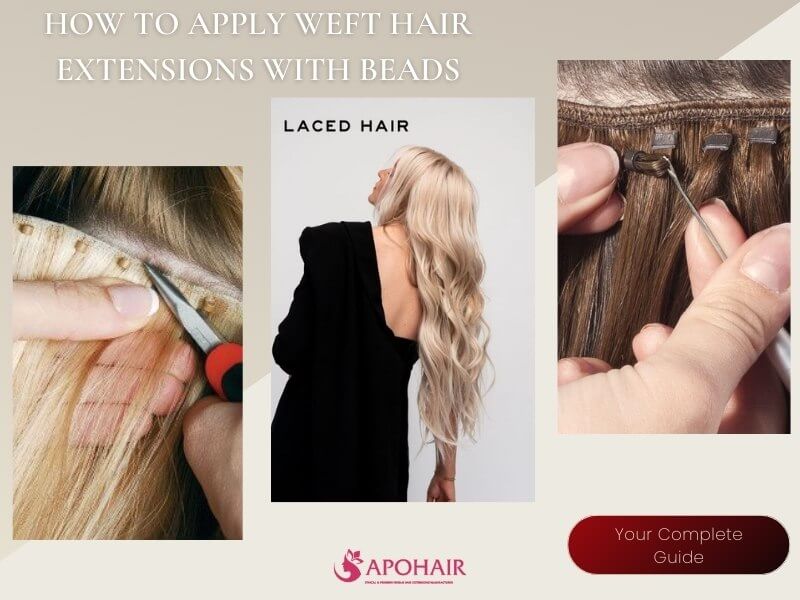
How to Apply Weft Hair Extensions with Beads: Your Complete Guide
Weft hair extensions are a great way to add length, volume, and thickness to your natural hair without the use of heat or glue. In this blog, we’ll cover everything you need to know about how to apply weft hair extensions with beads – a popular method that is both gentle on your hair and long-lasting when properly maintained.
Get Ready: What You Need Before Applying Weft Hair Extensions with Beads
Before diving into the process, it’s essential to make sure you have the right preparation and tools in place. By doing so, you can ensure a smooth application and a flawless final look. Here’s what you need to know.
Tools You’ll Need to Apply Weft Hair Extensions with Beads
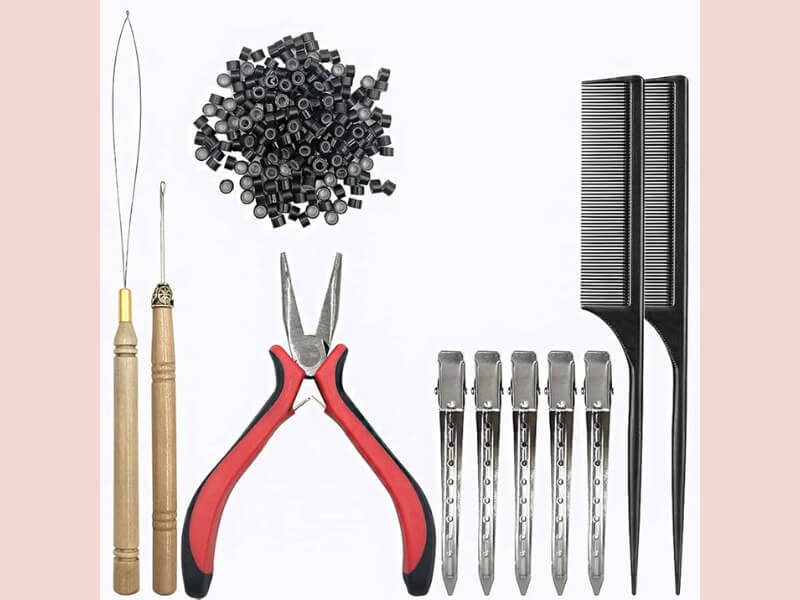
- Microbeads (or Micro Rings): These tiny silicone-lined rings are what hold your natural hair and the weft in place. They come in different colors to match your hair, so be sure to choose the closest color for an invisible finish.
- Beading Tool (Loop Tool): This tool is used to pull small sections of your natural hair through the microbeads. It’s a simple tool, but it’s essential for speeding up the application process and ensuring each bead is correctly positioned.
- Pliers: Once you’ve threaded the beads onto your hair and added the weft, you’ll need pliers to clamp the beads in place. Use pliers designed specifically for hair extensions—these have a smooth surface to avoid damaging the beads or your hair.
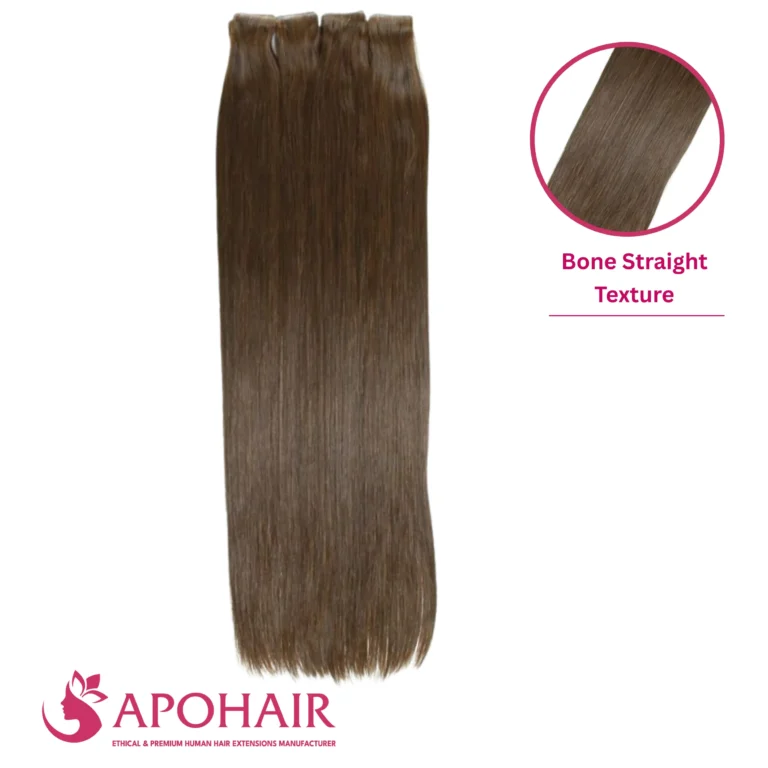
- Weft Hair Extensions: The star of the show! Your weft extensions can be hand-tied or machine-tied. Hand-tied wefts are thinner and great for finer hair, while machine-tied wefts offer extra volume for thicker hair.
- Sectioning Clips: You’ll need to section your hair as you go, so make sure you have a few strong clips handy to keep your hair out of the way while applying the wefts.
- Tail Comb: A tail comb is perfect for creating clean, straight partings in your hair. You’ll be using this to divide your hair into sections, so having a tail comb makes the job easier and ensures a neat application.
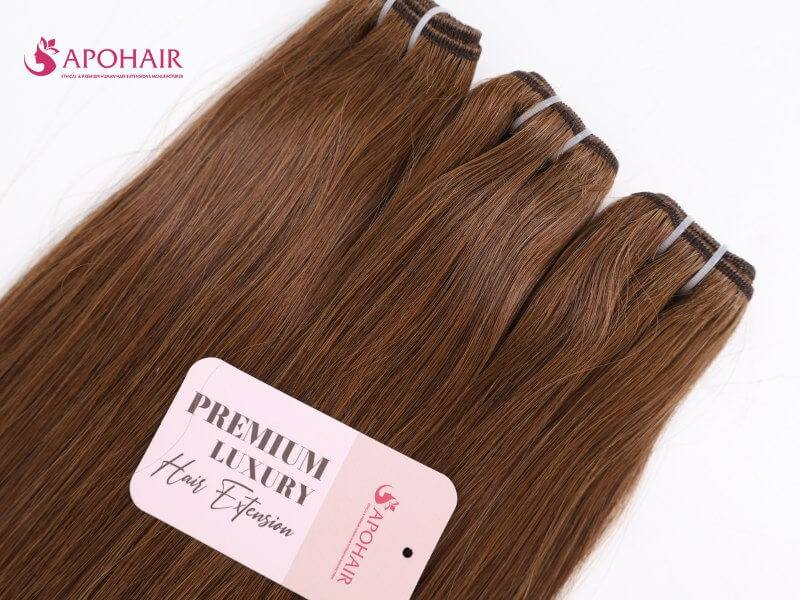
Choosing the Perfect Weft Extensions for You
When learning how to apply weft hair extensions with beads, choosing the right type of extensions is just as important as having the right tools. Let’s break down the most common types of wefts so you can make the best decision based on your hair type and desired look.
- Hand-Tied Wefts: These wefts are made by hand and have a super-thin seam, making them ideal for finer hair. They lay flat against your scalp, creating a very natural look without adding too much bulk. If you want a subtle, seamless appearance, hand-tied wefts are a great option.
- Machine-Tied Wefts: These wefts are thicker and stronger, making them perfect for those with thicker hair or those looking to add major volume. Machine-tied wefts can handle more wear and tear, so if you want something durable, this might be your choice.
- Genius Wefts: The Genius Weft is a relatively new innovation in hair extensions with incredibly thin yet strong, offering the natural blend of hand-tied wefts with the durability of machine-tied wefts. Unlike traditional wefts, the Genius Weft has no return hair, which makes it virtually undetectable, lightweight, and totally comfortable.
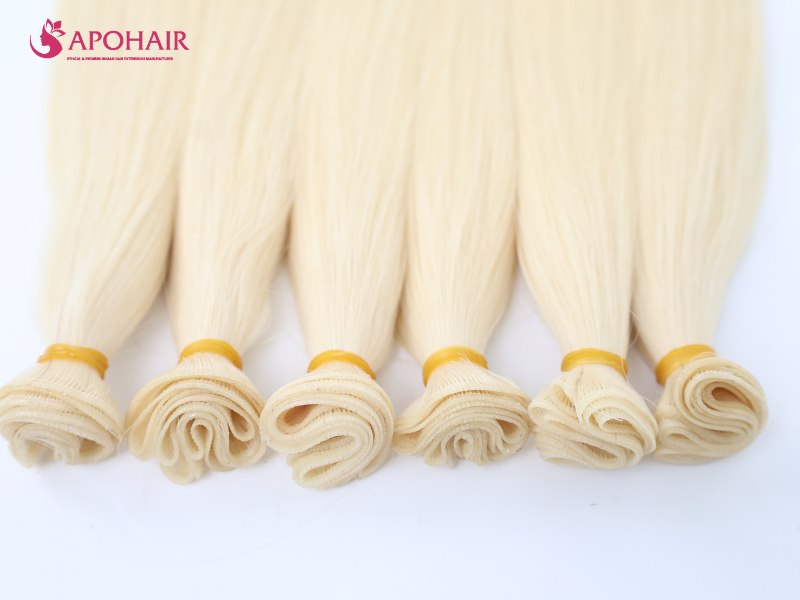
No matter which type of weft you choose, make sure you choose high-quality hair extensions from a reputable Vietnam hair supplier like Apo Hair. Quality makes all the difference in how natural your extensions look and how long they last. Investing in premium weft extensions ensures a better blend with your natural hair and makes the whole application process smoother.
Step-by-Step: Let’s Apply Weft Hair Extensions with Beads
Ready to see how to apply weft hair extensions with beads? Keep reading for the step-by-step guide to help you achieve a salon-quality result right at home!
Step 1: Section Your Hair
* Ensure your hair is clean and completely dry before starting.
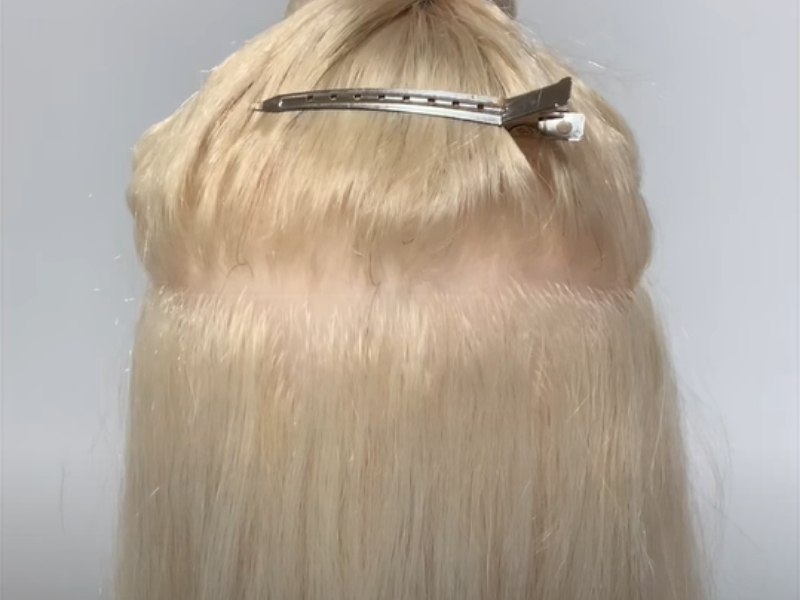
First, section your natural hair horizontally using a tail comb. Divide your hair into sections, depending on where you want the extensions to start. Clip the upper layers of your hair out of the way, leaving a small section near the nape of your neck to start applying for the extensions. Secure the sections with hair clips.
Step 2:Try Weft on Position
Hold the weft extension against the section of hair where it will be attached to check for placement. Make sure it aligns correctly and sits comfortably before securing anything. This ensures your extensions will blend seamlessly and feel natural.
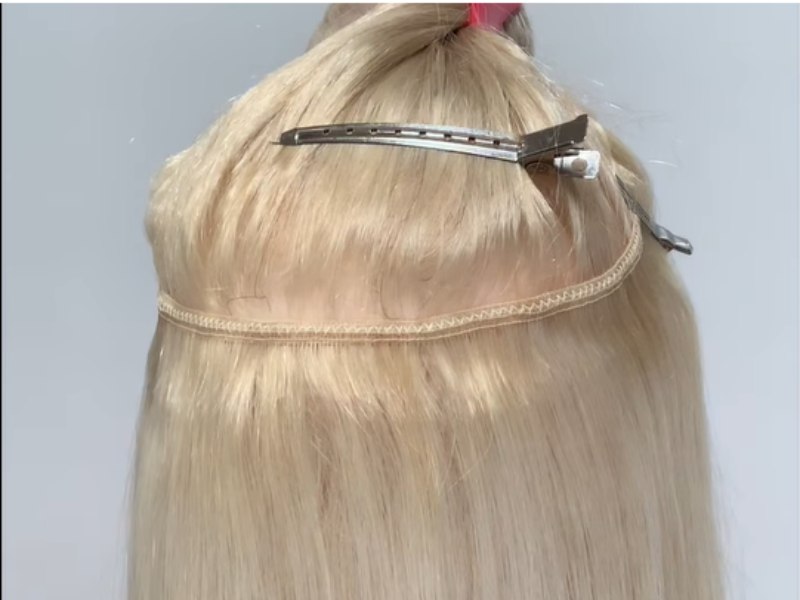
Step 3: Attach the Weft Hair Extension
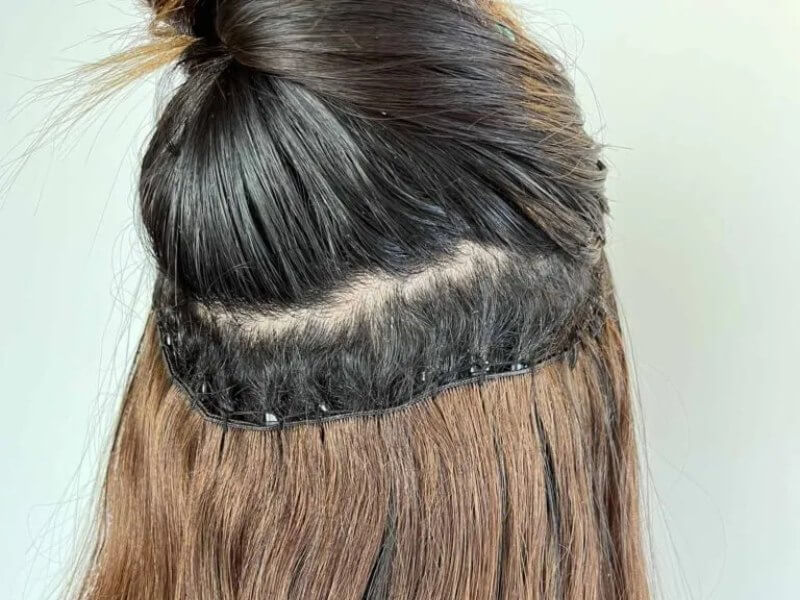
Take a small section of both your natural hair and weft hair then use your beading tool to thread it through a microbead. Position the bead close to the scalp but leave a little space for comfort and movement.
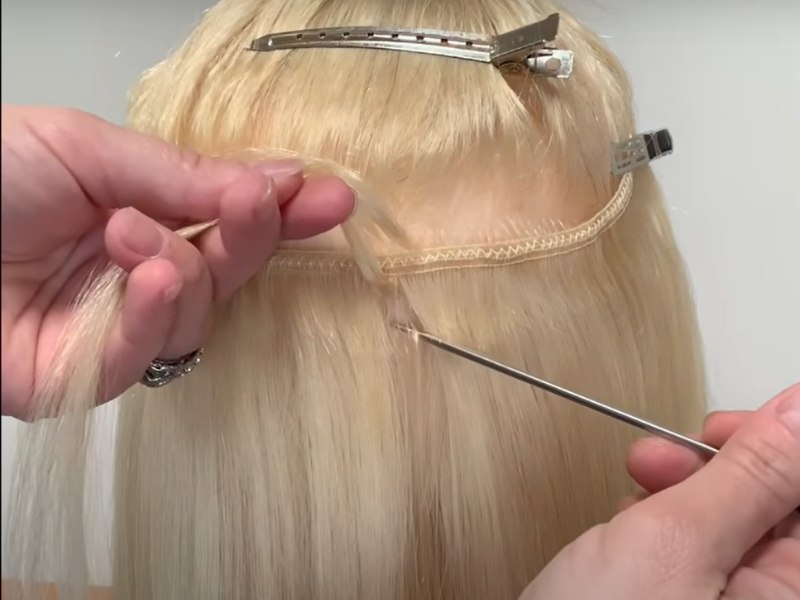
Step 4: Secure the Bead
Once the weft and bead are in place, use pliers to clamp the bead securely around your natural hair and the weft. Repeat this step across the entire horizontal section of hair until the weft is fully attached.
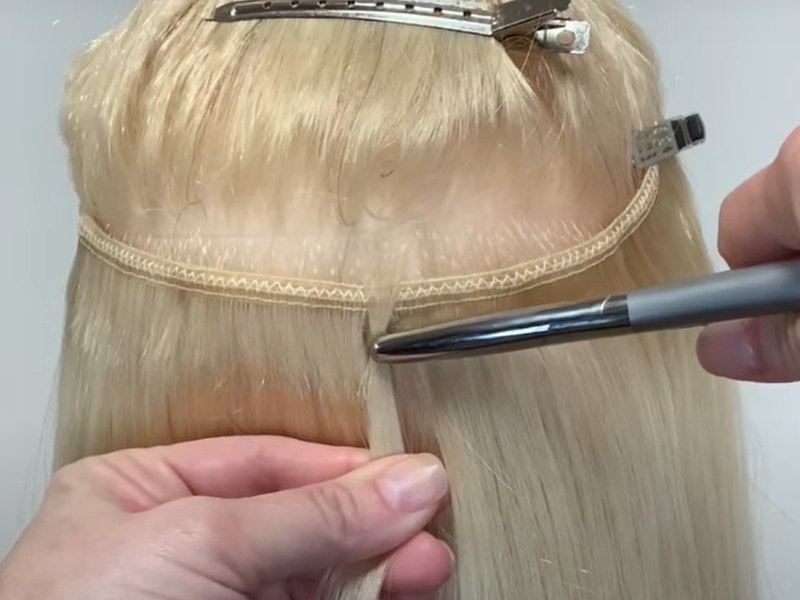
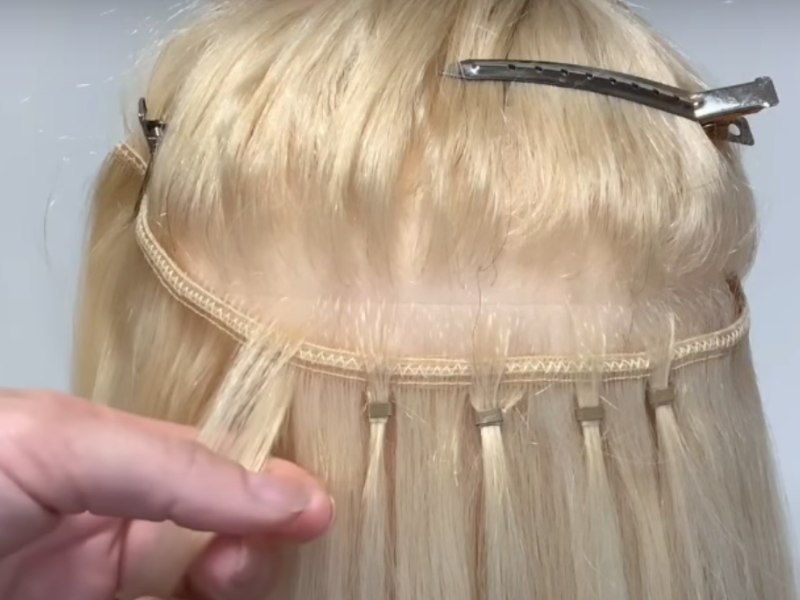
Step 5: Repeat in Sections
Move up your head, section by section, repeating the same steps. Add beads and attach wefts until your desired amount of volume and length is achieved.
Pros and Cons of Applying Weft Hair Extensions with Beads
Before fully committing to this method, it’s worth understanding the benefits and drawbacks.
Benefit
- No Heat or Glue: One of the biggest advantages of applying weft hair extensions with beads is that it doesn’t require heat or glue, reducing the risk of damage to your natural hair.
- Reusability: You can reuse both the wefts and the beads after taking them out, which makes this method cost-effective in the long run.
- Natural Look and Feel: The beads are small and discreet, sitting flat against the scalp, so the wefts blend seamlessly into your natural hair. Knowing how to apply weft hair extensions with beads ensures no stiffness or hard bonds, allowing for the free movement of your hair.
- Comfort: The bead method is known for being comfortable once applied. Since the beads allow for some movement, your scalp doesn’t feel tight or pulled
Drawnbacks
- Regular Maintenance: To keep your extensions looking fresh, you’ll need regular maintenance visits to adjust the beads, as they can slip or loosen over time.
- Not Suitable for Very Fine or Thinning Hair: The weight of the weft combined with the tension from the beads can be a bit too much for very fine or thinning hair.
- Application Can Be Time-Consuming: Applying weft hair extensions with beads is a precise process that takes time—especially if you’re new to the method. Depending on how many wefts you want and how experienced the person applying them is it could take several hours to complete the application.
How to Care for Your Weft Hair Extensions After Applying Them
Proper care is essential to prolong the life of your weft hair extensions.
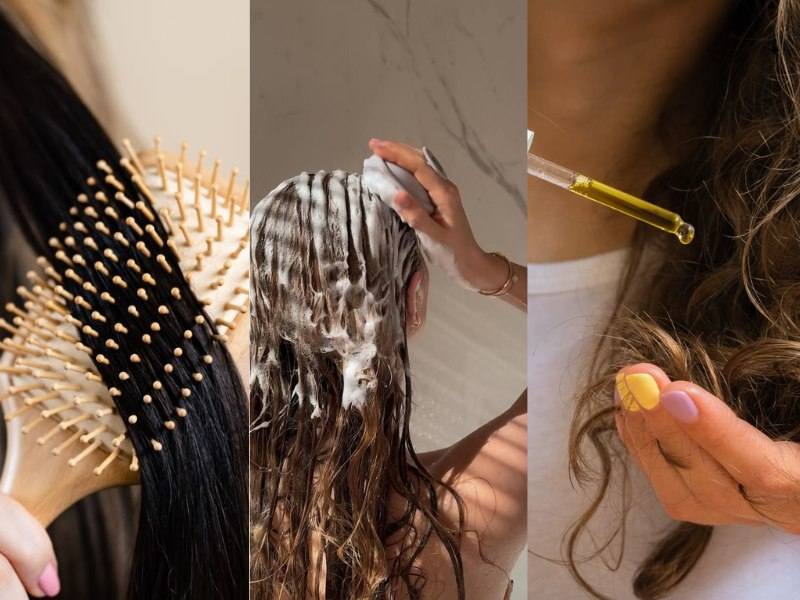
- Brush Gently: Use a soft-bristle brush to gently detangle your hair, starting from the tips and working your way up. Avoid brushing over the beads directly to prevent slipping.
- Wash with Care: When washing your hair, use sulfate-free shampoos and conditioners. Focus on the scalp area, and let the water run through the lengths of the extensions without scrubbing too hard. Avoid heavy rubbing in the bead area as this can cause slippage. When conditioning, focus on the mid-lengths and ends to prevent buildup near the beads.
- Avoid Heat Damage: While weft hair extensions are durable, it’s best to avoid excessive use of heat styling tools. If you must use them, apply a heat protectant spray first. To prolong the life of your extensions, try to limit heat styling and experiment with heat-free styling methods, such as braids for waves or velcro rollers for volume.
- Tighten Beads: Check the beads regularly and tighten them if necessary.
- Avoid Products That Cause Buildup: Heavy hair products, like serums, oils, and sprays, can build up around the beads and wefts, making them look greasy or causing the beads to slip
- Sleep with Care: To prevent tangling or matting overnight, consider braiding your hair into a loose, low braid or ponytail before going to bed. You can also sleep on a silk or satin pillowcase, which reduces friction and keeps both your natural hair and extensions smooth and tangle-free.
See more information here: How to Take Care of Weft Hair Extensions
When to Adjust or Replace Microbeads
Microbeads can loosen over time due to natural hair growth or regular wear and tear. Here’s some advice on when and how to adjust or replace them:
- Adjust Every 6-8 Weeks: To keep your extensions in place, it’s recommended to have your beads adjusted every 6 to 8 weeks. This is usually done by a professional who will move the beads up closer to your scalp. This adjustment is an essential part of how to apply weft hair extensions with beads to maintain a natural, seamless look.
- Replacing Beads: If beads become damaged or slip frequently, it’s time to replace them. This can be done during a maintenance session, ensuring the longevity of your weft extensions.
Conclusion
Learning how to apply weft hair extensions with beads is a great skill for those looking to enhance their natural hair with extra volume and length. With the right tools, high-quality wefts, and proper maintenance, your extensions can last for several months. Remember to seek professional help if you’re unsure of the application process or need adjustments along the way.
If you’re considering weft extensions, always seek professional guidance to ensure the best application and results. Choosing a reputable wholesale Vietnamese hair factory like Apo Hair, you’ll enjoy beautiful, durable extensions that enhance your style effortlessly. Ready to transform your look with high-quality weft extensions? Explore Apo Hair today for premium options!


