Blog, Hair style
How To Braid Cornrows: A Step-by-Step Guide For Stylish Success
Cornrows are an easy-to-follow chic way to both protect and style your natural hair. All you need is a little patience and enough practice, you will be able to braid your own hair at home without going to the salon. Once you master the basics and mastery, you can combine your techniques to create many different types of cornrows. However, in the tutorial below, we’ll show you how to braid cornrows for beginners. If you are intending to try this special hairstyle, read carefully the blog post below to do cornrow braids tutorial in the simplest way.

Preparation Before Starting How To Braid Cornrows
- Rat-tail comb
- Hair clips
- Moisturizer or hair oil
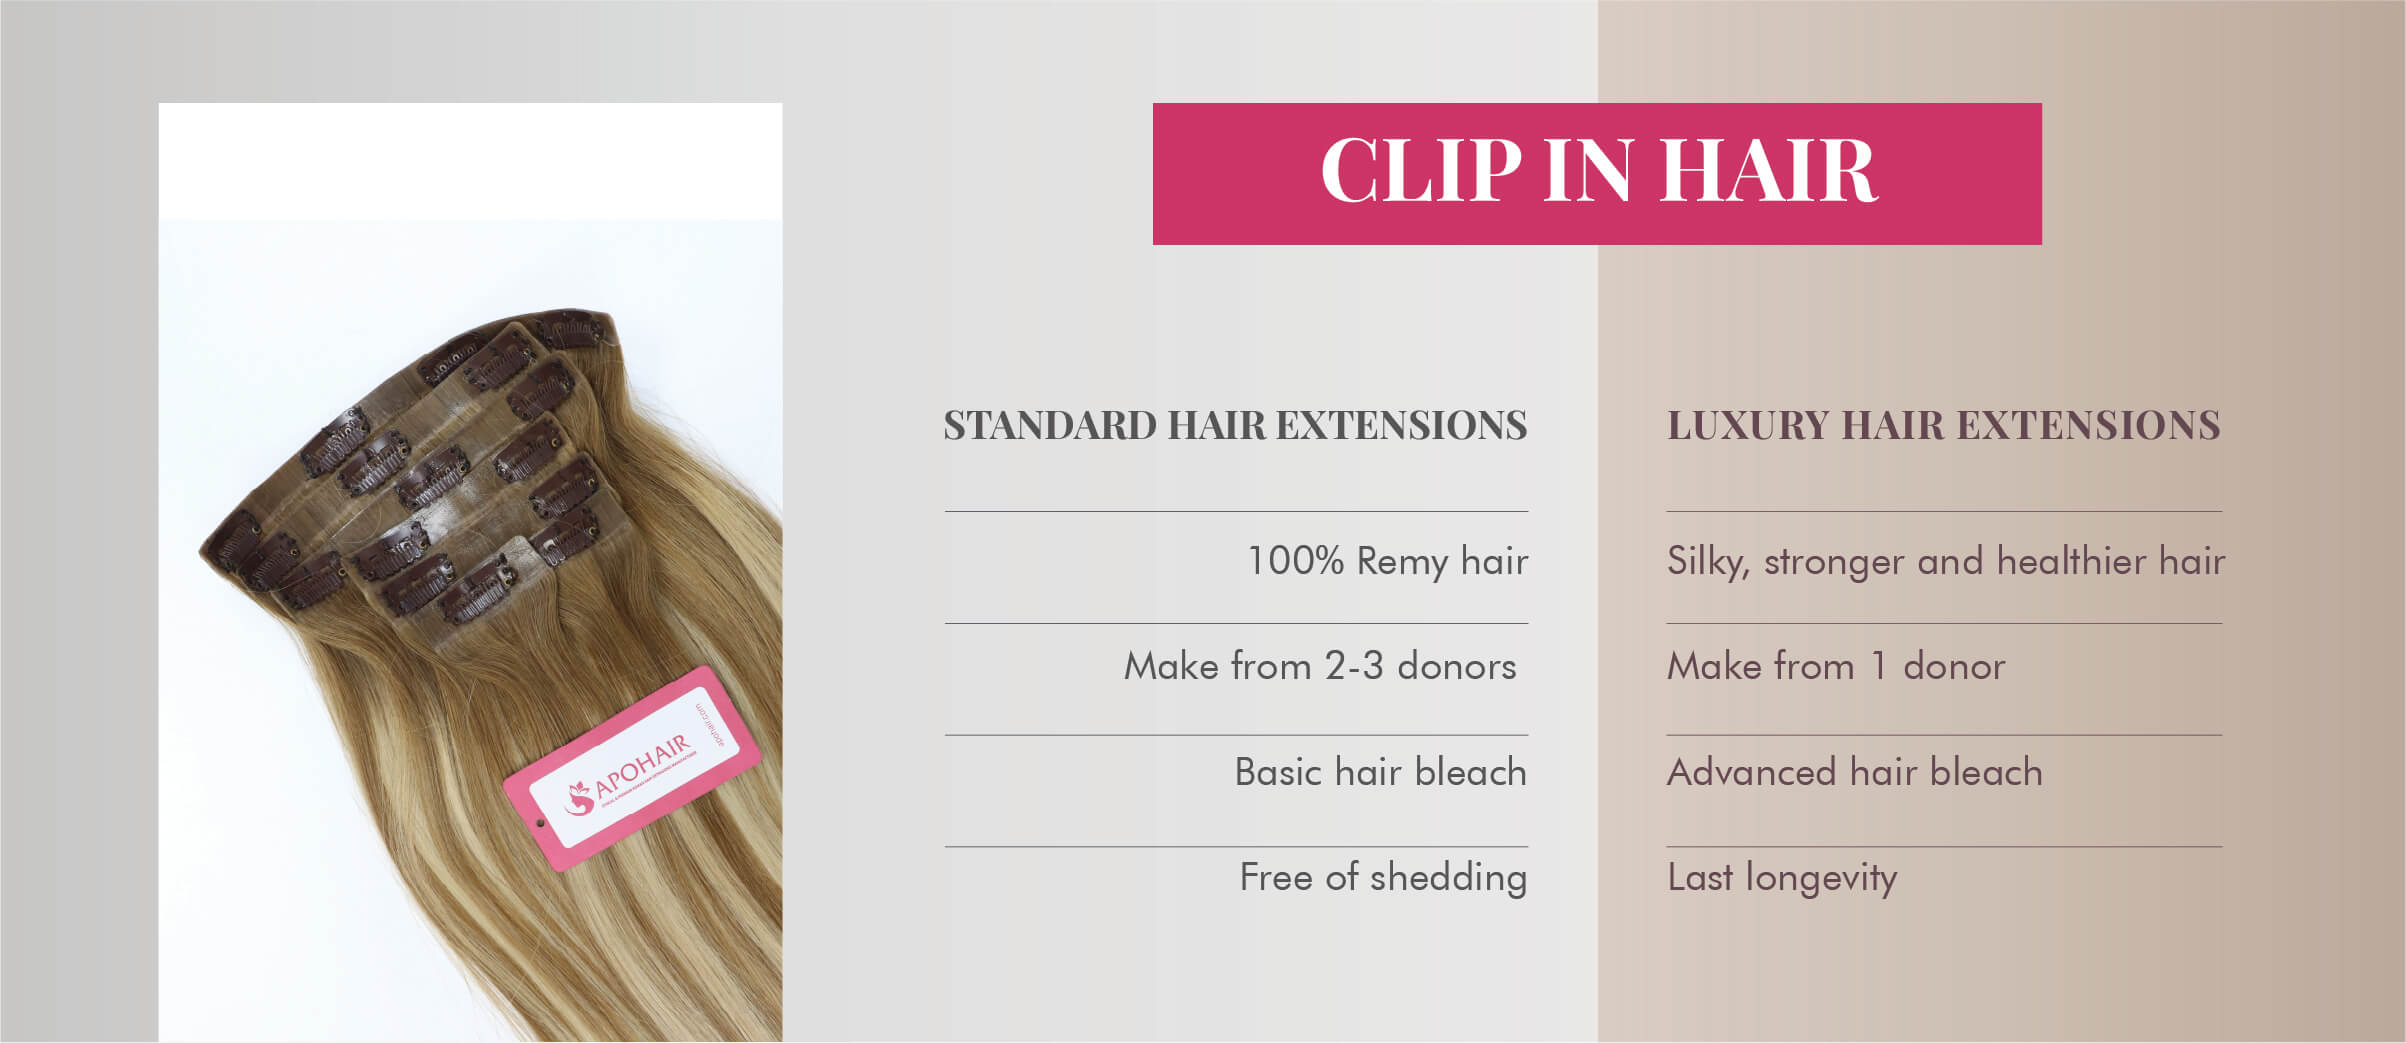
- Hair extensions (optional)
- Edge control or gel
How Long Do Cornrows Take To Braid?
The time it takes to braid cornrows depends on various factors, including the complexity of the design, the skill and speed of the braider, and the length and thickness of the hair. On average, simple and straightforward cornrows might take around 1 to 2 hours. However, more intricate styles or smaller, detailed cornrows may take several hours. If you’re getting cornrows done professionally, it’s advisable to consult with your stylist beforehand to get a more accurate estimate based on your specific requirements and hair type.
How To Braid Cornrows For Beginners
Step 1: Wash And Detangle Your Hair
- Use your regular shampoo and conditioner to clean your hair create the perfect foundation for your cornrows. This is an important first step in how to braid hair cornrows.
- While the hair is still damp, gently detangle the hair with a wide tooth comb or fingers in combination with a conditioner to ensure a smooth braiding process.

- Then apply hair conditioner or butter to make sure your hair is hydrated and in place. Your hair will be much easier to braid when moisturized and free of tangles.
-
Some oils or butters you can use to keep your hair moisturized and frizz-free include coconut oil, argan oil, jojoba oil, shea butter, or aloe vera products.
Step 2: Part Your Hair
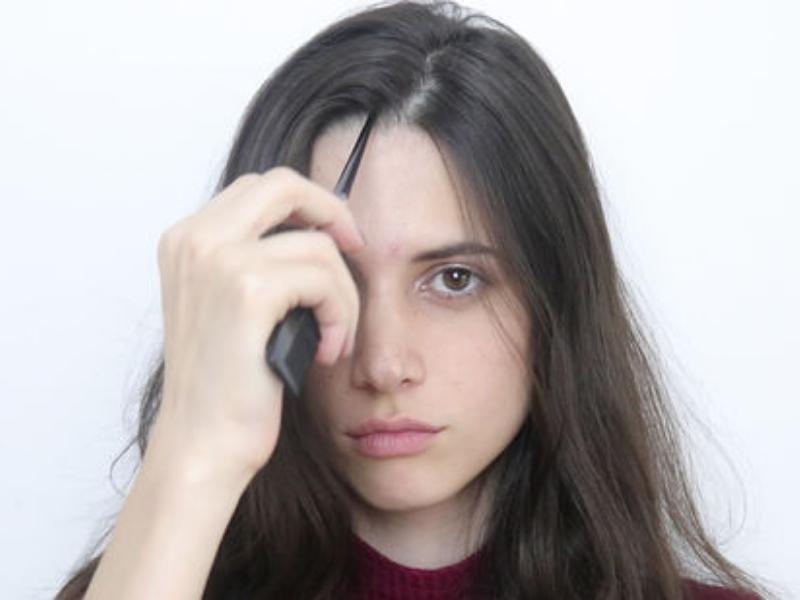
- Use your mouse tail comb to create the desired parting of your hair – it’s all up to your creativity. However, we will show you the most basic way of dividing the hair in rows from the forehead to the nape of the neck.
- Part the hair in the middle first, split the hair in half from the center of the forehead to the middle of the neck, and then divide each side into 3-4 more rows. Adding more sections will give you smaller contours. Note, for beautiful results, the hair sections must be evenly spaced so that your rows are the same size.
-
Secure the rows in place with small toothpicks or with hair pins, keeping only 1 section to start working.
Step 3: Start Braiding
- Take a small section of hair at the beginning of your chosen part and begin making a 3-strand braid
- Just like in regular braiding, divide the section into three equal strands. Braid the strands by threading the left strand through the middle strand, then threading the right strand through the middle strand. Before you start braiding, add a bit of edge control gel along your hairline. This will help you grip the hair easier, tame flyaways, and keep your cornrows neat.

- Keep a steady tension on the strands as you braid your hair. This ensures that the curls stay close to the scalp and look neat. However, try not to braid the hair too tightly. Very small, tight braids aren’t good for your hair—they can lead to breakage and can even damage your follicles.
- If you have very short hair, simply use an extension by adding a small lock of hair from the same section to the braid each time you cross a section.
- Repeat this process until you have reached the desired length for your braid.
Step 4: Finishing Touches
- Finish the braid after braiding it from the scalp and secure with a hair tie. The length of the end of the braid will depend on the length of your hair.
- Continue the same braiding technique for each row on your head. Move on to the next section and repeat the braiding process. Continue until you have completed all the parts that you originally divided.

- Use a bit of edge control or gel to smooth out any flight lines or frizzy braids, giving your contours a sleek finish.
- Add hair accessories (optional): You can embellish your cornrows hair with beads, other hair accessories
Maintenance For Your Braid Cornrows
- Keep your cornrows clean: If you want to know how to make cornrows last longer, keep your cornrows clean first. Regularly wash your cornrows with a diluted shampoo and conditioner to maintain scalp health.
- Moisturize: Keep your scalp and cornrows moisturized to prevent dryness and itchiness.
-
Retouch your edges: As your hair grows, your edges might need a touch-up. Gently redo the first few rows to keep your style looking fresh.

Removal The Cornrows Braid
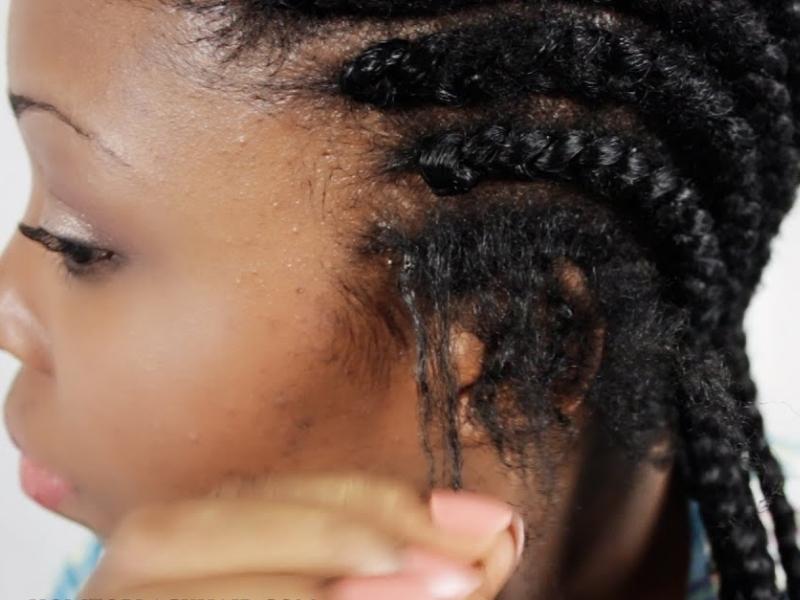
- Be gentle: When it’s time to remove your cornrows braid, be gentle to avoid unnecessary hair breakage.
- Detangle: Carefully detangle your hair with a wide-tooth comb, starting from the tips and working your way up to the roots.
Conclusion
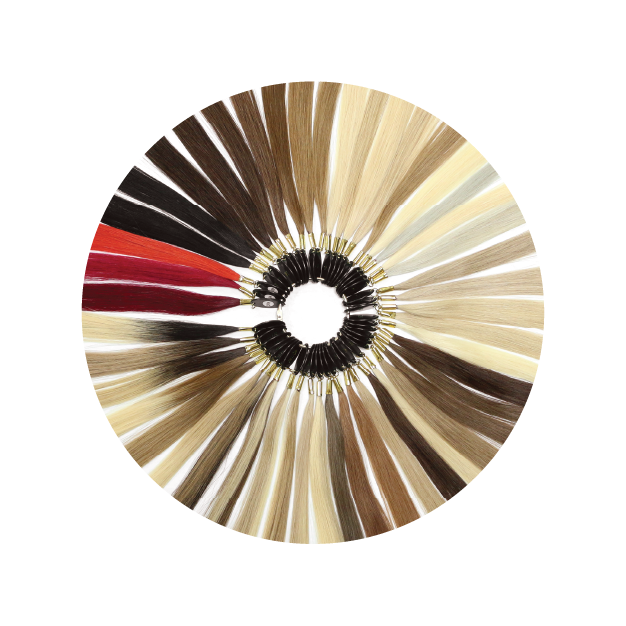
Above is a detailed guide on how to braid cornrows in the simplest way. Hopefully with the cornrows braid tutorial that we share will help you achieve your perfect cornrows. If your natural hair is not long and thick enough, adding hair extensions to cornrows braid is the best solution. Prioritize the selection and use of high-quality hair extensions. If you don’t know where to buy, Apohair is the best Vietnamese hair supplier that you can trust. We offer all types of hair extensions on the market, available in a variety of colors and lengths to ensure a seamless blend with your natural hair.
Next article: How to French Braid with Extensions

