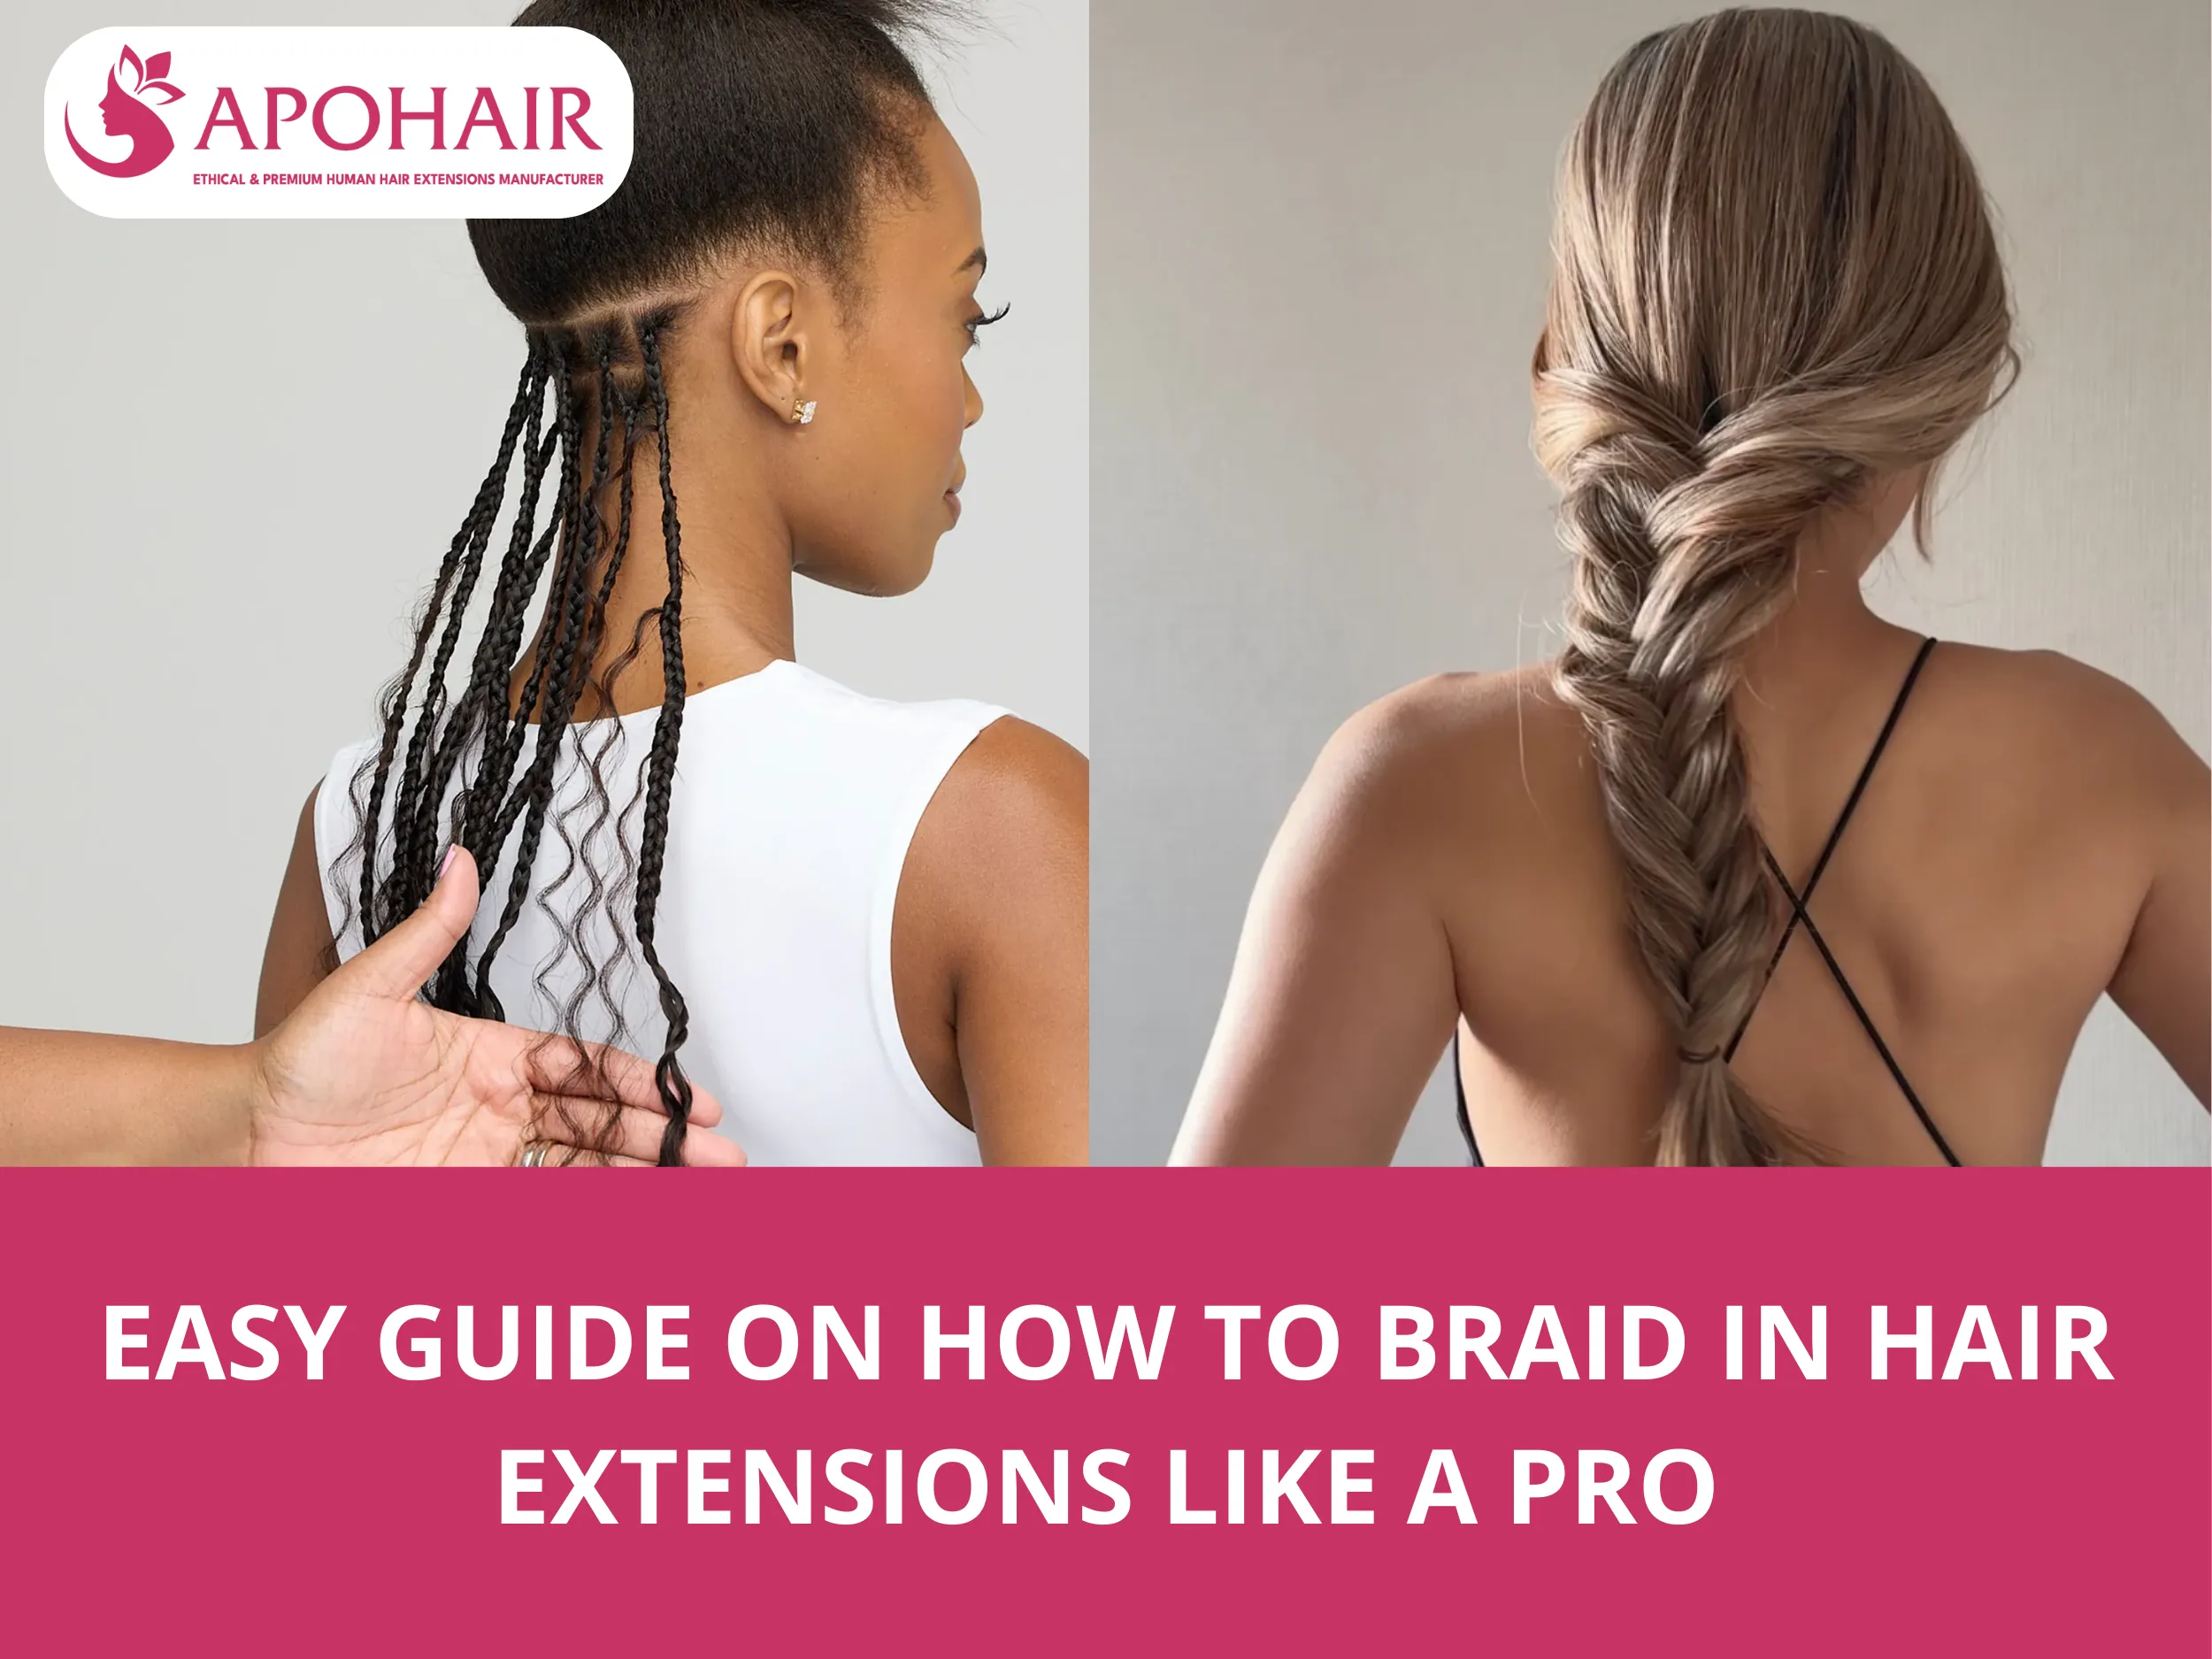
Braiding hair extensions involves six straightforward steps: preparing and mixing the extension hair, sectioning the wefts, creating the foundation knot, adding natural hair with feed-in extensions, continuing the feed-in process, and finishing the braid. Popular braided styles with extensions include double boxer braids, French braids, fishtail braids, Dutch braids, and crown braids.
APOHAIR brings you this detailed guide to help you master the art of braiding with extensions and create stunning hairstyles at home or in your salon.
Adding hair extensions to braids requires 6 steps. Each step builds upon the previous one to create a secure, natural-looking braided style that lasts.
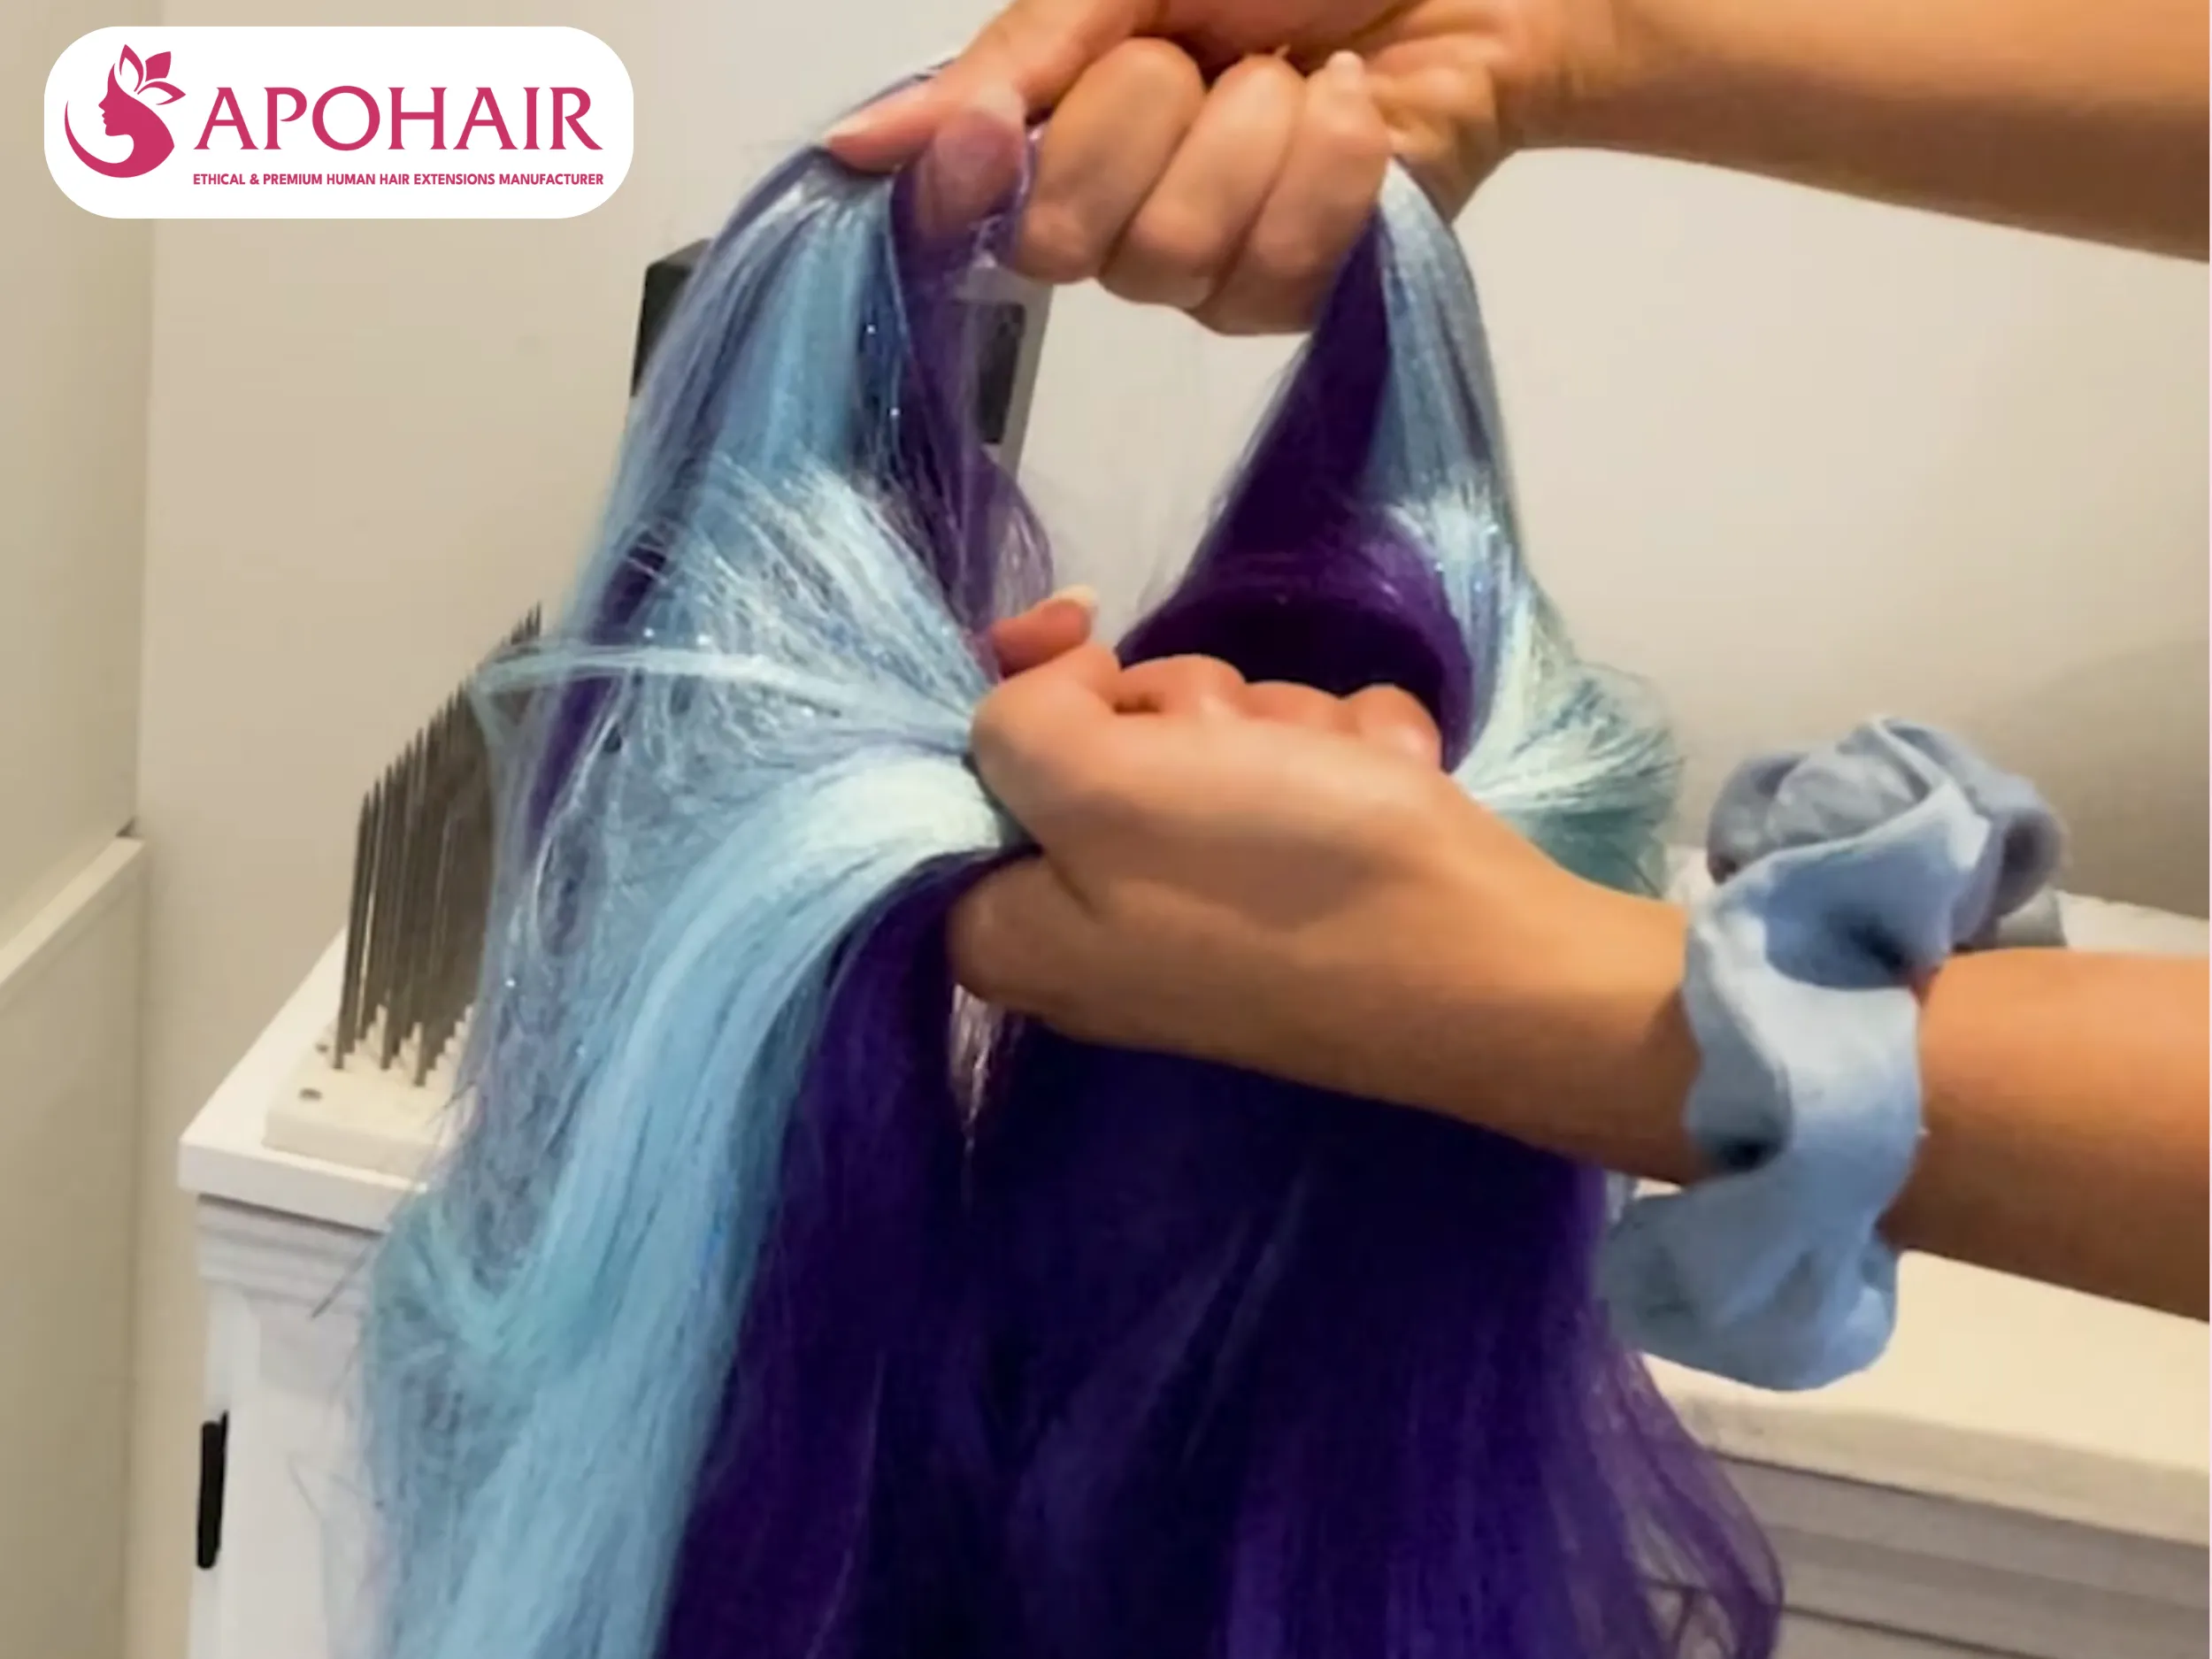
First, take two bundles of hair extensions in your chosen colors. Hold them together and use your fingers to split the hair vertically from top to bottom. Place one half on top of the other. Repeat this “split and layer” process about 10–15 times until the colors blend perfectly. Finally, gently brush the hair from the ends up to the roots to remove any small knots, ensuring the hair is smooth before you start.
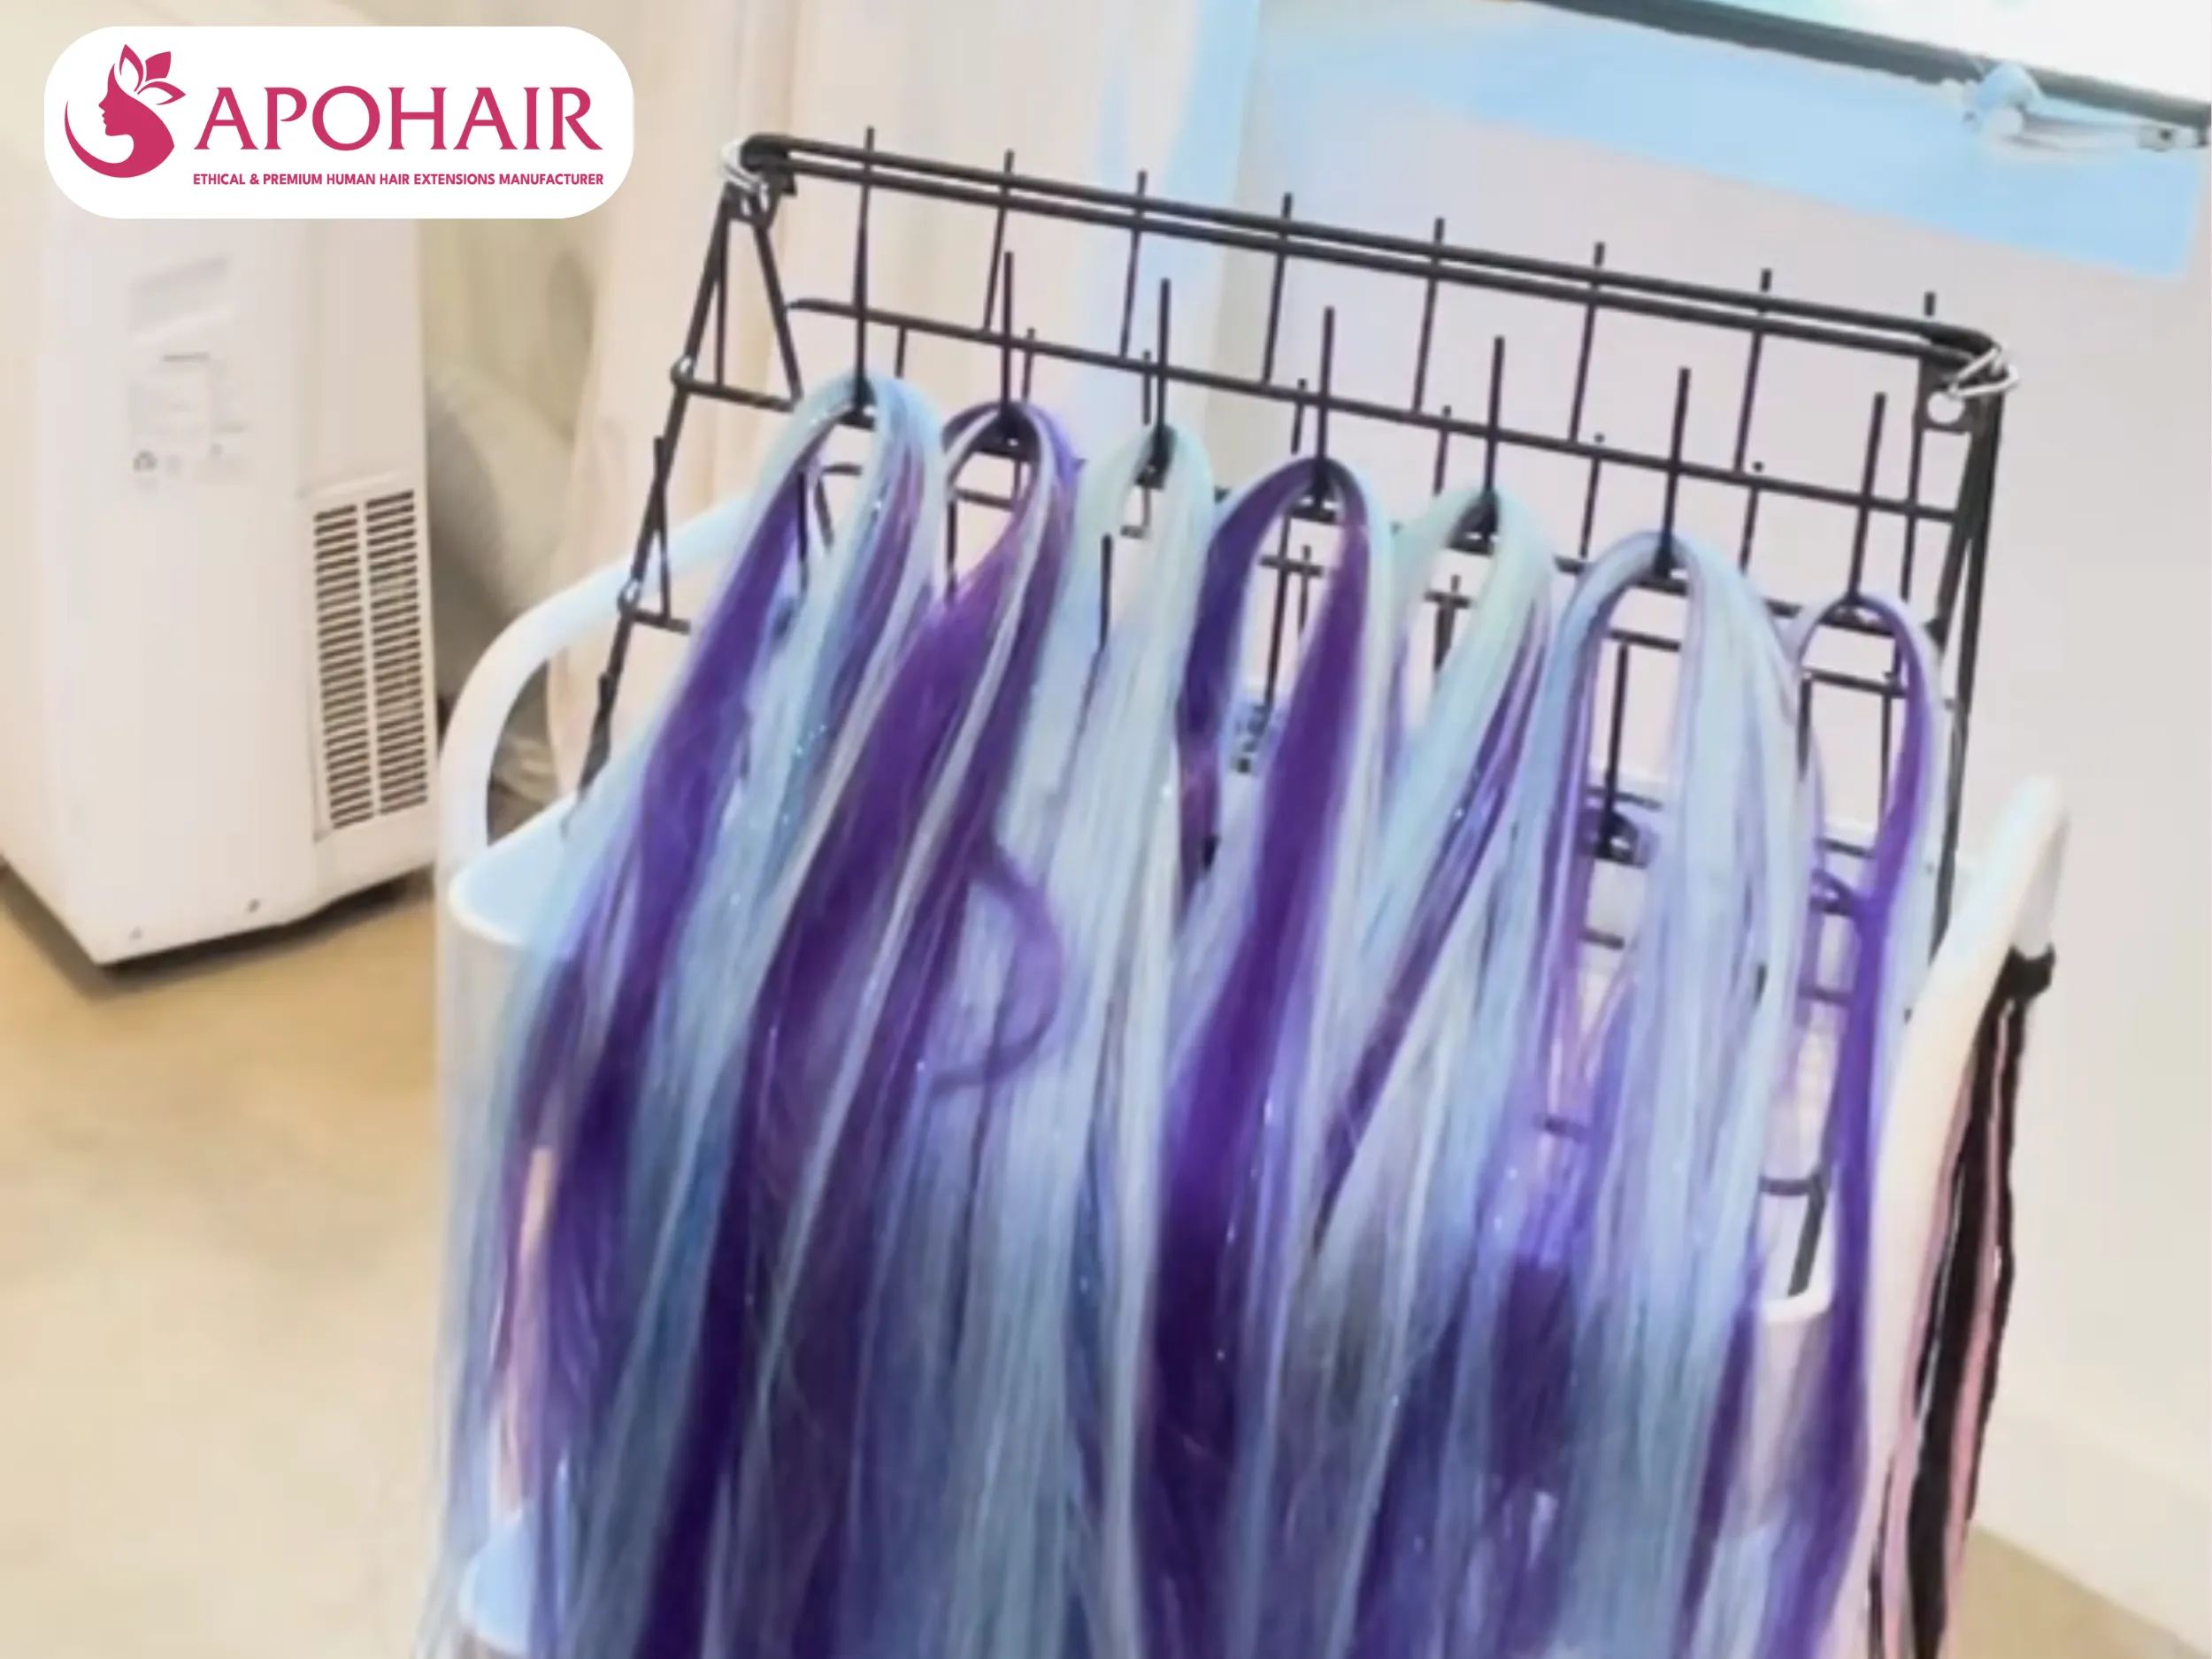
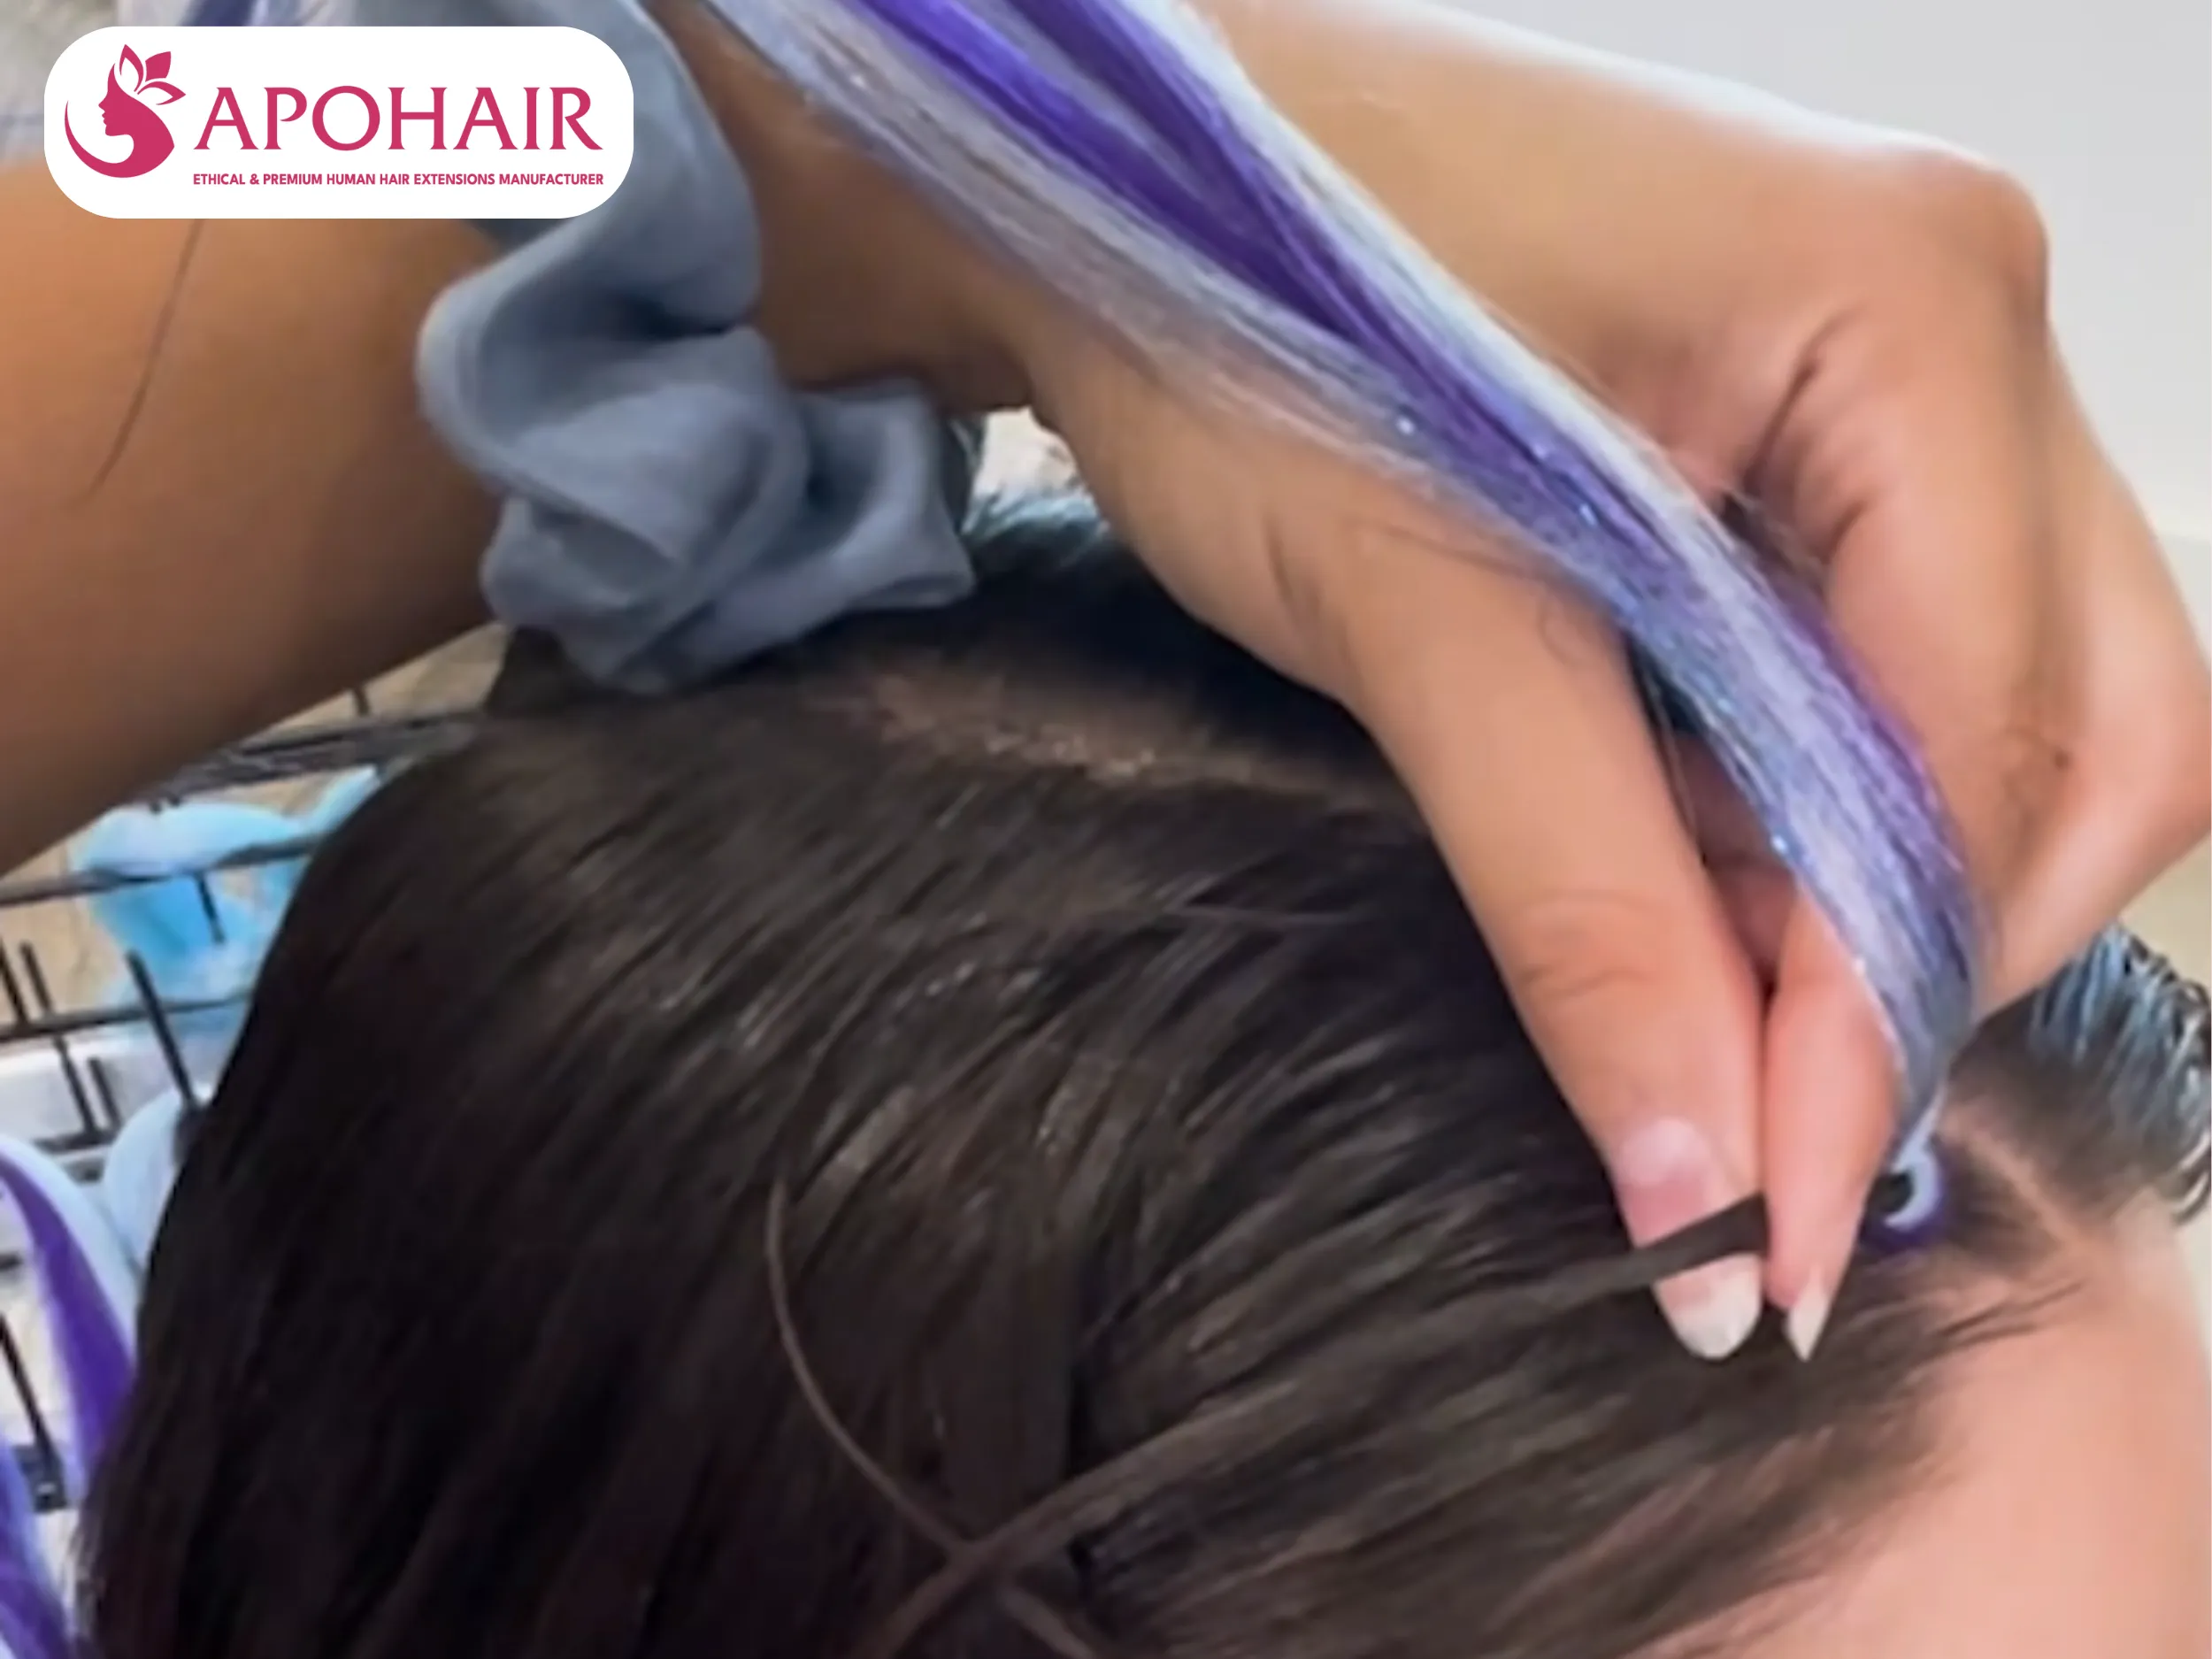
Decide how thick you want your braids to be. Instead of using the whole bundle, divide the extensions into several small sections (strands) and lay them out on a clean surface from smallest to largest. Start with 2 very thin strands (about half the width of your pinky finger) for the beginning of the braid near your forehead. Make the following strands slightly thicker to add volume. Having these sections ready helps you grab them easily without stopping while you braid.
Divide the section of natural hair you want to braid into three equal strands: Left, Middle, and Right. Use your thumb and index finger like “crab claws” to hold the hair tight against your scalp. Cross the Left strand over the Middle, then the Right over the Middle. Do this twice (a “double knot”) to create a firm base. This prevents the braid from sliding or loosening when you add the extensions.
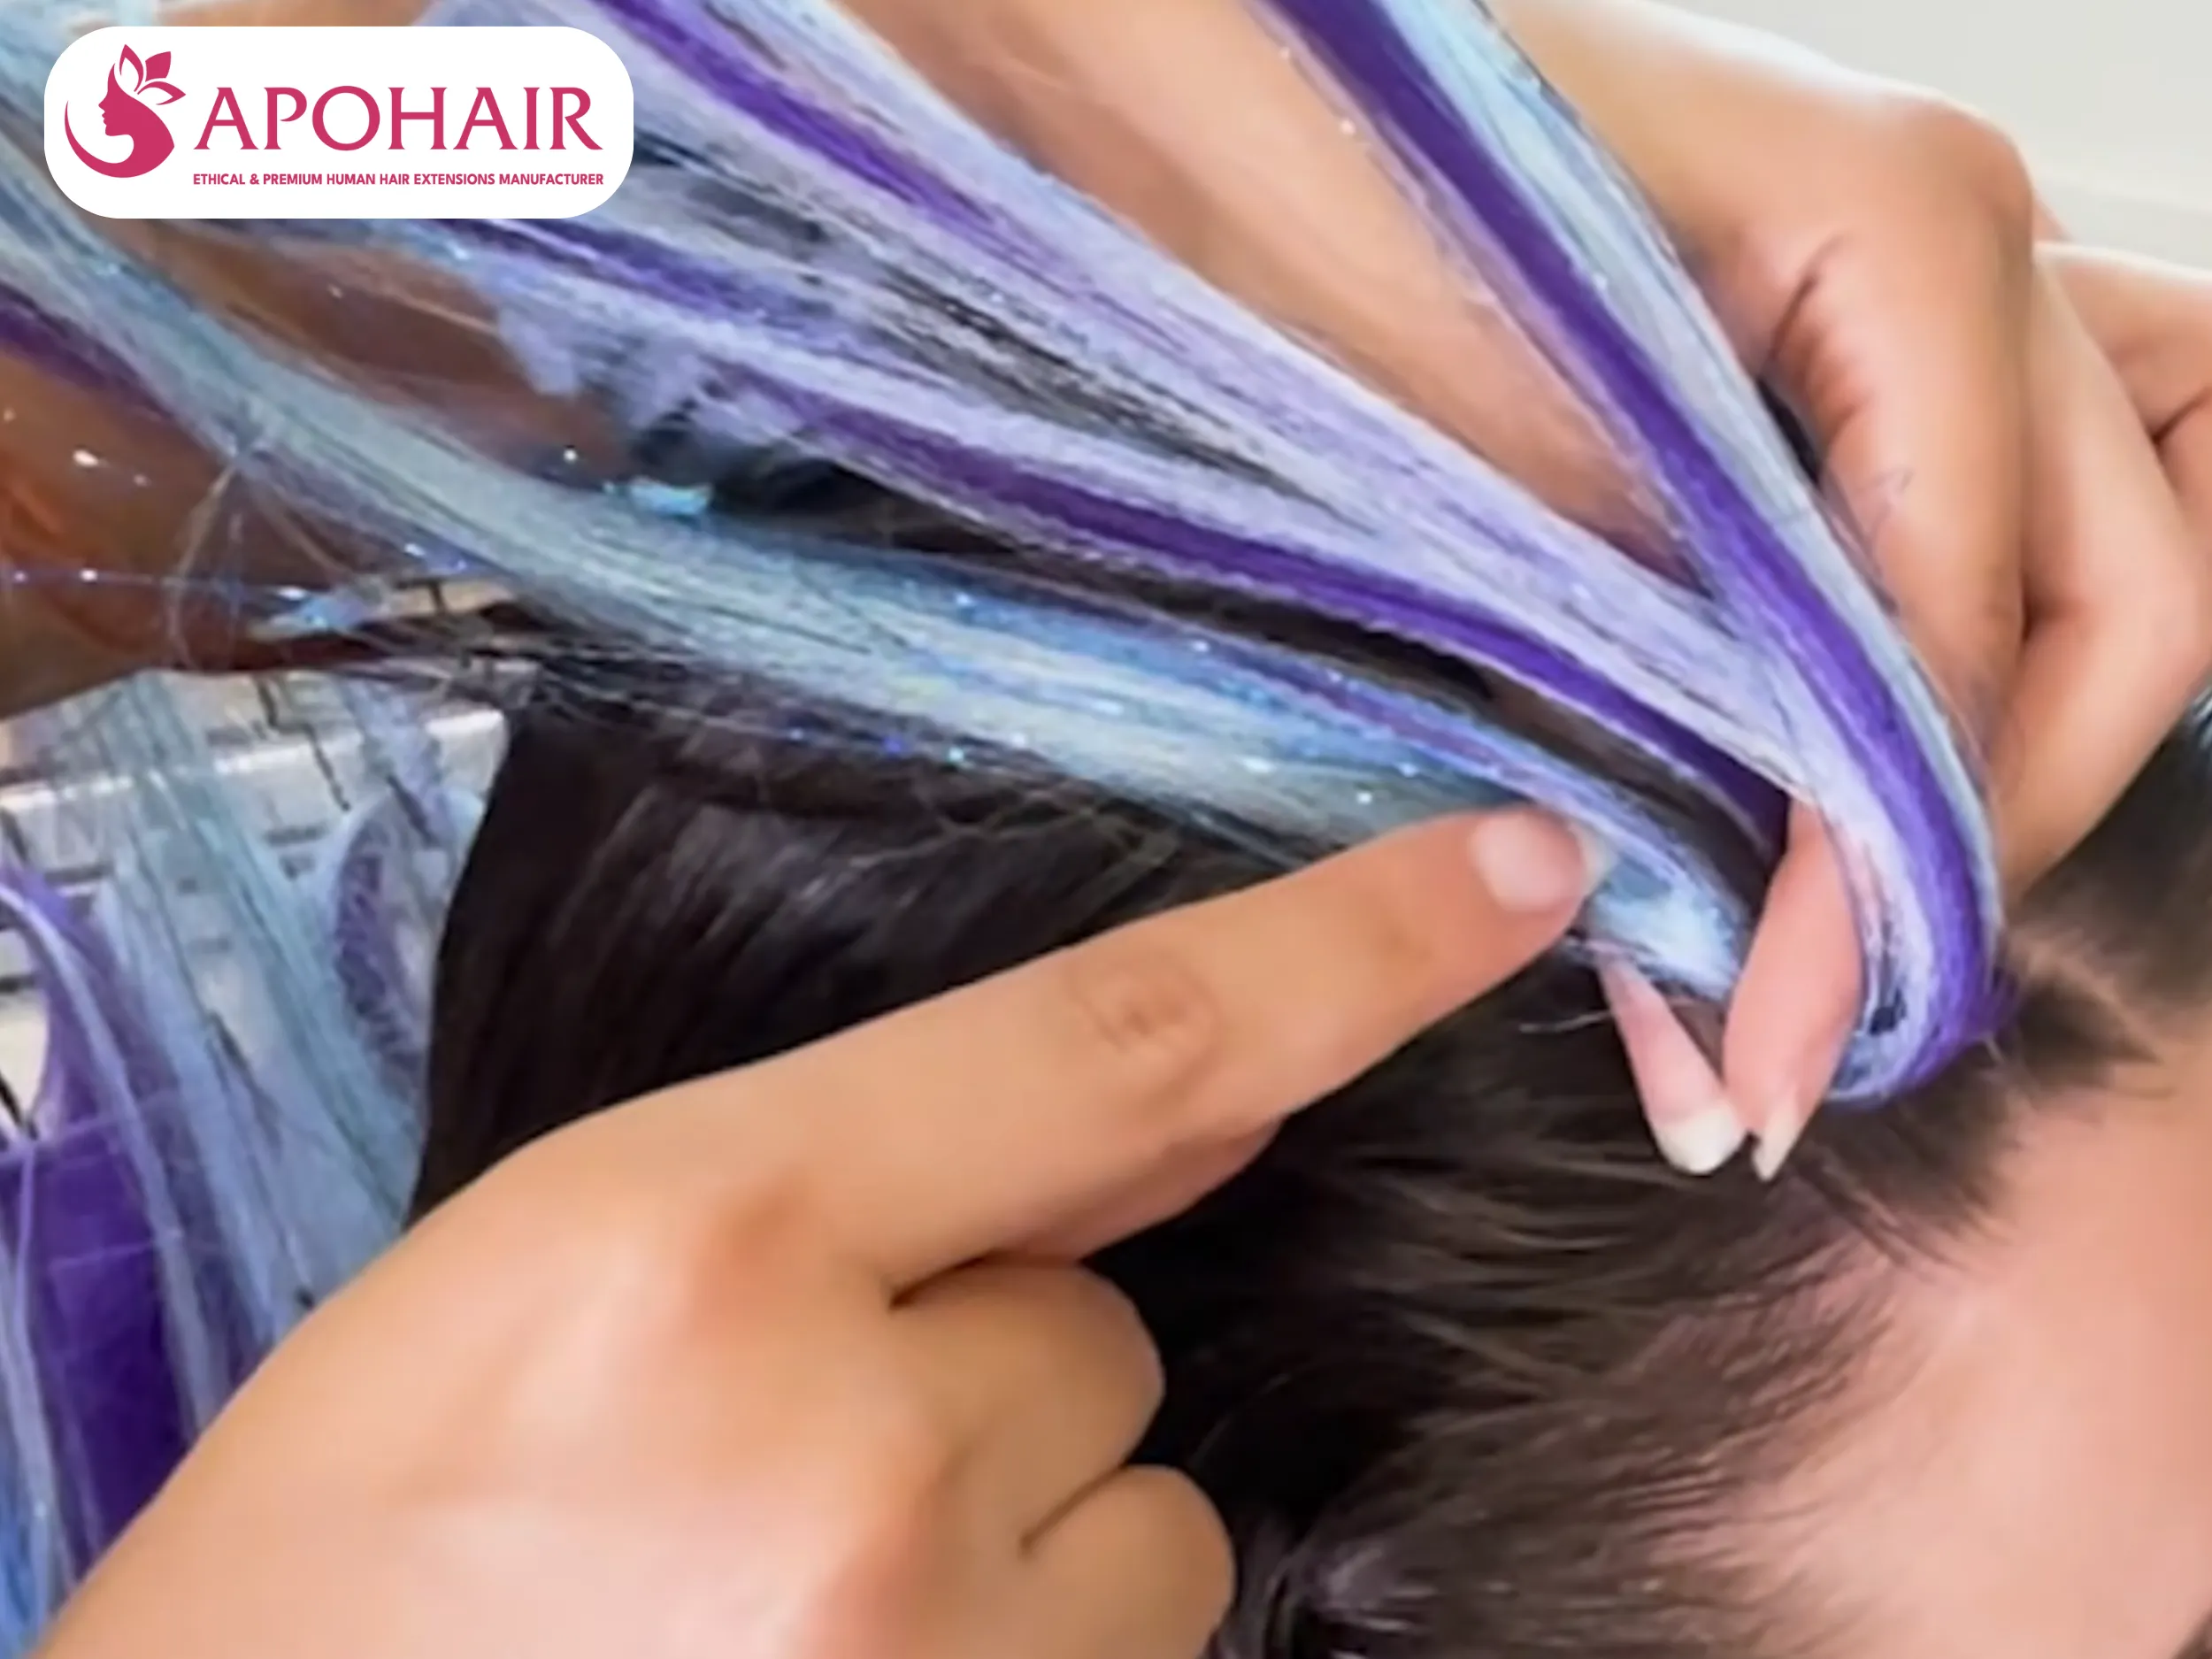
This is the key to making the braid look natural. While holding the braid with your “crab claws,” use your other fingers to pick up a little bit of natural hair from the scalp and join it into the braid. At the same time, grab a small strand of extension hair. Fold the extension strand in half and place the fold at the intersection of your braid. Merge each half of the extension into the side strands of your natural hair. Continue crossing the outer strands over the middle, using your fingers to smooth the natural hair underneath the extensions.
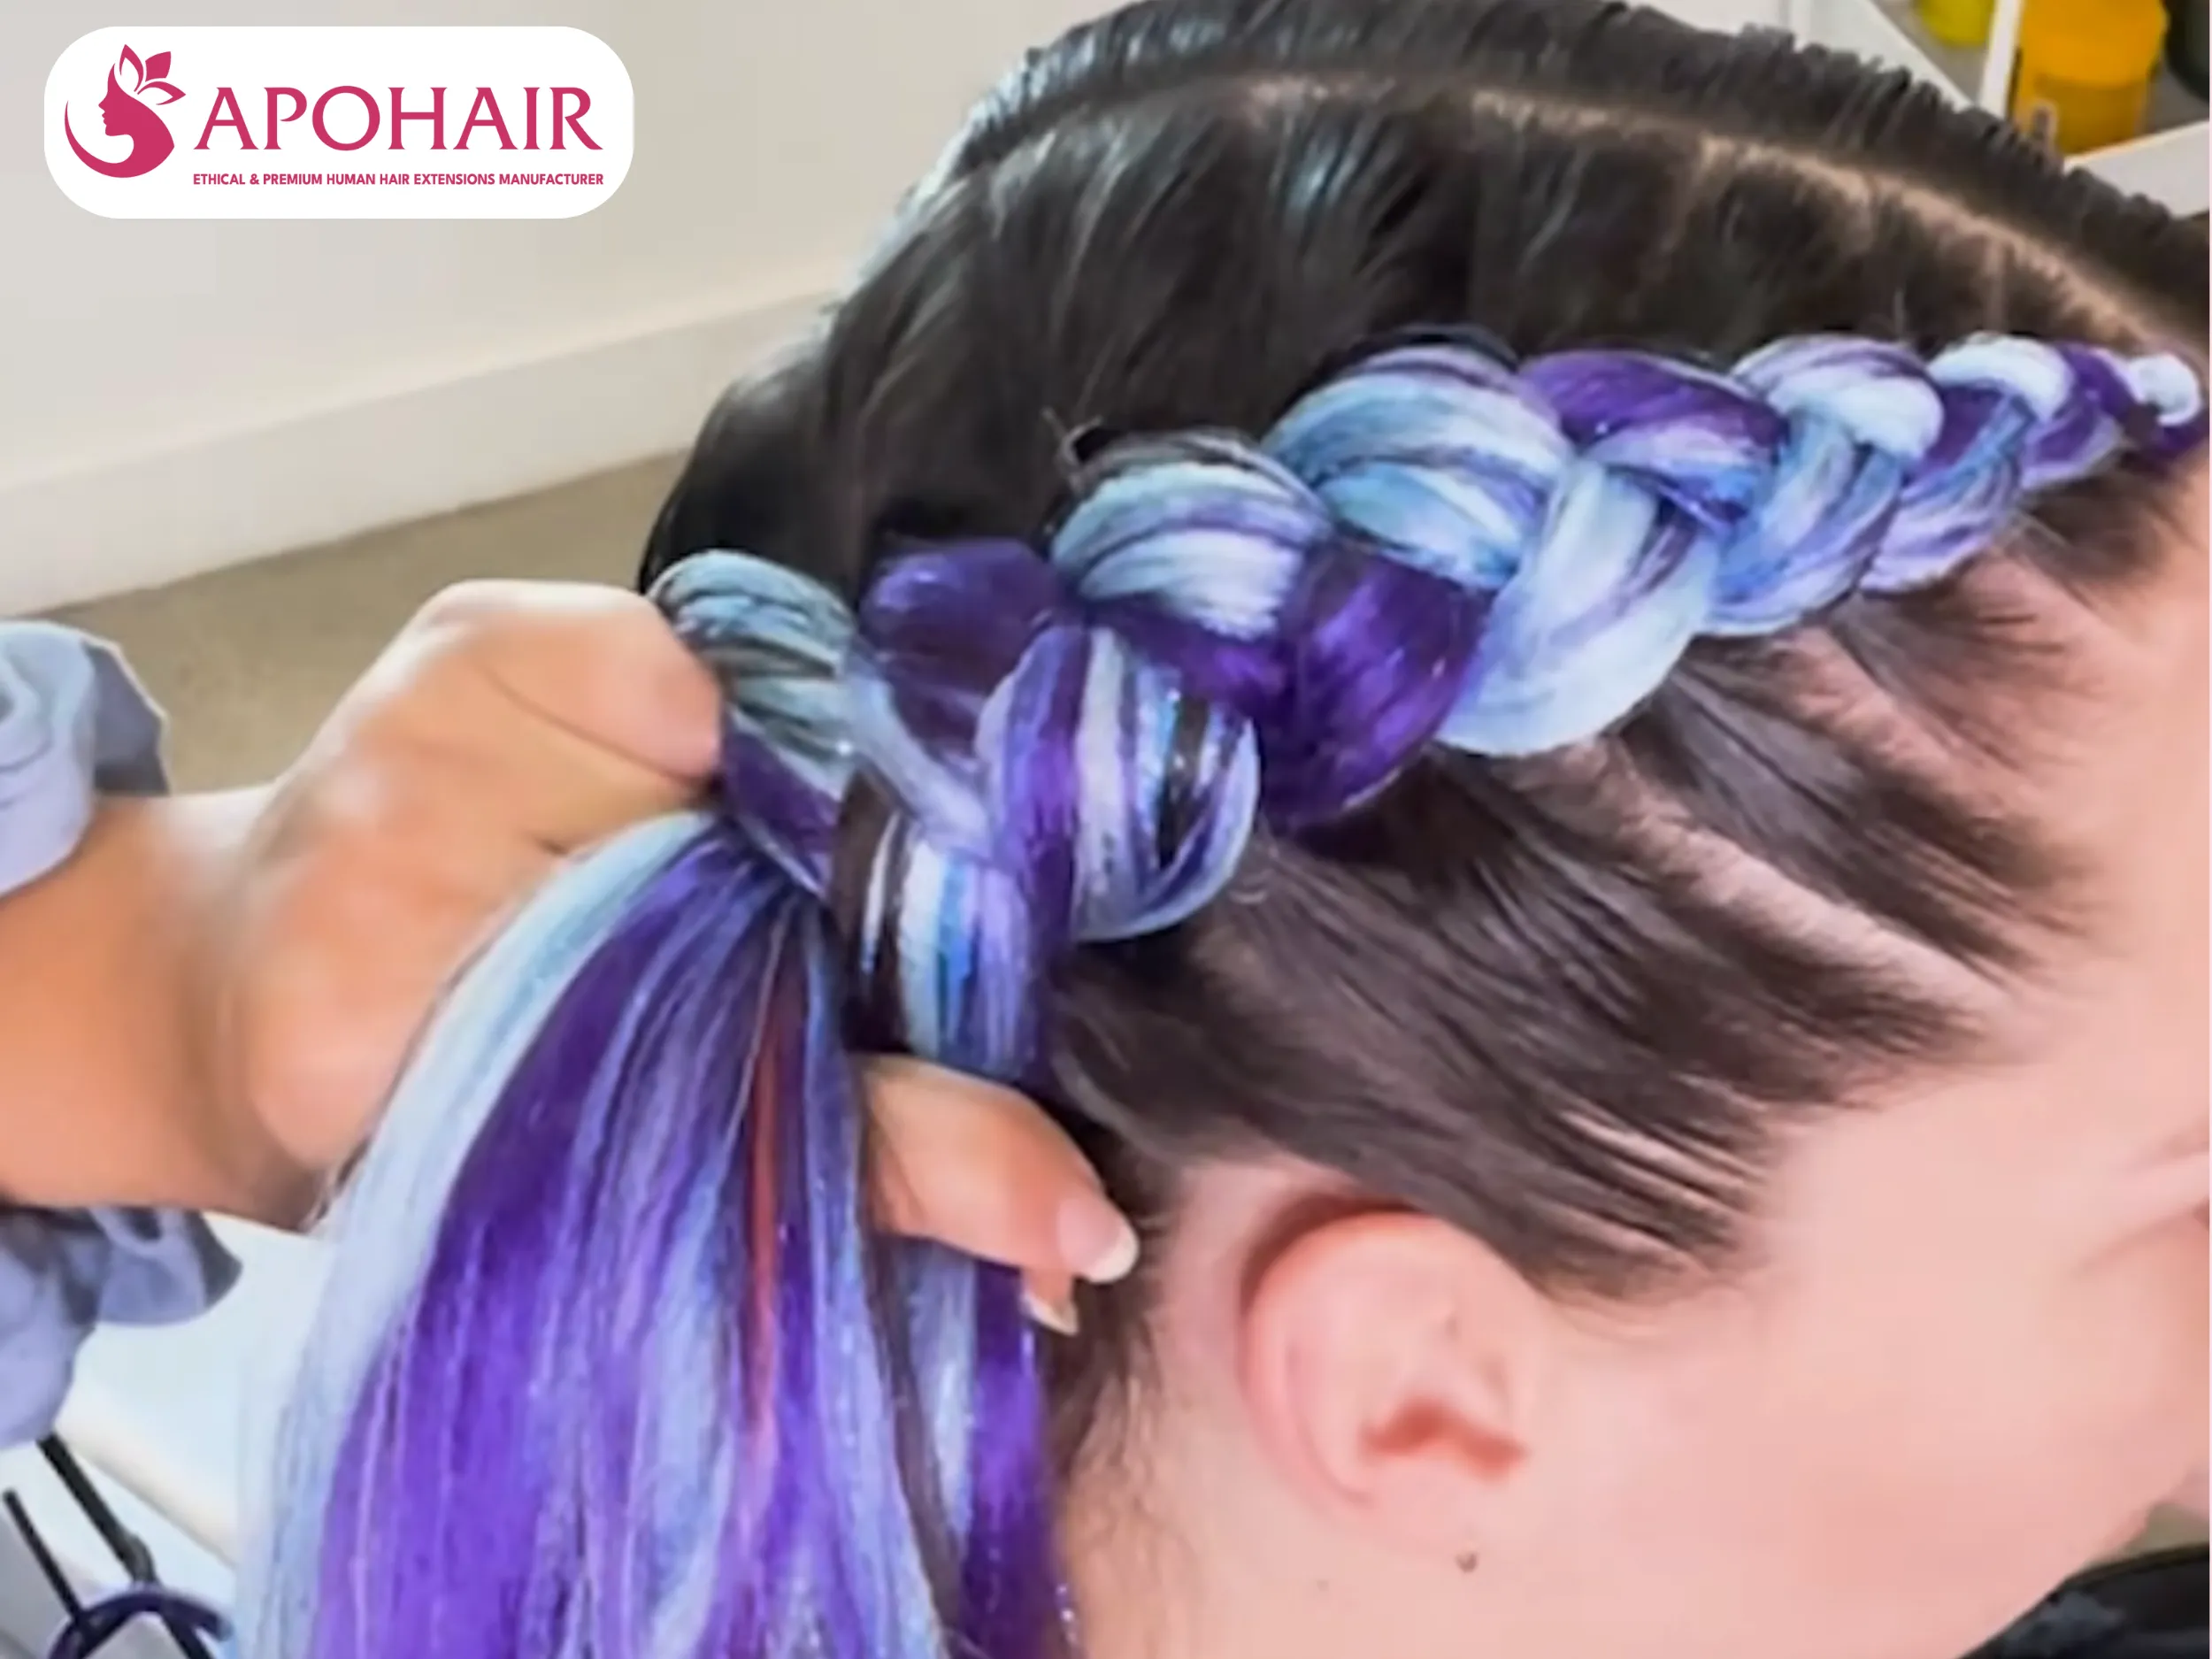
As you move along the scalp, keep adding natural hair and extensions to both sides to ensure the thickness and color are even. Always keep your hands close to the scalp—if you lift your hands too high, the braid will be loose. A pro tip: use your fingers to “tuck” any short natural hairs inside the extensions as you go. This keeps the braid smooth and prevents it from looking “fuzzy.”
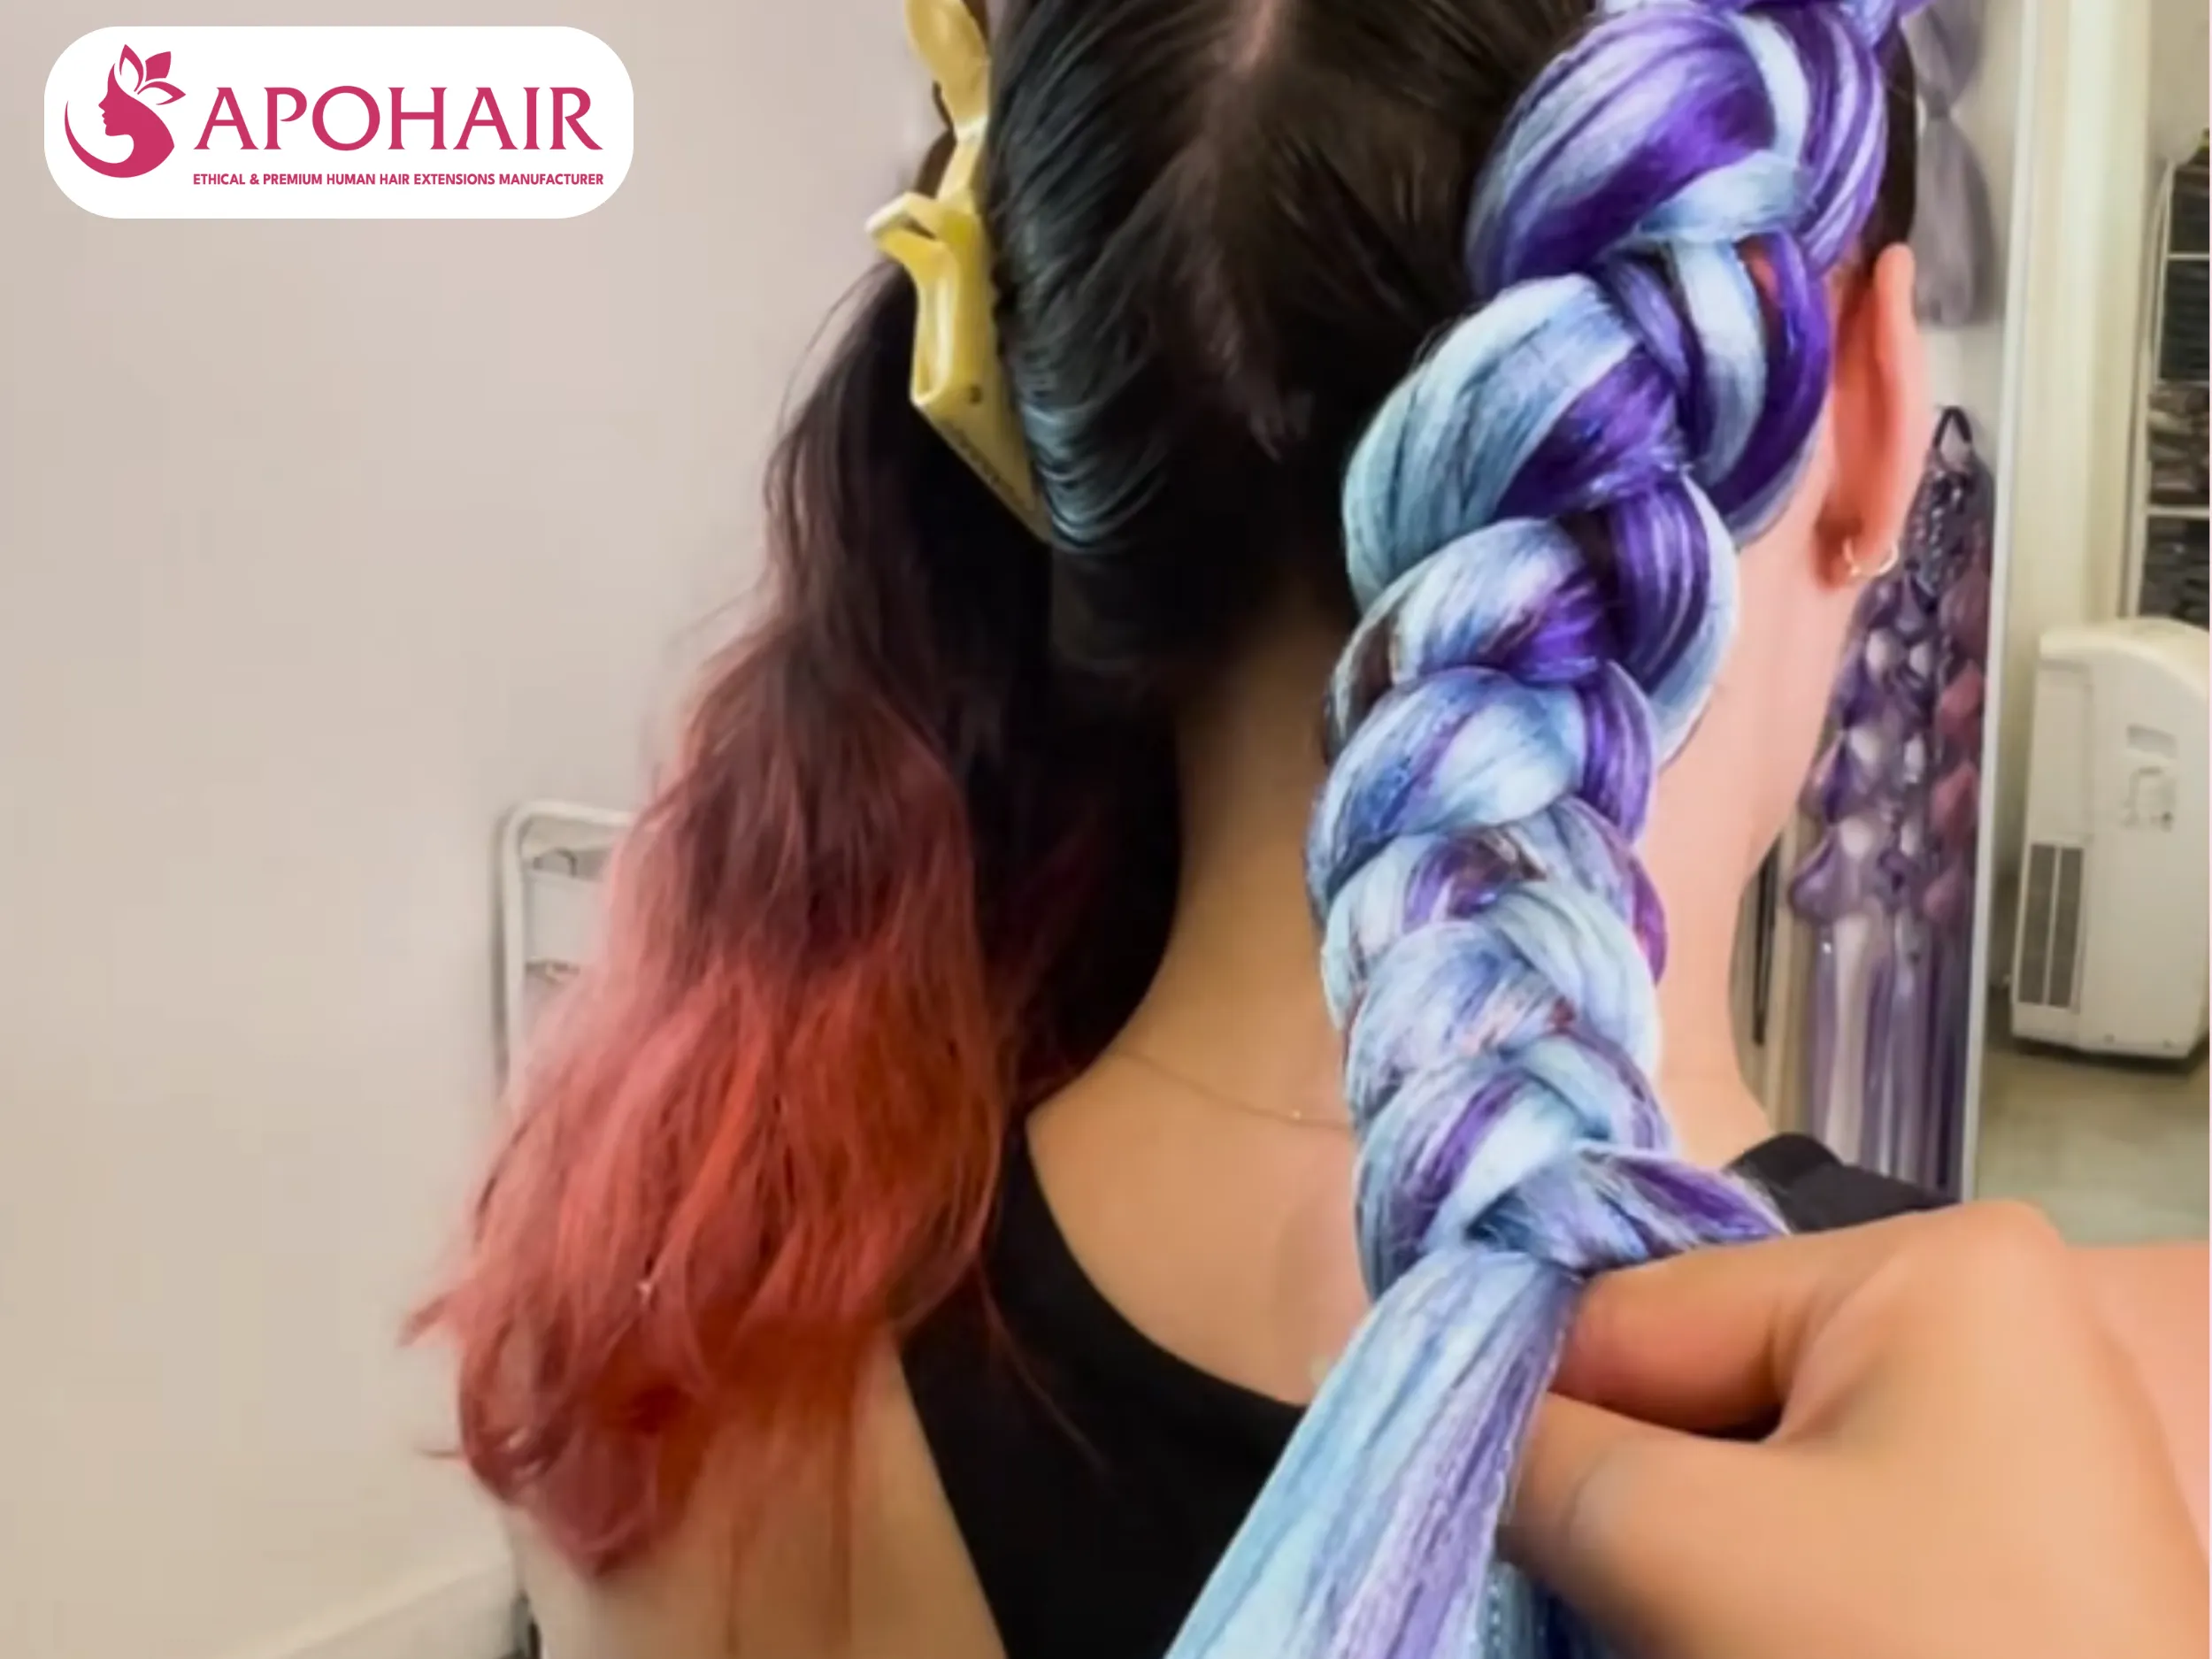
Once you reach the nape of your neck and there is no more natural hair to add, flip your palms upward. This position makes it easier to braid down the rest of the hair. Maintain steady tension until you reach the ends so the braid stays tight and even. Secure the end with a small elastic band. For a professional look, dip the ends of the braids in hot water to soften the synthetic fibers and help them hang naturally.
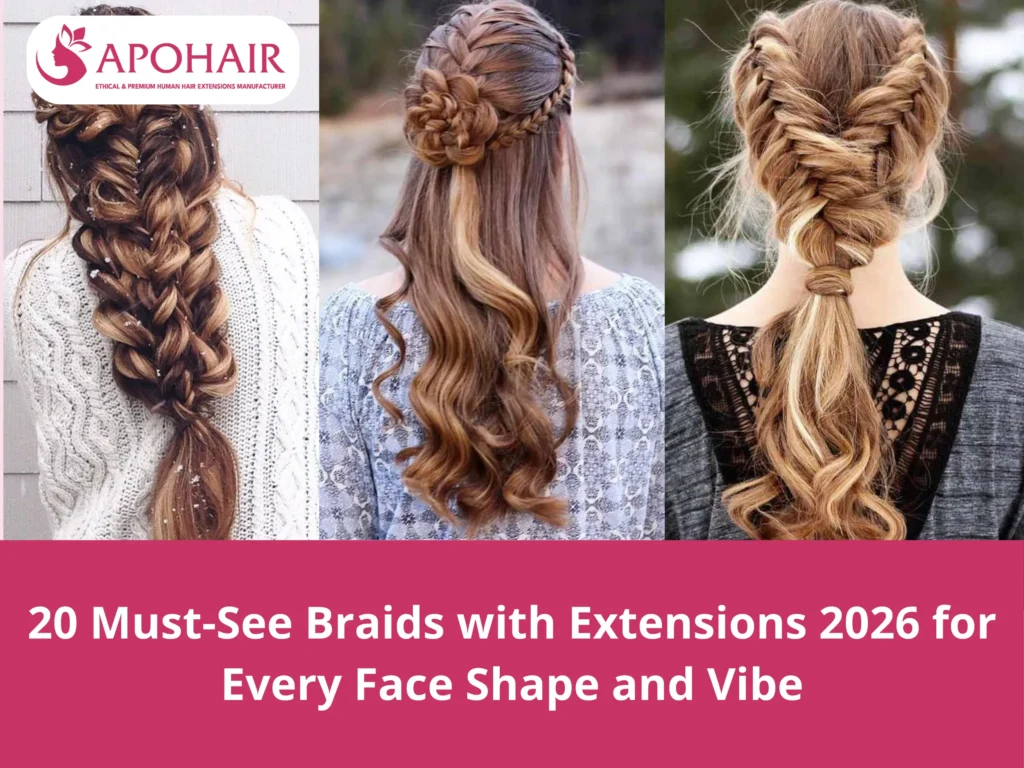
Eight popular braid styles work well with hair extensions. Each style offers a unique aesthetic appeal and suits different extension types.
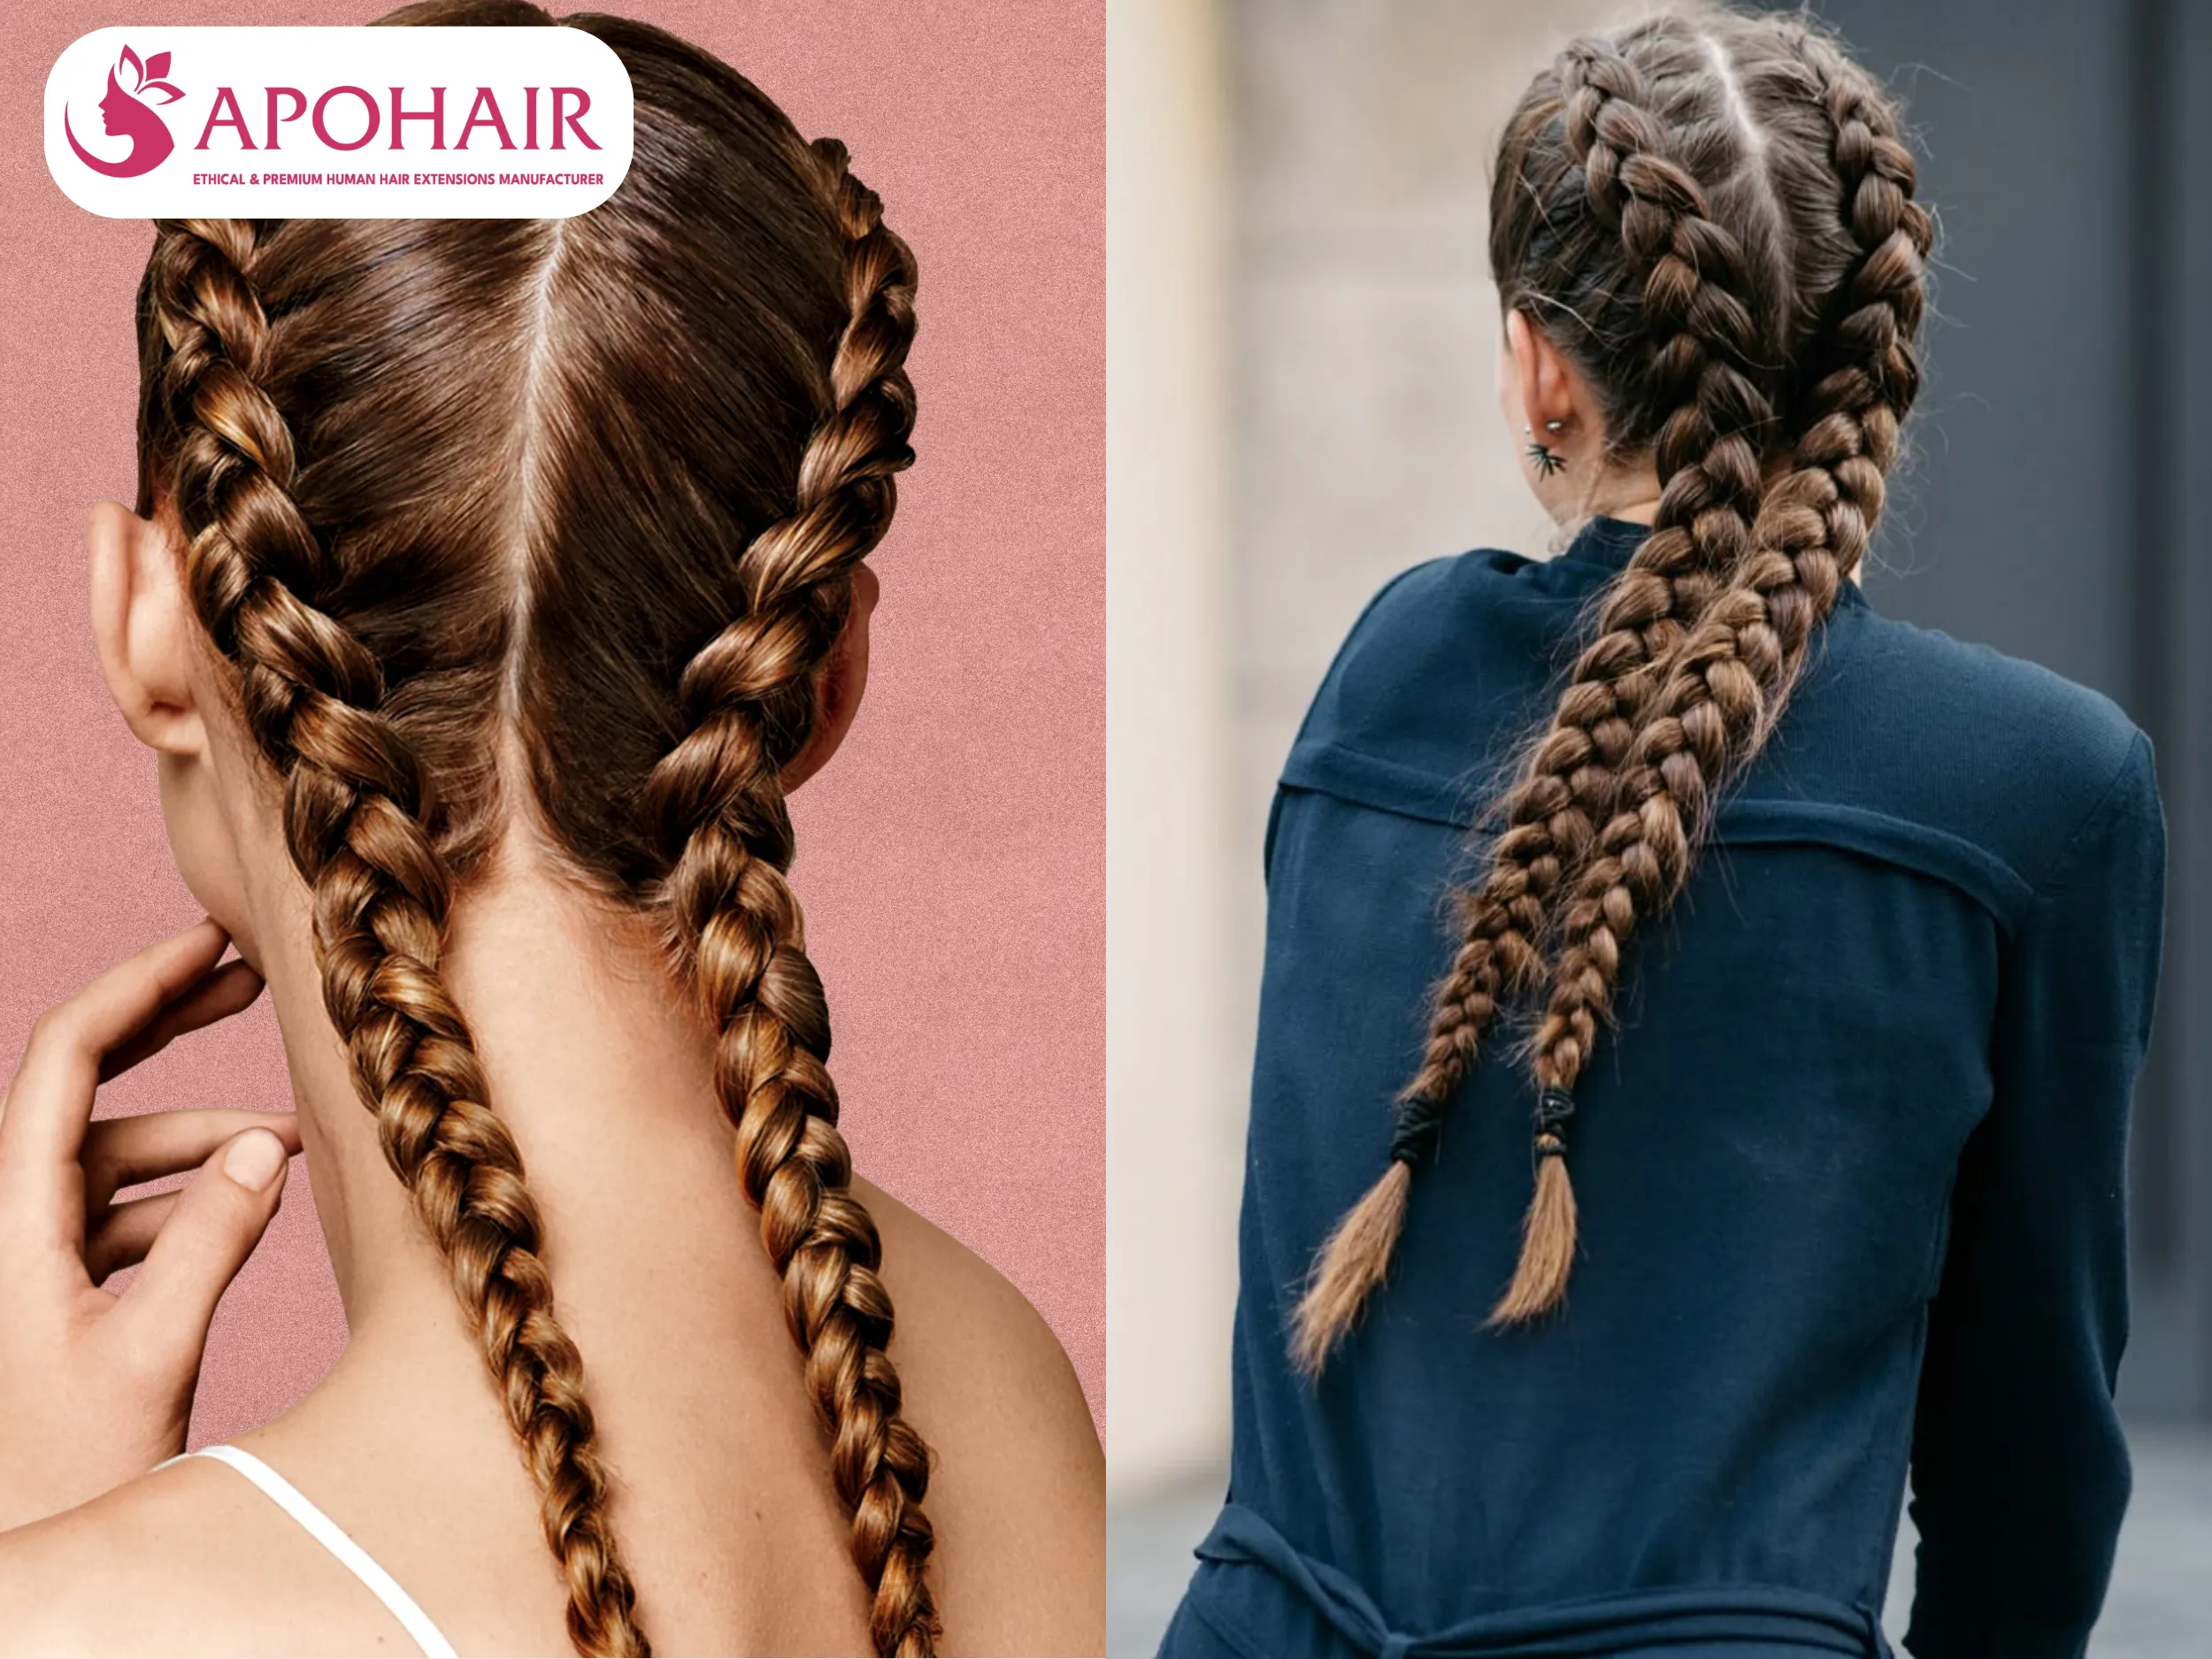
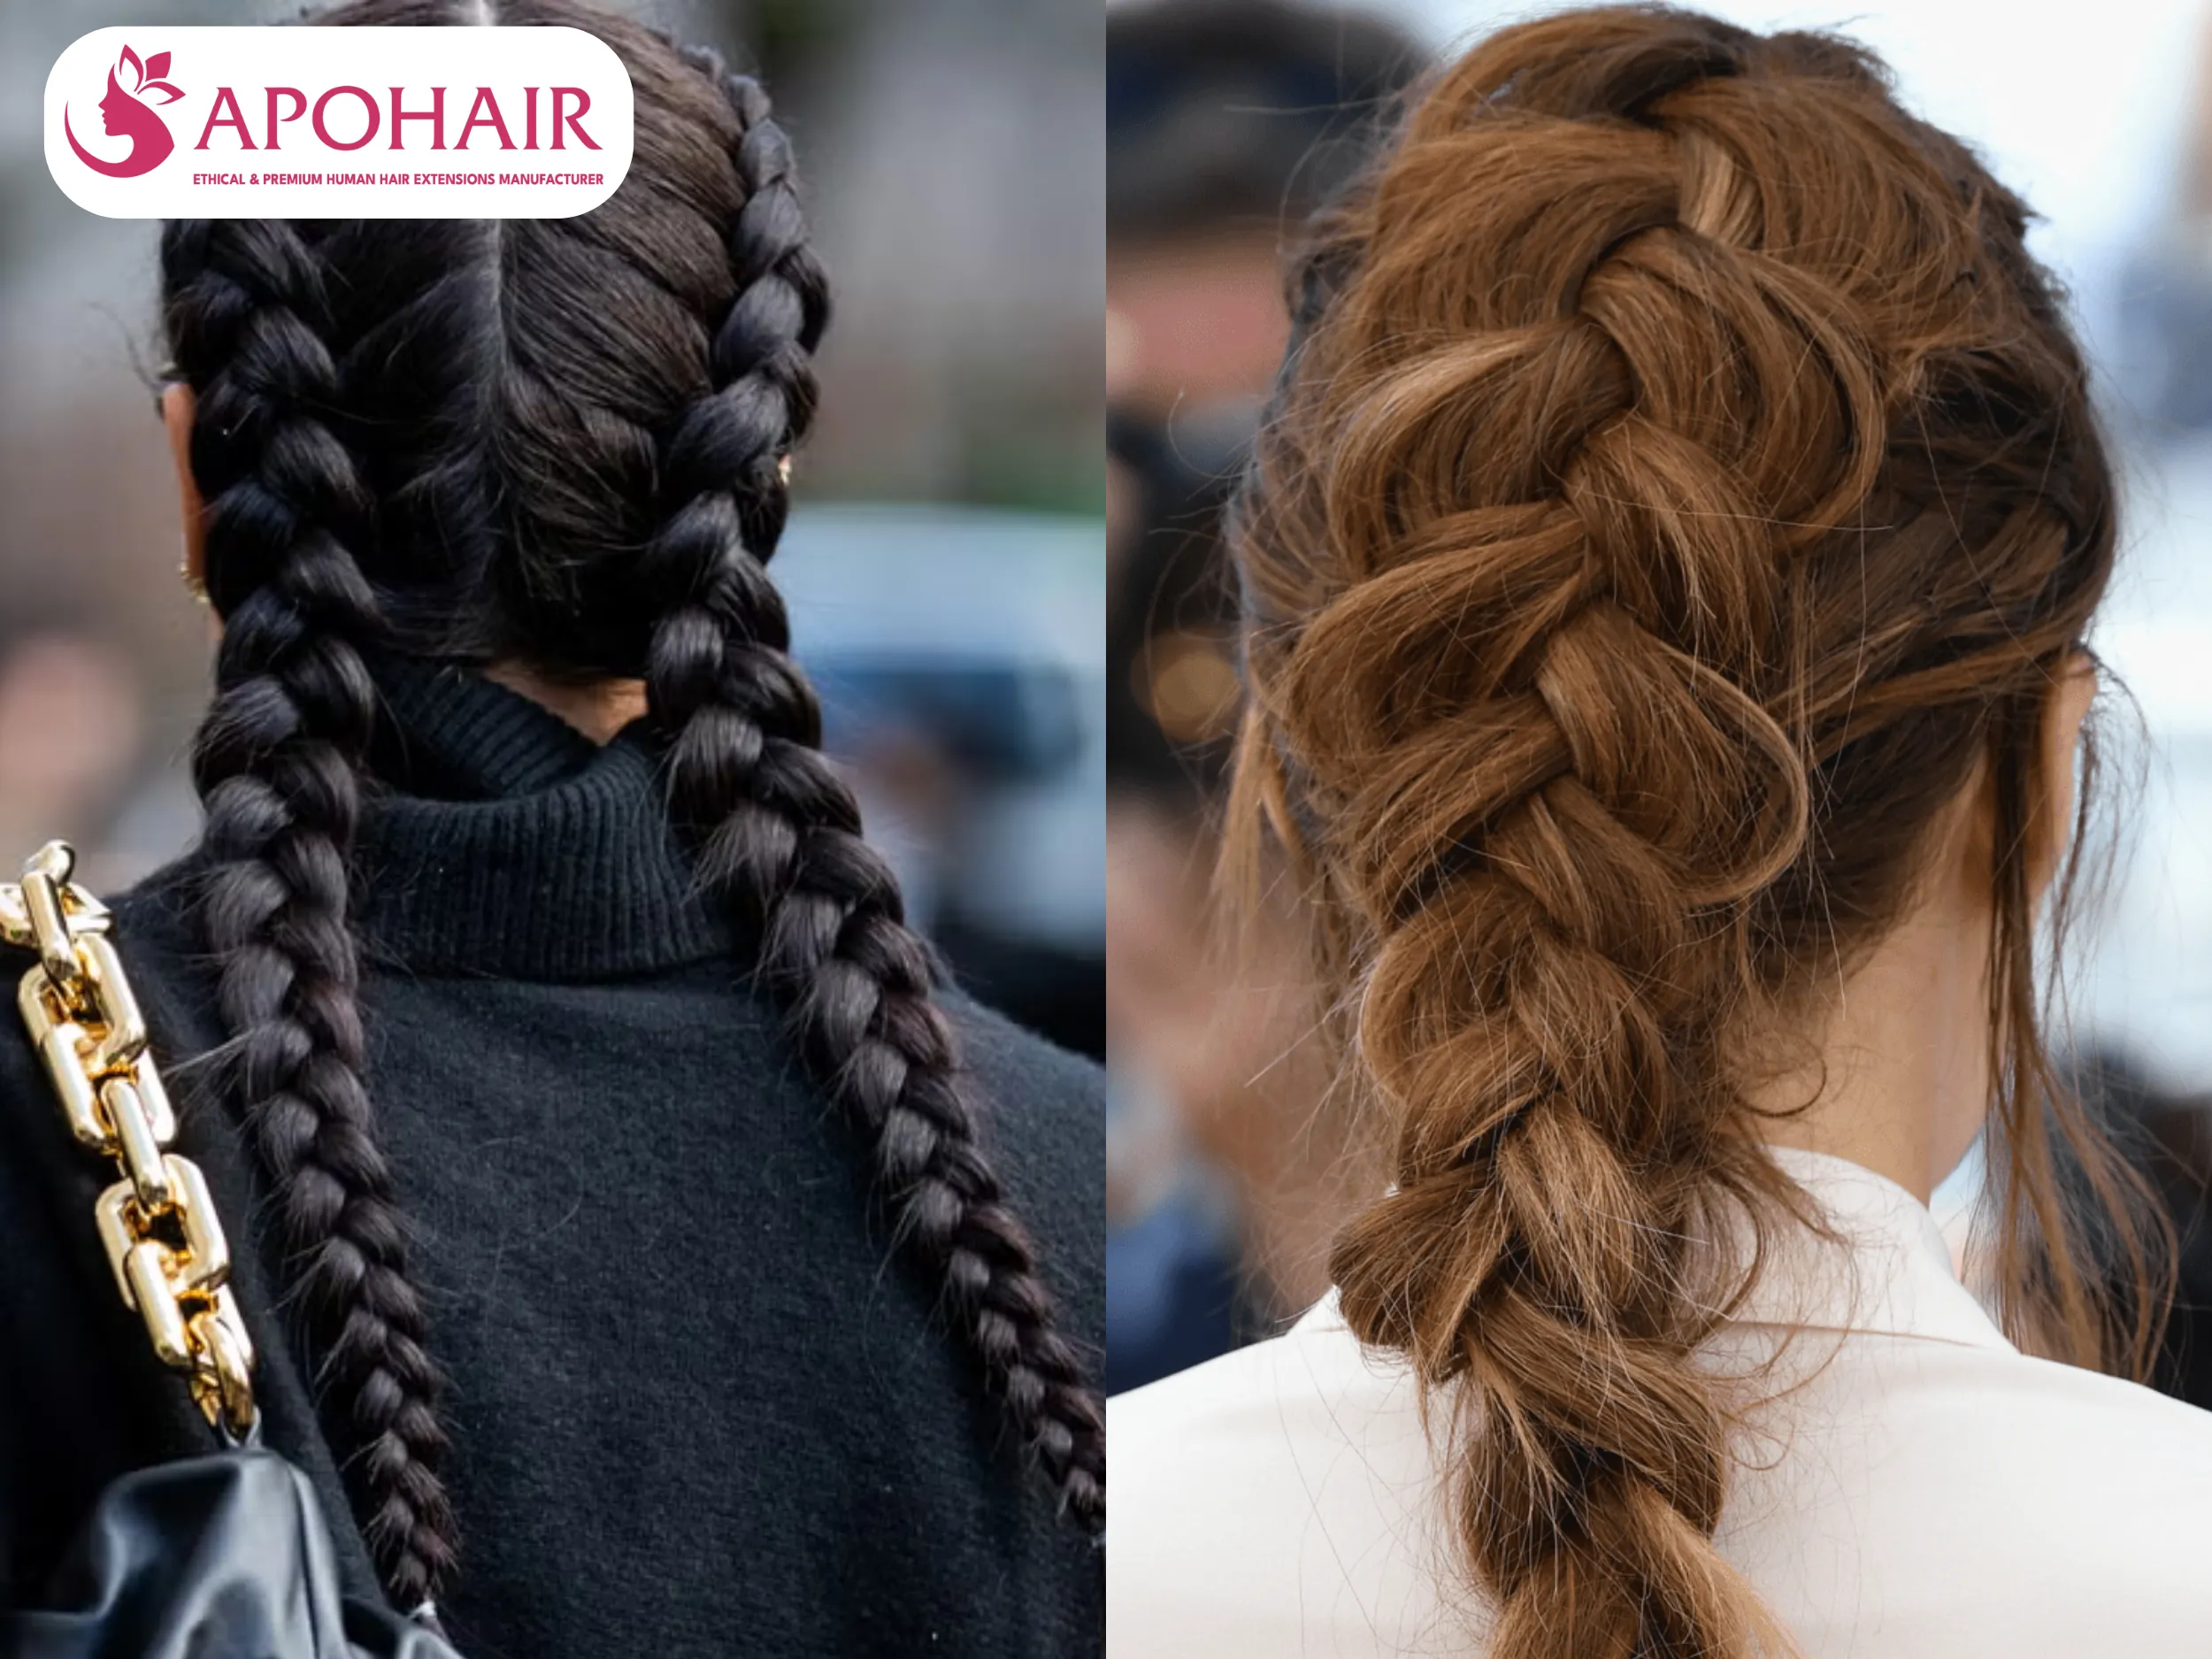
This sleek, tight, and trendy style pairs best with bulk Hair. Unlike standard extensions that show along clean partings, bulk hair integrates directly from the root, ensuring a seamless look from the forehead to the nape without exposing any bonds.
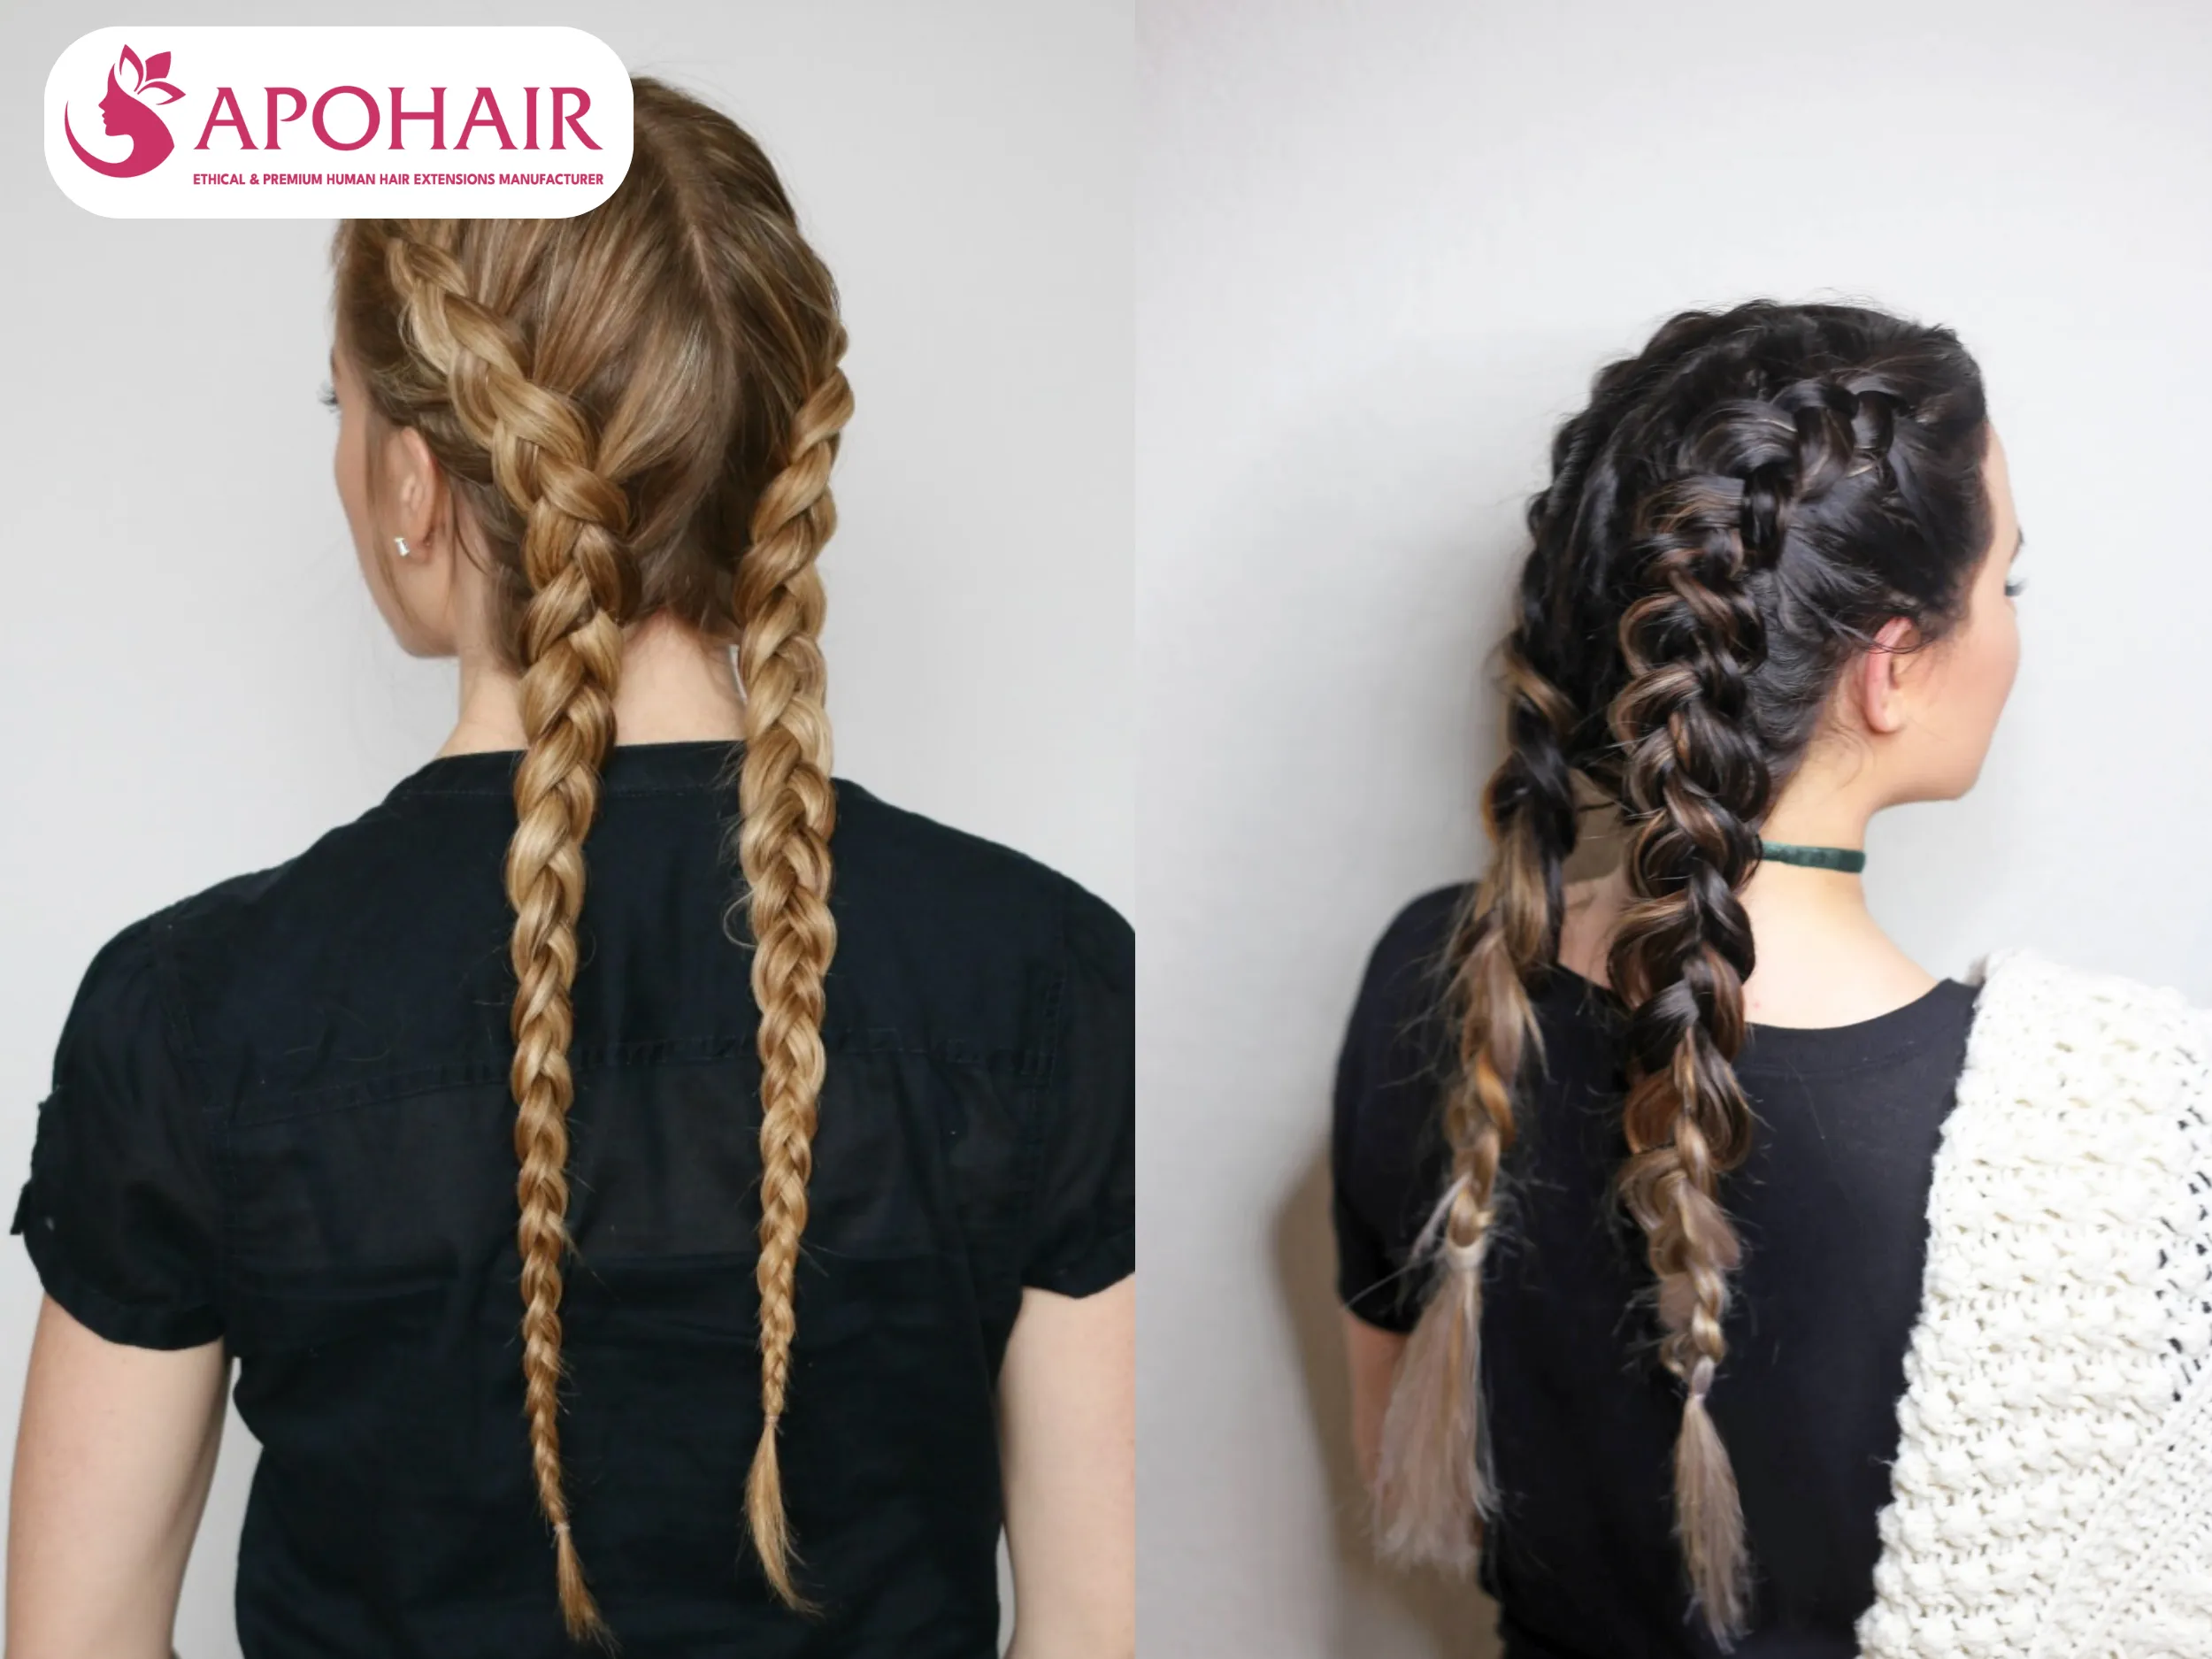
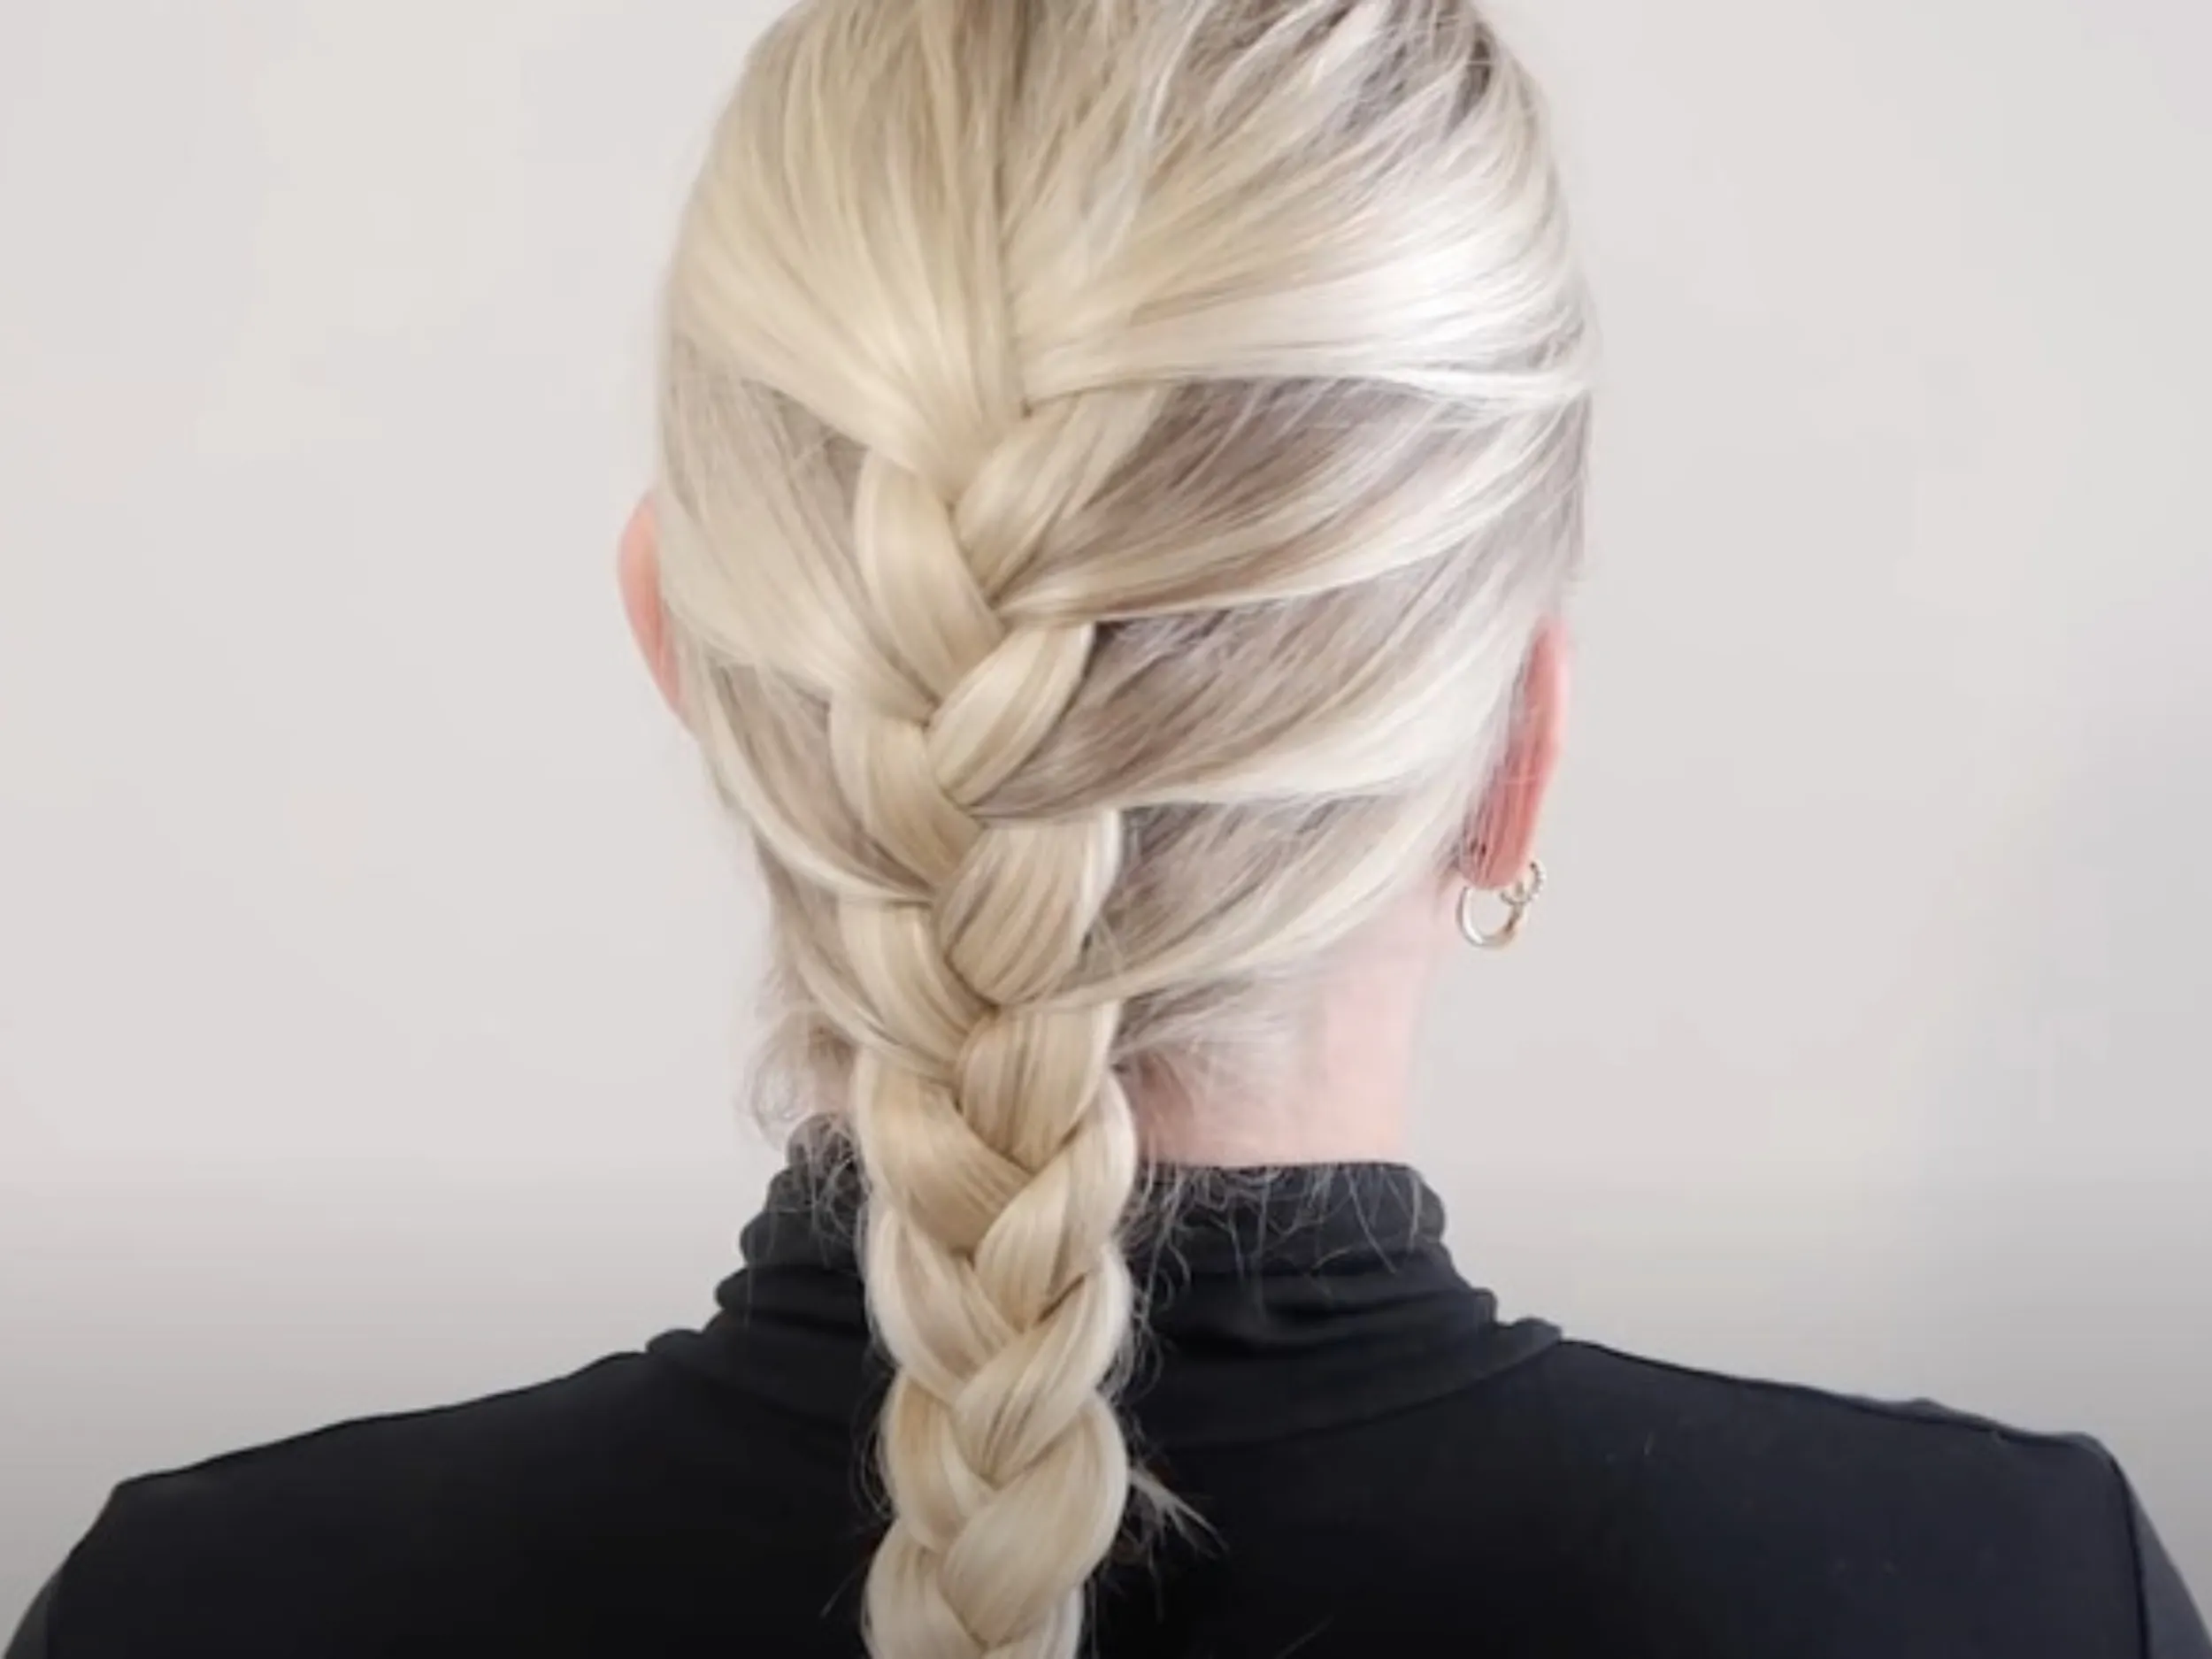
For this versatile style, bulk Hair is the ideal choice. Since French braids start at the crown, bulk hair allows for gradual volume without the risk of bulky attachment points showing through the “tucked-in” sections of the braid.
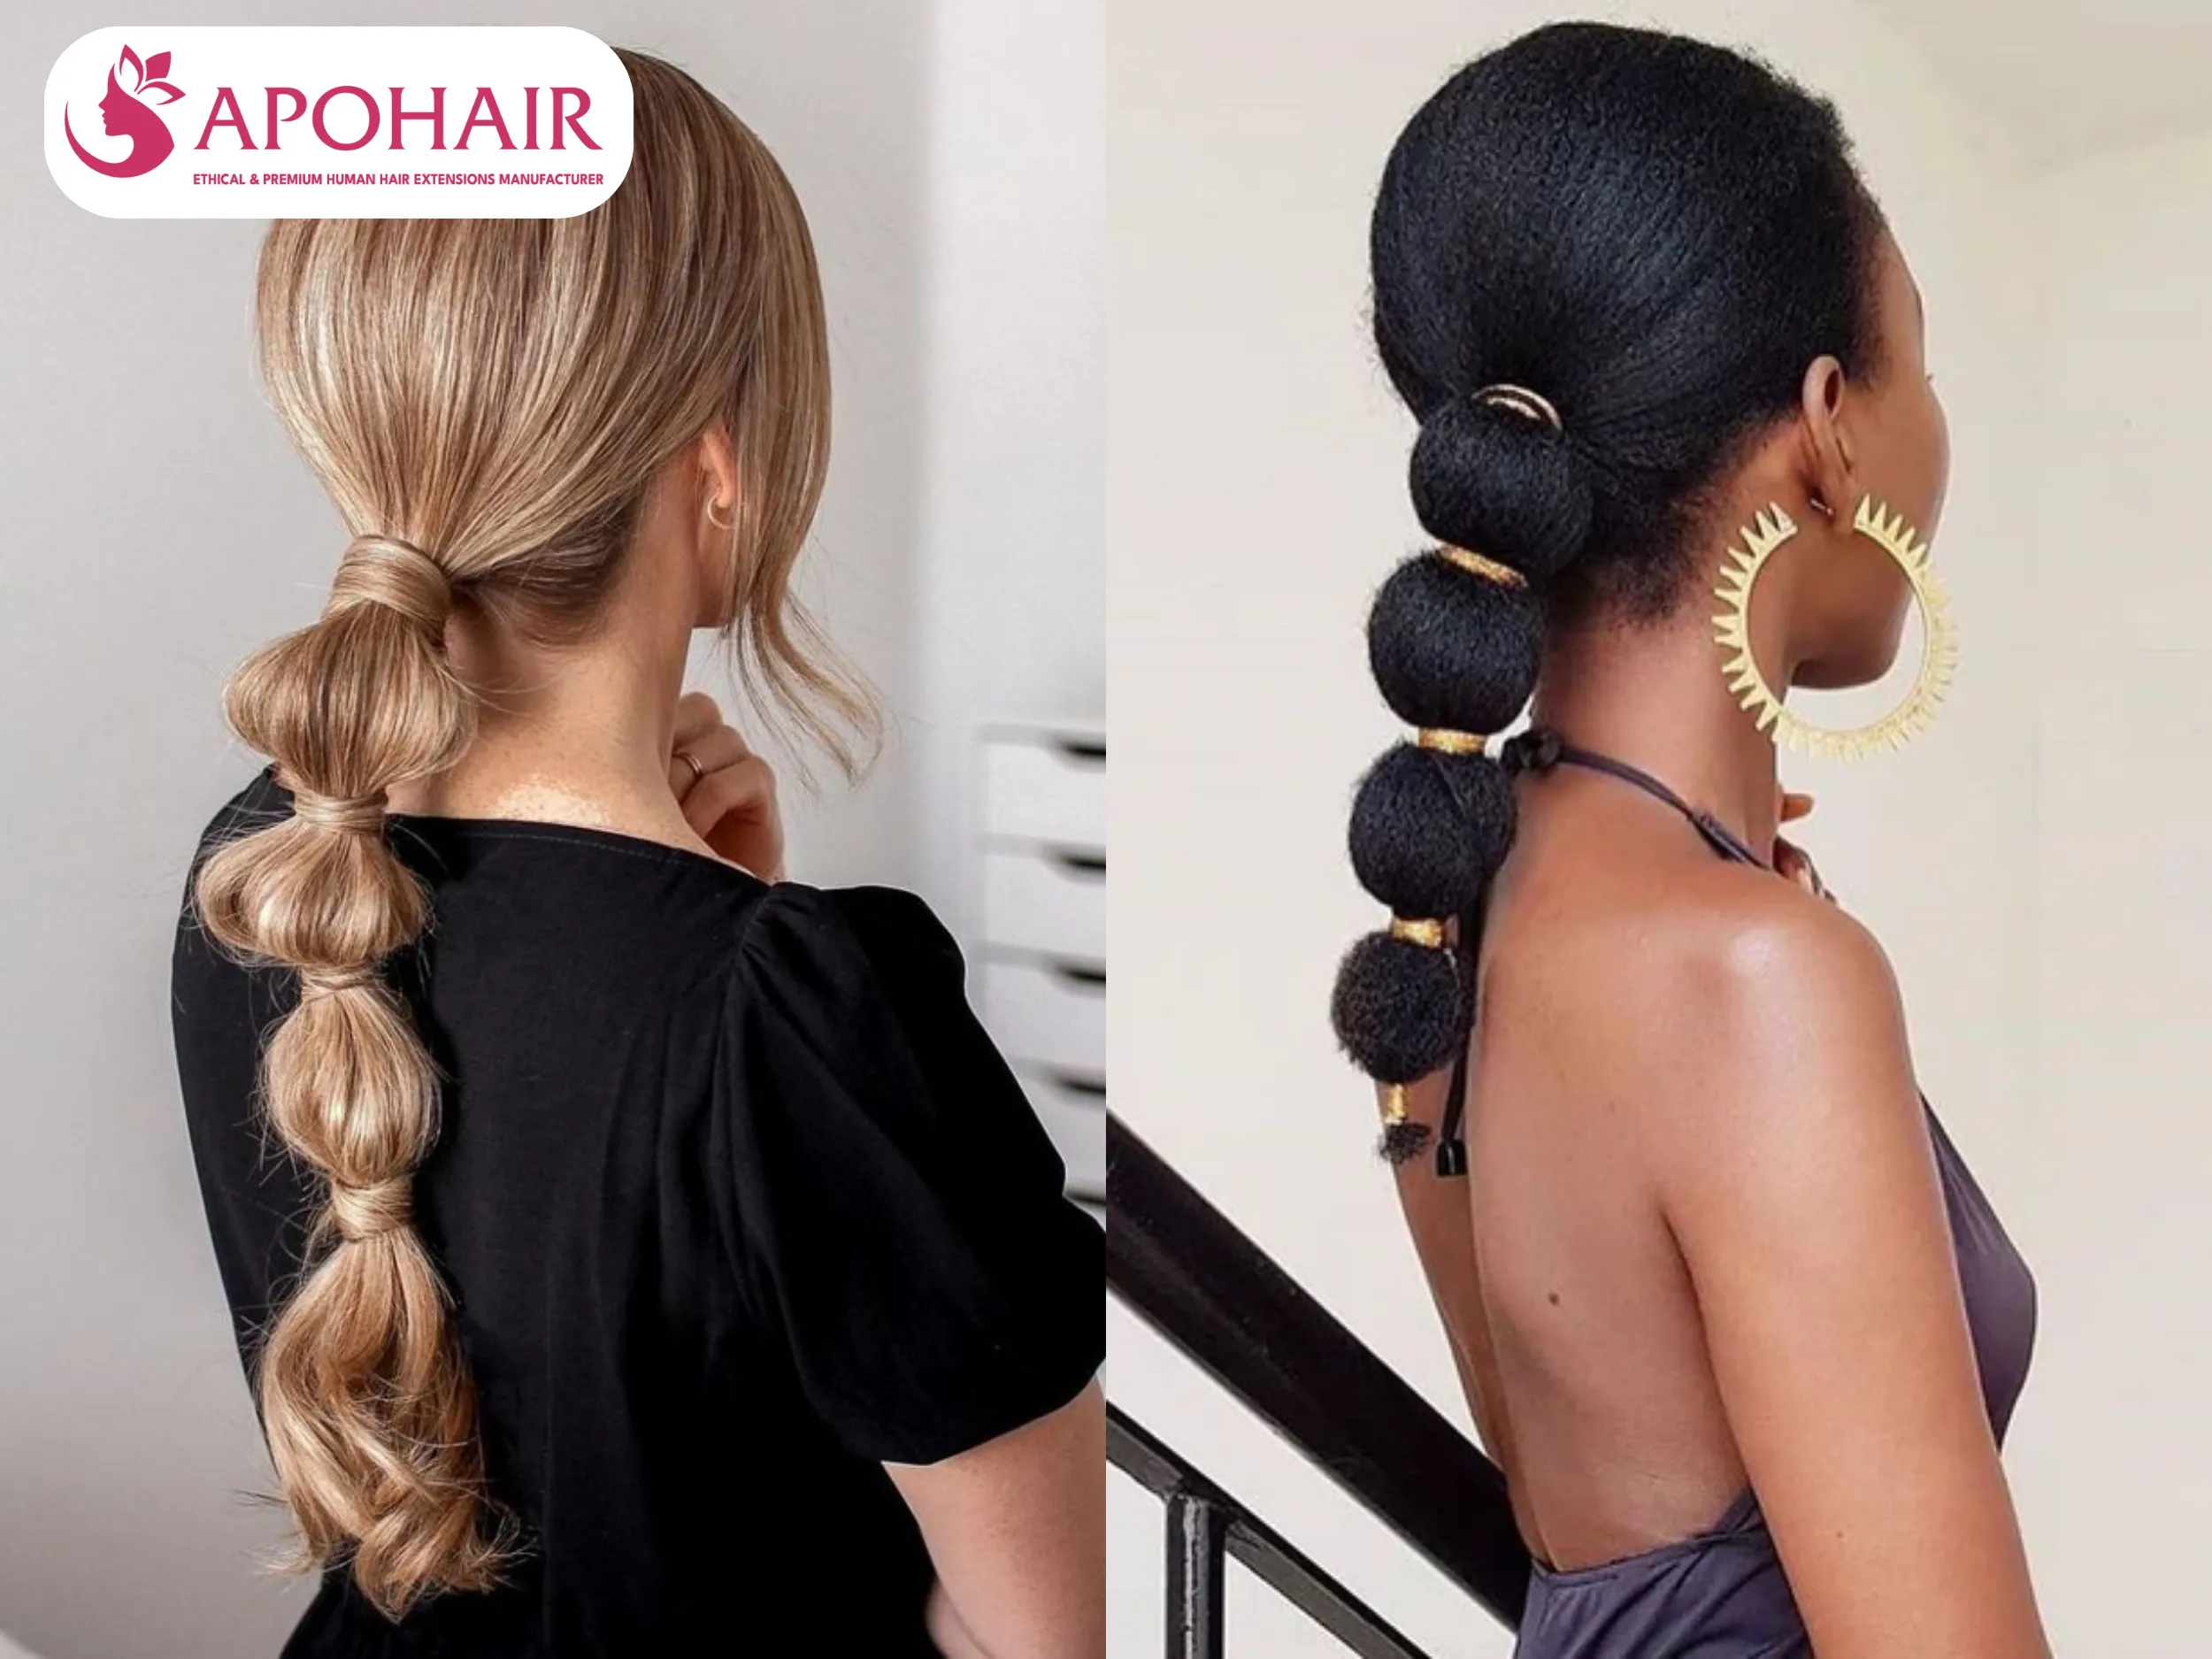
This relaxed and casual style works perfectly with standard extensions (Tape-in, Keratin, or Weft). Starting at the nape, the natural hair hides the attachments, while the extensions provide the extreme length and density needed for voluminous “bubbles.”
Often paired with tiny accent braids, the classic single braid is best suited for standard extensions. Because the hair is directed downward and starts low, bonds remain hidden under the top layer of hair for a natural finish.
A sleek and trendy choice, baby braids require bulk Hair. These tiny accents are placed right at the hairline where standard attachments are too large. Bulk hair can be twisted in subtly to add length to these delicate sections.
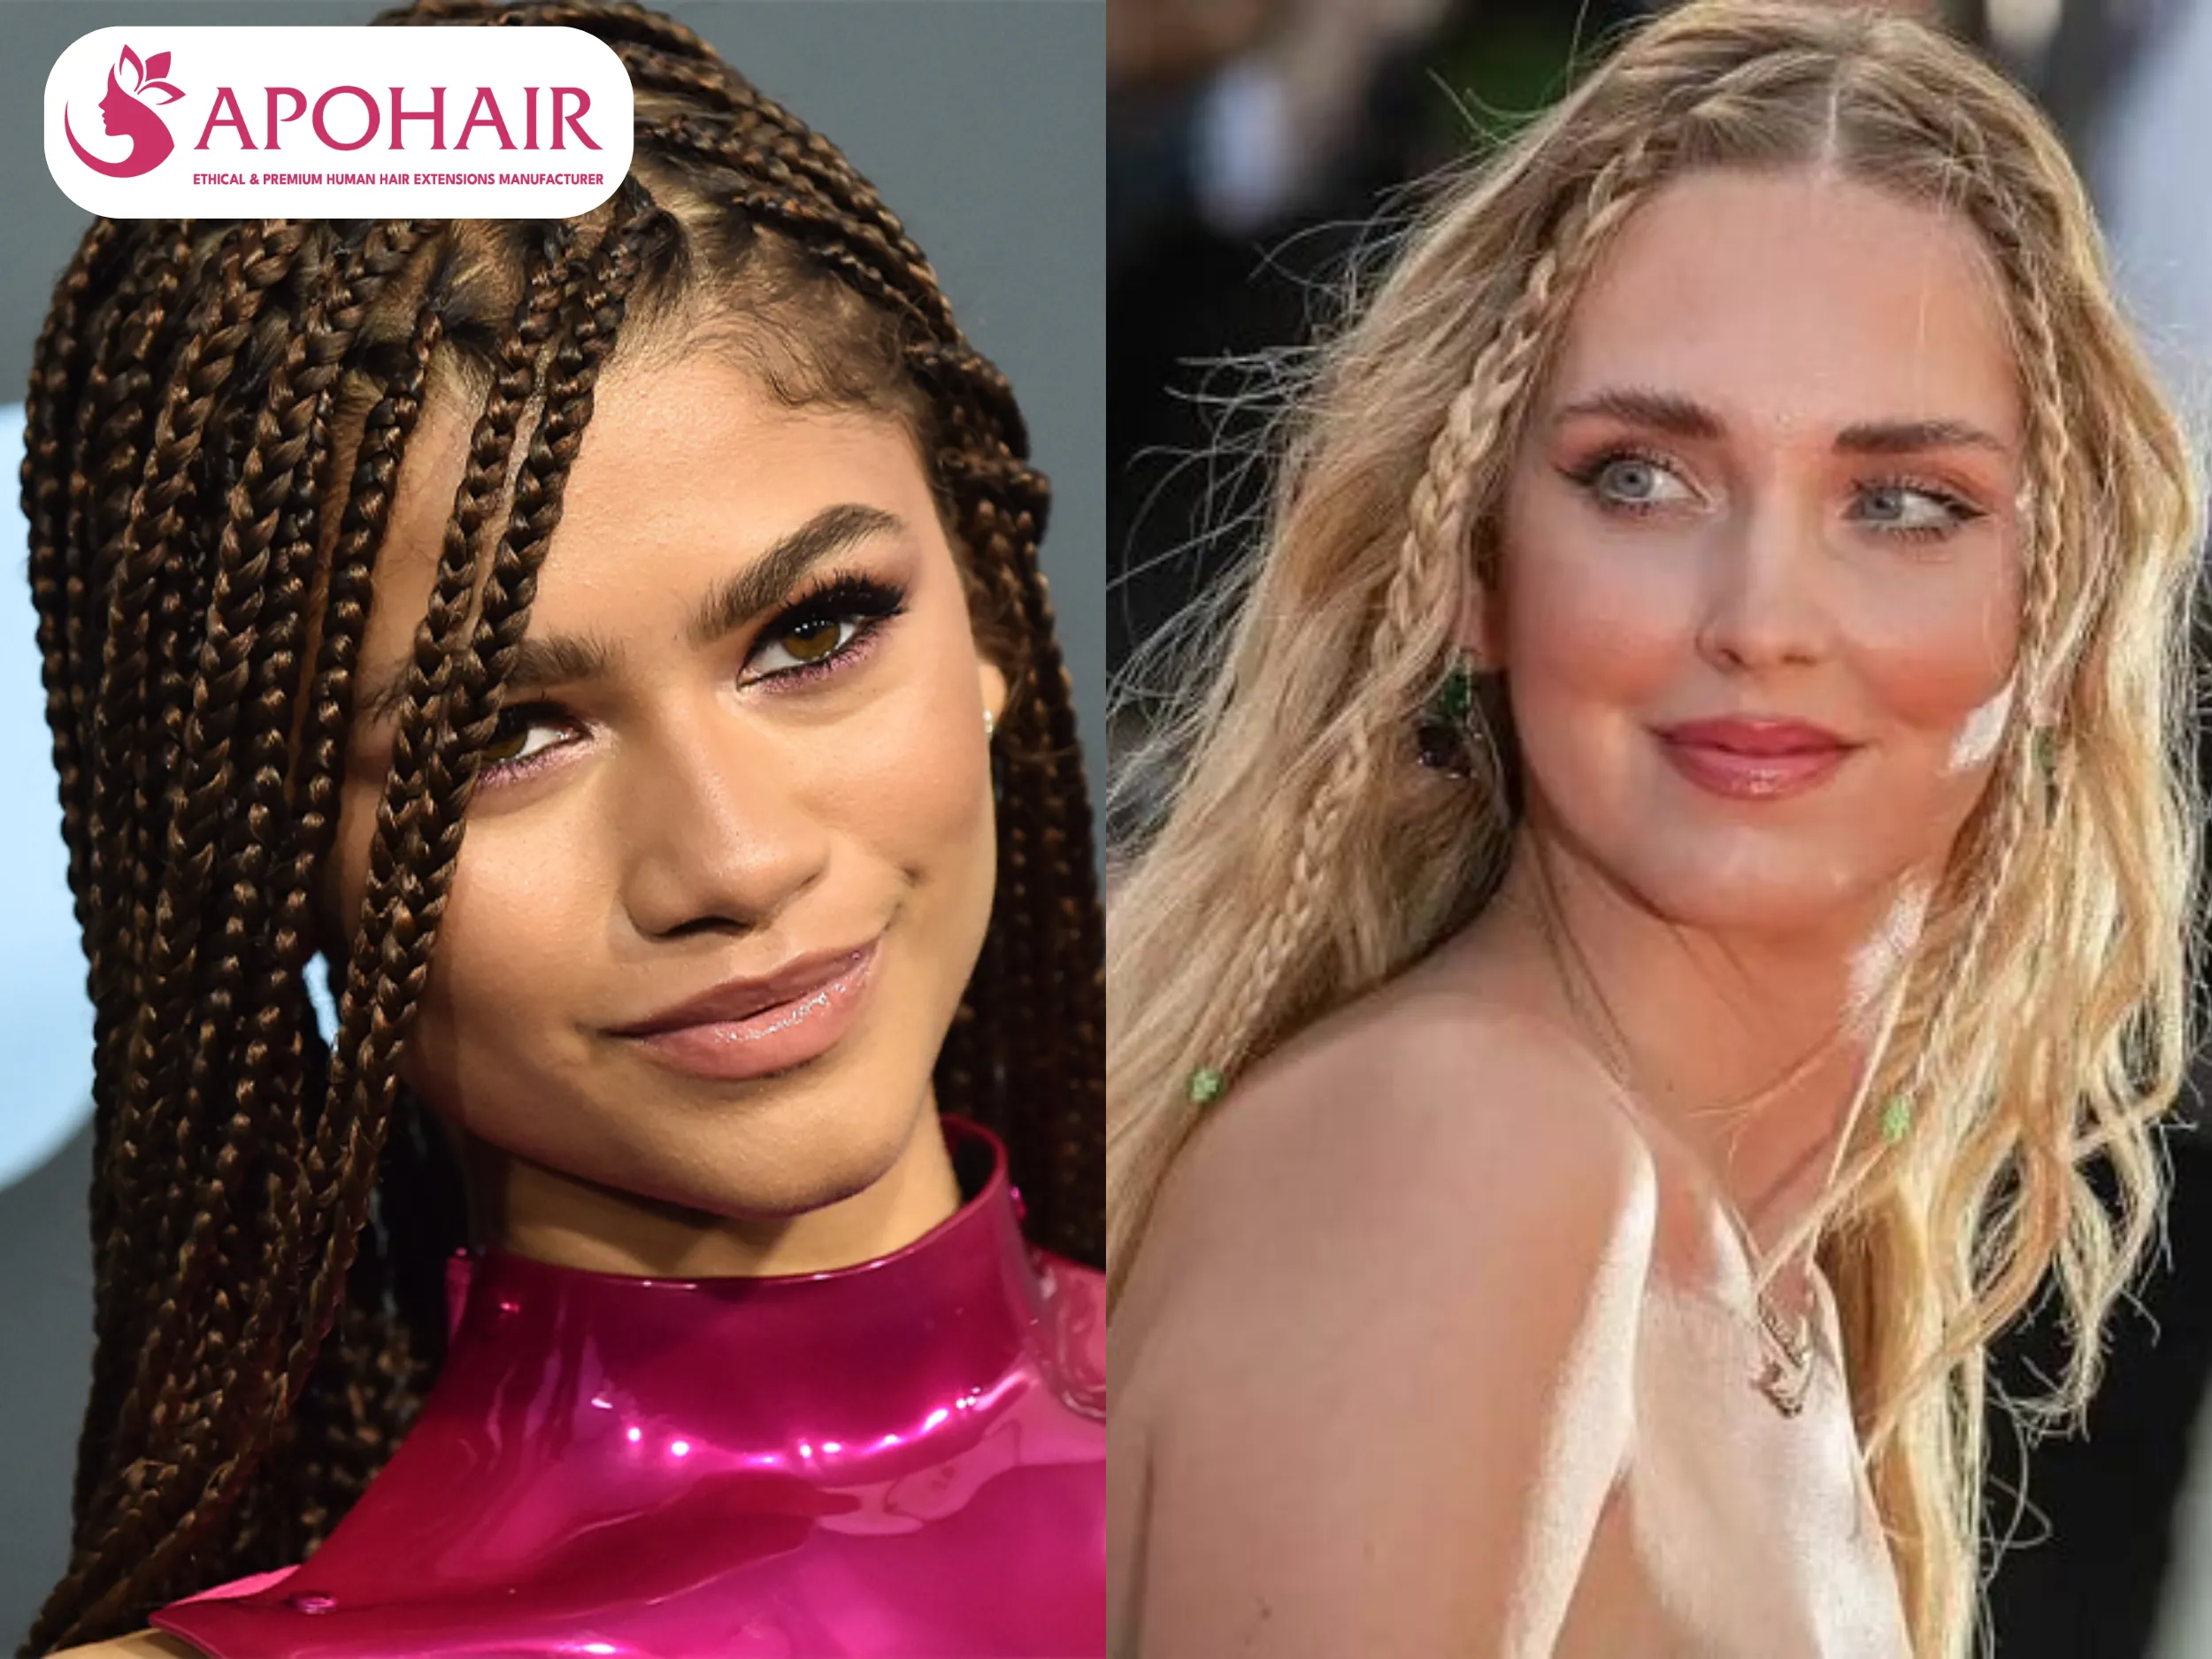
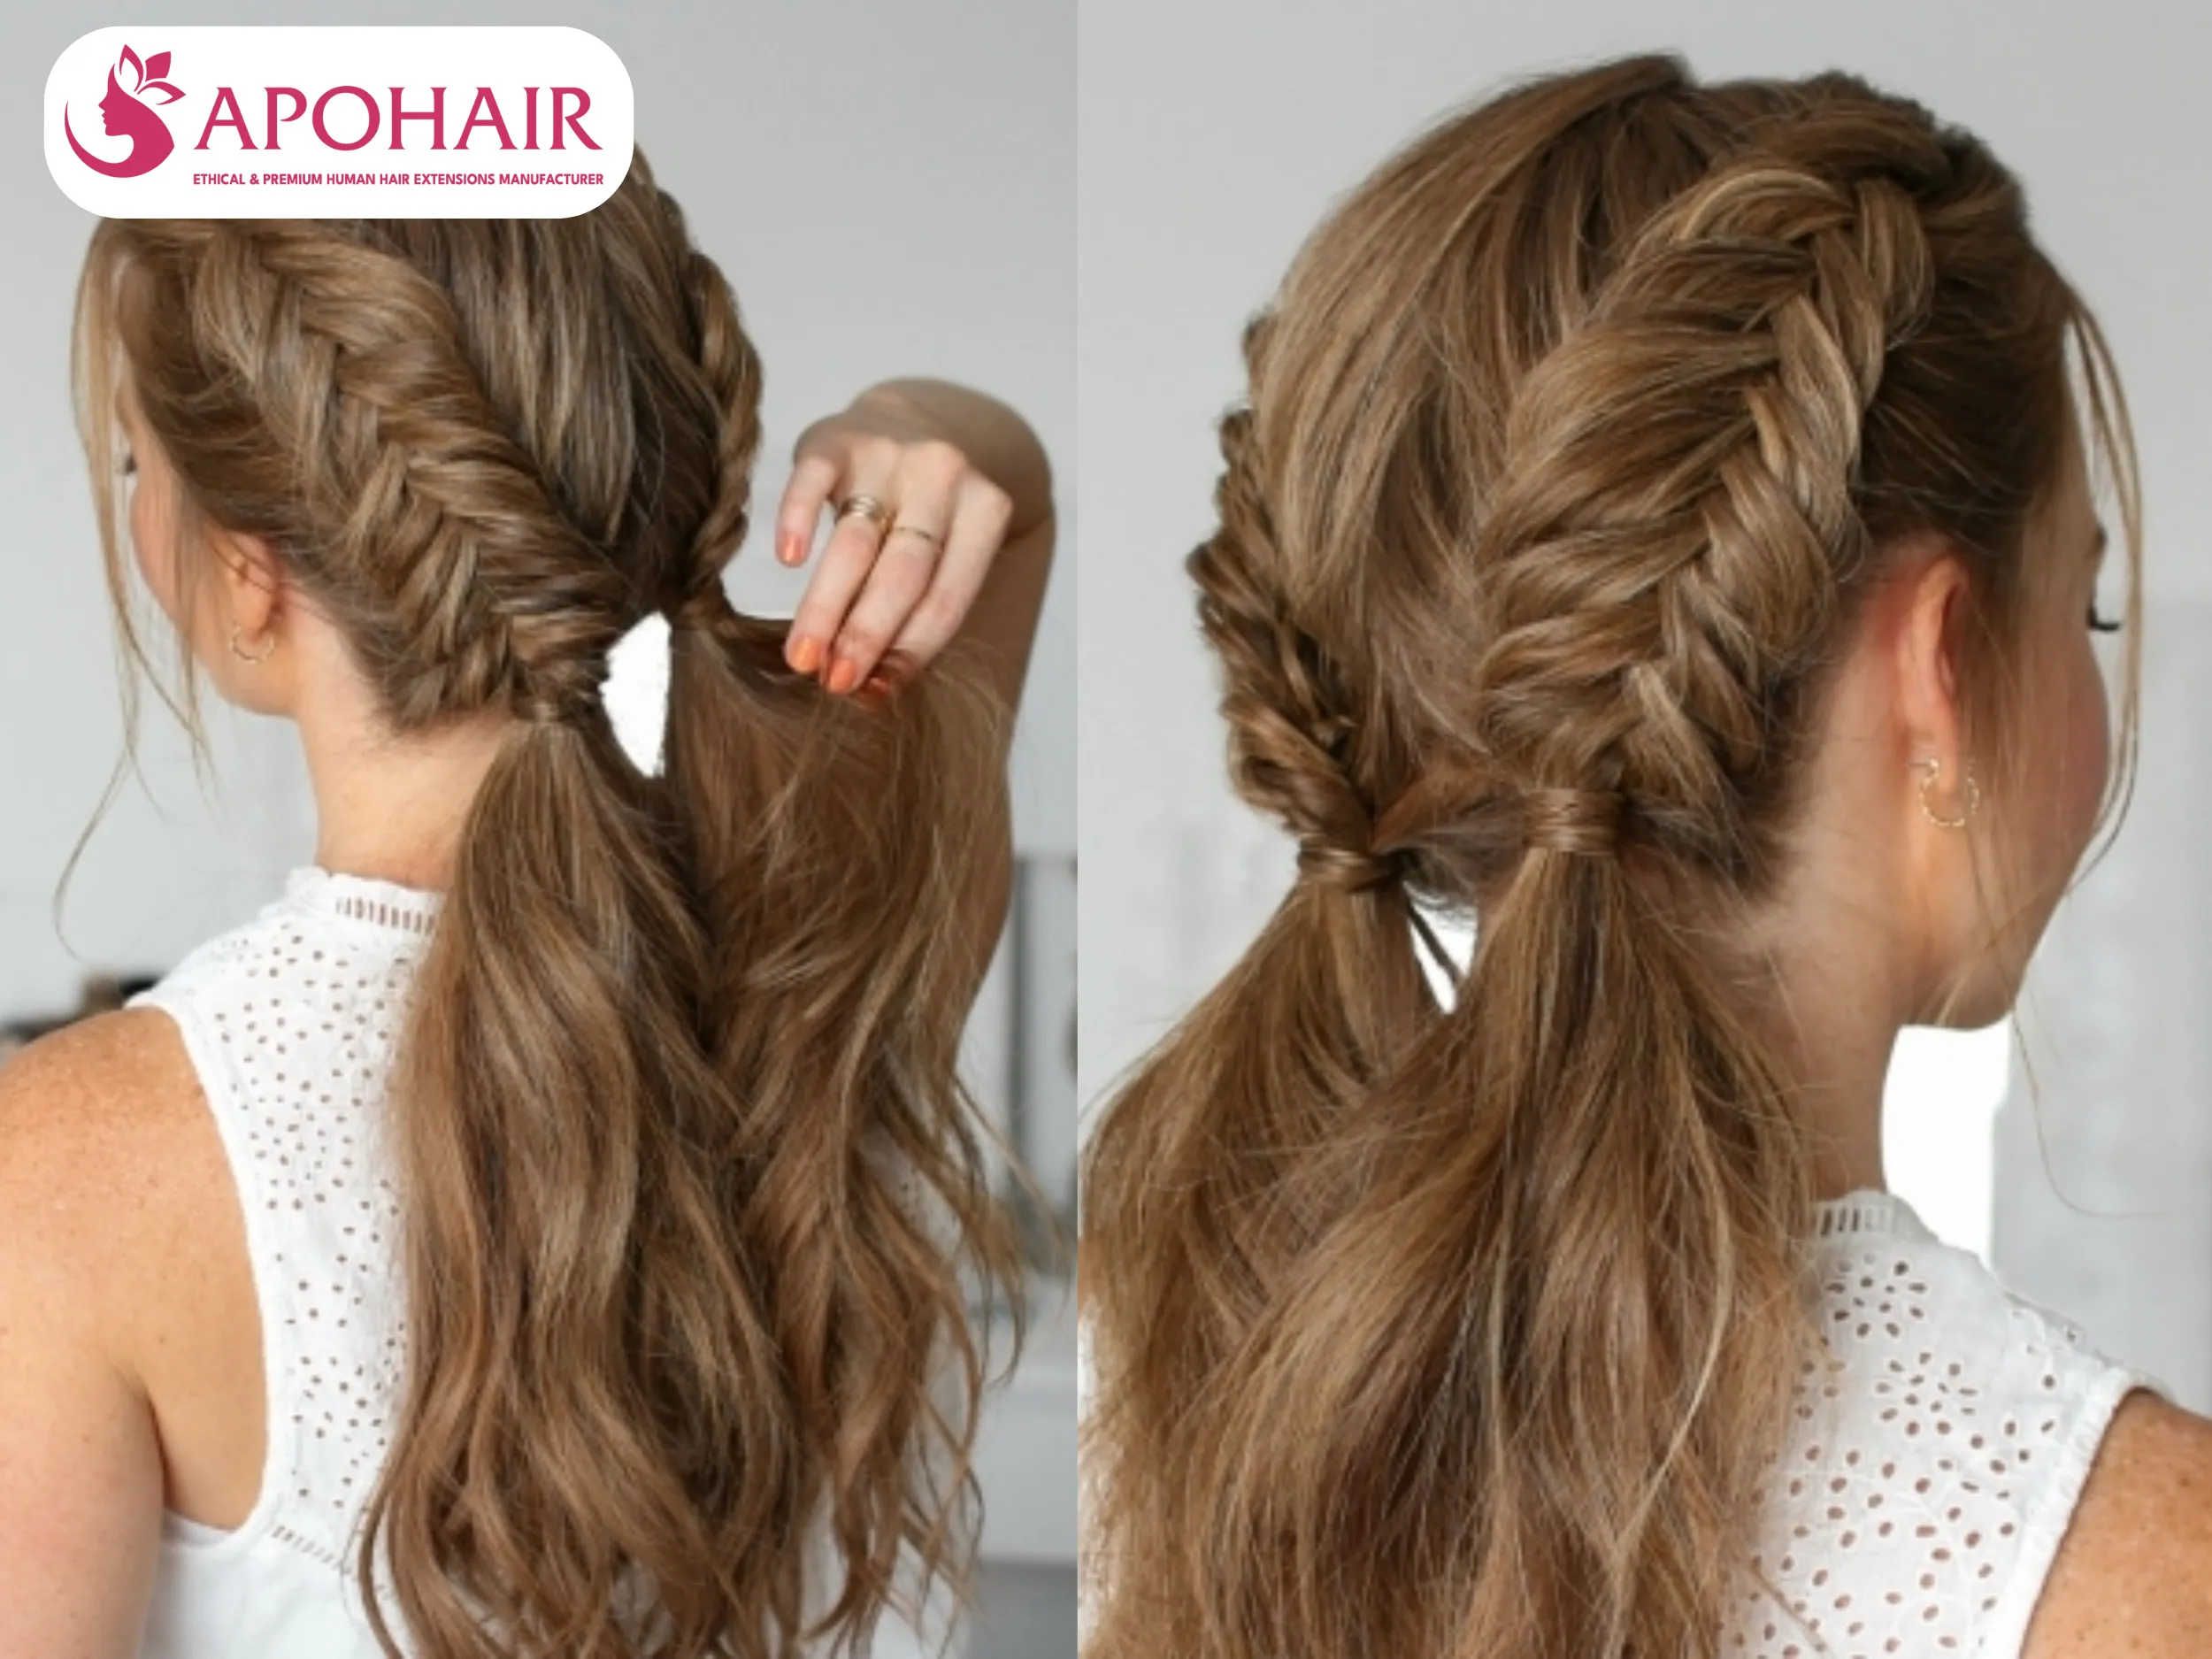
For this intricate braid, use standard extensions or weft hair (specifically seamless options like genius Weft). While standard extensions work well for low, loose fishtails, genius wefts are preferred for tighter or high-starting braids. Their ultra-thin, seamless finish ensures that the “tunnels” of the fishtail pattern remain flawless without revealing any extension bonds.
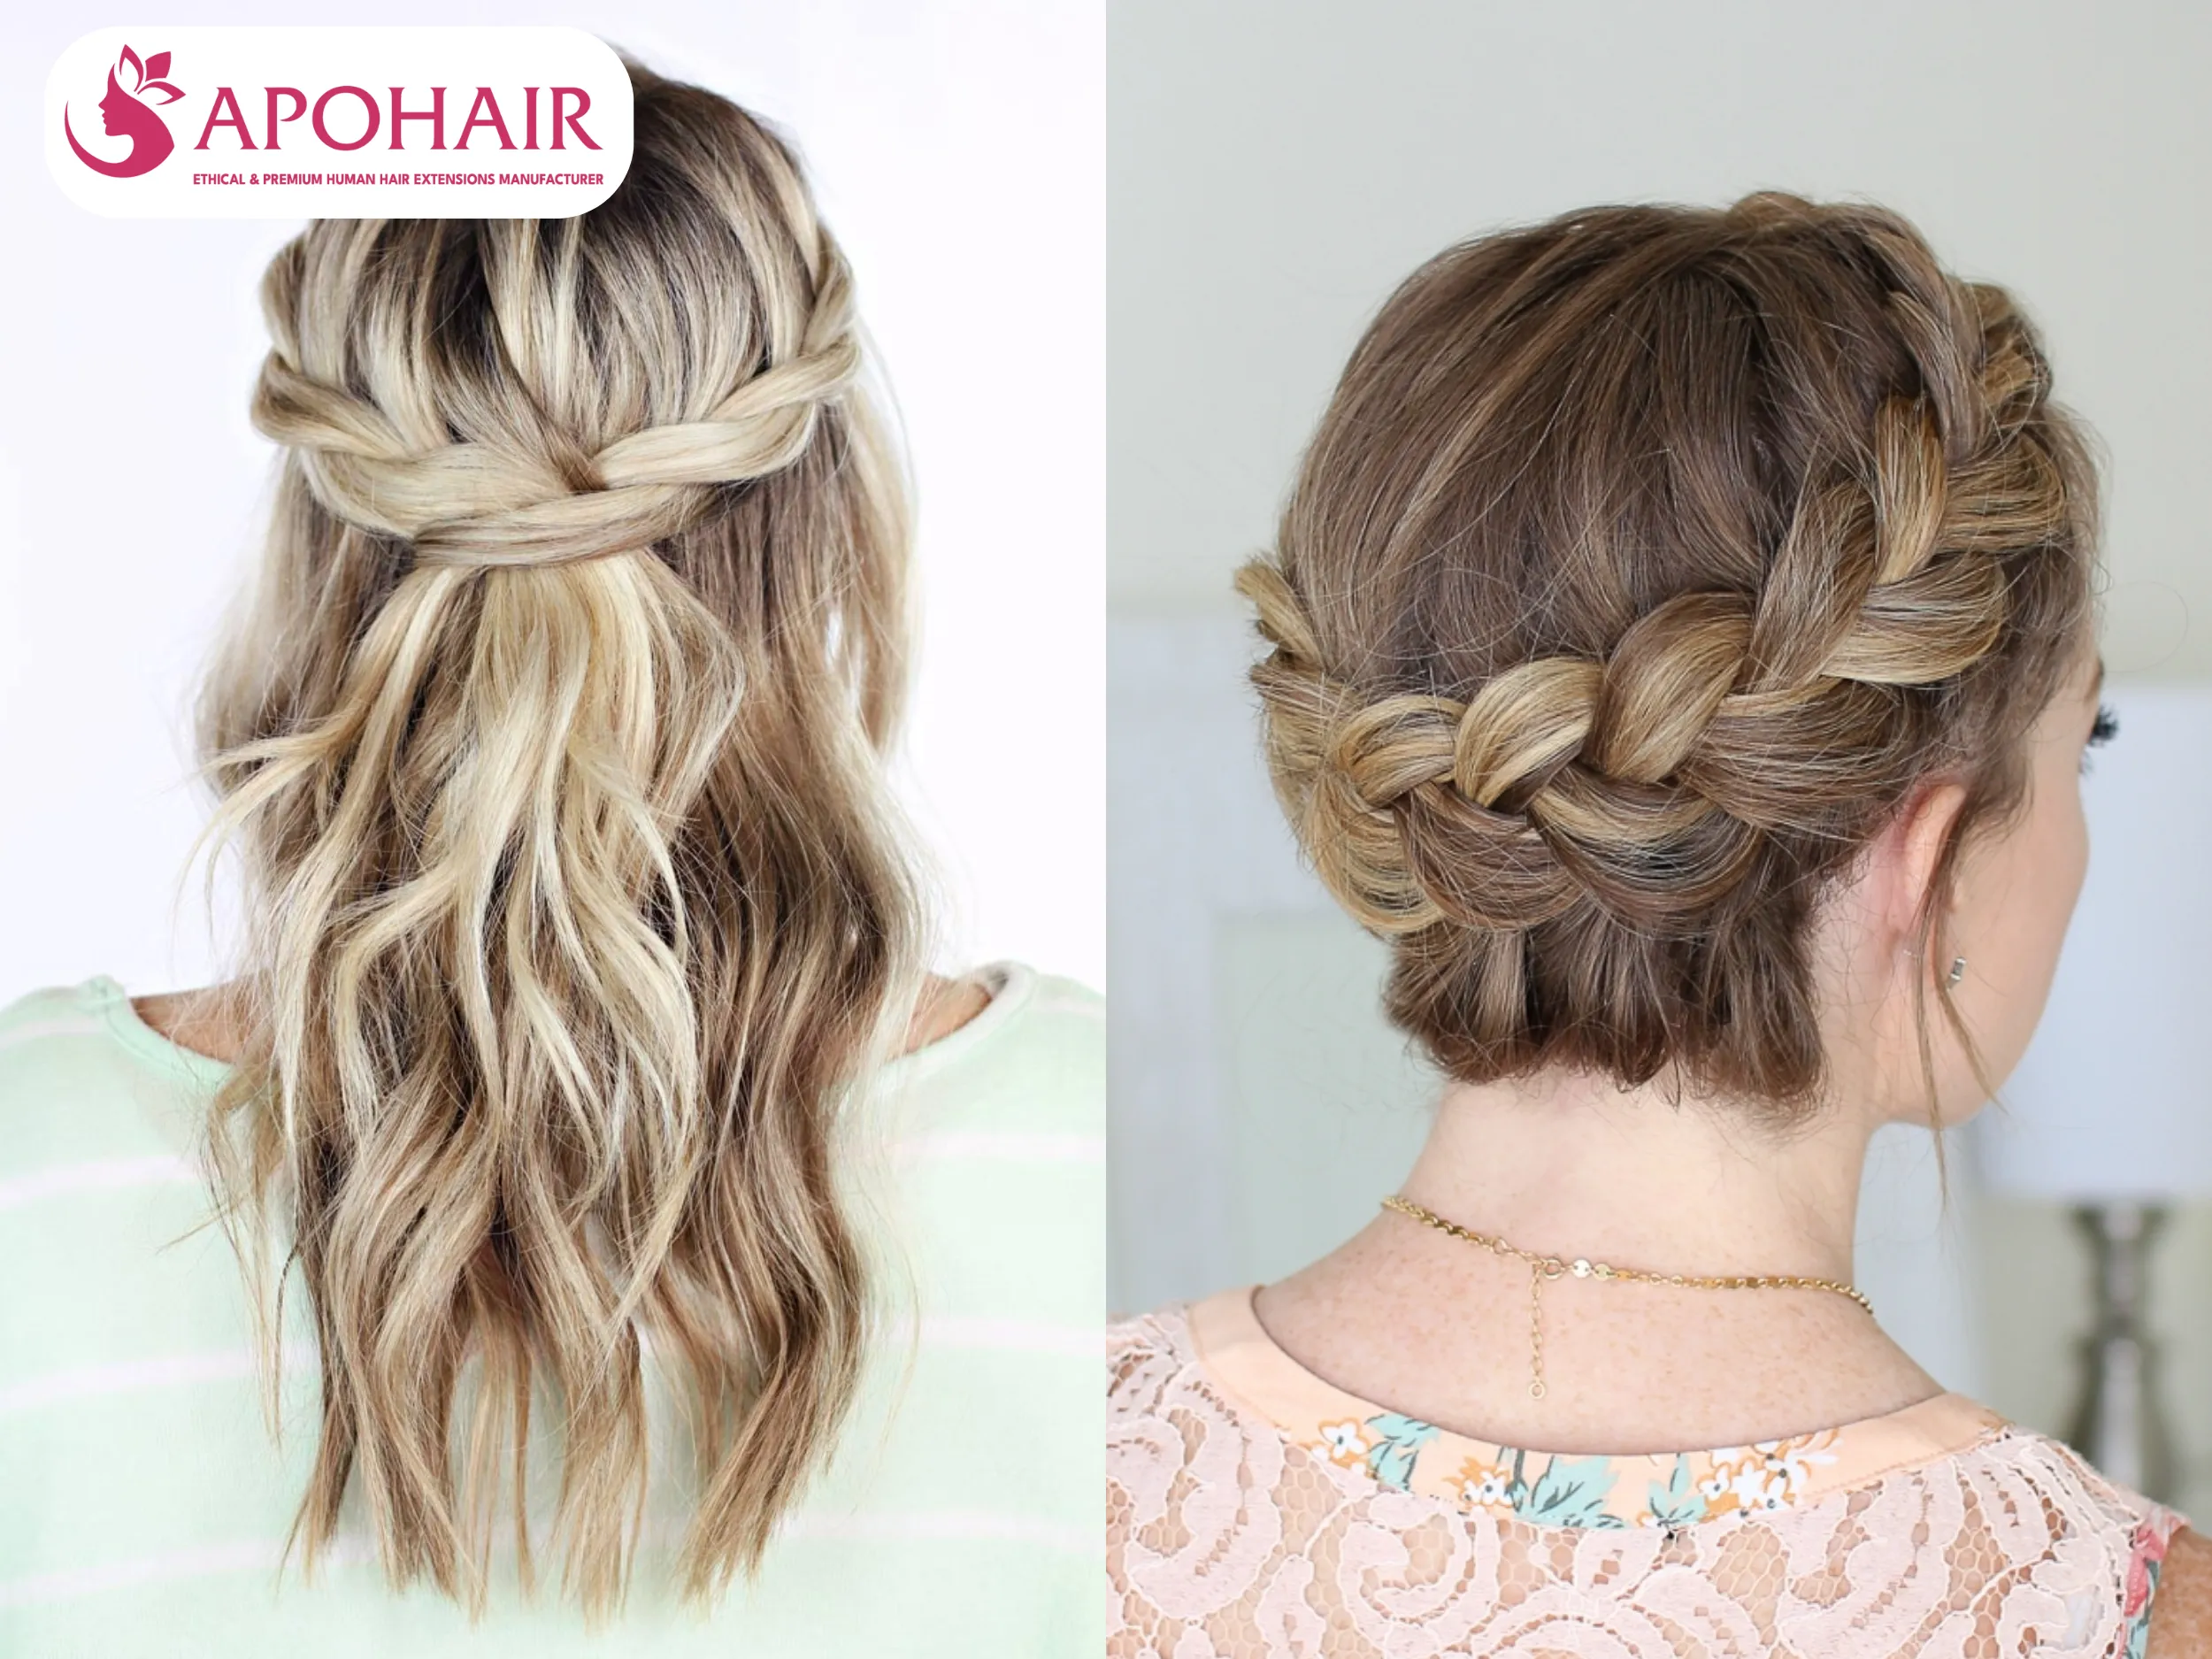
This regal and elegant style requires bulk Hair. Since it wraps around the head, standard extensions—which are designed to lay flat in one direction—would become visible and uncomfortable. Bulk hair offers the flexibility needed for this circular wrap.
While sometimes used as a single braid option, dutch braids are best with bulk Hair. Their 3D “on top” structure makes standard bonds difficult to hide. Bulk hair integrates perfectly into the inverted pattern for a flawless, voluminous effect.
Three extension types work well with braided hairstyles, each offering different benefits for wear duration and styling flexibility.
| Extension Type | Best For | Wear Duration |
| Bulk Hair | Boxer Braids, Dutch Braids, Crown Braids, Baby Braids | 4 – 8 Weeks |
| Standard Extensions (Tape-in, Keratin, Weft) | Low Bubble Braids, Classic Single Braids | 6 – 10 Weeks |
| Genius / Seamless Weft | Fishtail Braids, Tight or high-starting braids | 6 – 8 Weeks |
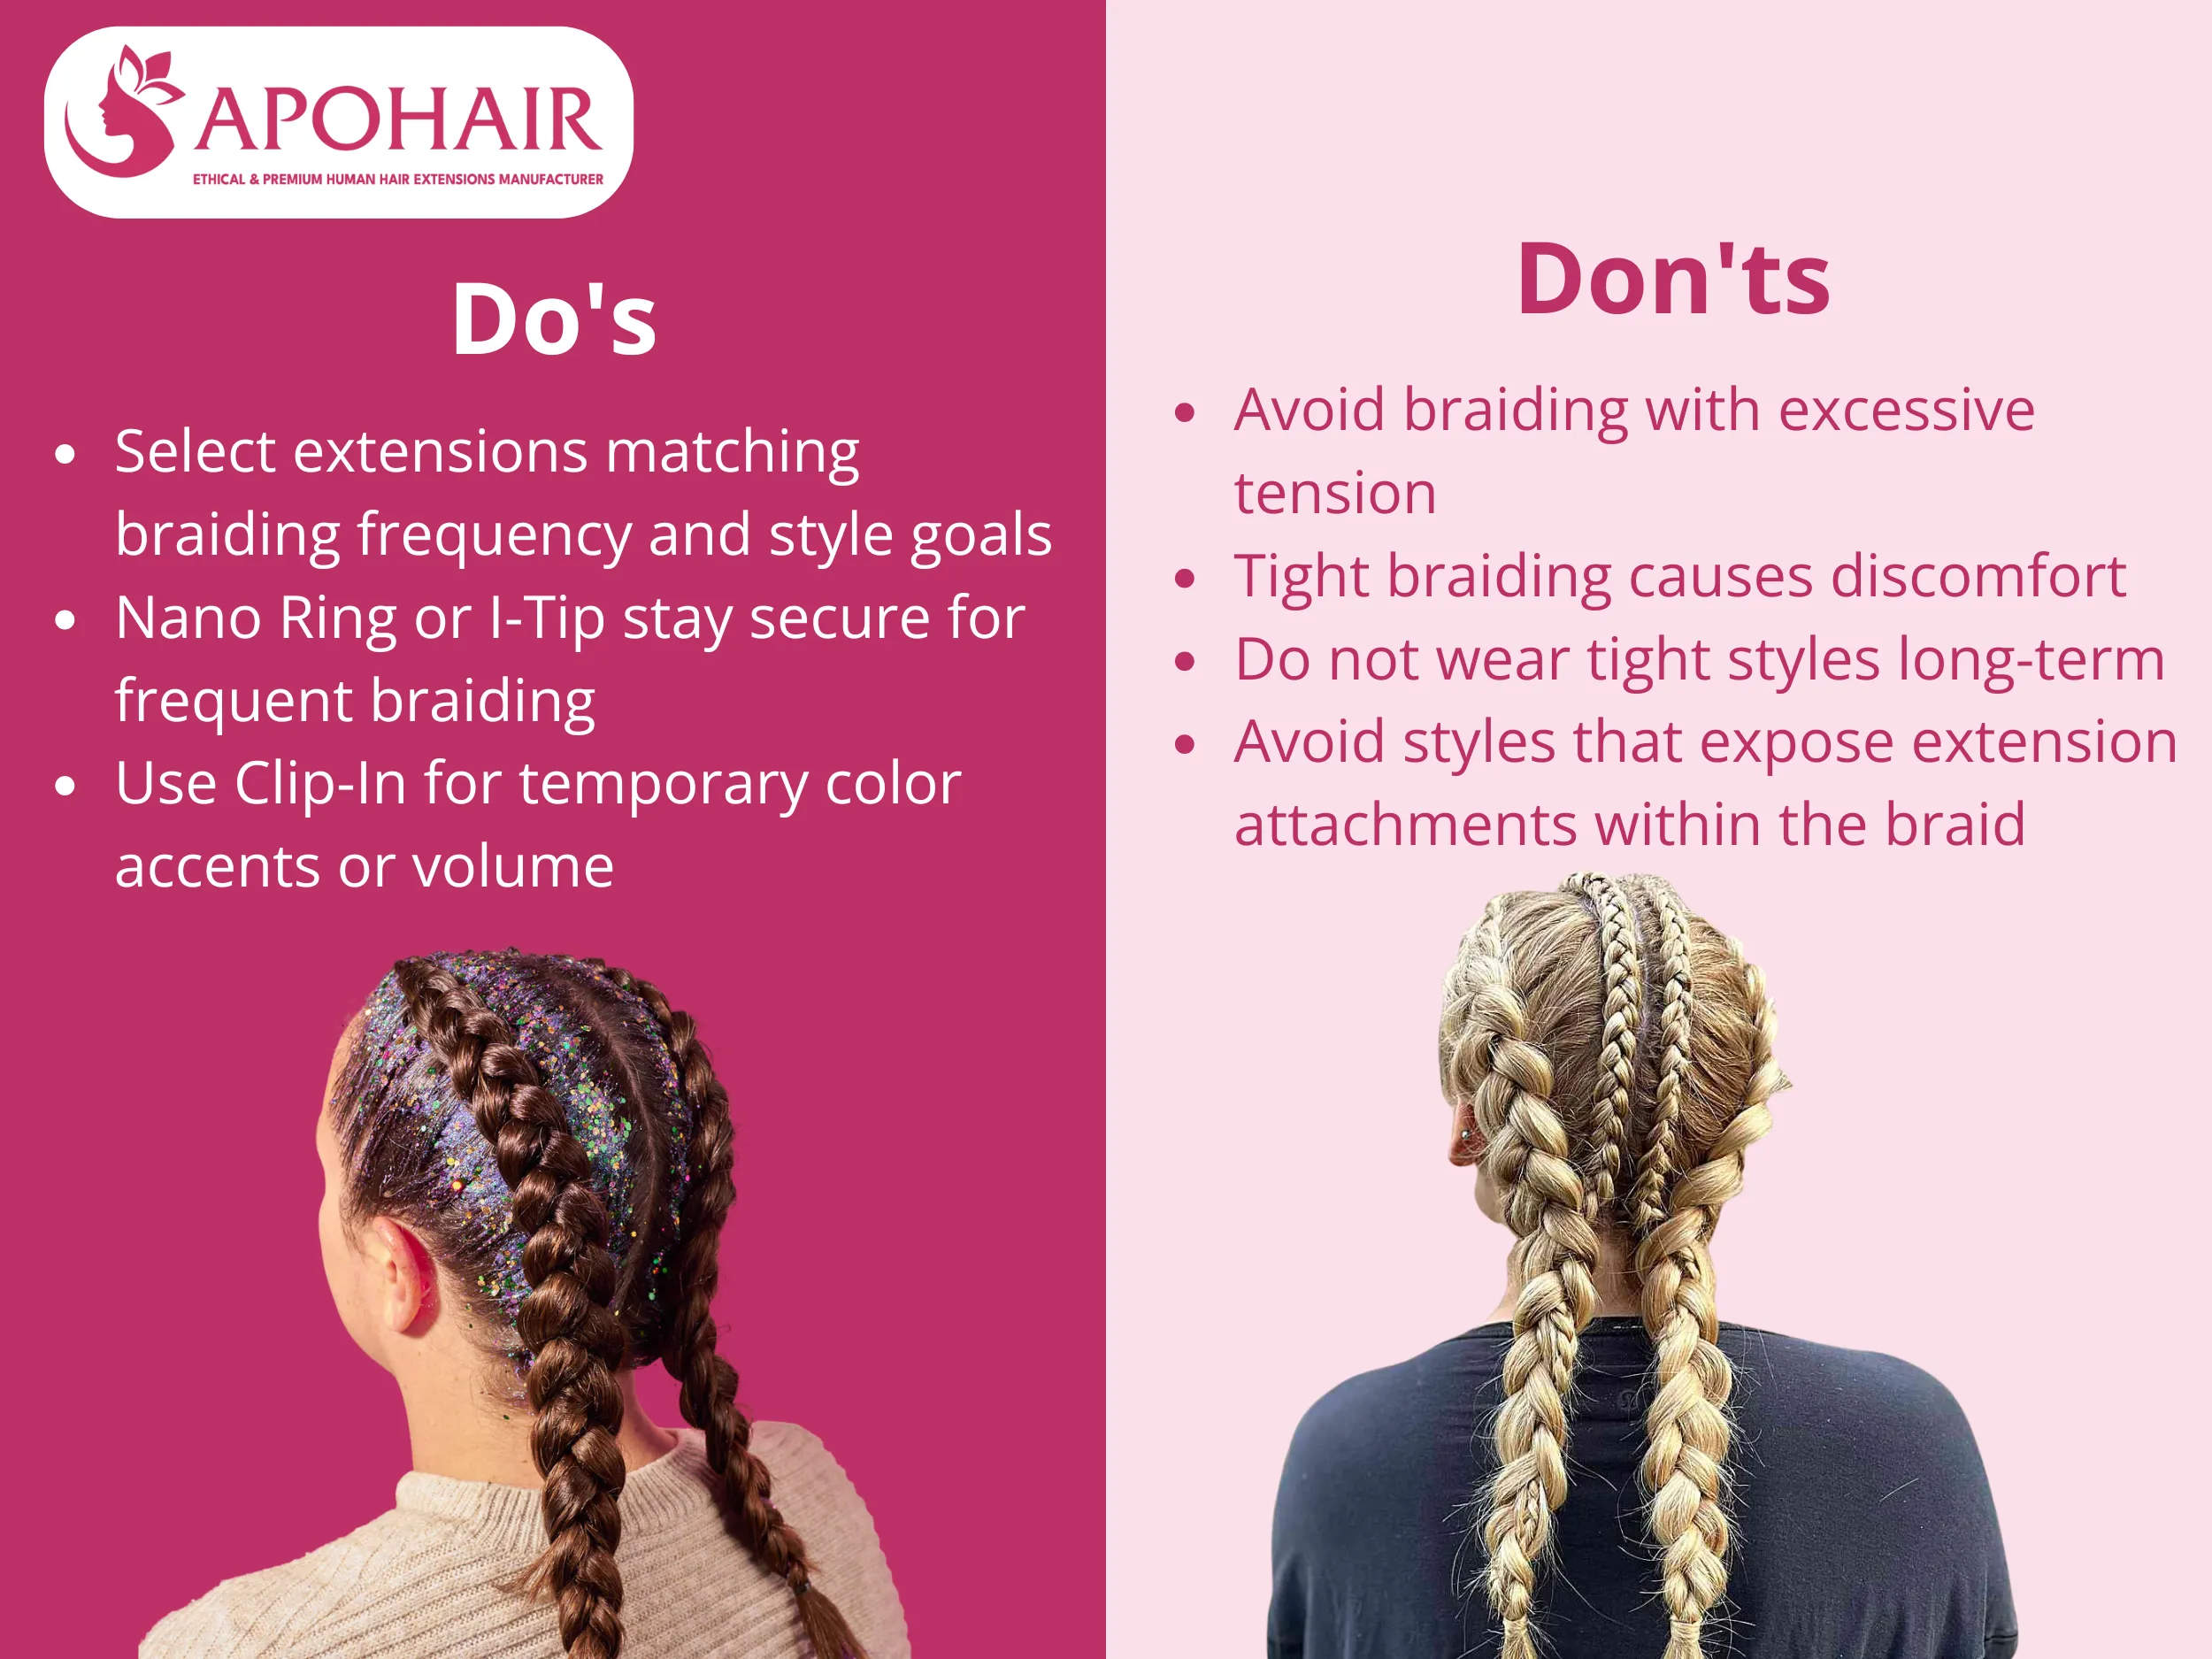
Selecting the right extension type protects your hair while achieving your desired style. Follow these three do’s and four don’ts to maintain healthy hair and flawless braids.
Three practices help you achieve the best results when braiding with extensions:
Four mistakes can damage your hair and compromise your braided style:
Dry hair provides safer braiding conditions because wet hair stretches and breaks more easily under tension. If you prefer some moisture for easier handling, work with slightly damp hair rather than soaking wet strands.
No extension type is completely unsuitable for braiding, but each requires careful handling. Tight braids pose risks with any extension. Tape-in and Weft extensions can be more difficult to conceal in high or tight braided styles.
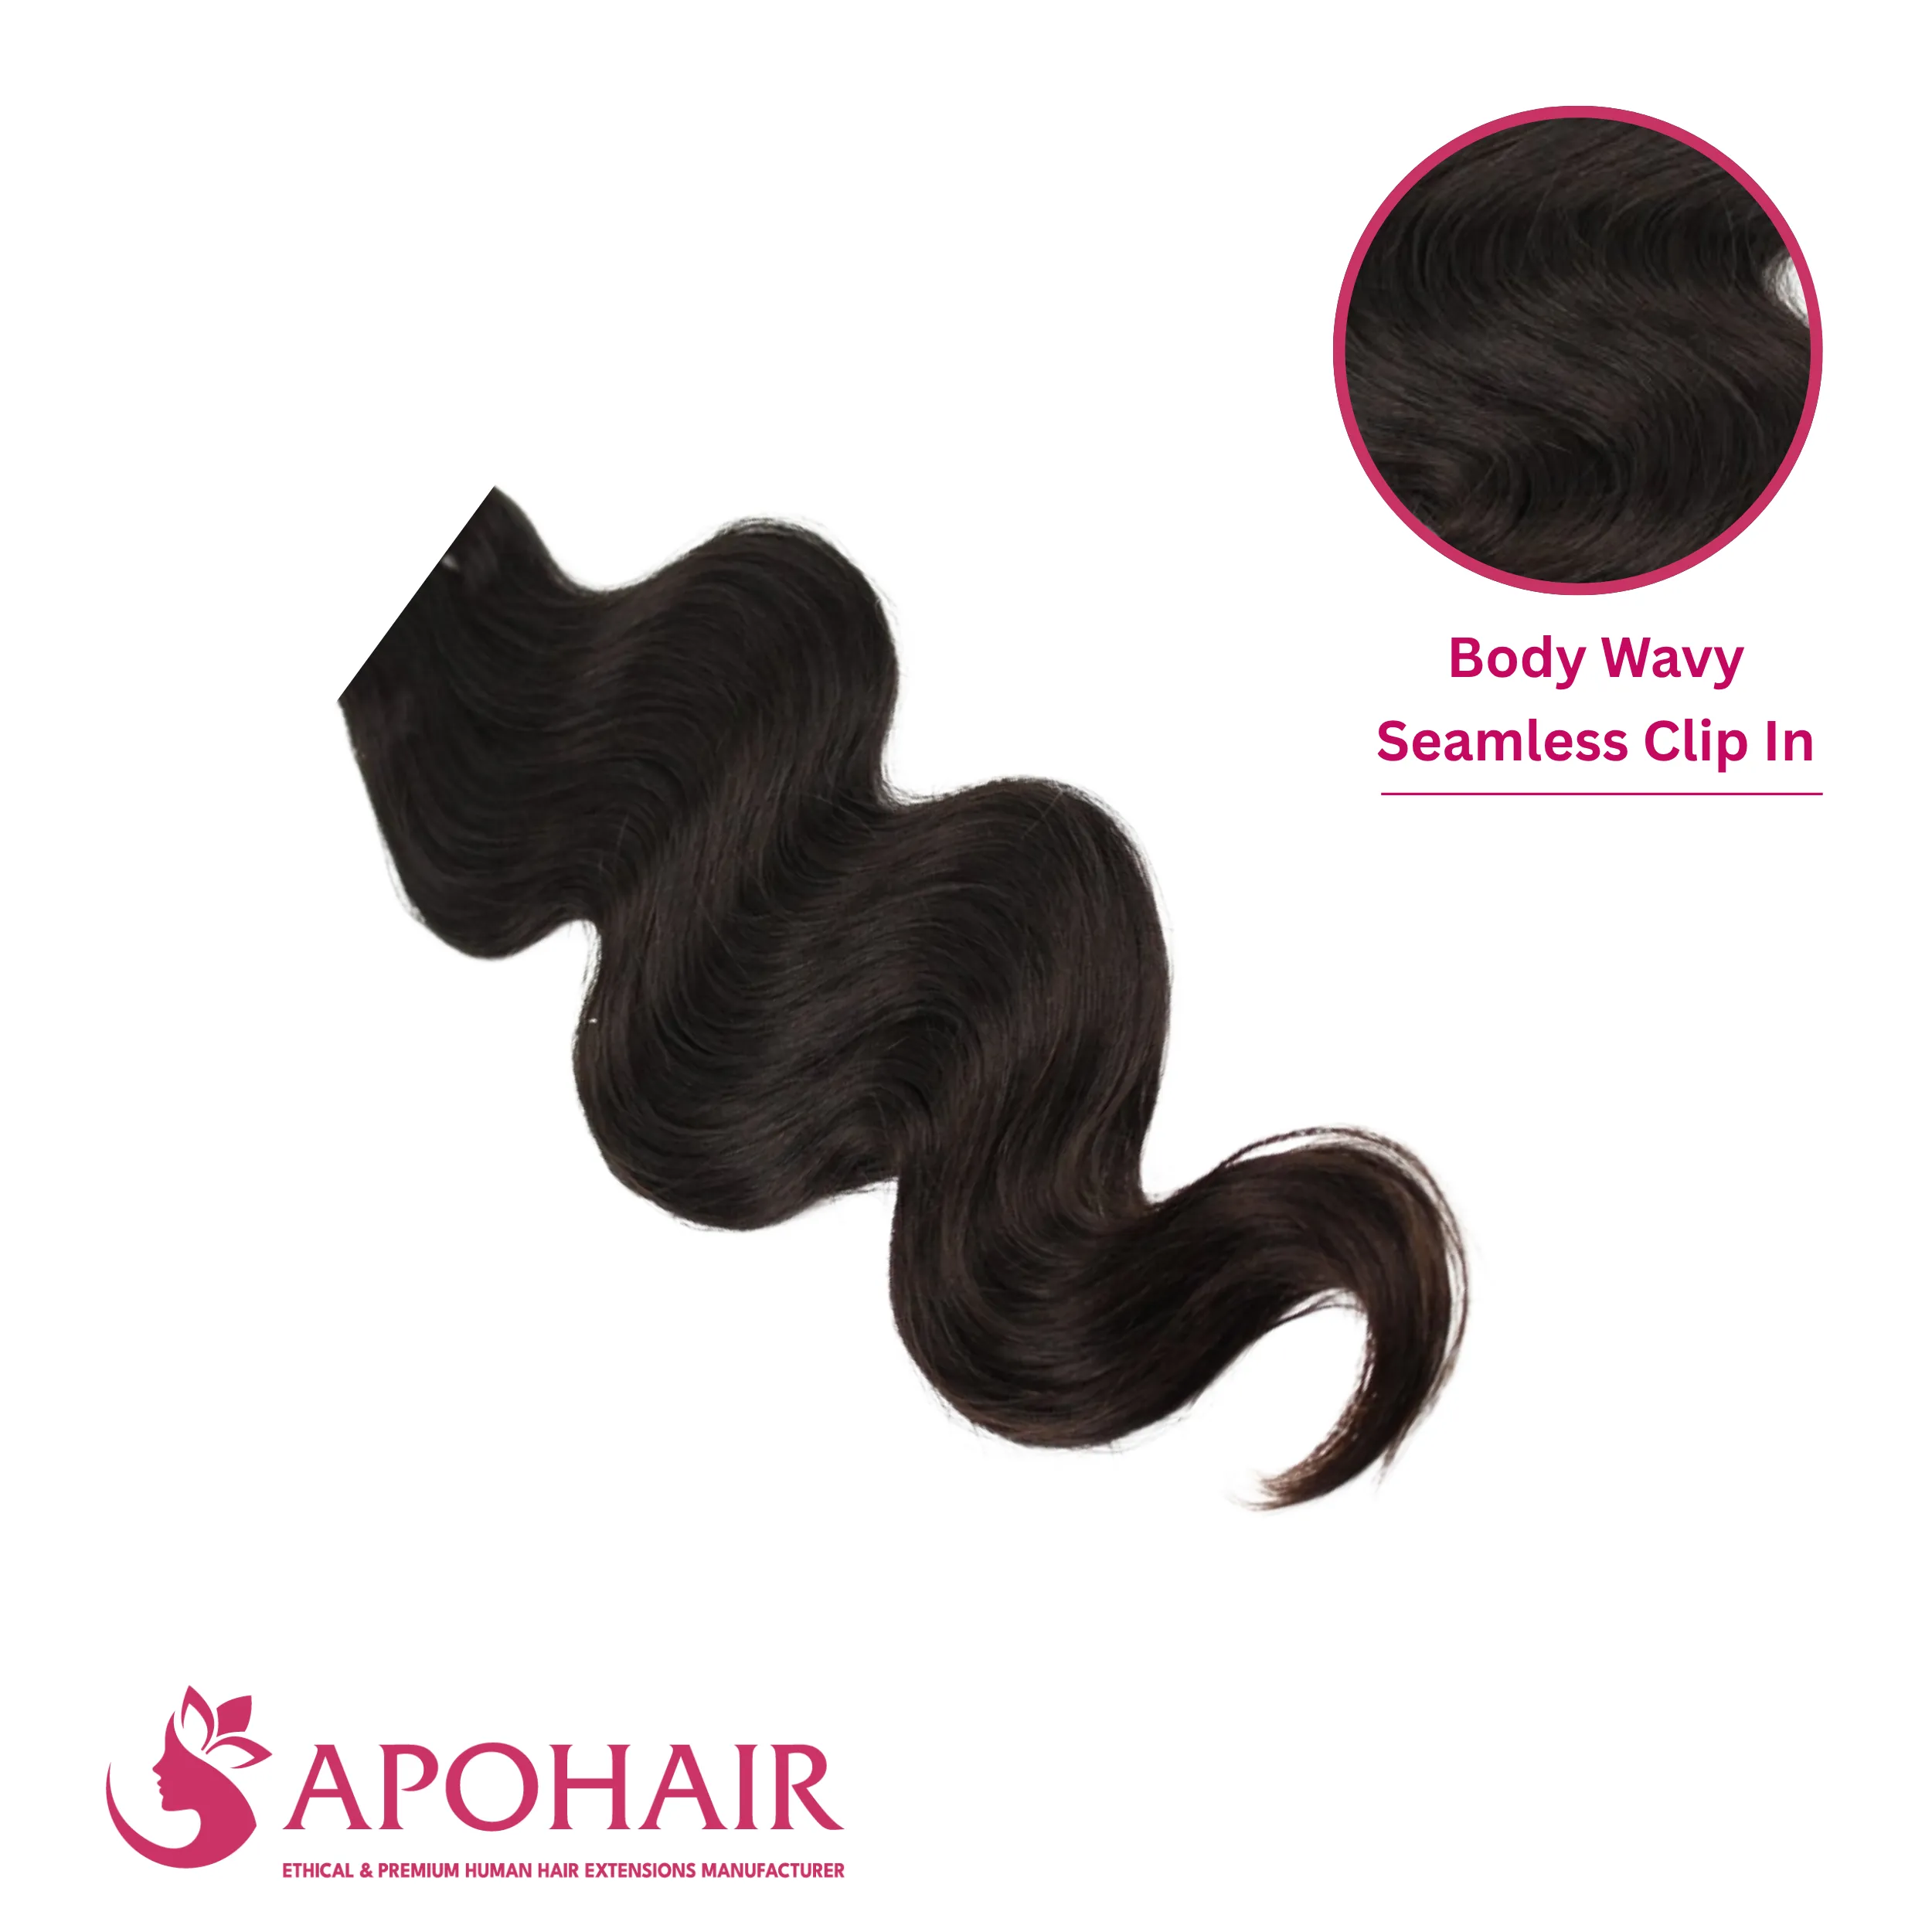
Keep braided extensions in place for 4 to 8 weeks at most. Leaving them longer causes matting and product buildup at the roots. Clip-In extensions require daily removal before sleeping to prevent tangling and breakage.
Braids protect hair when styled correctly. Damage occurs from excessive tension, not from braiding itself. Too-tight braids pull on follicles and may cause traction alopecia. Prevent damage by maintaining gentle tension and limiting how long you wear braided styles.
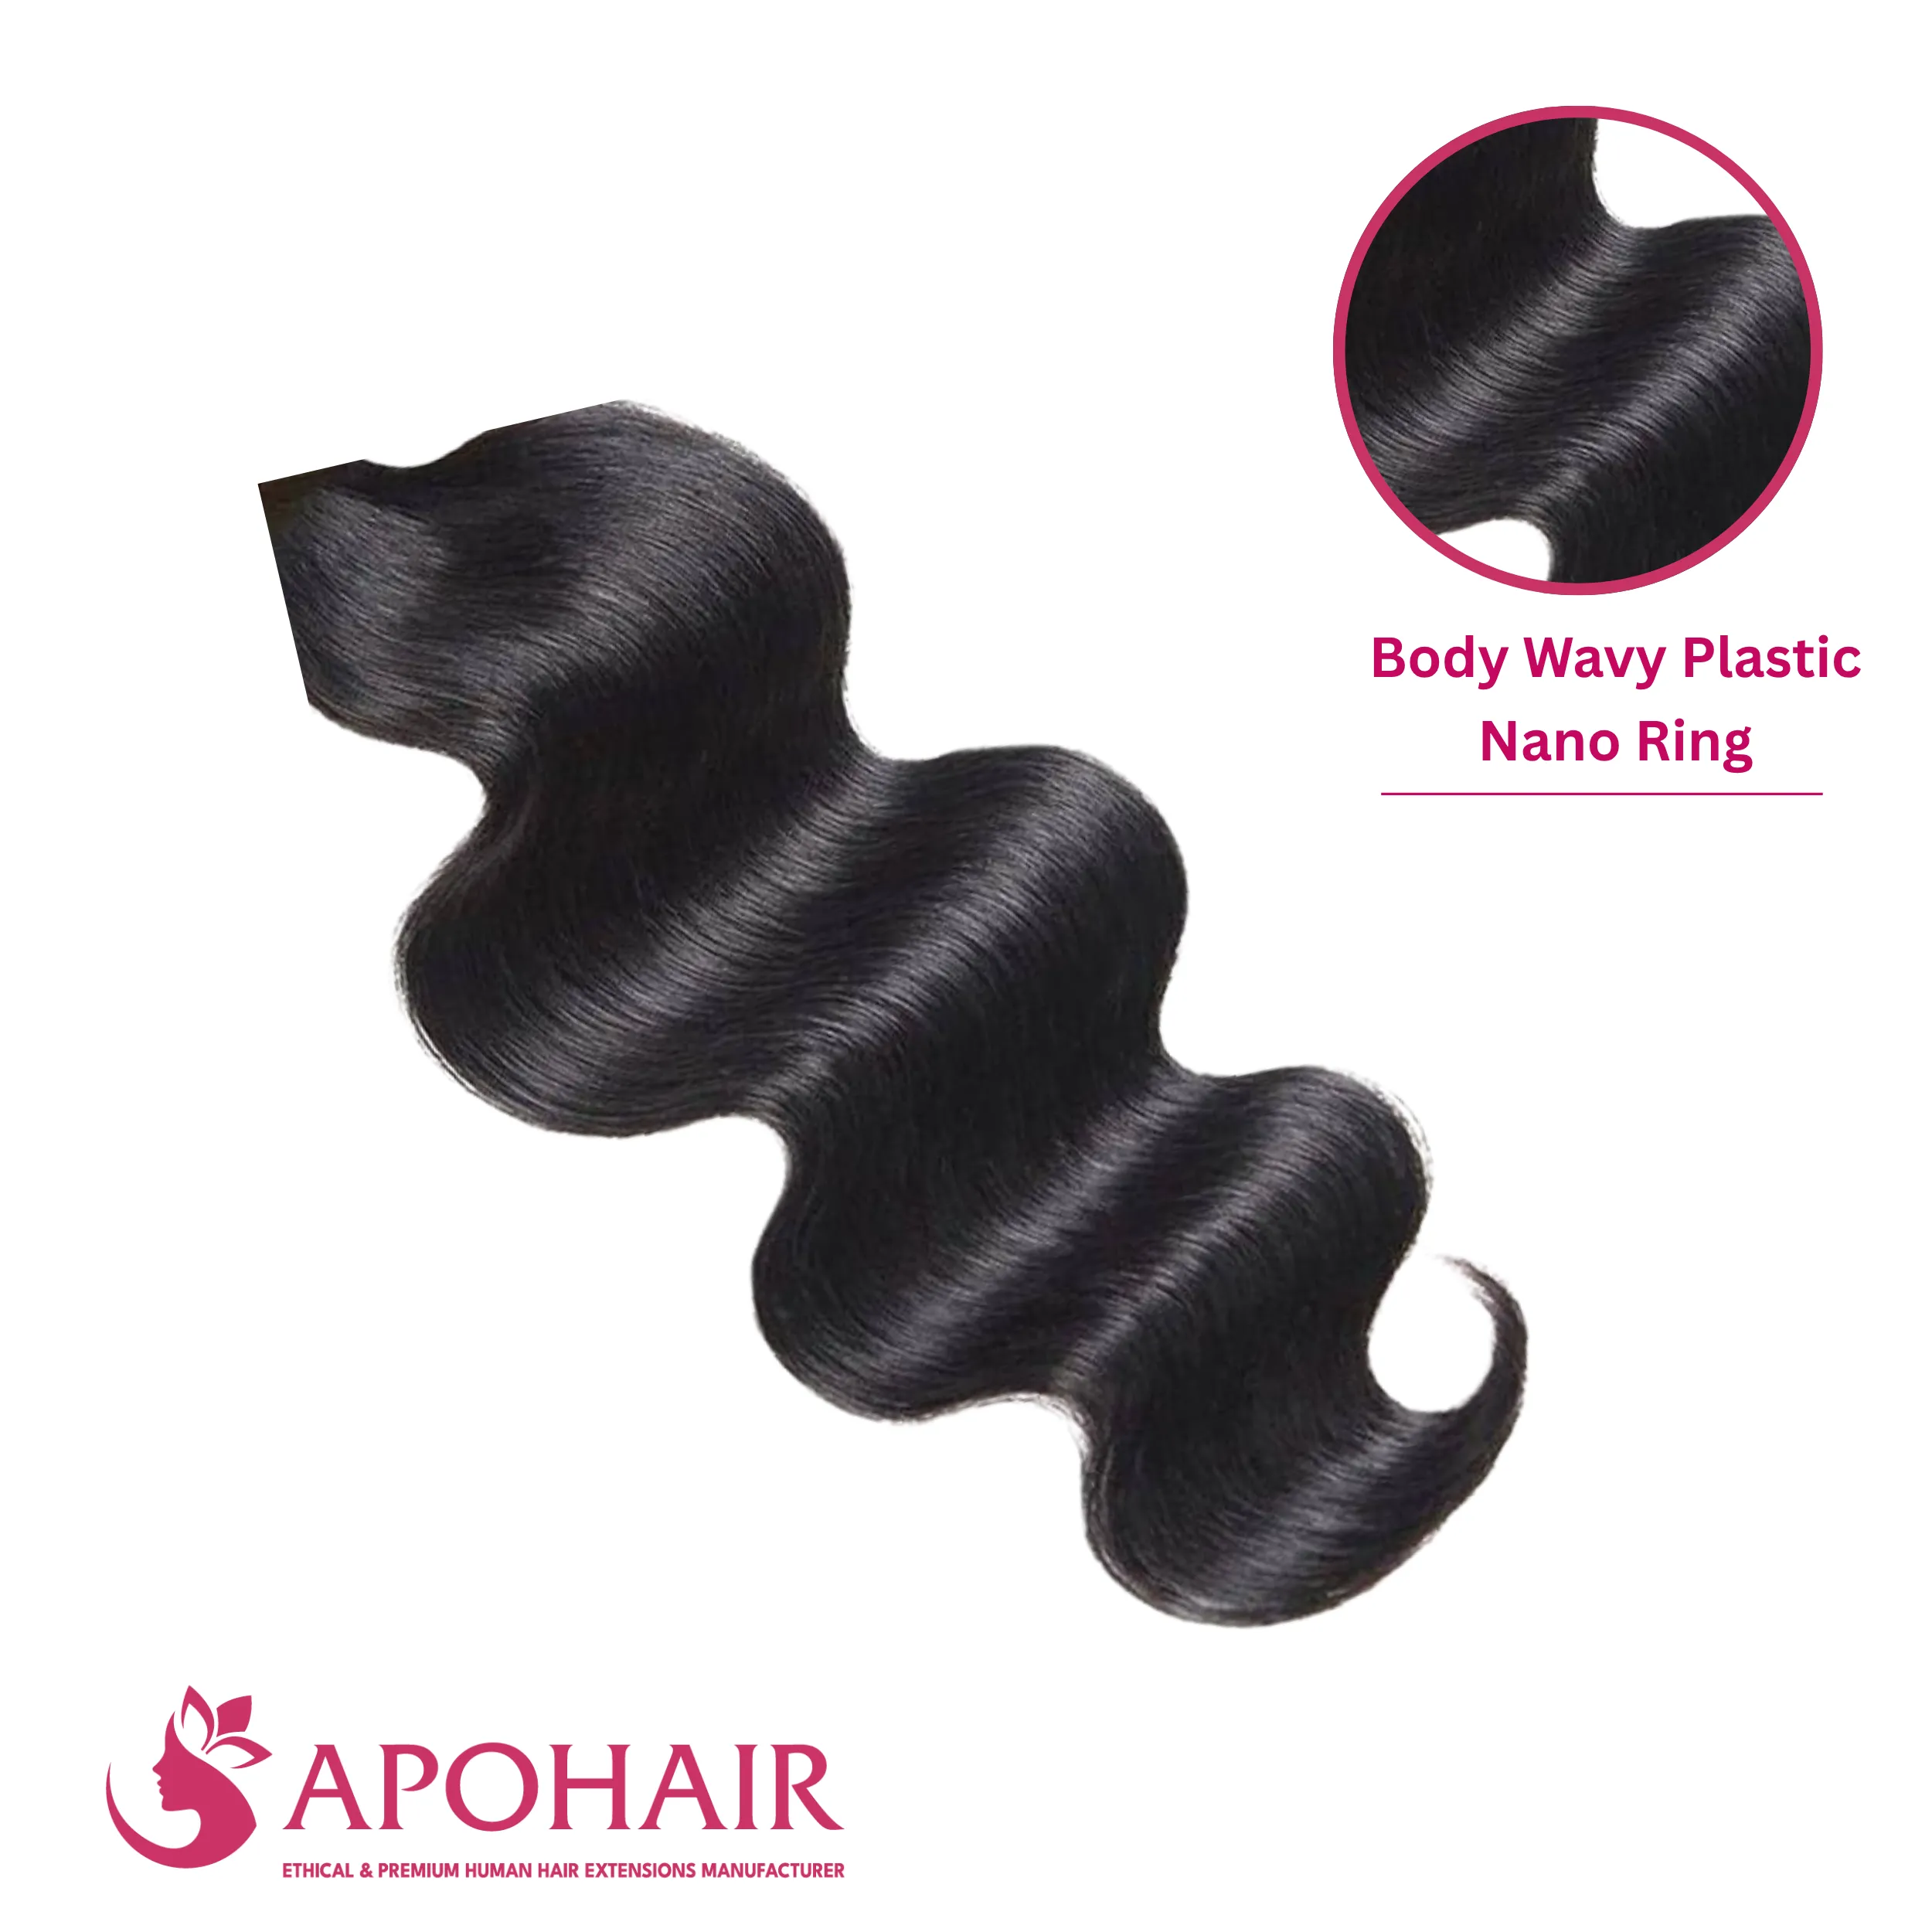
Braiding hair extensions transforms your look with added length, volume, and color. Follow the six-step process of preparing extensions, sectioning wefts, creating the foundation, feeding in hair, continuing the pattern, and finishing properly. Select extensions that complement your braiding style, whether Nano Rings for permanent wear or Clip-Ins for temporary styling. Protect your natural hair by avoiding excessive tension and removing temporary extensions daily. With practice and the right technique, you can create salon-quality braided styles that last for weeks.