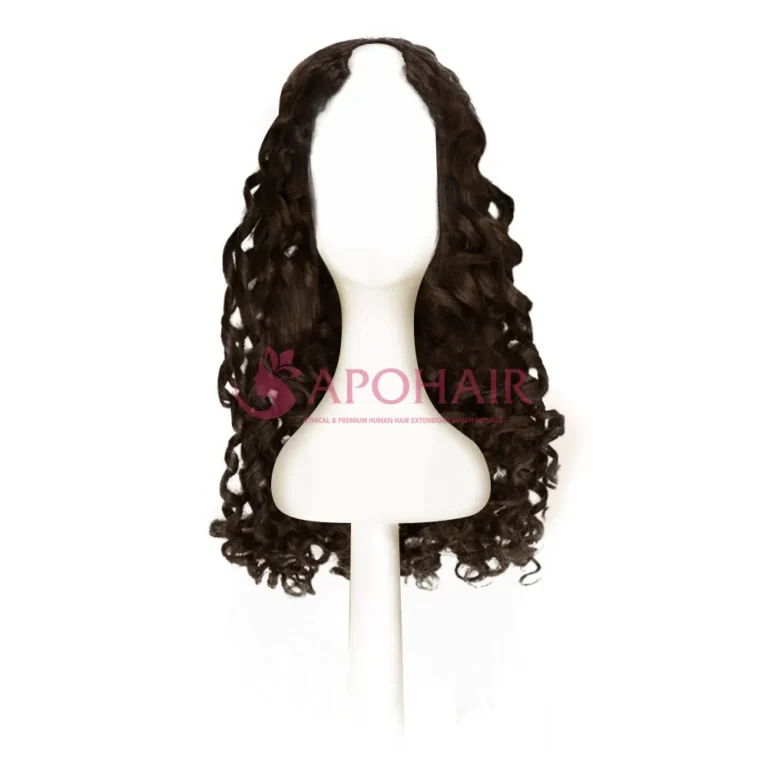
How To Coil Hair: A Step-by-Step Guide To Achieve Perfect Coils
Unlock the secret to gorgeous coils with just a comb and a little patience. In this blog, Apohair will guide on how to coil hair, we’ll walk you through easy and effective steps to create natural, bouncy coils that will transform your hair. Say goodbye to complicated styling tools – with just a few simple techniques, you’ll master the art of coiling your hair with ease. Let’s dive right in!


How To Finger Coil Natural Hair
Finger coils are a great way to achieve the look of locs without the long-term commitment. This tutorial on how to coil your hair will guide you through the process of creating perfect finger coils for your natural hair.


Step 1: Part Your Hair
- Begin with freshly washed and conditioned hair.
- Gather your hair into a high puff and start parting from the back.
- Using a rattail comb, create a straight part across the back of your head.
- Section off this part to obtain square sections of hair.
Step 2: Moisturize the First Section
- Apply olive oil or your preferred oil to the section you’ve separated when following how to coil natural hair.
- Apply styling gel to the section, starting at the roots and working your way down. Make sure to use enough gel so that your hair feels very slippery throughout.
Step 3: Create Finger Coils


- Now, take all the hair from that section and twist it around your fingers to create a single coil.
- Once the hair is coiled along its entire length, tighten the roots to prevent them from puffing up.
Step 4: Secure the Roots
- To secure the roots of your finger coils, twist the base of your hair with one hand while twisting the bottom with the other. This will eliminate any slack at the roots.
- Once done, use a hairpin to hold it in place.
Step 5: Finger Coil the Other Sections
- Repeat the same process for the remaining sections of your hair.
- Create square sections, apply oil and gel, twirl each section around your fingers, tighten the roots, and secure with a hairpin.


- When making your square sections, avoid layering them on top of each other. As you work up your hair, make them uneven in size.
- Keep a spray bottle of water nearby to keep your hair moist. Maintaining moisture is crucial for the coils to form properly and for your hair to clump together.
Step 6: Maintain Stretched Coils
- After completing your finger coils, divide them into two sections and secure them into front and back ponytails.
- Use elastic bands to tie each ponytail’s length all the way down. Natural hair tends to shrink easily, and this technique will help maintain the stretched look of your coils.
- Wrap a scarf around your edges and allow your coils to air dry overnight.
Step 7: Remove Elastic Bands and Add Shine
- The next day, remove the elastic bands and hairpins from your hair.
- Spritz a shine spray over your hair to add some sheen.
- Style your edges using your preferred edge control product.
- Finally, style your hair as desired.
This method is so stylish and easy to make. So, whether you’re finding how to coil natural black hair or other hairstyle, follow finger coil.
How To Coil Hair With Comb
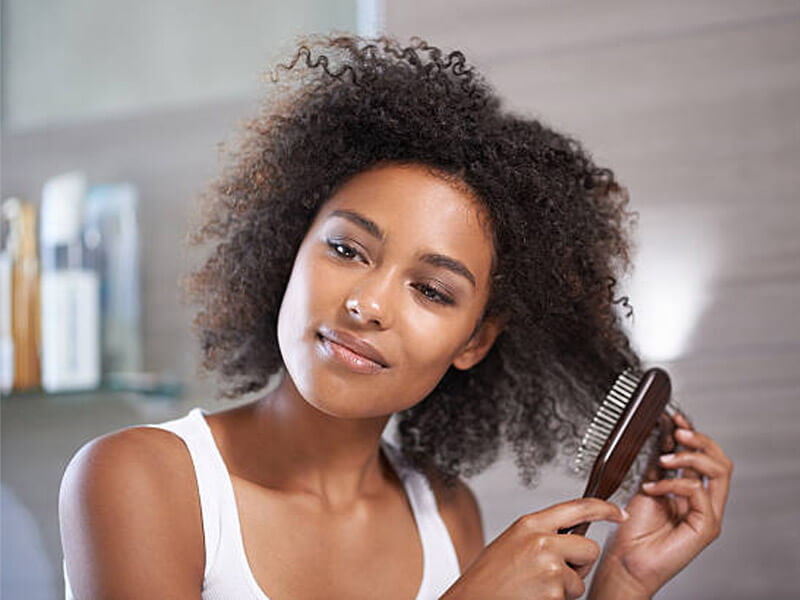

Coiling hair with a comb is a commonly used technique to create defined curls or coils in natural hair. This method works best for those who with tightly coiled or curly hair textures. Here’s how to coil your hair with comb:
Step 1: Start with Clean, Moisturized Hair
- Wash and condition your hair using products that cater to your hair type.
- Natural oils and moisture will make it easier to manipulate your hair.
Step 2: Towel Dry
- Gently pat your hair dry with a microfiber towel or an old T-shirt.
- Do not rub your hair vigorously, as this can cause frizz.
Step 3: Apply Leave-In Conditioner or Hair Cream
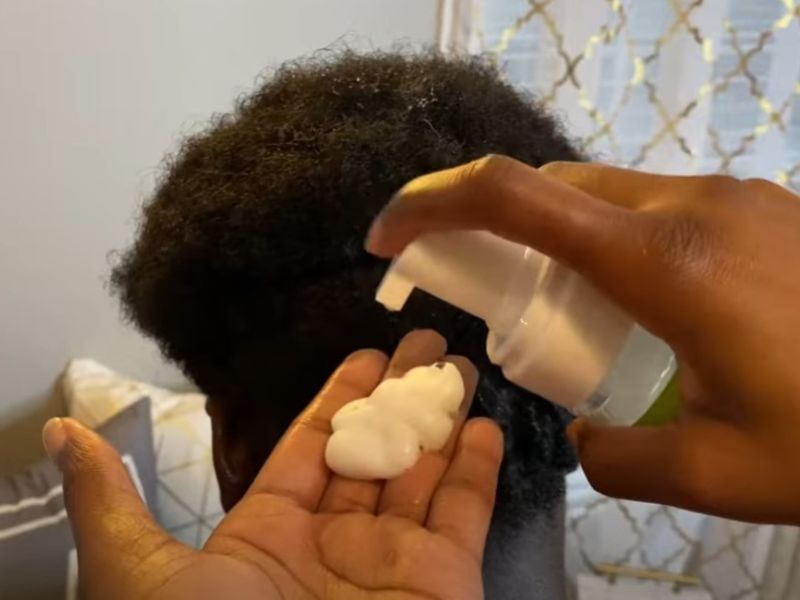

- Use a leave-in conditioner or hair cream to provide moisture and a little bit of hold to your hair.
- Apply it evenly throughout your hair, focusing on the areas you want to coil.
Step 4: Part Your Hair
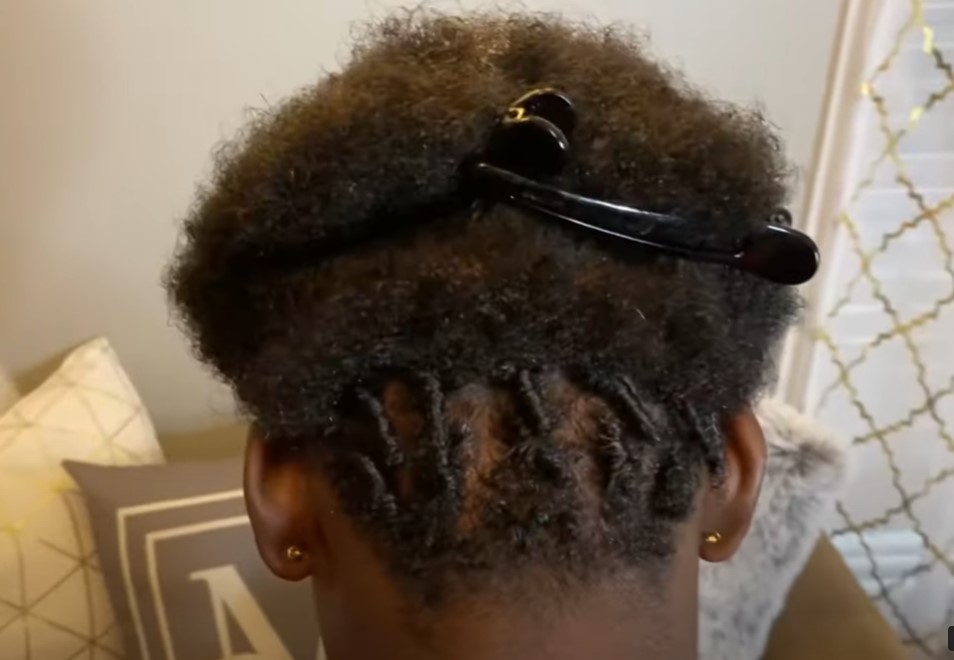

- Use a comb to part your hair into smaller sections. The size of the sections will determine the size of your coils.
- Smaller sections create tighter coils, while larger sections result in looser coils.
Step 5: Start Coiling
- Take a small section of hair from one of the parted sections.
- Hold the comb perpendicular to your scalp, with the teeth of the comb facing downward.
- Place the comb at the root of the section, near the scalp.
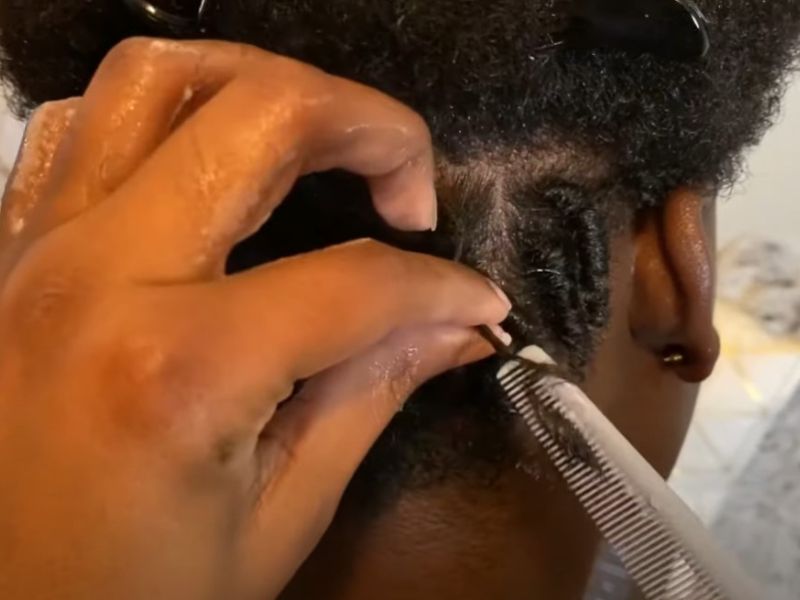

- Twist the comb gently while moving it in a circular motion. As you twist, the hair will naturally coil around the comb’s teeth.
- Continue this motion along the entire length of the section, working your way from the root to the tip.
Step 6: Repeat
Continue the coiling process for each section of hair. You can make all the coils in the same direction for a uniform look, or you can alternate the direction of the coils for a more natural appearance.
Step 7: Let Your Hair Dry
- Allow your hair to air dry naturally.
- Using a diffuser on a low heat setting can speed up the drying process, but avoid using high heat, as it can cause frizz and damage.
Step 8: Undo the Coils
Once your hair is completely dry, carefully remove the clips or hair ties (if you used them) and gently separate the coils with your fingers to create a fuller, more voluminous look.
Now, you’ve got in hand how to finger coil natural hair and how to coil hair with comb. With these two methods, you can get the stunning coil hair styles you want. Remember, how to coil hair may take some practice, but with time, you’ll become more skilled at creating and maintaining beautiful, defined coils that showcase your natural curl pattern.
Coil Hair Products For Bouncy, Defined Curls
When exploring how to coil natural hair, it’s essential to consider the right products that can help you achieve and maintain those beautiful curls. These products are specially formulated to offer the moisture, definition, and hold that your coils need. Here are some popular coil hair products to enhance your coiled hair routine:
- Leave-in Conditioner: Keeps coils moisturized and minimizes frizz, suitable for curly or coily hair.
- Curl Defining Cream: Enhances and defines natural curls and coils while providing hold.
- Curl Enhancing Gel: Offers a strong hold for well-defined coils and aids in frizz control.
- Curl Activator Spray: Revitalizes and enhances your natural curl pattern, ideal for coiled hair.
- Coconut Oil or Shea Butter: Natural oils for sealing in moisture, adding shine, and reducing frizz.
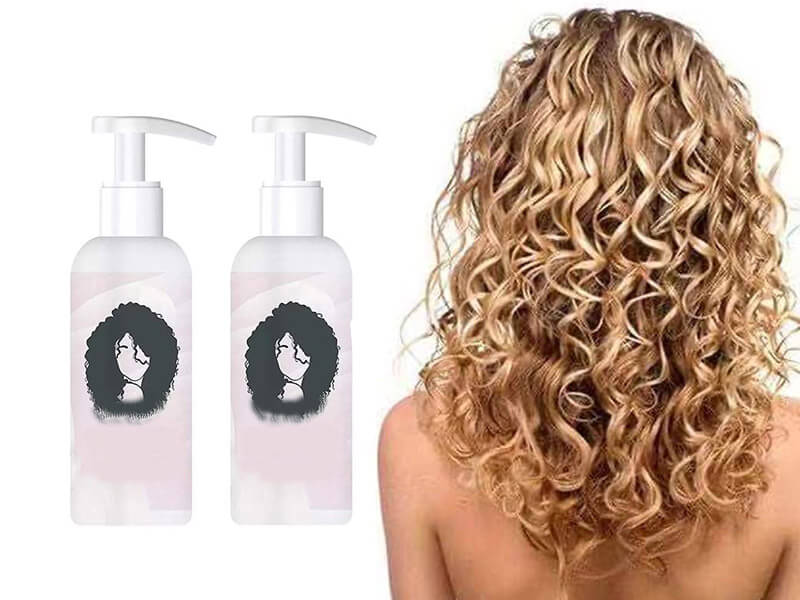

- Edge Control Gel: Tames and shapes edges for a sleek look with coiled hair.
- Silk or Satin Scarf/Pillowcase: Prevents frizz by reducing friction while you sleep.
- Moisturizing Shampoo and Conditioner: Essential for maintaining healthy coils through proper cleansing and conditioning.
- Protein Treatments: Strengthens coiled hair and improves elasticity, reducing breakage.
- Heat Protectant: Shields hair from heat styling tool damage and preserves coil integrity.
- Hair Spray or Finishing Spray: Sets coils in place and maintains the desired style throughout the day.
Conclusion
In short, mastering the art of “how to coil hair” can be a game-changer in achieving gorgeous, natural-looking coils. With the right techniques and products, you can transform your hair into a stunning display of defined curls and coils.
Plus, if you’re interested in exploring a range of hair products, including hair extensions and wigs, Apohair is a reputable online destination and we are alsao a leading vietnamese hair suppliers. Apohair offers an extensive selection of high-quality hair extensions and hairpieces to help you achieve various styles, from coil hair styles to straight, wavy, or any desired look. Come on the journey, experiment with different methods and enjoy the beauty of your coiled locks.


