


What Color Cancels Out Brown Hair? 4 Effective Methods To Neutralize Brown Tones In Your Hair
Blue is the definitive color that cancels out brown because they are positioned as complementary opposites on the standard color wheel.
In the hair case, most shades of brown fall within the warm orange spectrum, which explains why blue pigments act as the perfect neutralizing agents. By applying these cool tones, you can counteract unwanted brassy or muddy reflections, balancing the hair’s appearance for a sophisticated, polished finish. This technique relies on professional color theory rather than harsh chemical stripping to refine your look.
In this guide, we will walk you through the essential principles of color correction for brown hair and provide four effective methods to achieve professional results at home.

What Color Cancels out Brown?
As established, blue is the primary color that neutralizes brown because it sits directly opposite on the color wheel; they call this a complementary color pair.
When you apply a blue-based product to brown hair, the cool pigments counteract the warmth, effectively hiding the brassy look. Depending on the intensity of the blue used, this process typically results in a neutral, cooler brown or a sophisticated ash-toned finish without changing the hair’s actual depth.
However, brown isn’t just one shade. Depending on your hair’s underlying pigments, you might need a slightly different approach to get that perfect neutral result.
Here is a quick reference for matching the right canceling color to your specific brown tone:
| Brown Tone Type | Hair Level | Canceling Color | Best Product Form | Result Color |
| Orange-Brown | 4 to 6 | Blue | Blue shampoo or ash toner | Neutral cool brown |
| Red-Brown | 2 to 4 | Green or Ash Green | Ash toner or green additive | Neutral dark brown |
| Yellow-Brown | 6 to 7 | Violet or Purple-Ash | Purple shampoo or violet toner | Cool ash brown |
| Mixed Warm Brown | 4 to 7 | Blue-Violet Ash blend | Neutral ash toner | Balanced neutral brown |

4 Methods to Neutralize Brown Tones in Your Hair at Home
Correcting your hair color at home is entirely possible if you choose the right tool for your hair’s condition. While shampoos offer a quick surface-level fix, toners and removers provide a deeper transformation by penetrating or altering the pigments within the hair shaft.
Keep in mind that selecting the best approach requires balancing your hair’s current health, your budget, and the time you can realistically dedicate to the process.
To help you choose the best approach, here is a side-by-side breakdown of the four most effective methods:
| Method | Main Products | How It Works | Time Needed | Damage Level | Cost |
| Blue Shampoo | Blue pigment shampoo | Adds blue to the surface to cancel orange | 5 to 15 min | None | Low |
| Purple Shampoo | Violet pigment shampoo | Adds violet to the surface to cancel yellow | 3 to 8 min | None | Low |
| Ash Toner | Ash toner and developer | Enters the shaft to neutralize warm tones | 20 to 40 min | Low to Medium | Medium |
| Color-Removing Wash | Two-part color remover kit | Shrinks dye to wash out | 20 to 60 min | Low to Medium | Medium |
Keep in mind: While we focus on using blue to neutralize warmth here, the opposite logic applies if you use too much blue on your hair. You can find a full breakdown of the colors that cancel out blue in our color correction guide.
Method 1: Using Blue Shampoo
While many think any toning wash works the same way, blue shampoo is specifically designed to cancel out orange tones in brown hair. This treatment adds blue to the hair’s outer layer to cancel out orange, but it is a surface-only method that will not lighten the hair. You should use this on damp hair for 5 to 15 minutes, then rinse without applying any extra heat or mixing it with other products. We suggest starting with a 5-minute wait time to see how your hair reacts.
Because orange-brown and red-brown are distinct, this method works best for hair at levels 4 to 6 that turns cool brown after 2 to 4 washes. Hair that is damaged or has many holes will soak up the blue color quickly, so limit the time to 5 minutes on your first try to avoid a dull, gray look. Do not use this on red-brown hair at levels 2 to 4, because blue and red are not opposites and will only make the color look muddy.
What you need
- Blue shampoo
- Shower cap or clip
- Timer
- Moisturizing conditioner
- Old towel
Step-by-Step Process
Step 1: Wet your hair
To start the process, run warm water through your hair from the roots to the ends. Warm water lifts the hair’s outer layer, allowing the blue color to adhere more evenly to the surface. If you use cold water, the hair layer stays shut, and the color slides off instead of sticking.
Note: Warm water is a key step because it prepares the hair surface; using cold water at the start will cause the color to fail to hold.

Step 2: Apply shampoo
Once your hair is wet, apply the blue shampoo to one section at a time from your roots to the tips.
Note: Do not mix this with your regular shampoo, as it is a standalone treatment, not a regular cleanser. Combining them waters down the color strength, which stops the blue from canceling the orange tones.

Step 3: Cover hair
After shampooing, pile your hair on top of your head and cover it with a plastic shower cap. The cap holds your body heat against the hair to keep the blue color active on every strand.
Tip: Press the cap firmly so no hair sits outside, which prevents the ends from drying too fast and causing patchy color.

Step 4: Set timer
With your hair covered, set a 5-minute timer for your very first try. If your orange color is only mild, 5 minutes is enough, but you can add time up to 10 or 15 minutes in later washes if the orange is strong. Never go past 20 minutes, as the blue color will build up too much and make your hair look flat, ashy gray.
Tip: For your first session, always stick to the 5-minute mark to test how fast your specific hair type soaks up the blue pigment.

Step 5: Rinse hair
When the time is up, rinse your hair with cool water until the water runs completely clear. Cool water shuts the hair layer back down, sealing the blue color inside so it lasts longer.
Note: Using warm or hot water keeps the hair layer open and washes the color right back out.

Step 6: Apply conditioner
To finish the treatment, apply a regular moisturizing conditioner from the middle of your hair to the ends and wait 2 to 3 minutes before rinsing.
Note: Only use a plain moisturizer, and do not layer any other color products on top at the same time. Applying two different colors at once will create a messy, green look instead of a clean result.

Method 2: Purple Shampoo
If your hair has yellow tints rather than orange, you need a different color match to achieve a cool look. Purple shampoo works by applying a violet hue to the outer layer of hair to cancel out yellow tones. Apply this to damp hair, wait 3 to 8 minutes, then rinse it out. We suggest starting with 3 minutes on your first try because brown hair soaks up violet faster than blonde hair.
This method neutralizes yellow-brown hair at levels 6 to 7 and changes it to a cool ash brown after 2 to 3 washes. If your hair is fine or has holes, it will absorb the color quickly, so limit the time to 3 minutes to avoid a gray tint. Do not use this on orange hair at levels 4 to 5, because violet and orange are not direct opposites and will only make the hair look murky.
What you need
- Purple shampoo
- Timer
- Shower cap
- Moisturizing conditioner
- Old towel
Step-by-Step Process
Step 1: Wet hair
Before applying color, wet your hair with lukewarm water. Lukewarm water opens the layer just enough for the color to touch the hair evenly.
Note: Avoid hot water at all costs, as it can cause patchy results, with some hair sections turning ash gray while others stay yellow.

Step 2: Apply shampoo
Once wet, apply the purple shampoo evenly, in sections, from your roots to the ends. Do not mix it with water before applying; using it straight gives you the best control over the color. Watering it down weakens the violet, so you will need more sessions to achieve the same result.

Step 3: Cover hair
Next, work the shampoo through with your fingers and cover everything with a plastic shower cap. The cap keeps the color warm and active and stops the ends of your hair from drying out. Hair that dries during this time will soak up more color and end up darker than the rest of your hair.

Step 4: Set timer
Now, set a timer for 3 to 8 minutes based on how much yellow you see. Check the color at the 3-minute mark because brown hair soaks up violet fast. For brown hair, 8 minutes is the hard limit before the color builds up too much and leaves a gray look.

Step 5: Rinse hair
When the time is up, rinse your hair thoroughly with cool water. Run your fingers through every section while you rinse to break up any color that has gathered behind your ears or at the neck. Finger-combing helps keep the final color even across your whole head.
Tip: Focus your rinsing on the nape of the neck and behind the ears, as purple pigment tends to cluster in these hidden spots.

Step 6: Apply conditioner
Finally, apply a hydrating conditioner from the middle of your hair to the ends and wait 2 minutes before rinsing.
Note: Only use a regular moisture product and do not add another purple product right now. Stacking two purple products will make the ends of your hair look visibly darker or grayer than your roots.

Method 3: Ash Toner
Surface washes often fail to address deep-set warmth, which is why a toner is needed to penetrate the hair. This process works by mixing ash toner with a 20-volume developer to shift warm tones to cool tones within the hair shaft. You must mix them at a 1:2 ratio, apply to clean, damp hair, and wait for 20 to 40 minutes. Because this goes deep into the hair, you must do a skin test 48 hours before you start.
Orange or red-brown hair at levels 4 to 7 will turn cool in just one time, and the result lasts 4 to 6 weeks. Very dark hair at levels 2 to 3. Needs to be bleached first because the thick color blocks the toner from sticking inside. If your hair is damaged, use a 10-volume developer instead to protect the hair’s outer layer.
What you need
- Ash toner
- 20-volume developer (or 10-volume for damaged hair)
- Non-metal bowl and brush
- Gloves
- Timer
Step-by-Step Process
Step 1: Do a strand test
To ensure safety, do a strand test 48 hours before the full treatment. Apply the toner mix to a small 5 cm (2-inch) section at the back of your neck and wait 20 minutes. This confirms the color change and shows if you have a bad reaction to the developer.
Note: This step is critical for determining whether you need to shorten or extend the processing time for your specific hair type.

Step 2: Wash hair
Before toning, wash your hair with a deep-cleansing shampoo and towel-dry until it is damp. Do not apply toner to dirty hair, as oils and styling products create a barrier that prevents the ash color from penetrating evenly. Toner only works right on hair that is clean and free of products.

Step 3: Mix formula
Just before you are ready, mix the toner and developer at a 1:2 ratio in a plastic or glass bowl. Only mix what you need for one time, because the chemical reaction starts as soon as they touch and cannot be stopped. You must throw away any leftover mix because it loses its power if stored.

Step 4: Divide hair and apply the mix
Next, divide your hair into 4 sections and apply the mix to the ends first, then the roots last. Your roots get body heat and change color faster than the middle of your hair.
Note: Applying toner to the roots last helps all sections change evenly, so the roots do not end up darker.

Step 5: Set timer
After applying, set a timer for 20 to 40 minutes and check it at the 20-minute mark. After 20 minutes, wipe a small amount of hair with a damp cloth to see the color without rinsing everything. If you still see orange or red, check again at 30 minutes, but remove everything at 40 minutes to avoid a gray look.

Step 6: Rinse hair
When finished, rinse with cool water only and do not use shampoo. Shampooing right away strips the new ash color before it has a chance to set. Cool water removes the surface toner without hurting the color inside.
Note: Wait at least 48 hours before your next wash.

Step 7: Apply mask
To protect your hair, apply a deep repair mask from the middle to the ends, wait 5 minutes, and then rinse.
Note: The developer breaks the hair’s internal structure, leaving it porous. A mask seals these gaps, stabilizes the structure, and restores the moisture you lost.

Method 4: Color-Removing Wash
When the color is too dark to tone over simply, you must remove the old dye before starting fresh. This method works by mixing a two-part color remover to shrink fake dye molecules so they can be washed out of the hair’s center. You should apply this to dry hair for 20 to 60 minutes and then rinse with warm water for a full 5 minutes. Because the result reacts with air, check a strand first to see how the color shifts over the next 30 minutes.
Brown dyes at levels 3 to 6 will lose up to 90% of their color in one time, but thick box dye may need 1 to 2 tries. The more dye you have built up, the more orange or red will show through after you are done. If you have used dark dye many times, wait 48 hours between sessions to keep your hair strong. This works only on fake color and will not change naturally dark hair at levels 2 to 3.
What you need
- Color remover kit (activator and liquid)
- Plastic bowl and brush
- Gloves and a timer
- Deep-cleansing shampoo
- Repair mask
Step-by-Step Process
Step 1: Apply to dry hair
To begin, apply the mix to dry, unwashed hair. Dry hair allows the remover to reach the hair’s center at full strength. Water: dilute the formula before it touches the hair, and reduce the amount of color you remove in one application.
Note: Do not wet your hair beforehand, as moisture acts as a barrier that prevents the chemical from effectively shrinking the dye molecules.

Step 2: Mix remover
When you are ready, mix Part 1 and Part 2. The mix starts working the moment they touch. You must use it within 10 minutes, or the remover loses its power to neutralize the color.

Step 3: Soak hair
Next, apply the mix in sections from your roots to the ends and soak every strand. Work in 4 sections so that each section receives the same wait time.
Note: Any spots you miss or coat lightly will not release the fake color and will stay darker than the rest of your hair.

Step 4: Cover with a plastic cap and set a timer for 20 to 60 minutes. Check semi-permanent brown at 20 minutes. Leave permanent or box-dyed brown the full 60 minutes so the formula fully breaks down the artificial pigment bonds.
Note: Do not exceed 60 minutes because extra time adds stress to the cortex without improving the result.

Step 5: Rinse with warm water
When the time is up, rinse with warm water for a full 5 minutes. Warm water keeps the hair layer open so the tiny dye molecules can wash out completely. If you rinse for too short a time, the dye stays inside and will turn your hair dark again once it comes into contact with air.
Tip: Use a timer for the rinse itself; five full minutes is longer than most people expect, and cutting it short is the main reason hair re-darkens.

Step 6: Shampoo twice
Next, a deep-cleansing shampoo. This double-wash removes every bit of loose dye from the hair. Only doing one wash is the most common reason brown tones return the next day.
Tip: Do not use a color-safe shampoo because it keeps color in, which is the opposite of what you want.

Step 7: Apply the repair mask
To repair the hair structure, apply a repair mask from the middle to the ends, wait 5 to 10 minutes, and then rinse. The color-removing wash leaves the hair center open for a short time. A mask seals the inner structure before heat or air can change it.

Step 8: Check dry hair
Finally, check the color only after your hair is fully dry. Wet hair always looks darker than the real result, and you can only see the final color once it is dry.
Note: Wait until your hair is dry before deciding whether you need to repeat the process.

If those four methods for canceling didn’t budge the brown tones, the color is likely too deep for a quick at-home method. At this point, it’s best to let a professional colorist take over; they have the right tools to assess the buildup and safely remove the color without stressing your hair.
Why Your Base Matters for Brown Tones?
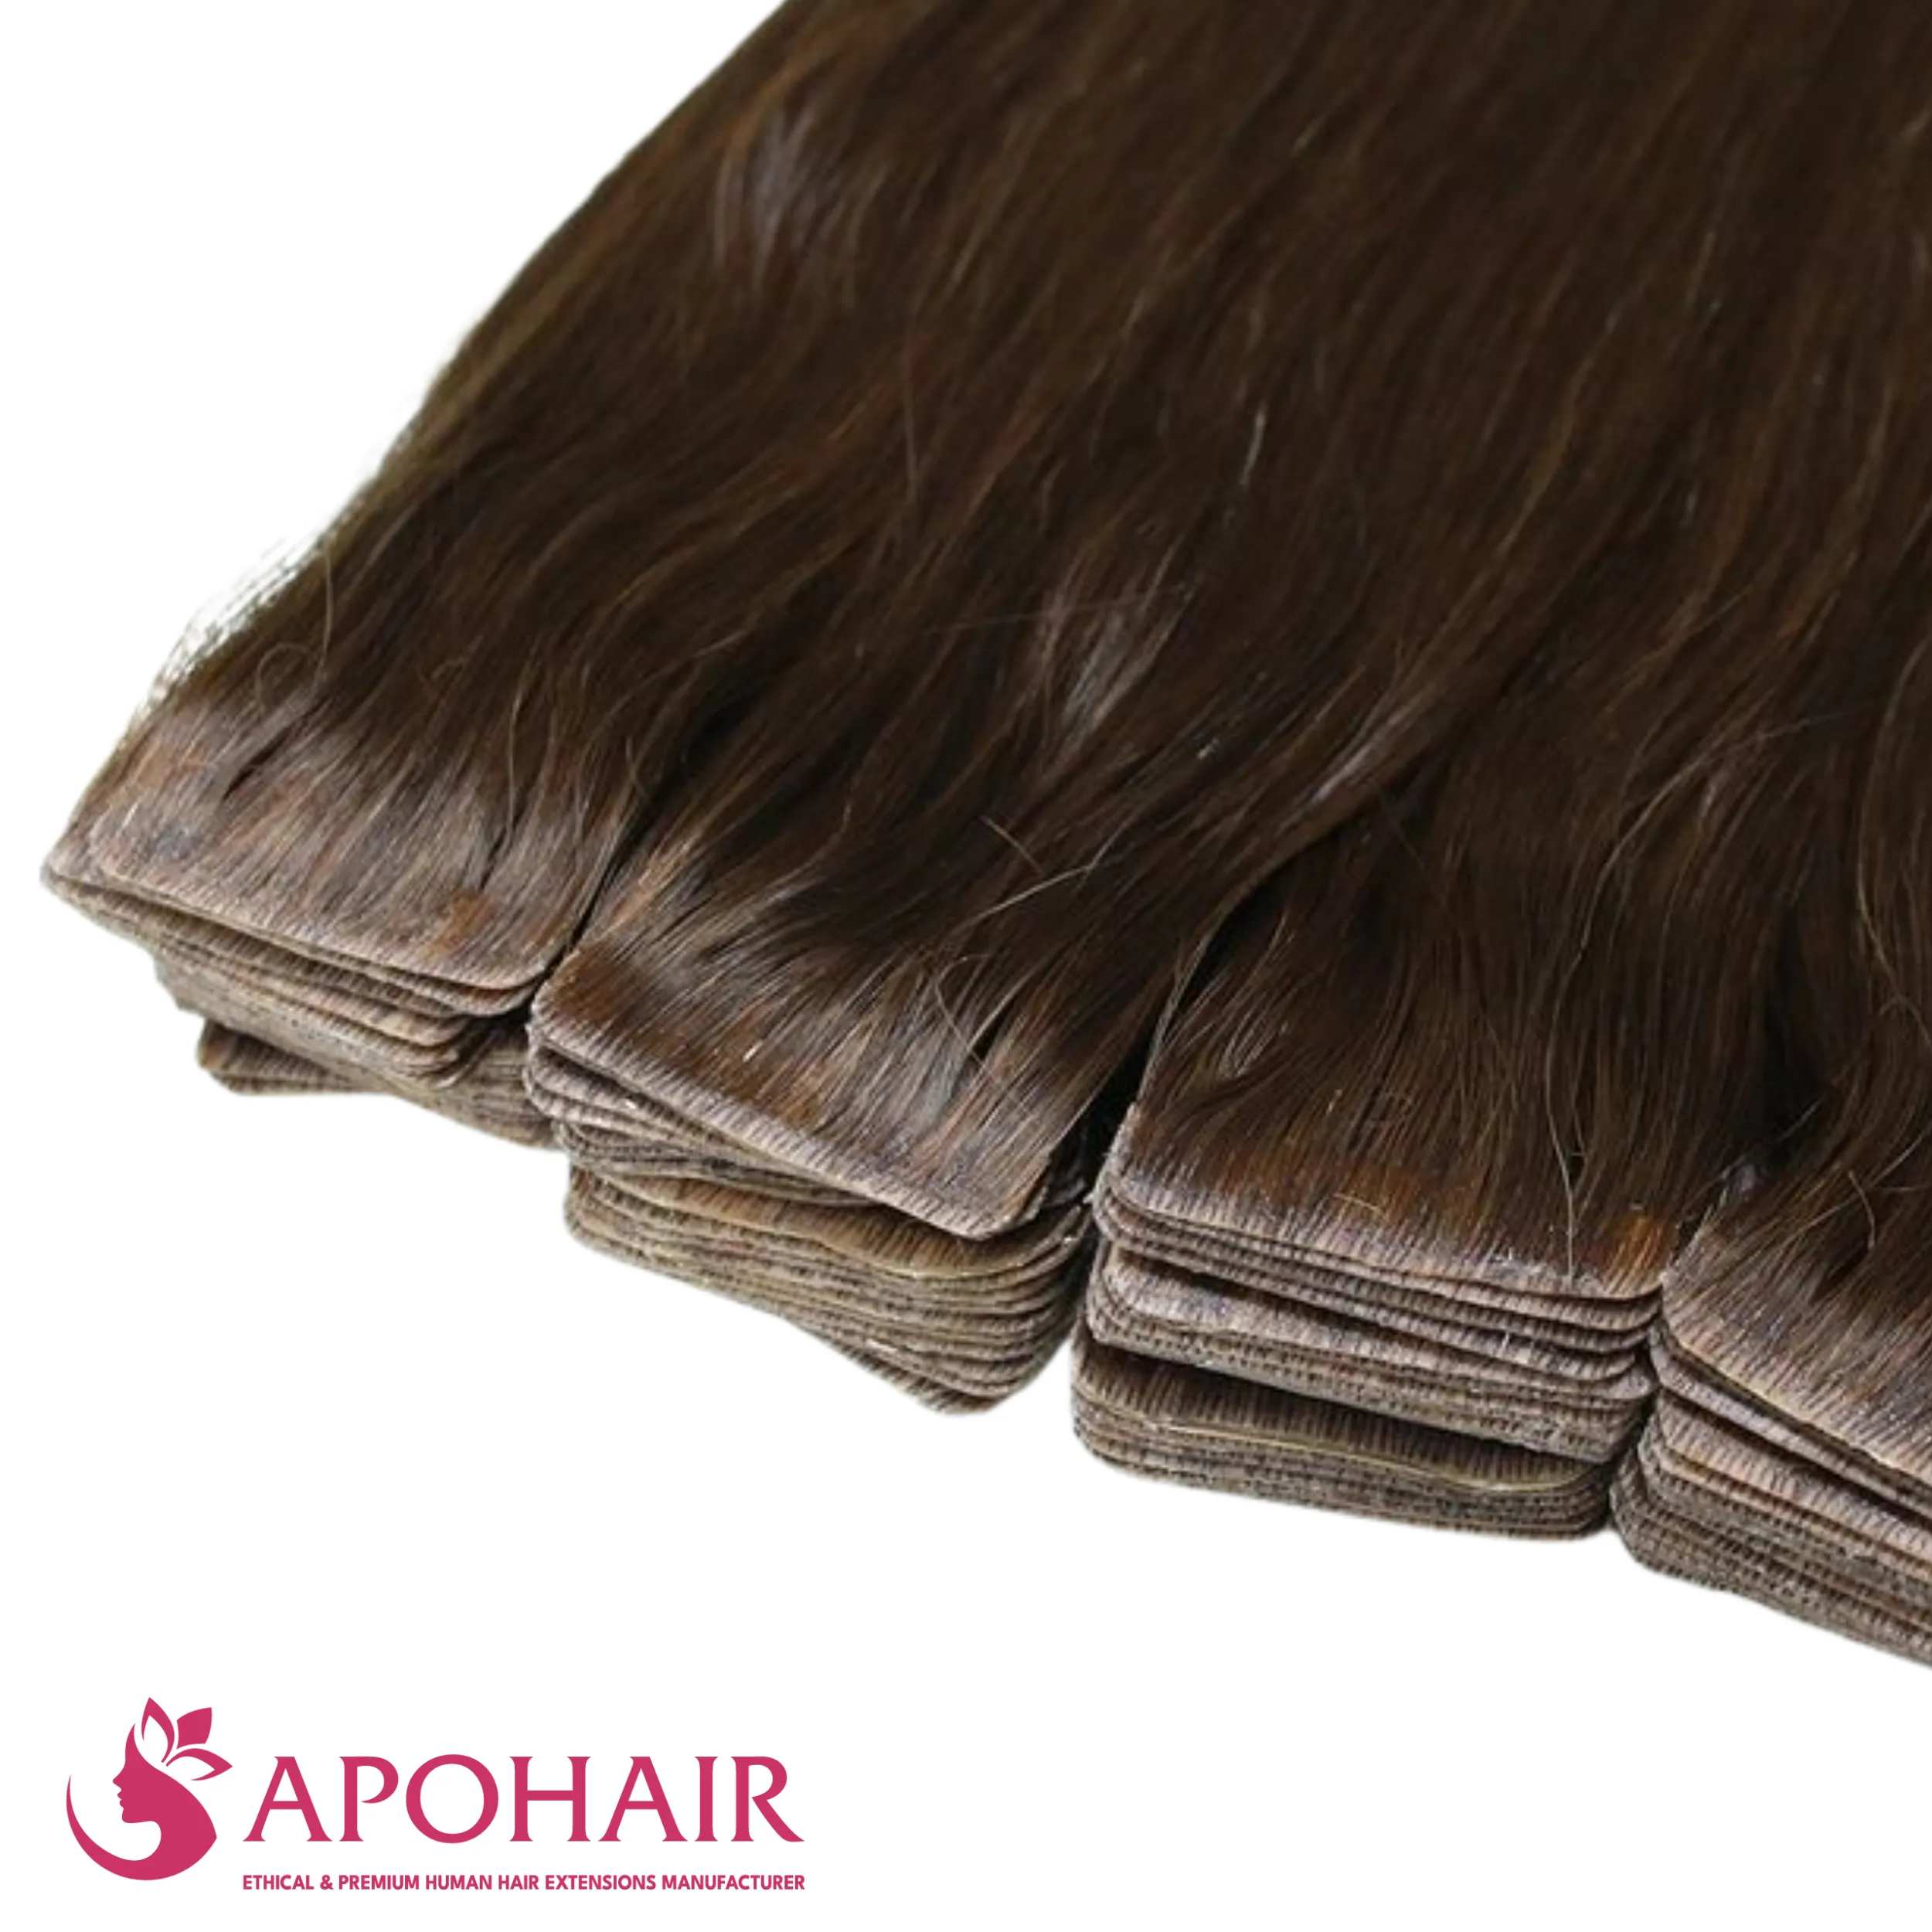
Brown corrections are notoriously sensitive to hair quality. To prevent your cool or neutral tones from fading into brassiness, starting with a high-quality foundation is essential. Virgin hair from a reputable factory source offers superior color retention compared to standard processed options. Ensure your results last by choosing Apohair wholesale human hair from Vietnam.
Common Mistakes That Make Your Hair Look Even More Brown
Achieving a cool-toned brunette at home can be tricky, and a single wrong move can turn your hair into a muddy or brassy mess. To get that salon-quality finish without the frustration, here are the most common DIY mistakes when canceling out brown hair and how to navigate them for the best results:
- Using purple shampoo to cancel out orange brassiness: Because purple is designed to neutralize yellow tones in blondes, it won’t do much for the deep copper or orange found in brown hair. Using it on orange hair often results in a muddy look, so you should always reach for a blue shampoo or toner to effectively cancel out those warm orange reflections. However, if you’ve already used purple and ended up with an accidental violet stain, check out our cancel out the purple color guide to neutralize that unwanted tint.
- Leaving toner on for longer than 40 minutes: Many believe that more time yields a cooler result, but over-processing can cause the hair to absorb too much pigment, resulting in a flat gray or even a swampy green cast. To keep your color crisp, set a timer to check your progress at 20 minutes and ensure you rinse everything out by the 40-minute mark at the absolute latest.
- Applying toner to dirty or product-heavy hair: Natural oils and styling buildup create a barrier that prevents the toner from bonding evenly with the hair cuticle, which usually leads to patchy, spotty results. You can ensure a seamless, even finish by using a deep-cleansing shampoo right before you tone, providing a perfectly clean canvas.
- Attempting to tone very dark hair without lightening it first: Toner is a translucent finish, not a dye, so it cannot penetrate the dense pigment of very dark hair (levels 2 or 3). If you want to see a visible shift in tone, you’ll need to bleach or lift your hair to at least a level 5 (medium brown) so the toner has a light enough base to actually show up.
- Mixing blue and purple shampoos in the same wash: Combining these two different pigments in one go can create an uncontrolled, murky deposit that leaves your hair with a strange metallic tint. Instead of mixing them, use only one corrective product per wash, alternating between blue and purple in separate sessions if you need to target both orange and yellow patches.

Frequently Asked Questions about Color Cancels Out Brown Hair
How Many Times Do I Need to Use Blue Shampoo before Brown Tones Cancel out?
Blue shampoo works on brown hair that shows orange or brassy warm tones, typically at levels 4 to 6. It deposits blue pigment onto the cuticle to neutralize orange wavelengths. Results appear after 2 to 4 consistent uses. It does not lift color, remove dye, or shift brown hair without an orange undertone.
Can I Cancel out Brown Hair Tones without Bleach?
Most people with orange-brown hair at levels 4 to 6 see a noticeable neutral shift after 2 to 4 uses, spaced over 1 to 2 weeks. Heavily brassy hair may need up to 6 uses. Each session runs 5 to 15 minutes. Using blue shampoo more than twice per week increases the risk of an ash-gray overcast on porous hair.
Is There an Instant Alternative for Masking Brown Hair without Chemicals?
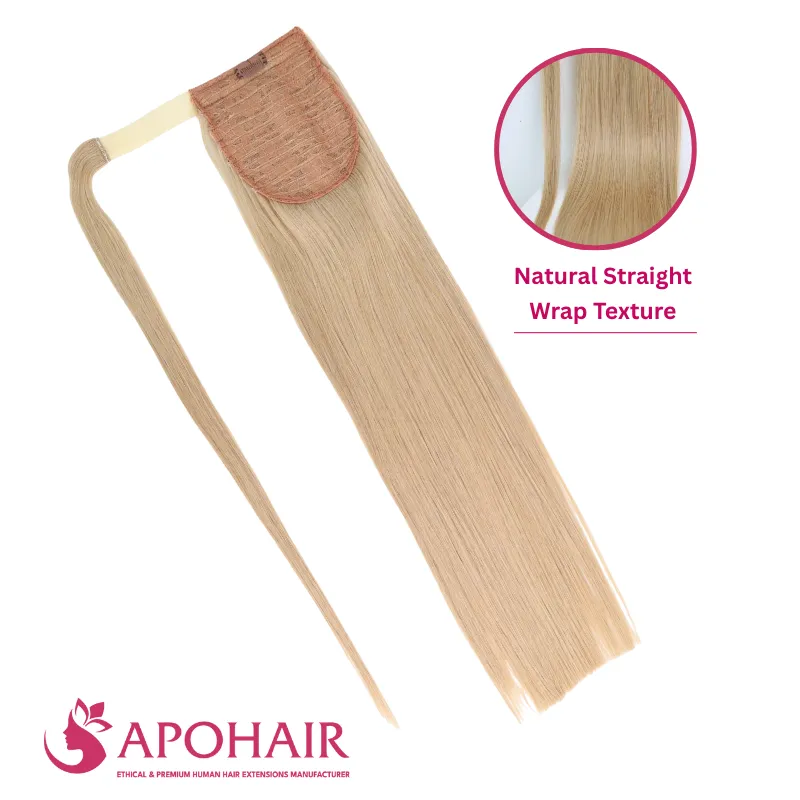
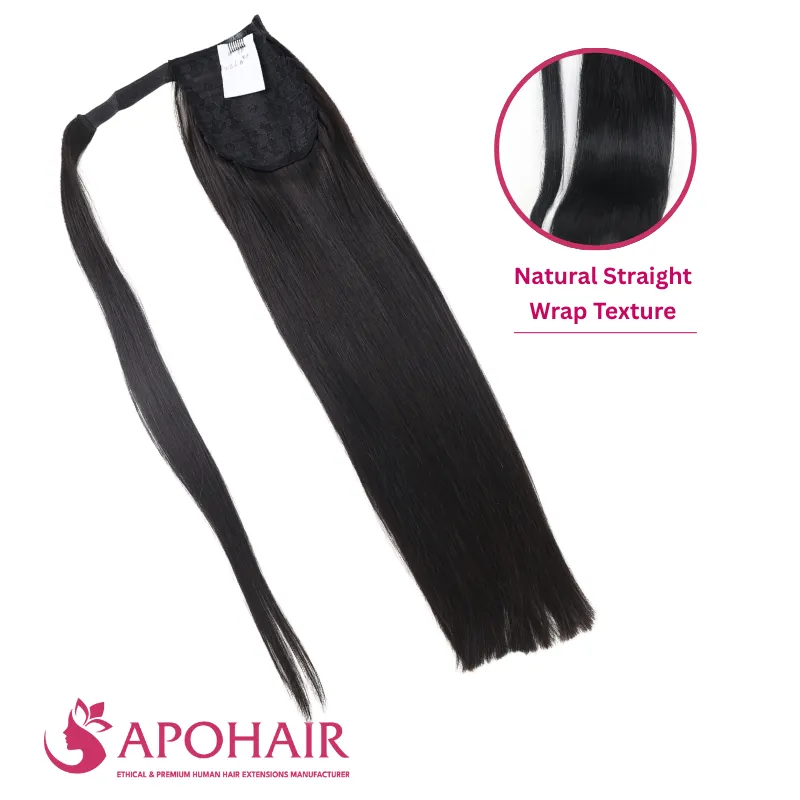
Yes, use hair extensions or a wig. It is the fastest way to hide unwanted colors without using any chemicals. This is a great emergency method for important meetings or events. By choosing a blue-black or dusky undertone, you will look professional instantly while giving your natural hair a break from dyeing.
Want to Guarantee Perfect Color Every Time?
Correcting brown tones is an art, but the difference between a muddy ash and a rich warm brown is a fine line. Instead of experimenting on your client’s natural hair, why not run a trial run first? By sourcing wigs human hair wholesale, you can perfect your toning technique and timing beforehand, ensuring a predictable, salon-quality transformation for every appointment.
Wrap up
Neutralizing brown is a nuanced process because it requires identifying the specific warm undertones hiding within the shade. To ensure a clean transition, always match your method to the specific shade of brown you’re working with, avoid the five common correction pitfalls, and never skip a patch test before applying chemical products.
However, when the color correction becomes too unpredictable, or you want to achieve a rich, consistent shade without trial and error, a high-quality human extension or wig is often the most sophisticated choice. So many colorists work with a reliable remy hair extensions supplier to maintain a consistent color baseline.
As a premier global wholesale hair vendor, Apohair provides the perfect bypass to these coloring challenges. Our 100% human hair extensions and wigs provide a luxurious, ready-to-wear canvas in a wide array of expertly balanced brown shades. By choosing Apohair, you eliminate the stress of neutralizing unwanted brassy or red tones and instead gain access to professional-grade hair that retains its luster and depth, ensuring a flawless look with no chemical compromise.
APOHAIR ETHICAL & PREMIUM VIETNAMESE HUMAN HAIR MANUFACTURER
- Address: Building 3A, Lane 82 Duy Tan, Cau Giay, Hanoi, Vietnam
- Factory: Yen Luong Village, Y Yen District, Nam Dinh Province, Vietnam
- Phone number: (+84) 862 132 366
- Email: wholesale@apohair.com
- Website: apohair.com