


What Color Cancels Out Pink Hair? 7 Methods to Neutralize Shades
If you’re wondering what color cancels out pink, the answer is a vibrant, leafy Green. Based on the 12-hue color wheel, pink and green are complementary opposites, meaning they effectively neutralize one another when combined.
This principle of color theory is universal; For instance, applying the correct shade of green will cancel out unwanted pink, resulting in a neutral, muted tone.
Through this guide, we will break down exactly which green shades correspond to your specific pink hue and explore the 7 most effective DIY methods to restore your hair to a natural-looking, neutral finish.

What Color Cancels Out Pink?
Green is the primary color used to cancel out pink because they are direct complementary pairs. When green colors are applied to pink hair, they don’t simply cover it; instead, they suppress the red-based light reflections that make hair look pink.
Depending on the depth of your starting pink and the specific shade of green used, the resulting color will typically transform into a neutral blonde, a cool ash beige, or even a soft, muted brown-gray. This process effectively cancels out the neon or pastel glow, leaving you with a sophisticated, toned-down base that looks much more natural.
To achieve the most harmonious result, you need to match the intensity of the green products to the level of your pink hair:
| Pink Tone Type | Hair Level | Canceling Color | Best Product Form | Result Color |
| Pastel Pink | Level 9 to 10 | Mint green (diluted 70%) | Toning conditioner | Neutral blonde |
| Neon Pink | Level 8 to 9 | Forest green (concentrated) | Semi-permanent dye | Cool neutral |
| Hot Pink | Level 7 to 8 | Standard green (diluted 35%) | Toning shampoo or dye | Ashy neutral |
| Rose Gold or Dusty Pink | Level 8 to 10 | Ash-toned green or silver-green | Toning shampoo | Cool beige |
| Deep Berry | Level 6 to 7 | Olive green (diluted 20 to 25%) | Semi-permanent dye | Muted brown-gray |

7 Common Methods to Neutralize Pink Tones in Your Hair at Home
If you aren’t ready for a full color correction, there are seven ways to fade or neutralize pink tones using household items or over-the-counter products. The best method for you depends on two factors: How much damage your hair can handle and how quickly you need the pink gone.
While fresh pastel tones might only need a hot-water flush, stubborn neon pigments often require more alkaline solutions, such as baking soda or a light bleach wash.
Here is a breakdown of the 7 most effective home methods to cancel out your pink hair:
| Method | Main Products | How It Works | Time Needed | Damage Level | Cost |
| Hot Water + Deep Conditioner Flush | Deep conditioner, hot water | Heat opens the cuticle; conditioner carries the dye out | 15 to 20 min per session | None | $5 to $15 |
| Clarifying + Anti-Dandruff Shampoo | Clarifying shampoo, zinc shampoo | Sulfate and zinc strip dye coating | 10 to 15 min per wash | Low | $8 to $20 |
| Green Toning Shampoo or Conditioner | Green toning shampoo or conditioner | Deposits green pigment to neutralize pink | 5 to 15 min per session | Very low | $10 to $25 |
| Vitamin C Hair Mask | Vitamin C tablets, clarifying shampoo | Acid pH drops open the cuticle and breaks dye bonds | 30 to 90 min per session | Low to Medium | $5 to $10 |
| Baking Soda + Anti-Dandruff Paste | Baking soda, anti-dandruff shampoo | Alkaline pH forces the cuticle open and dislodges pigment | 10 to 30 min per session | Medium | $3 to $8 |
| Bleach Bath (Soap Cap) | Bleach powder, 5 to 10 vol developer, shampoo | Oxidative lift removes pigment from the hair shaft | 10 to 20 min per session | Medium to High | $15 to $35 |
| Green Semi-Permanent Hair Dye | Green semi-permanent dye, clear diluter | Complementary pigment cancels pink directly | 10 to 20 min per session | Low | $8 to $20 |
Method 1: Hot Water + Deep Conditioner Flush
Starting with the gentlest approach, you can flush pink dye by soaking hair in water at 40°C (104°F) or higher, then using a deep conditioner for 15 to 20 minutes. This way only works on temporary dyes because heat opens the hair’s surface scales, allowing the conditioner to carry the color out. While light pinks fade in 3 to 5 sessions, darker hair or medium pinks may need up to 12 sessions to fully clear.
What you need
- Deep conditioner or coconut oil
- Wide-tooth comb
- Shower cap
- Soft microfiber towel
Step-by-Step Process
Step 1: Soak Hair
Begin with heat: soak your hair in hot water (40°C to 45°C). This step opens the hair’s surface scales, preparing each strand for color release.
Tip: Use the warmest water to open the scales fully for the best results.

Step 2: Apply Conditioner
Once the hair is wet, apply deep conditioner from your roots to the ends. Cover every single strand fully to make sure no pink dye stays locked in uncoated spots.
Note: Missing even one section means the pink dye stays locked in those uncoated areas and will not release.

Step 3: Wait 20 Minutes
To keep the process moving, cover your hair with a shower cap and wait for 15 to 20 minutes. The cap keeps the heat in, so the hair surface stays open longer, speeding up color release.
Tip: Wrap a warm towel around your shower cap to add a layer of heat and help the dye release faster.

Step 4: Comb Hair
After the wait, comb through your hair in sections, starting from the ends and moving up to the roots. This lifts the loose color into the conditioner, so it can be washed away.
Note: Always start from the ends to avoid pulling and to help the color move into the conditioner layer.

Step 5: Rinse Hair
Next, rinse the hair and check your comb for any pink tint. If your hair still looks too bright after you finish the rinse, you may need to repeat the full session.
Tip: Seeing pink on the comb is a good sign that the way is working.

Step 6: Finish Washing
To close the session, rinse with cool water to seal the hair surface and retain moisture. Skipping this step can make your hair feel rough and dry from the heat.
Note: A cool rinse is vital for locking in moisture and keeping hair smooth.

Method 2: Deep-Cleansing Shampoo + Dandruff Shampoo
Building on the idea of washing away color, this method uses strong soaps to break down the dye’s structure. Dandruff shampoo works better than regular soap because its ingredients penetrate deeper into the hair, while deep-cleansing soaps only scrub the surface. You can expect light pink to fade by 40% to 60% after 8 washes, though bright pink will take longer.
What you need
- Deep-cleansing shampoo
- Dandruff shampoo (with zinc)
- Thick hair mask
- Phone timer
Step-by-Step Process
Step 1: Wet Your Hair
Moving on to the washing, wet your hair fully with warm water. Using warm water opens the hair surface just enough without causing heat damage.
Tip: This way is safe to do 2 to 3 times per week since it does not use high heat.

Step 2: Apply Soap
Next, apply the deep-cleansing shampoo to your wet hair. Make sure the hair is soaked first, as putting soap on dry hair can cause patchy, uneven fading.
Note: Never apply to dry hair because it concentrates the soap unevenly and makes the color look blotchy.

Step 3: Lather Hair
To get the best results, leave the lather on your hair for 5 to 10 minutes. This gives the soap enough time to loosen the color links.
Tip: Set a timer so you don’t rinse too fast; the soap needs time to work.

Step 4: Repeat Wash
To remove even more pigment, rinse and apply the shampoo a second time in the same session. This double-wash step removes noticeably more color than a single wash.
Note: A second wash is the step most people skip, but it is key to fading the pink.

Step 5: Use Dandruff Soap
Once a week, swap your regular soap for dandruff shampoo and leave it on damp hair for 15 minutes. The zinc in this soap soaks deeper into the hair to help remove the dye.
Tip: Using this on damp hair helps the zinc work more effectively.

Step 6: Apply Mask
After you rinse, apply a thick hair mask to neutralize any dryness. Strong soaps strip away natural oils, so you must add moisture back in to prevent your hair from drying out over time.

Method 3: Use Green Toning Shampoo or Conditioner
While washing helps fade color over time, sometimes you need a color filter to hide the remaining pink glow. Applying green toning products works because green is the opposite of pink on the color wheel, so the green pigment cancels out the pink cast. This way applies a thin layer of color to the hair shaft, making light pinks look natural in 3 to 5 tries, though darker pinks may take up to 10 sessions.
What you need
- Green toning shampoo or conditioner
- Shower cap
- Phone timer
- Gentle, color-safe conditioner
Step-by-Step Process
Step 1: Wash With Deep-Cleansing Shampoo
Before you start toning, wash your hair once with a deep-cleansing shampoo. This step removes surface oils and buildup, allowing the green pigment to adhere directly and evenly to every strand.

Step 2: Wash With Regular Shampoo
After the first wash, shampoo again with regular soap, then rinse. You must skip conditioner at this stage because a conditioner coat on the hair surface blocks the green pigment and causes patchy results.

Step 3: Apply Green Toner
To get the best coverage, split your hair into four equal sections and apply the green toner from root to tip. Using sections prevents spotty spots where some areas stay pink while others turn neutral.

Step 4: Check Hair Every 5 Minutes
Once the toner is on, wait 5 to 15 minutes, then check a small strand of hair every 5 minutes. Damaged or bleached hair soaks up green up to 40% faster, so you must watch it closely to avoid an accidental green result.
Note: Pull a small piece at each 5-minute mark and look at it under good light to catch any over-deposit early.

Step 5: Rinse With Cool Water
When the time is up, rinse your hair with only cool water. Using cool water locks the green pigment in place, while warm water would wash out the color you just added.

Step 6: Use Light Conditioner
To finish the session, apply a light color-safe conditioner for only 2 minutes. Using a heavy conditioner for too long can block green pigment from soaking in during your next toning session.
Note: Two minutes is the limit; a thick coat makes it harder to add more color next time.

Method 4: Use Vitamin C Hair Mask
If washing is not fast enough for you, an acid-based mask can break the color’s grip on your hair. Mixing 8 to 15 crushed vitamin C pills (500 mg each) with 60 to 80 ml (2 to 2.7 fl oz) of deep-cleansing shampoo creates a paste that fades the dye. This way works by opening the hair surface to loosen the color, cutting the pink’s strength by about half in just one session.
What you need
- 8 to 15 plain vitamin C pills (500 mg)
- Deep-cleansing shampoo
- Zip-lock bag for crushing
- Shower cap
- Protein hair mask
Step-by-Step Process
Step 1: Crush Vitamin C Pills
Starting with the mix, place the pills in a bag and crush them into a fine, even powder. You must use plain, uncoated pills because coated ones leave lumps that cause patchy and uneven fading.
Tip: Making the powder very fine ensures the acid works the same way across all your hair.

Step 2: Mix Powder With Shampoo
Next, mix the powder thoroughly with deep-cleansing shampoo to make a paste. You need a clarifying soap specifically, as moisturizing types lessen the acid’s power and make it harder to fade the color.
Note: Using the right shampoo ensures the mask has enough strength to break the dye links.

Step 3: Apply Paste to Dry Hair
Once mixed, apply the paste to dry hair in sections. Putting it on dry hair keeps the acid strong, while wet hair would thin out the mix and reduce how much color breaks down.

Step 4: Wait Under a Cap
To let the acid work, wear a shower cap and wait for 30 to 90 minutes.
Note: You must not leave it on for more than 90 minutes because exceeding the time limit can harm bleached or damaged hair.

Step 5: Rinse Until Clear
After the wait, rinse your hair fully with warm water until the water runs clear. You must keep rinsing to remove all the paste, as any leftover mix will keep working and over-dry your hair.

Step 6: Use Protein Mask
To prevent any damage, apply a protein mask for 15 minutes right away. Acid treatments weaken the hair’s internal bonds, so this step is essential for repairing your hair.
Note: A protein-moisture conditioner is the main solution for keeping hair strong.

Method 5: Use Baking Soda Paste
For stubborn medium pinks, a baking soda mix opens the hair surface to remove pigment. Mixing baking soda with dandruff shampoo shifts the hair’s pH level, which loosens the dye’s grip so it can wash away. Because this way is harsh on the hair, you should do it only twice a week and always follow up with a deep treatment to prevent hair from feeling rough.
What you need
- Baking soda
- Anti-dandruff shampoo
- Mixing bowl
- Shower cap
- Protein or keratin hair mask
Step-by-Step Process
Step 1: Mix Soda and Shampoo
Beginning the mix, combine 2 parts baking soda with 1 part dandruff shampoo in a bowl. Scale up the amount for long or thick hair to ensure you don’t leave any sections underexposed.
Tip: Using enough product prevents blotchy fading that is hard to process later.

Step 2: Wet Your Hair With Warm Water
Before you apply the paste, wet your hair fully with warm water. You must only apply this to wet hair, as the harsh mixture can irritate your scalp if applied to dry hair.

Step 3: Apply From Ends to Roots
Next, apply the paste from the mid-lengths to the ends first, and do the roots last. Your roots absorb the mix faster due to body heat, so saving them for last keeps the color lift even.

Step 4: Check Hair for 30 Minutes
Once covered, wait up to 30 minutes and check the color every 10 minutes. After 30 minutes, the paste stops lifting color and only starts to harm the hair surface.
Note: Stop the process at 30 minutes to avoid causing hair breaks.

Step 5: Rinse and Close Scales
To remove the paste, rinse first with warm water, then with cool water. The warm water clears the paste, while the cool water seals the hair’s surface, reducing frizz.

Step 6: Apply Strength Mask
After the rinse, apply a protein or keratin mask for 15 minutes. Baking soda strips away the hair’s natural oil layer, so you must use this mask to rebuild the hair and prevent snapping.

Method 6: Bleach Bath (Soap Cap)
When other masks fail to move persistent dye, a chemical “soap cap” provides the most powerful way to lift pink tones. By mixing clarifying shampoo with a 5 to 10 volume developer and a bit of bleach powder, you create a mix that breaks down color inside the hair shaft. This way can remove 50% to 80% of bright pink in just one or two sessions, but it requires careful timing to protect your hair.
What you need
- Bleach powder
- 5 to 10 volume developer
- Deep-cleansing shampoo
- Mixing bowl and gloves
- Timer
- Bond-repair treatment (Olaplex or K18)
Step-by-Step Process
Step 1: Shampoo and Dampen Hair
To start, shampoo your hair once, then squeeze it out until it is just damp. You want the hair damp, not soaking wet, as too much water will thin out the developer and make it less effective.

Step 2: Mix Chemicals and Soap
Next, mix equal parts shampoo and developer with a small amount of bleach powder in a bowl. Start with a 5-volume developer on your first try, and only move to a 10-volume developer if the pink is not clearing enough.
Note: Using a lower volume first helps limit damage while you check the results.

Step 3: Apply to Ends First
Once mixed, apply the blend to your mid-lengths and ends first, and do the roots last. The ends of your hair usually hold more color and lift slower, so giving them a head start creates an even result.

Step 4: Set Timer for 10 Minutes
After applying, set a timer for 10 minutes and watch the color shift very closely.
Note: You must never exceed 20 minutes, as the risk of hair breaks becomes too high after that point.

Step 5: Rinse and Wait
Next, rinse your hair with warm water and look at the new color. If pink is still there, wait 48 hours before doing it again to prevent the hair from becoming too weak.
Note: Waiting between sessions gives your hair time to rest and helps prevent snapping.

Step 6: Apply Bond-Repair Treatment
To finish, apply a bond-repair treatment for 10 to 15 minutes. Even a thinned-out bleach bath breaks the hair’s internal links, so this step is required to keep your hair’s strength.

Method 7: Green Semi-Permanent Hair Dye
As a final method for stubborn pink, using a diluted green dye cancels the tones by acting as a direct color filter. By mixing green dye with 50% to 80% clear conditioner, you create a custom toner that cancels out the pink without staining your hair green. This method works best on real human hair and requires a strand test first to ensure the color mix is right for your specific shade of pink.
What you need
- Green semi-permanent dye
- Clear conditioner or diluter
- Color brush and bowl
- Gloves
- Timer
- Color-safe conditioner
Step-by-Step Process
Step 1: Wash With Clarifying Shampoo
Before you apply the dye, wash your hair with a deep-cleansing shampoo. This removes oils and buildup that can block the pigment, which prevents a messy or patchy look.

Step 2: Mix Dye and Conditioner
In a bowl, mix the green dye with clear conditioner at the right ratio for your hair. Use more conditioner (80%) for pastel pink and less (50%) for neon pink to avoid making the hair too green.
Note: Measure the amounts in a bowl rather than guessing to ensure the color stays uniform.

Step 3: Do a Strand Test
Next, apply the mix to a 2.5 cm (1-inch) section of hair and let it dry completely. You must wait until it is dry to check the color, as wet hair looks much darker than the final result.
Tip: Checking a dry strand gives you the most exact look at how the color will turn out.

Step 4: Apply From Ends to Roots
Once you are ready, apply the mix to your ends and mid-lengths first, and do the roots last. Your roots soak up color up to 30% faster due to the heat from your scalp, so saving them for last prevents over-depositing.

Step 5: Check Color Every 5 Minutes
While the dye sits, wipe a small piece clean every 5 minutes during the 10 to 20-minute window. You are aiming for a neutral tone, so stop as soon as the pink is gone but before the hair starts to look green.

Step 6: Rinse With Cool Water
To finish, rinse your hair with only cool water. You must avoid warm or hot water, as it opens the hair cuticle and washes away the green before it can stick.

If the 7 DIY methods haven’t shifted those pink tones, the pigment is likely bonded too deeply for home remedies to handle. At this stage, it’s best to see a professional colorist to get your hair back on track without causing extra damage.
Need a Fresh Start After Pink Correction?
Over-processing is a common risk when neutralizing stubborn pink tones. To achieve a predictable and flawless look without further damaging your natural hair, a fresh install is often the best move. Explore Apohair wholesale human hair color for a premium, clean base that’s perfectly prepped for your next color transformation.
Common Mistakes to Avoid If You Don’t Want Your Hair Pinker
Canceling out your pink hair can sound simple enough, but one wrong move can leave you with a muddy mess or an accidental shade of purple. To help you navigate the process smoothly and get back to a neutral base, here are the most common pitfalls people encounter when trying to cancel out pink tones, along with the best ways to correct them:
- Reaching for purple toner: Many people grab purple toner to neutralize any unwanted warmth, but since purple is meant to neutralize yellow, applying it over pink usually results in a deep violet-magenta. To get a truly neutral result, you should swap the purple for a green toner, which is the direct opposite of pink on the color wheel.
- Using blue shampoo as a quick method: It’s a common mistake to use blue shampoo, which is designed to cancel out orange brassiness, only to find it creates an awkward purple-pink shift. You’ll get a much cleaner result by switching to a green-toning shampoo or a very diluted green dye to bring out those rosy tones.
- Skipping the essential strand test: Skipping this step is a big risk because green pigment can be incredibly intense, often turning hair swampy if the product is too strong. You can avoid an accidental Grinch look by testing a 1-inch (2.5 cm) section for the full processing time to see exactly how the color develops before committing to your whole head.
- Applying product to “coated” hair: If you apply a toner over hair that still has leftover conditioner or styling products, those residues block the pigment from sticking. To ensure a smooth and even application, wash your hair once with a clarifying shampoo before starting your green treatment to create a clean canvas.
- Rinsing with hot water after toning: This is a common error because heat opens the hair’s outer cuticle, allowing the green pigment to wash out before it can bond. To lock in that neutralizing color and keep the pink from bleeding back through, make sure to rinse only with cool water after you finish.
- Using store-bought color removers on semi-permanent pink: Most standard color removers are formulated to break down chemical-based oxidative dyes, so they often won’t touch the semi-permanent stain of pink hair. Instead of using a harsh remover, you’ll have better luck using a green toner, a Vitamin C mask, or a gentle bleach bath to effectively lift those pigments.

Frequently Asked Questions About Color Cancels Out Pink Hair
How to Fade Pink Hair to Pastel?
To fade vibrant pink hair to a pastel shade, use gentle, non-bleach methods like washing with dandruff shampoo, hot water, or a baking soda-and-shampoo paste to gradually strip color. For faster results, apply a vitamin C treatment or a mild bleach bath. Follow every session with intensive, moisturizing conditioning to repair the hair.
Does Canceling Out Pink Hair Damage My Hair?
The cancellation process itself does not damage hair. Damage comes from the specific method used and its application, not from the act of neutralizing pink. The 7 methods span a damage range from zero with a hot-water flush to medium-high with a bleach bath, and each method’s risk is directly tied to its chemical mechanism.
What Color Can I Dye My Hair After Canceling Out Pink?
After pink tones reach a neutral base, four color directions apply cleanly: cool ash blonde, ash brown, cool gray or silver, and vivid cool-toned colors such as blue, violet, or true green. Two directions require caution: warm red and warm orange. One direction requires full-removal confirmation before proceeding, which is white or platinum-blonde.
Note that, while ash brown is a sophisticated choice, DIY results can sometimes turn out too dark. So, your new brown shade looks a bit too flat; you’ll want to know the colors that cancel out brown to brighten your results.
What Is the Safest Alternative Way to Cancel Out Pink Hair?
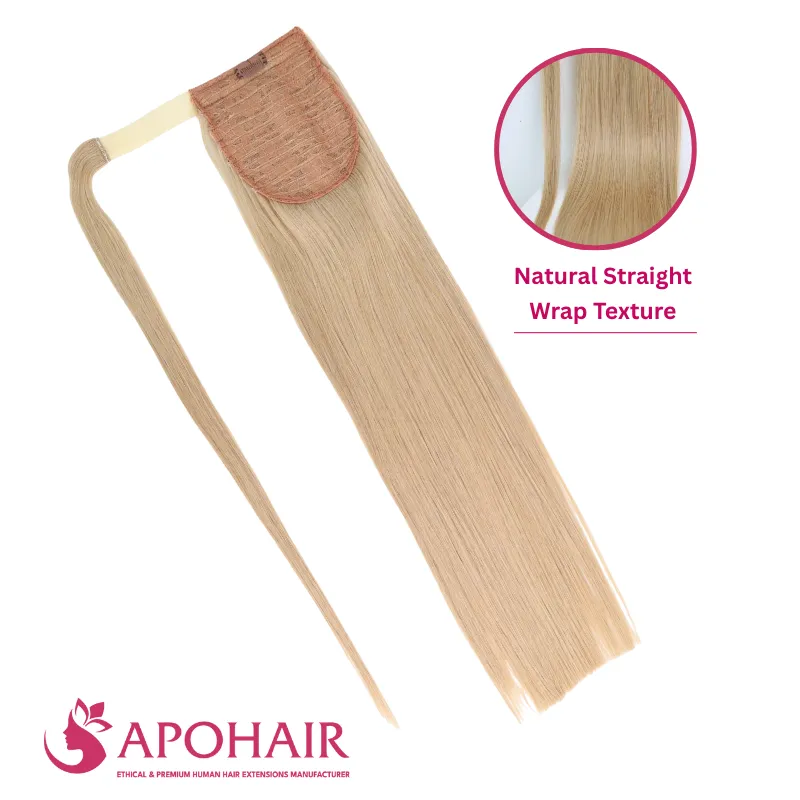
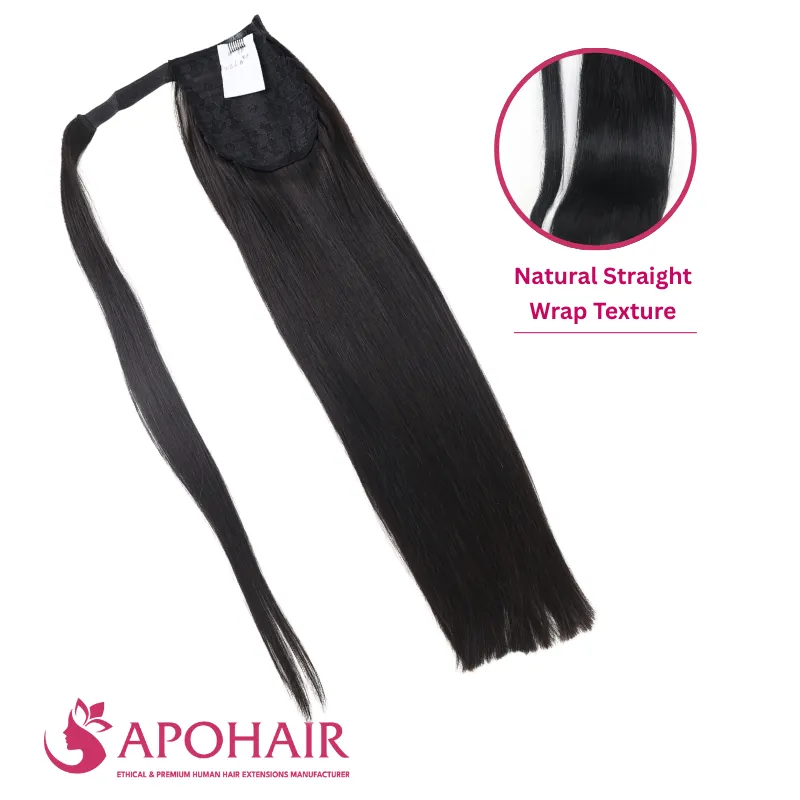
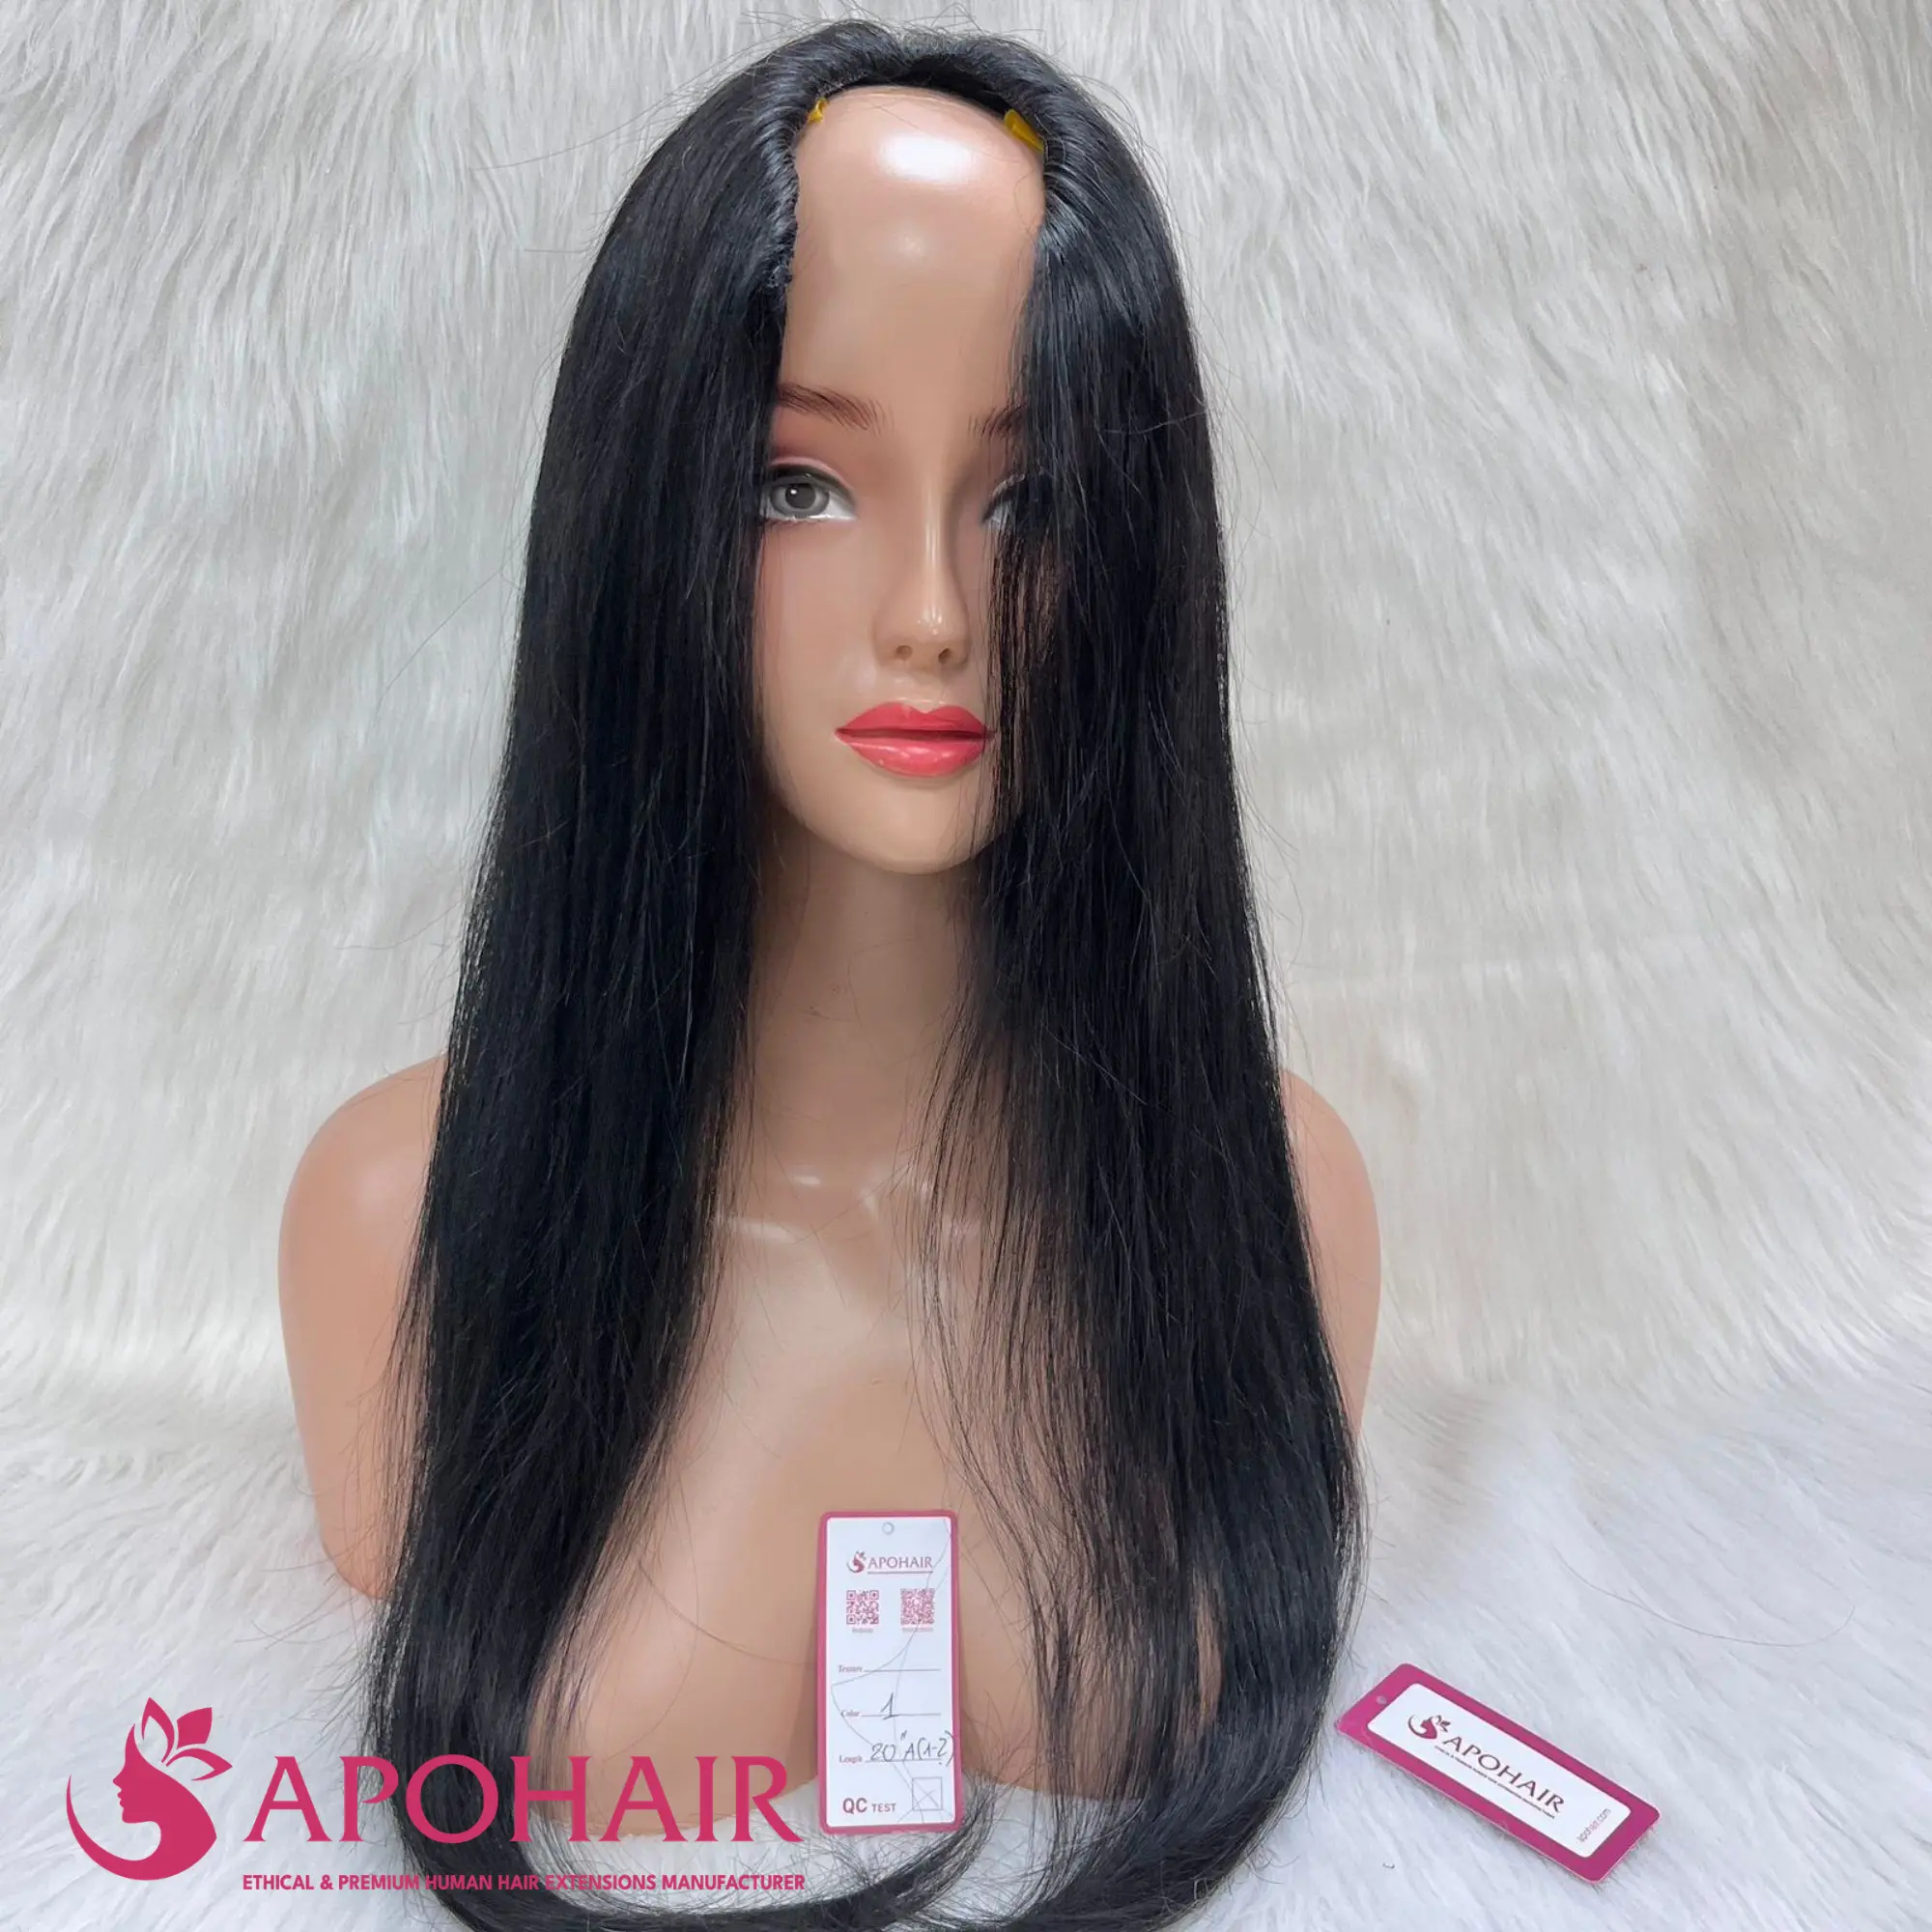
By using high-quality hair extensions or a professional wig. When pink pigments are too stubborn for subtle toning, or your hair needs a break from chemical faders, this method provides an immediate aesthetic reset. It serves as a foolproof visual cancellation for emergency situations, allowing you to bypass the unpredictable results of rushed color correction while keeping your natural hair completely healthy.
Final Thought!
Green effectively cancels out pink because the two are complementary on the color wheel. This natural opposition allows green to neutralize pink, shifting a vibrant or stained base toward a much cooler, neutral tone. The secret to a successful correction lies in matching the pink’s intensity to your strands’ current health, so you don’t push your hair past its breaking point.
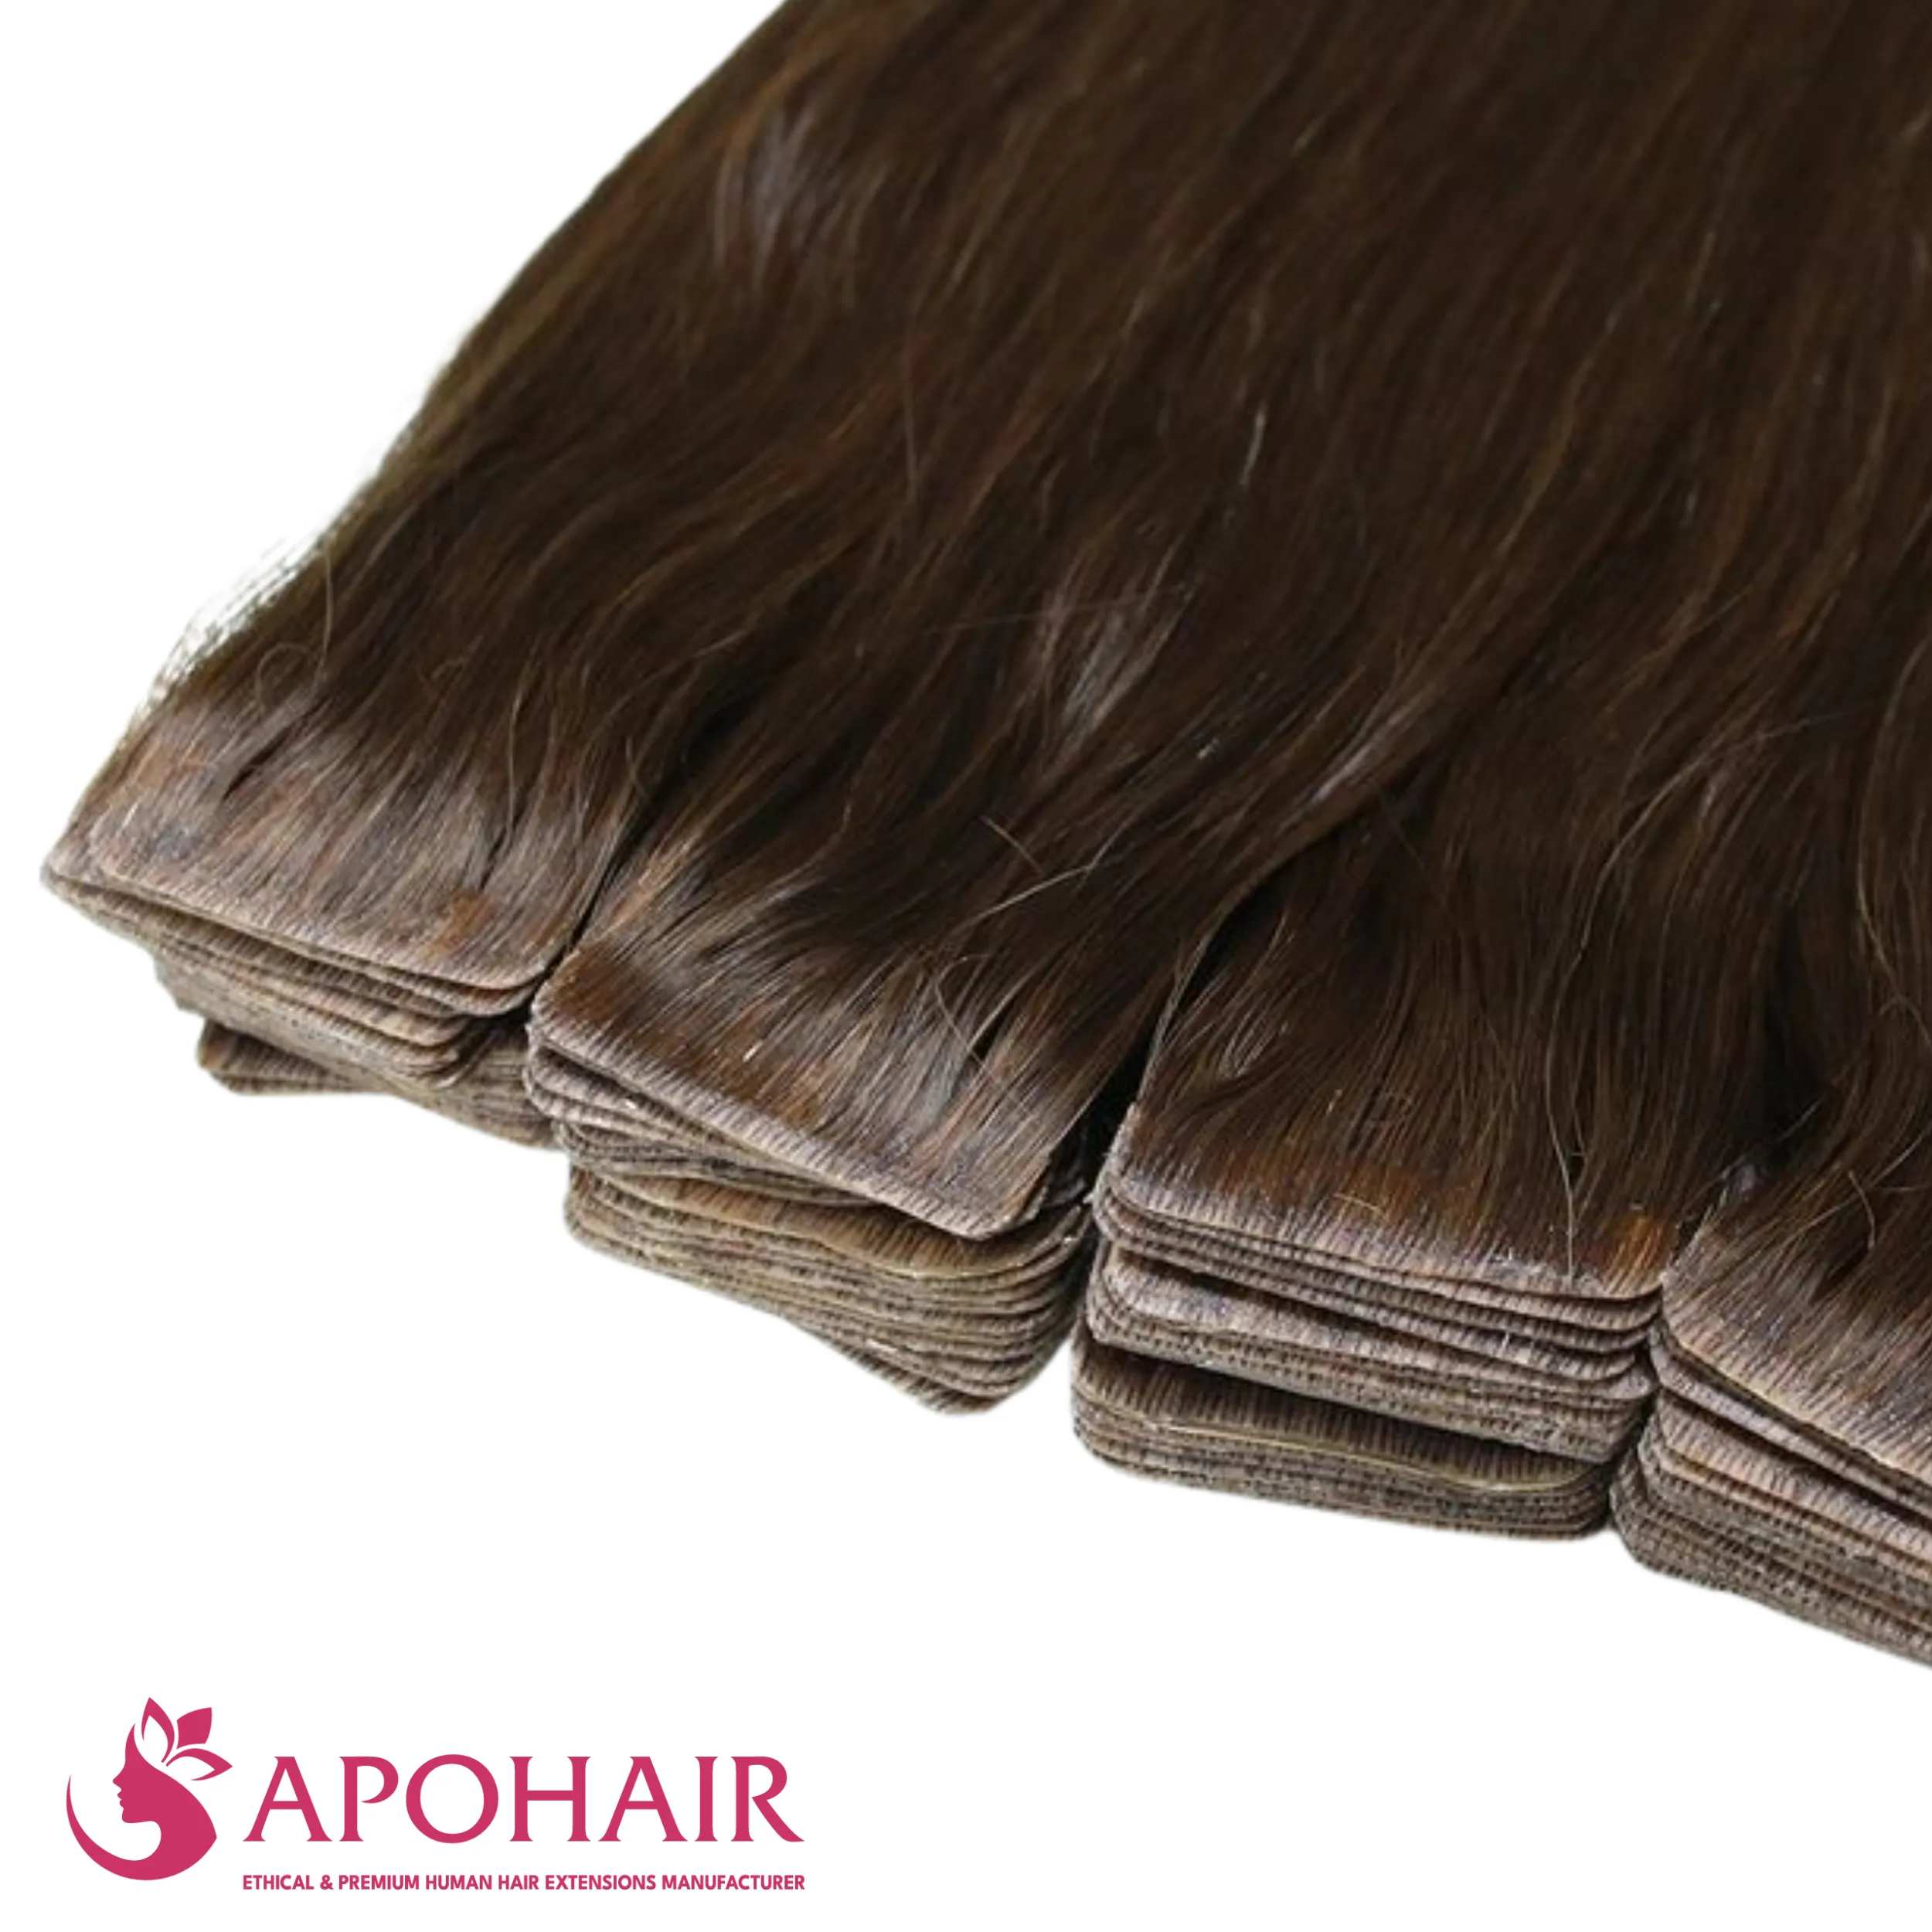
That said, fighting stubborn pink undertones can easily leave your natural hair stressed and dull. Rather than pushing your strands to the limit with repeated chemical processing, many stylists are looking for wholesale human hair extensions. It’s a much gentler way to reach your desired shade while giving your natural hair a chance to recover.
As a global wholesale hair vendor, Apohair provides premium 100% human hair extensions and wigs that offer a flawless, ready-to-style canvas. Our products are designed to help you add volume or achieve a pristine new color instantly, giving you a sophisticated look while allowing your natural hair the well-deserved break it needs to recover and thrive.
APOHAIR ETHICAL & PREMIUM VIETNAMESE HUMAN HAIR MANUFACTURER
- Address: Building 3A, Lane 82 Duy Tan, Cau Giay, Hanoi, Vietnam
- Factory: Yen Luong Village, Y Yen District, Nam Dinh Province, Vietnam
- Phone number: (+84) 862 132 366
- Email: wholesale@apohair.com
- Website: apohair.com
To avoid surprises during pink correction, use a wig to see exactly how your green-based pigments react. It’s the safest way to perfect your formula without risking hair health. Looking for reliable testing canvases? Buy human hair wigs wholesale to keep your salon stocked with premium, predictable bases.