


What Color Cancels Out Red? 4 Methods to Neutralize Red Hair At Home
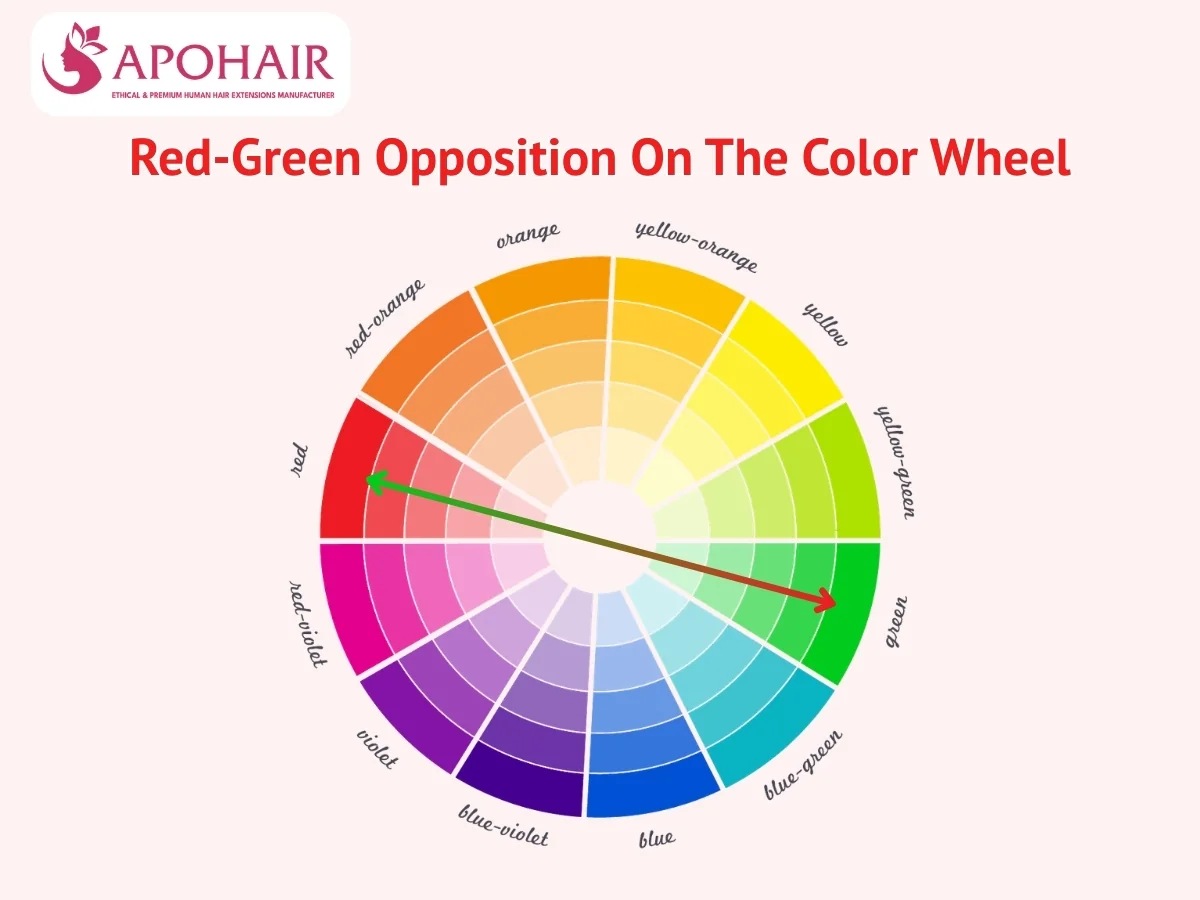
When you want to neutralize hair that has turned too red, you must understand how colors cancel out on the color wheel. Green cancels out red because both are complementary colors, sitting straight across from each other on the 12-hue color wheel.
Color neutralization means using a complementary color to the color you already have to neutralize an unwanted tone; this is different from chemical removal. While green works best for pure red, other shades like ash, blue, and violet each target different red types based on your hair health and tone.
Neutralizing red hair at home usually works with a green shampoo, an ACV rinse, or a darker, cool-toned shade to reduce unwanted warmth. One rule applies: If you have bright, long-lasting red hair that was bleached or chemically processed before, you often need a pro for safe, lasting results. This choice ensures you keep your hair healthy while getting the right look.
What Color Cancels Out Red?
Green cancels out red tones because it sits directly across from red on the color wheel, called complementary colors. When green dye meets red dye within the hair shaft, the two cancel each other out, producing brown or neutral/ashy tones. The color wheel places opposite pairs across from each other so they balance rather than mix, unlike colors that sit side by side.
Not every shade of red responds the same way, so you must match the dye to the tone. Pure red needs green, while orange-red brassiness calls for cool or blue tones. Violet lowers red-orange warmth in blonde hair, but does not work on deep red because it is not the direct opposite on the wheel. When a green product touches the hair, the color waves cancel each other on the strand edge, hiding the red look in both natural and dyed hair, though dyed hair often needs more time because the man-made dye is thicker.
The table below maps each red tone type to its correct canceling color and product form:
| Red Tone Type | Hair Level | Canceling Color | Best Product Form | Result Color |
| Natural Red | 5–7 | Green | Green toning shampoo | Cool neutral brown |
| Orange-Red (Brassy) | 5–8 | Ash / Blue | Ash dye / blue toner | Cool brunette |
| Red-Orange (Blonde) | 8–10 | Violet | Purple shampoo / violet toner | Even bright blonde |
| Faded Red | 5–8 | Blue or Purple | Semi-permanent dye | Deep violet or indigo |
4 Methods to Neutralize Red Tones in Your Hair At Home
Four methods to cancel out red color at home: green shampoo for a low level of red, a darker cool dye for full coverage, an ACV wash for light fading, and a vitamin C flush for fast removal. Neutralizing balances color by adding the opposite dye; dyeing replaces the current shade; fading strips the outer hair surface color without adding anything new.
Green shampoo works best for damaged hair because it has no harsh chemicals and works only on the outer hair surface. Strong, permanent red resists shampooing and requires a dye-based product. Faint or semi-permanent red works well with all four ways.
| Method | Main Products | How It Works | Time Needed | Damage Level | Cost |
| Green Toning Shampoo | Green shampoo/conditioner | Leaves green color on the outer hair surface | 2–3 min/wash | Very low | $5–$15 |
| Picking Darker Colors | Ash / cool-toned dye | Pushes cool color into the deep fix | 45–60 min | Low–Medium | $8–$25 |
| Apple Cider Vinegar Rinse | ACV + water | Lowers pH to release surface color | 2–3 min/rinse | Very low | $3–$8 |
| Vitamin C Flush | Vitamin C + cleaning shampoo | Breaks dye links through chemical change | 30–45 min | Low | $5–$10 |
Each method below includes what to prepare and a full step-by-step process to follow at home.
Method 1: Green Toning Shampoo or Green Conditioner
While some red colors fade on their own, bright red often needs a direct fix to stay balanced. Use green shampoo 1–2 times a week, leave it on for 2–3 minutes before rinsing, to slowly balance red tones without damaging your hair. The main part is green or blue-green, often labeled CI 61570 on the bottle, and kept in a low-pH cleaning base. With each wash, these colors coat the outer hair surface and fix the red color directly.
Red fades clearly after 3–5 washes. Results depend on how bright or washed-out the red is. Strong red takes longer while faint red works faster. For a handmade choice, mix 2 drops of green food dye into regular conditioner, apply to hair, leave on for 10–12 minutes, then rinse with cool water. Green shampoo works best on faint or semi-permanent red at levels 4–7 and is not strong enough to fix strong permanent red dye.
What you need
- Green Toning Shampoo or Conditioner
- Safety Gloves (to stop hand staining)
- Wide-tooth comb
- Dark-Colored Towel

Step-by-Step Process
Step 1: Wet Hair
Before you start adding color, you must prepare your hair. Wash your hair fully with warm water until it is completely soaked.
Tip: Wash once with a deep-clean shampoo first. Leftover gunk on the hair shaft prevents the green color from adhering evenly, leading to patchy results.

Step 2: Apply Shampoo
Once your hair is ready, you can begin the cancel out process. Put on green shampoo abundantly from your roots to the ends.
Tip: Rub it into a thick foam before spreading it. A full foam means the color spreads across every strand rather than sitting heavily in one spot.


Step 3: Wait for 2–3 minutes
To let the fix work, you must give it time. Set a timer and leave the shampoo on for 2–3 minutes.
Tip: Comb through slowly while you wait. This pushes color into the back parts and underneath layers that are easy to miss.

Step 4: Rinse Hair
After the time is up, you must remove the extra shampoo. Wash out thoroughly with cool water.
Note: Cool water tightens the outer hair surface and holds the green color inside the strand. Keep washing until every trace of color runs completely clear.

Step 5: Condition Hair
To keep your hair healthy, you must add moisture back. Put on a moisturizing conditioner right away.
Note: Skip the roots entirely to keep your hair from falling flat. Focus on the middle and ends, where the shampoo causes the most moisture loss.

Method 2: Picking Darker Colors to Cover Red Shades
If shampoos do not provide enough lift for a strong, permanent dye, a darker color fix provides a stronger result. You can cover stubborn red hair with a cool or ash dye at the same level or 1–2 shades darker in a single session. Always pick shades called Ash or Matte, usually marked .1 or .7. Stay away from Warm labels like .3 or .4 because they have a hidden red or gold tint that makes red appear stronger. The dye opens the outer hair surface and deposits a cool color deep within the deep fix, hiding red from the inside out.
The color builder pushes cool color directly into the deep fix, making this fix last longer than shampoo. For pure bright red, choose a dye with a green base, often called Matte or marked with a /7. Most ash dyes lean blue and fix orange-red better than pure red. However, using a heavy ash tone on lightened hair can sometimes leave an accidental blue tint. In this case, you should learn how to cancel out the blue color to neutralize it quickly.
What you need
- Cool, ash, or matte-based dye in /1, /2, or /7 base
- Color builder at 20 vol (for the same level) or 10 vol (for darker)
- Mixing bowl and brush
- Gloves
- Moisturizing deep conditioner

Step-by-Step Process
Step 1: Test a Small Piece
Before doing your whole head, you must check how the color looks. Try the dye on a small, hidden part 48 hours before full use.
Note: Skipping this risks a result that you cannot fix at home. Always check first.

Step 2: Mix the Dye
Once you are ready, you must build your color mix. Combine the dye and color builder exactly as the box says.
Tip: If a green or matte booster is available, add a small amount now for stronger red-fixing results.

Step 3: Apply to Dry Hair
To get the best color grip, you must put on the dye properly. Work the dye from roots to ends on dry, unwashed hair.
Tip: Dry hair holds color more evenly, and your natural oils help guard your scalp.

Step 4: Wait for Full Processing Time
You must let the dye soak in for the full time. Follow the timing on the box exactly.
Note: Going past the time dries the hair without fixing more red. More time does not create better results.

Step 5: Rinse Hair
When the time is up, you must wash out the excess dye. Wash out with cool water until the water runs completely clear.
Tip: Hot water forces new cool color back out through the open outer hair surface.

Step 6: Deep Condition
To finish the fix, you must close the hair shaft. Apply deep conditioner and leave on for 3–5 minutes before final rinse.
Note: Color builder opens the outer hair surface during the fix. A mask applied right away closes it and locks the color firmly inside.

Method 3: Apple Cider Vinegar (ACV) Rinse
Because some hair types are too weak for new dyes, a vinegar wash offers a safe way to fade the color. An apple cider vinegar wash does not fix red using color theory. It lightly fades surface color by tightening the outer hair cuticle and releasing loose dye, making it a low-risk choice for gradually reducing warmth. ACV is a fader, not a shampoo. Its pH of about 2.5–3.5 tightens the outer hair surface and sheds some surface dye. It adds no opposite color and cuts the red strength slowly, not at once.
Visible surface fading usually shows up after 3–5 washes, used no more than twice a week. Using too much ACV causes the outer hair surface to get rough, lose density, and break more easily as the acid slowly breaks down the outer oil layer. Anyone with dry hair or bleached hair should skip this way entirely. The outer hair surface of these hair types is already weak and cannot withstand acid without significant hair health damage.
What you need
- Apple cider vinegar
- Cool water
- Large bowl or spray bottle
- Measuring cup
- Plastic clips
- Gentle shampoo
- Old towel
- Wide-tooth comb
- Deep conditioner or hair mask

Step-by-Step Process
Step 1: Wash Hair
To get the best result, you must start with clean hair. Wash with a gentle shampoo and dry lightly with a towel before using the ACV.
Note: Removing gunk first lets the ACV contact the hair shaft directly rather than sit on top of leftover buildup that blocks it.


Step 2: Mix the Solution
Once your hair is clean, you must build your mix. Mix 1 part ACV with 3–4 parts cool water in a spray bottle or bowl.
Tip: A spray bottle spreads the mix much more evenly than pouring. Uneven use creates patchy fading across the hair.

Step 3: Apply the Mix
To ensure full coverage, you must put on the mix carefully. Put on the mix from roots to ends across your whole head.
Tip: Divide your hair into 4 parts before starting. Working part by part ensures every strand gets full coverage, including the thick underneath layers.

Step 4: Wait for 2–3 minutes
You must limit how long the acid stays on your hair. Leave on for 2–3 minutes and do not go past 5 minutes.
Note: Acid touch applied past 5 minutes increases hair health damage without improving fading.

Step 5: Rinse Hair
After the time is up, you must wash out the acid. Wash out thoroughly with cool water until completely clear.
Note: Cool water tightens the outer hair surface back to its normal state, adds shine, and makes the fix last longer.

Step 6: Deep Condition
To finish, you must add back the oils lost. Apply a deep conditioner and leave it on for 2–3 minutes.
Tip: Choose a mix with shea butter or argan oil. Both actively refill the oil layer that the ACV strips from the outer hair surface.

Method 4: Vitamin C Flush
Since vinegar works slowly, a Vitamin C flush is the best choice for faster results when you need a big change. You can fade red dye by mixing 1 tablespoon of Vitamin C powder with 2–3 tablespoons of shampoo, applying it to dry hair, and keeping it warm under a cap for 30–45 minutes. Ascorbic acid breaks the bonds that hold dye molecules to the hair shaft, allowing color to wash out without bleach. This way strips moisture harshly, so deep conditioning after is needed, not optional.
One session usually fades red by 1–2 levels. Semi-permanent red works faster, while permanent red may need washes over 2–3 days in a row. This way removes color only and adds nothing back. Your hair may look orange afterward, so follow up with a cool ash dye to counter the warmth. Vitamin C flush works best on faint or light red at levels 5–8 and cannot fully fix strong or dark permanent red alone.
What you need
- 5–10 crushed Vitamin C tablets or 1 tablespoon acid powder
- 2–3 tablespoons cleaning shampoo
- Mixing bowl
- Shower cap
- Hair dryer (optional)
- Deep conditioner

Step-by-Step Process
Step 1: Prep Your Powder
To get the mix ready, you must prepare the main part. Crush tablets into fine powder or measure 1 tablespoon of pure acid powder.
Tip: Pure acid blends more smoothly into a steady paste. Crushed tablets often have extra parts that make the coverage patchy.

Step 2: Mix with Shampoo
Once the powder is ready, you must build the cleaning paste. Stir the powder and shampoo until the paste is fully smooth.
Note: Cleaning shampoo is needed here. Its strong cleaners work with the acid to break dye links better than regular shampoo.

Step 3: Apply to Hair
To start fading, you must apply the paste. Spread the paste evenly across dry hair from roots to ends.
Tip: Divide hair into 4 parts and work through each fully. This stops missed spots that create uneven fading.

Step 4: Cover and Add Heat
To make the acid work faster, you must keep it warm. Put on a shower cap right away after using the paste.
Tip: Run a hair dryer on low heat over the cap for 5 minutes. Heat speeds up the chemical change.

Step 5: Wait for 30–45 Minutes
You must let the mix stay on long enough to break the dye. Wait 30–45 minutes, checking one strand at 30 minutes to see if the color is fading.
Note: Do not go past 45 minutes, no matter what. Long acid touch causes damage to the outer hair surface.

Step 6: Rinse Hair
When the time is up, you must wash out the paste. Wash out with cool water until the water runs completely clear.
Tip: Cool water reseals the outer hair surface and stops more color from falling out during the wash.

Step 7: Deep Condition
To finish, you must fix the dryness. Apply a thick layer of deep conditioner and leave it on for 5 minutes before final wash-out.
Note: This step measures how spongy your hair is. Skipping this causes fast moisture loss, dryness, and breaks.

Please note: If you’ve made four methods without seeing the red tones budge, the pigment is likely embedded too deeply for DIY methods. At this stage, we recommend consulting a professional to protect your hair’s health. In fact, many colorists who specialize in correcting stubborn red or brassy tones suggest switching to high-quality Remy human hair weave rather than subjecting your natural hair to further chemical processing.
What Are Common Mistakes That Make Hair Look Even More Red?
There are 5 errors that make red hair look even brighter. Common mistakes include picking warm dyes, skipping a test strand, using too much ACV, or washing with hot water. Warm dyes with codes like /3, /4, or /43 add to the red already in your hair. To fix this, always choose a cool or ash shade with a /1 or /2 base.
- Use Warm Brown Dyes: Warm-toned dyes have a hidden red or gold undertone. These add to your current warmth and make red hair look even redder. To fix this, always pick Ash or Cool browns labeled with a /1 or /2 code.
- Rinse with Hot Water and Harsh Shampoo: These open the hair layer and pull cool color out of the hair during every wash. Change to lukewarm water and a gentle cleanser to keep your color safe.
- Apply Purple Toning Shampoo: Violet fixes yellow or orange, but it does not cancel out red. Use a green shampoo to neutralize deep red tones and save the purple shampoo for yellow hair.
- Add High Heat No Protection: High heat breaks down the cool color applied during toning, revealing the red layer underneath. Apply a heat protectant before using any tool set to 230°C (446°F) or higher to keep your hair strong.
- Skipping UV Protection: Sunlight, bit by bit lifts the hair layer and brings back red tones. To prevent your color from fading, use a UV-shielding spray or wear a hat on sunny days.
Frequently Asked Questions About What Color Cancels Out Red Hair
Is Red the Hardest Color to Get Out of Hair?
Yes, red is one of the hardest colors to remove because its color molecules are large and stick tightly to the hair shaft. Even if it fades on the surface, the dye often stains the hair’s deep cortex. This leaves a stubborn warm residue that often needs a pro to fix fully.
What Color Cancels Out Red Without Bleach?
To cancel red without stripping the hair, use green, which sits directly opposite red on the color wheel. You can choose a green shampoo, dye, or toner to neutralize the red. Ash dyes marked with .1 also work well to stop red and orange tones.
Can I Dye My Red Hair Brown at Home Without Bleach?
You can change red hair to brown at home without bleaching by picking a cool brown shade. Pick an ash or cool brown instead of a warm or golden one. A darker brown will cover red directly and actively fix it, rather than mixing with it.
Is There a Way to Cancel Out Red Hair without Using Any Chemicals or Dye?
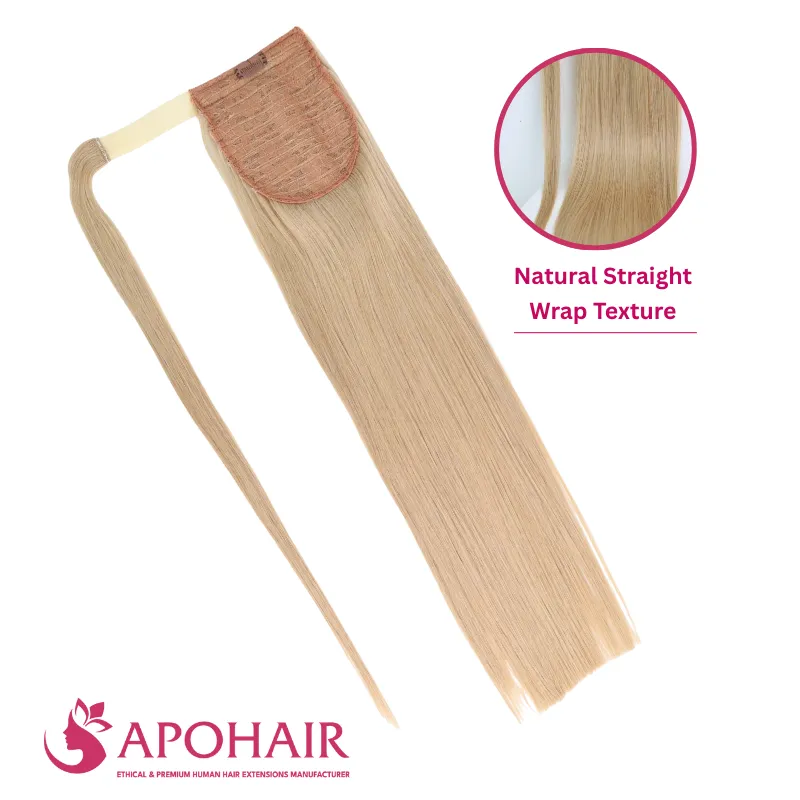
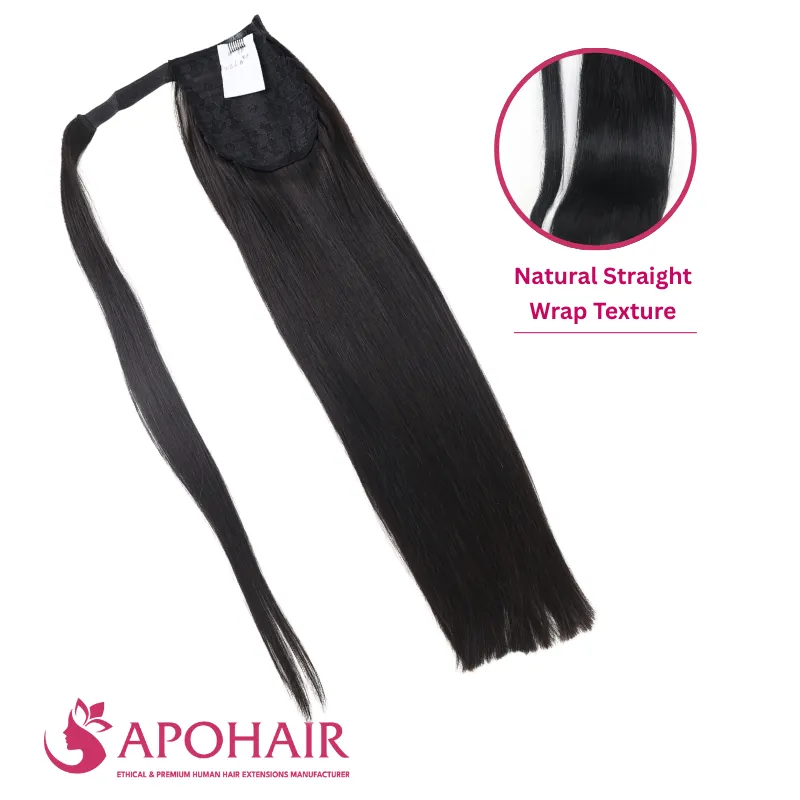
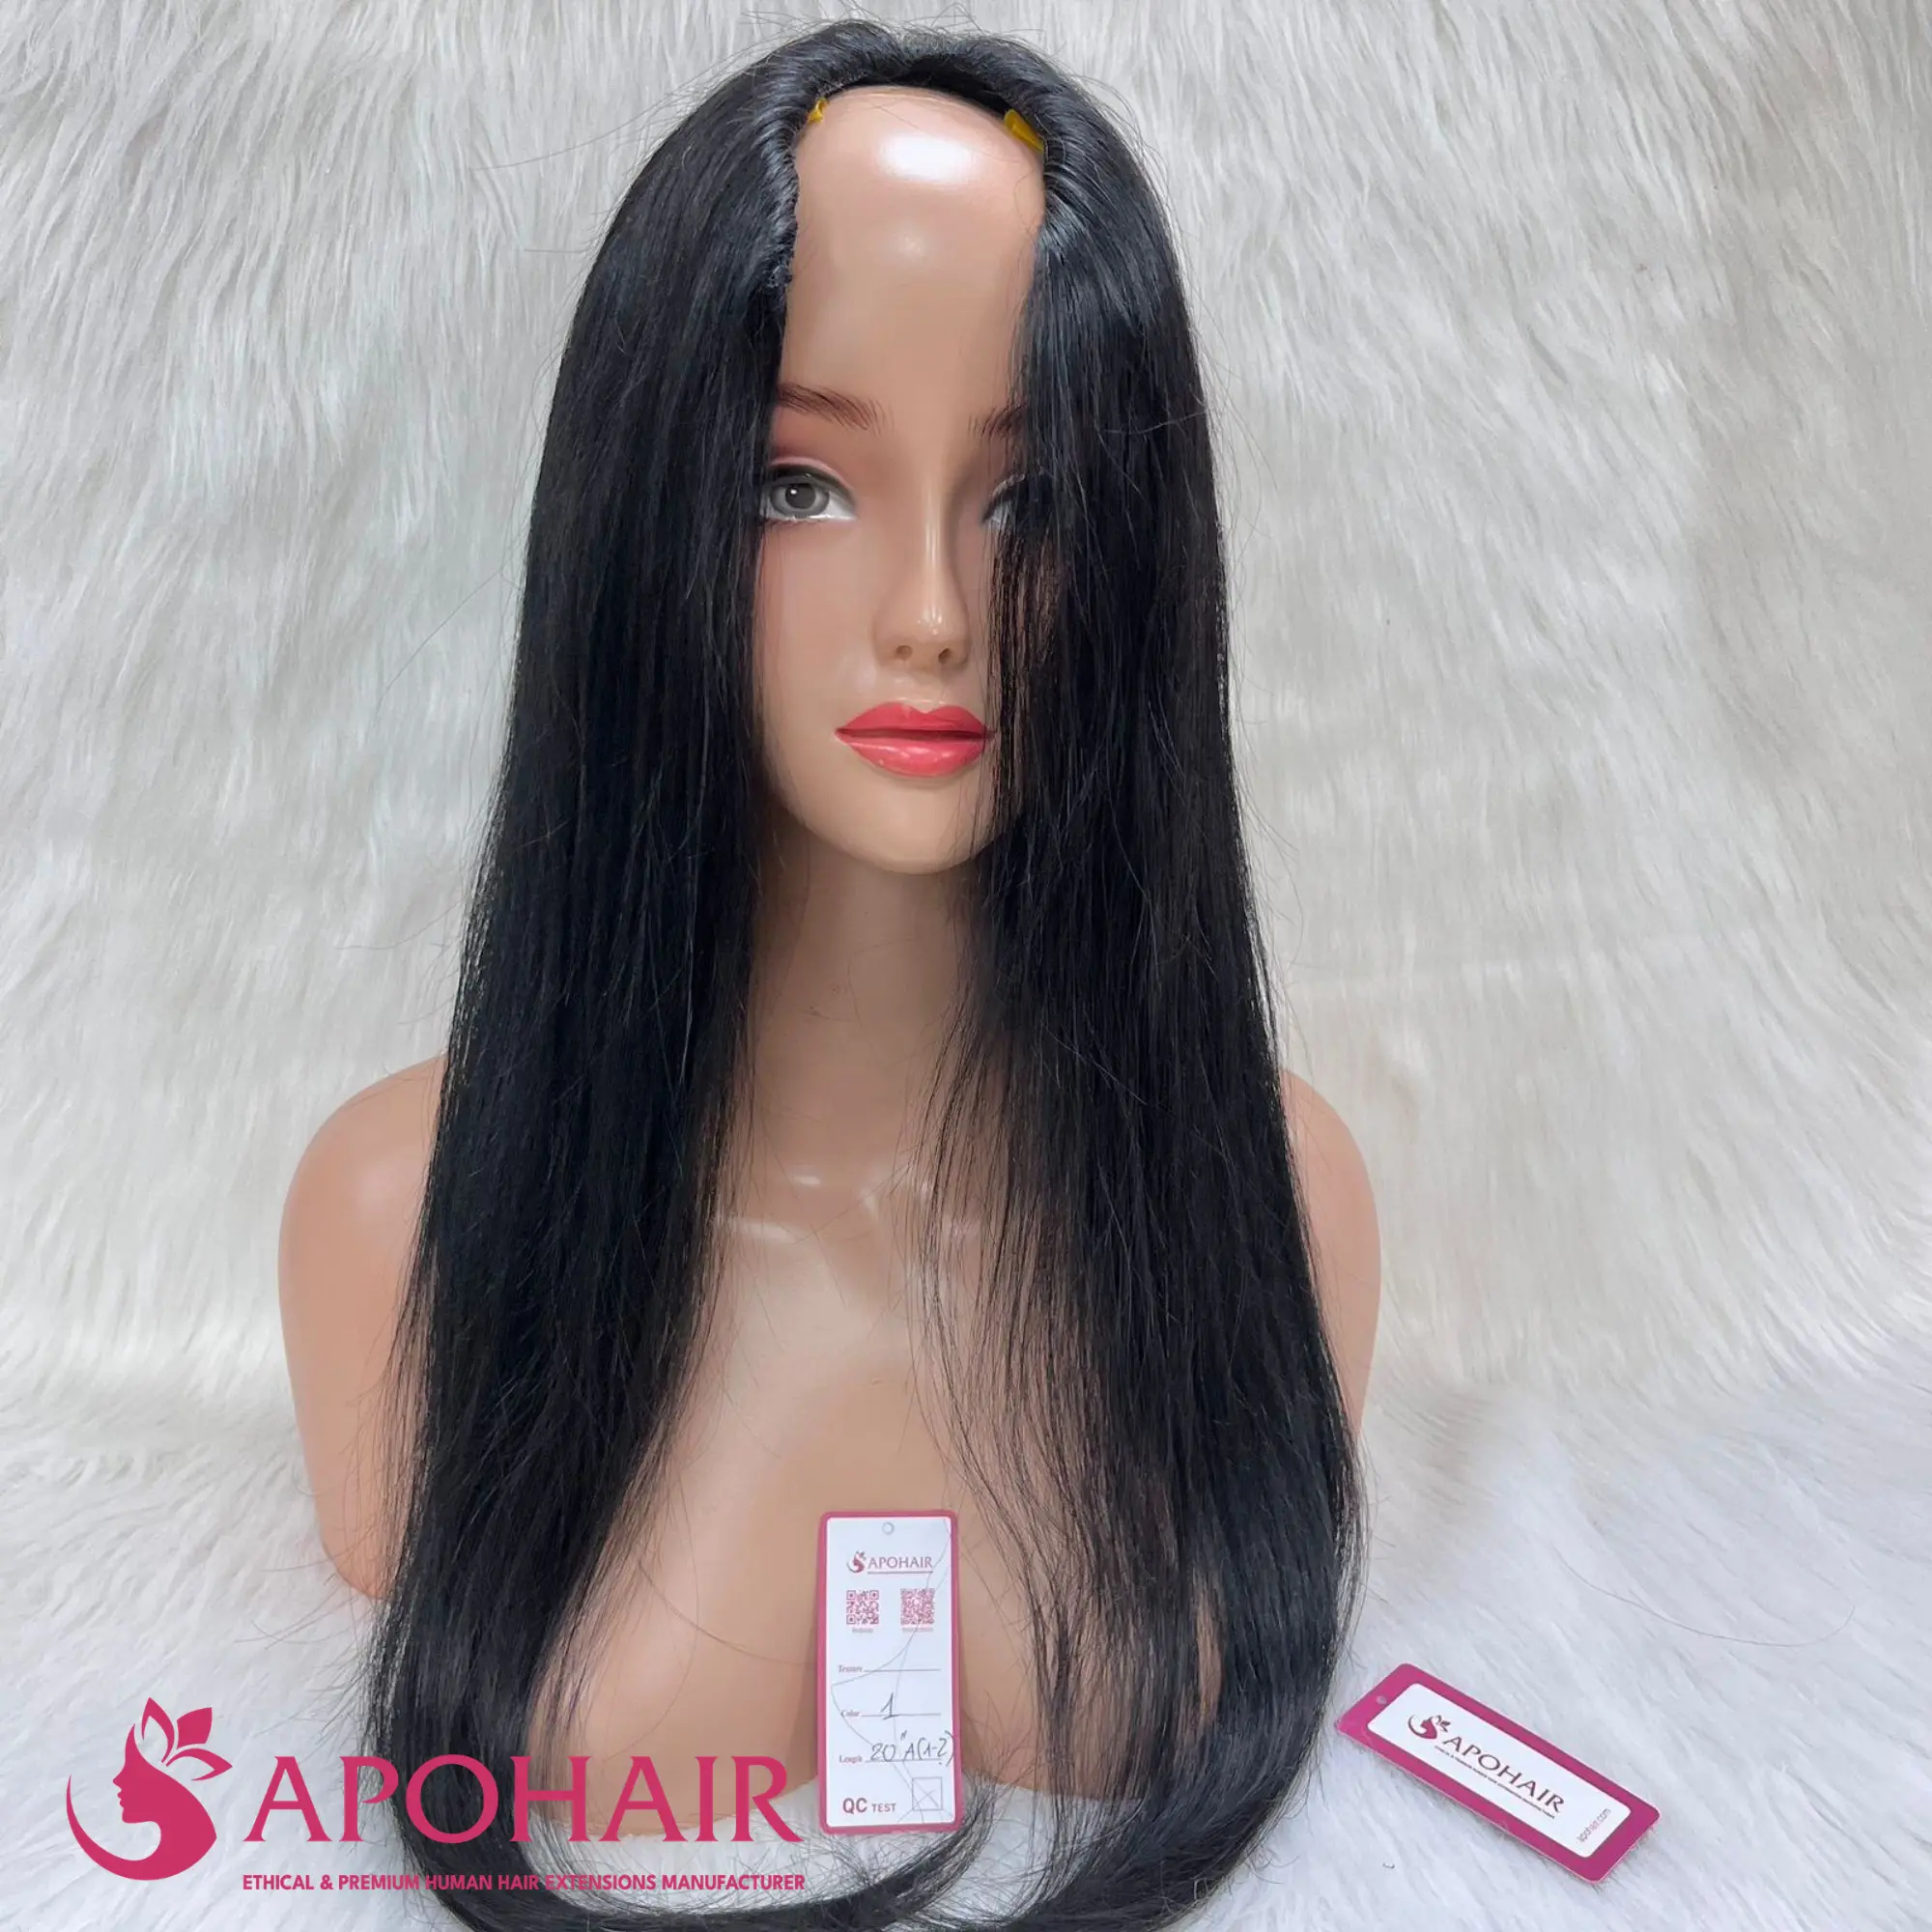
Absolutely! If you need an instant fix without any hair damage, using hair extensions or a wig in your desired shade is a perfect alternative. This method allows you to completely hide the red tones and is an excellent emergency solution for special occasions when you want a new look without the commitment or potential damage of chemical correction.
Final Thoughts!
Green is the best color for fixing red tones. Use ash or blue to fix orange-red brass, violet for blonde warmth, and blue to turn faded red into deep violet. At home, you can use green shampoo, cool-toned dye, an ACV rinse, or a vitamin C flush, depending on how strong the red is. For a very strong red, a pro is the safest way to fix it.
For vivid, deeply bonded red, a professional colorist remains the safest and most effective path forward.
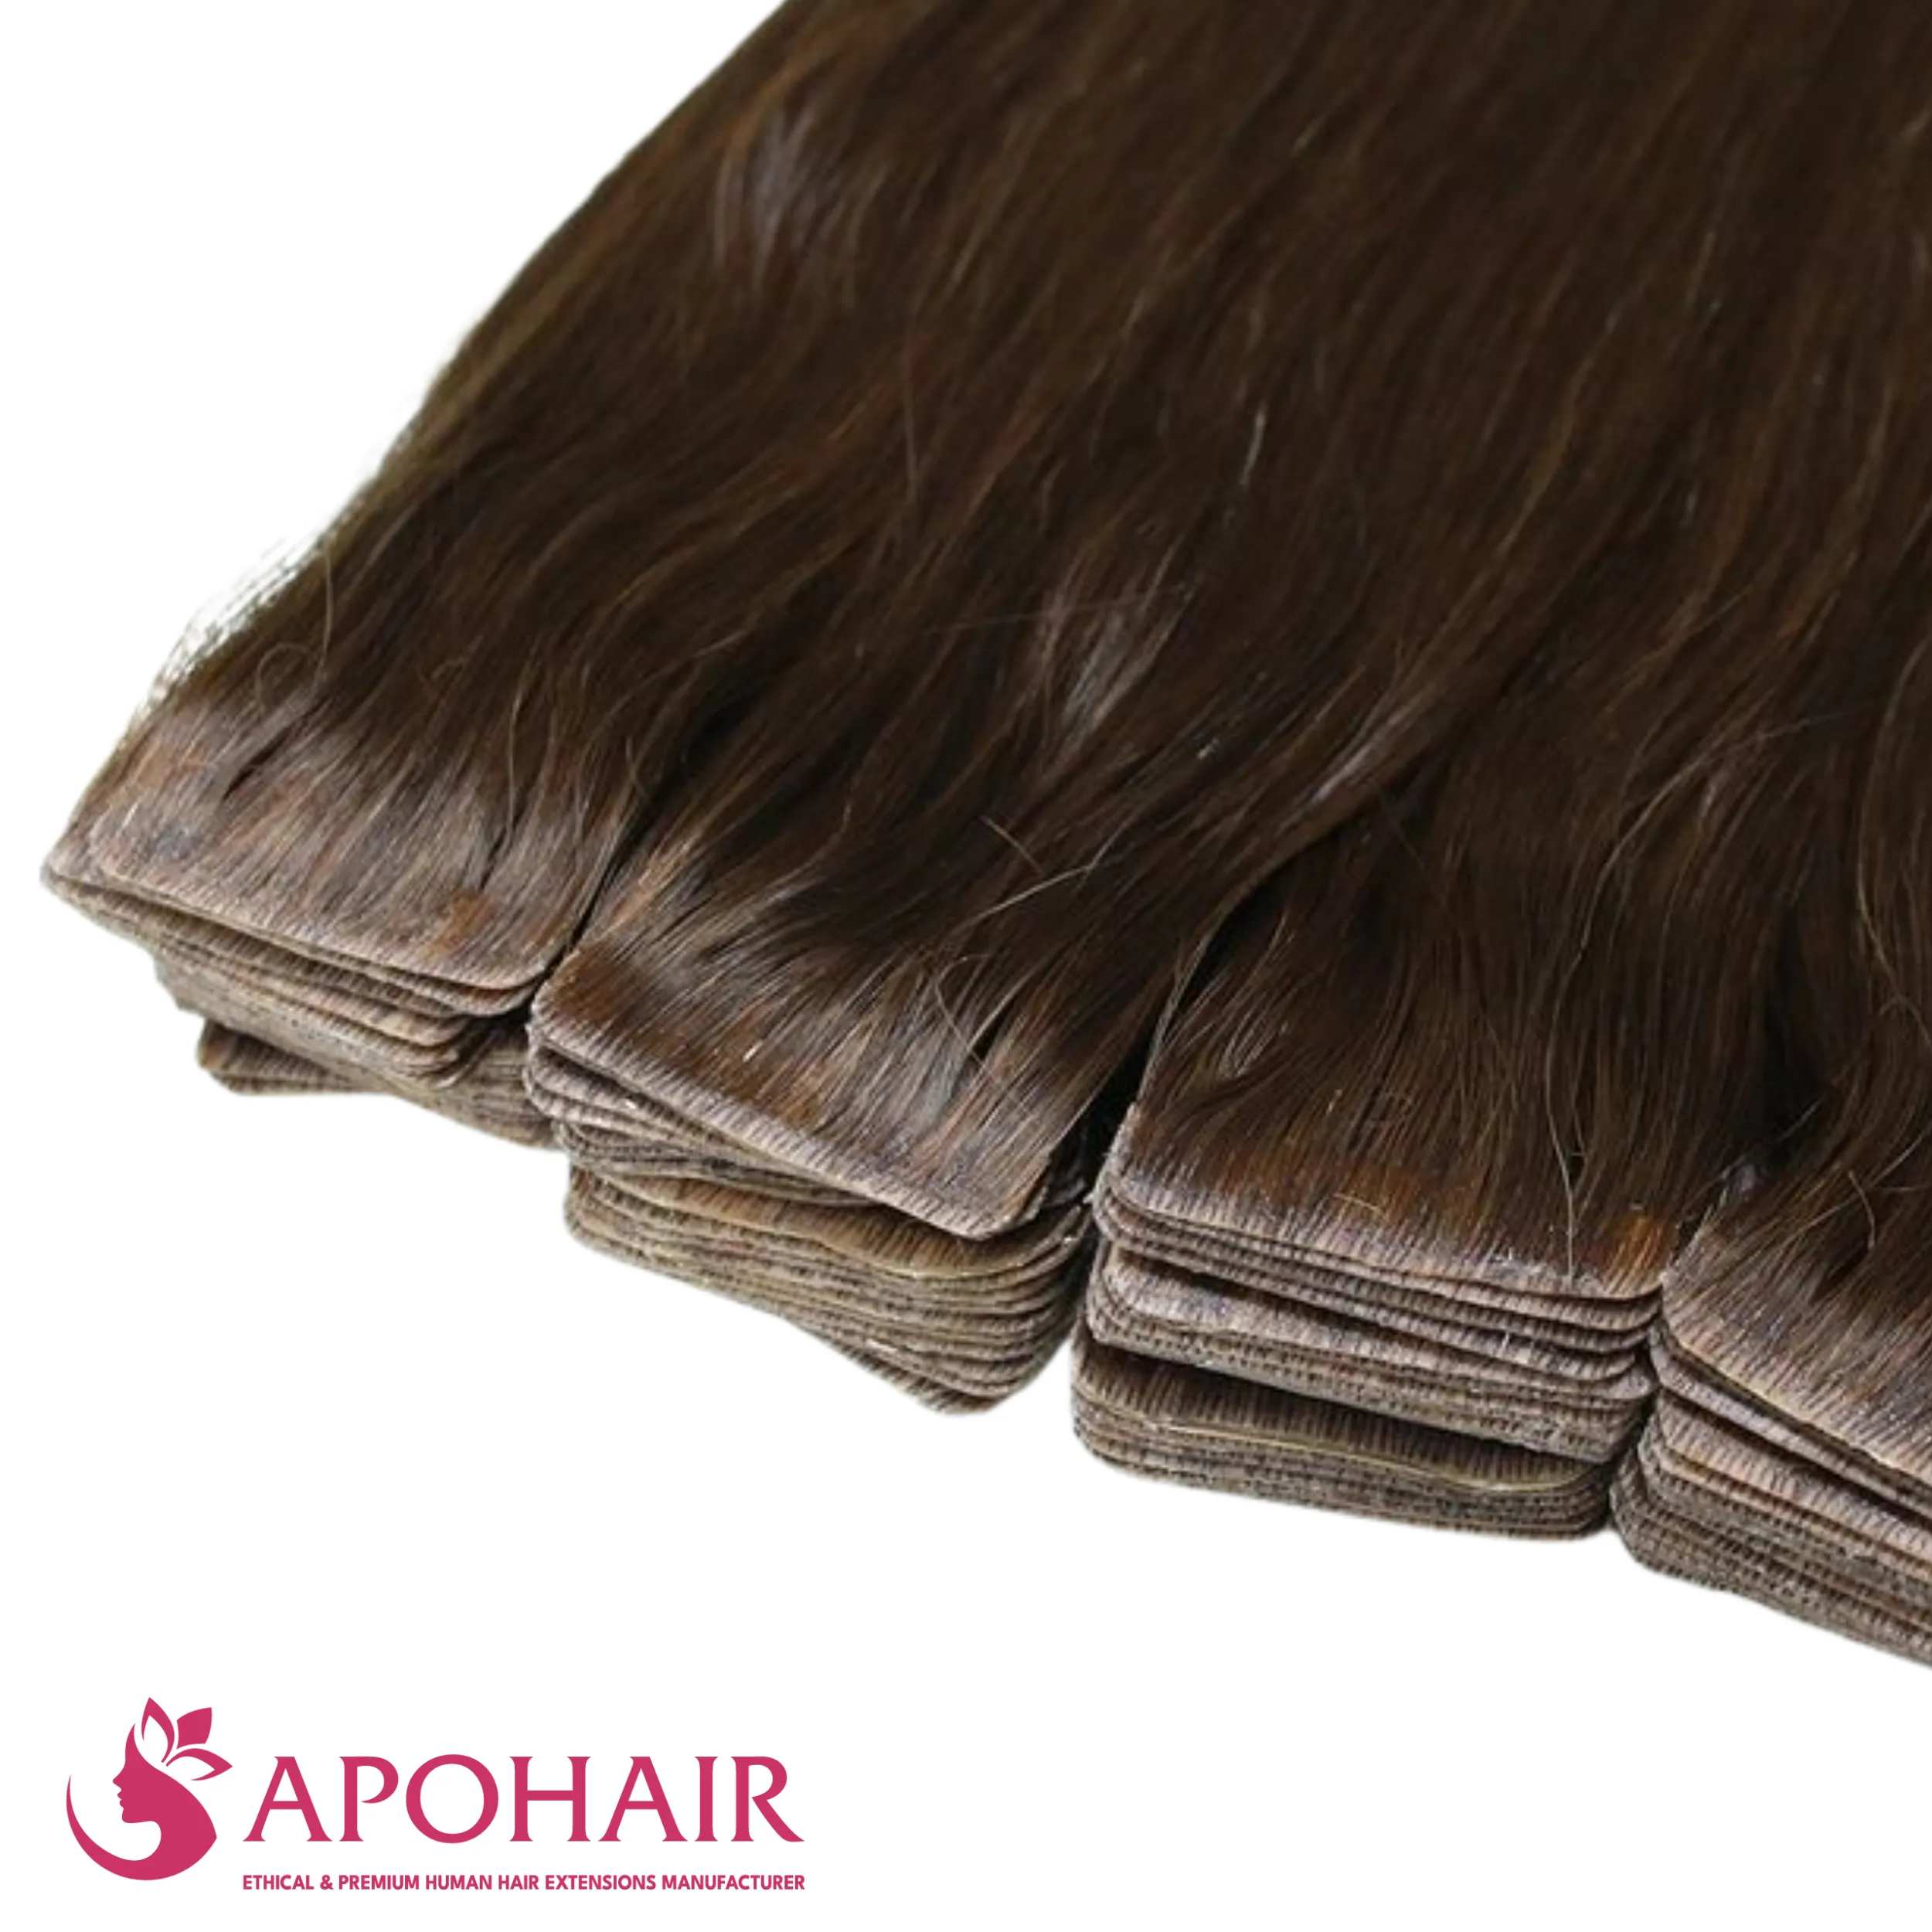
If you’re looking for a damage-free way to cancel out red hair or want to experiment with a new shade without the chemical commitment, APOHAIR is your perfect partner. As a global wholesale hair vendor specializing in 100% Vietnamese human hair extensions and wigs, we provide high-quality, natural-looking solutions for hair stylists and salon owners that instantly solve unwanted hair color.
APOHAIR – ETHICAL & PREMIUM HUMAN HAIR EXTENSIONS MANUFACTURER
- Address: Building 3A, Lane 82 Duy Tan, Cau Giay, Hanoi, Vietnam
- Factory: Yen Luong Village, Y Yen District, Nam Dinh Province, Vietnam
- WhatsApp: +84 862 132 366
- Email: wholesale@apohair.com
- Website: https://apohair.com
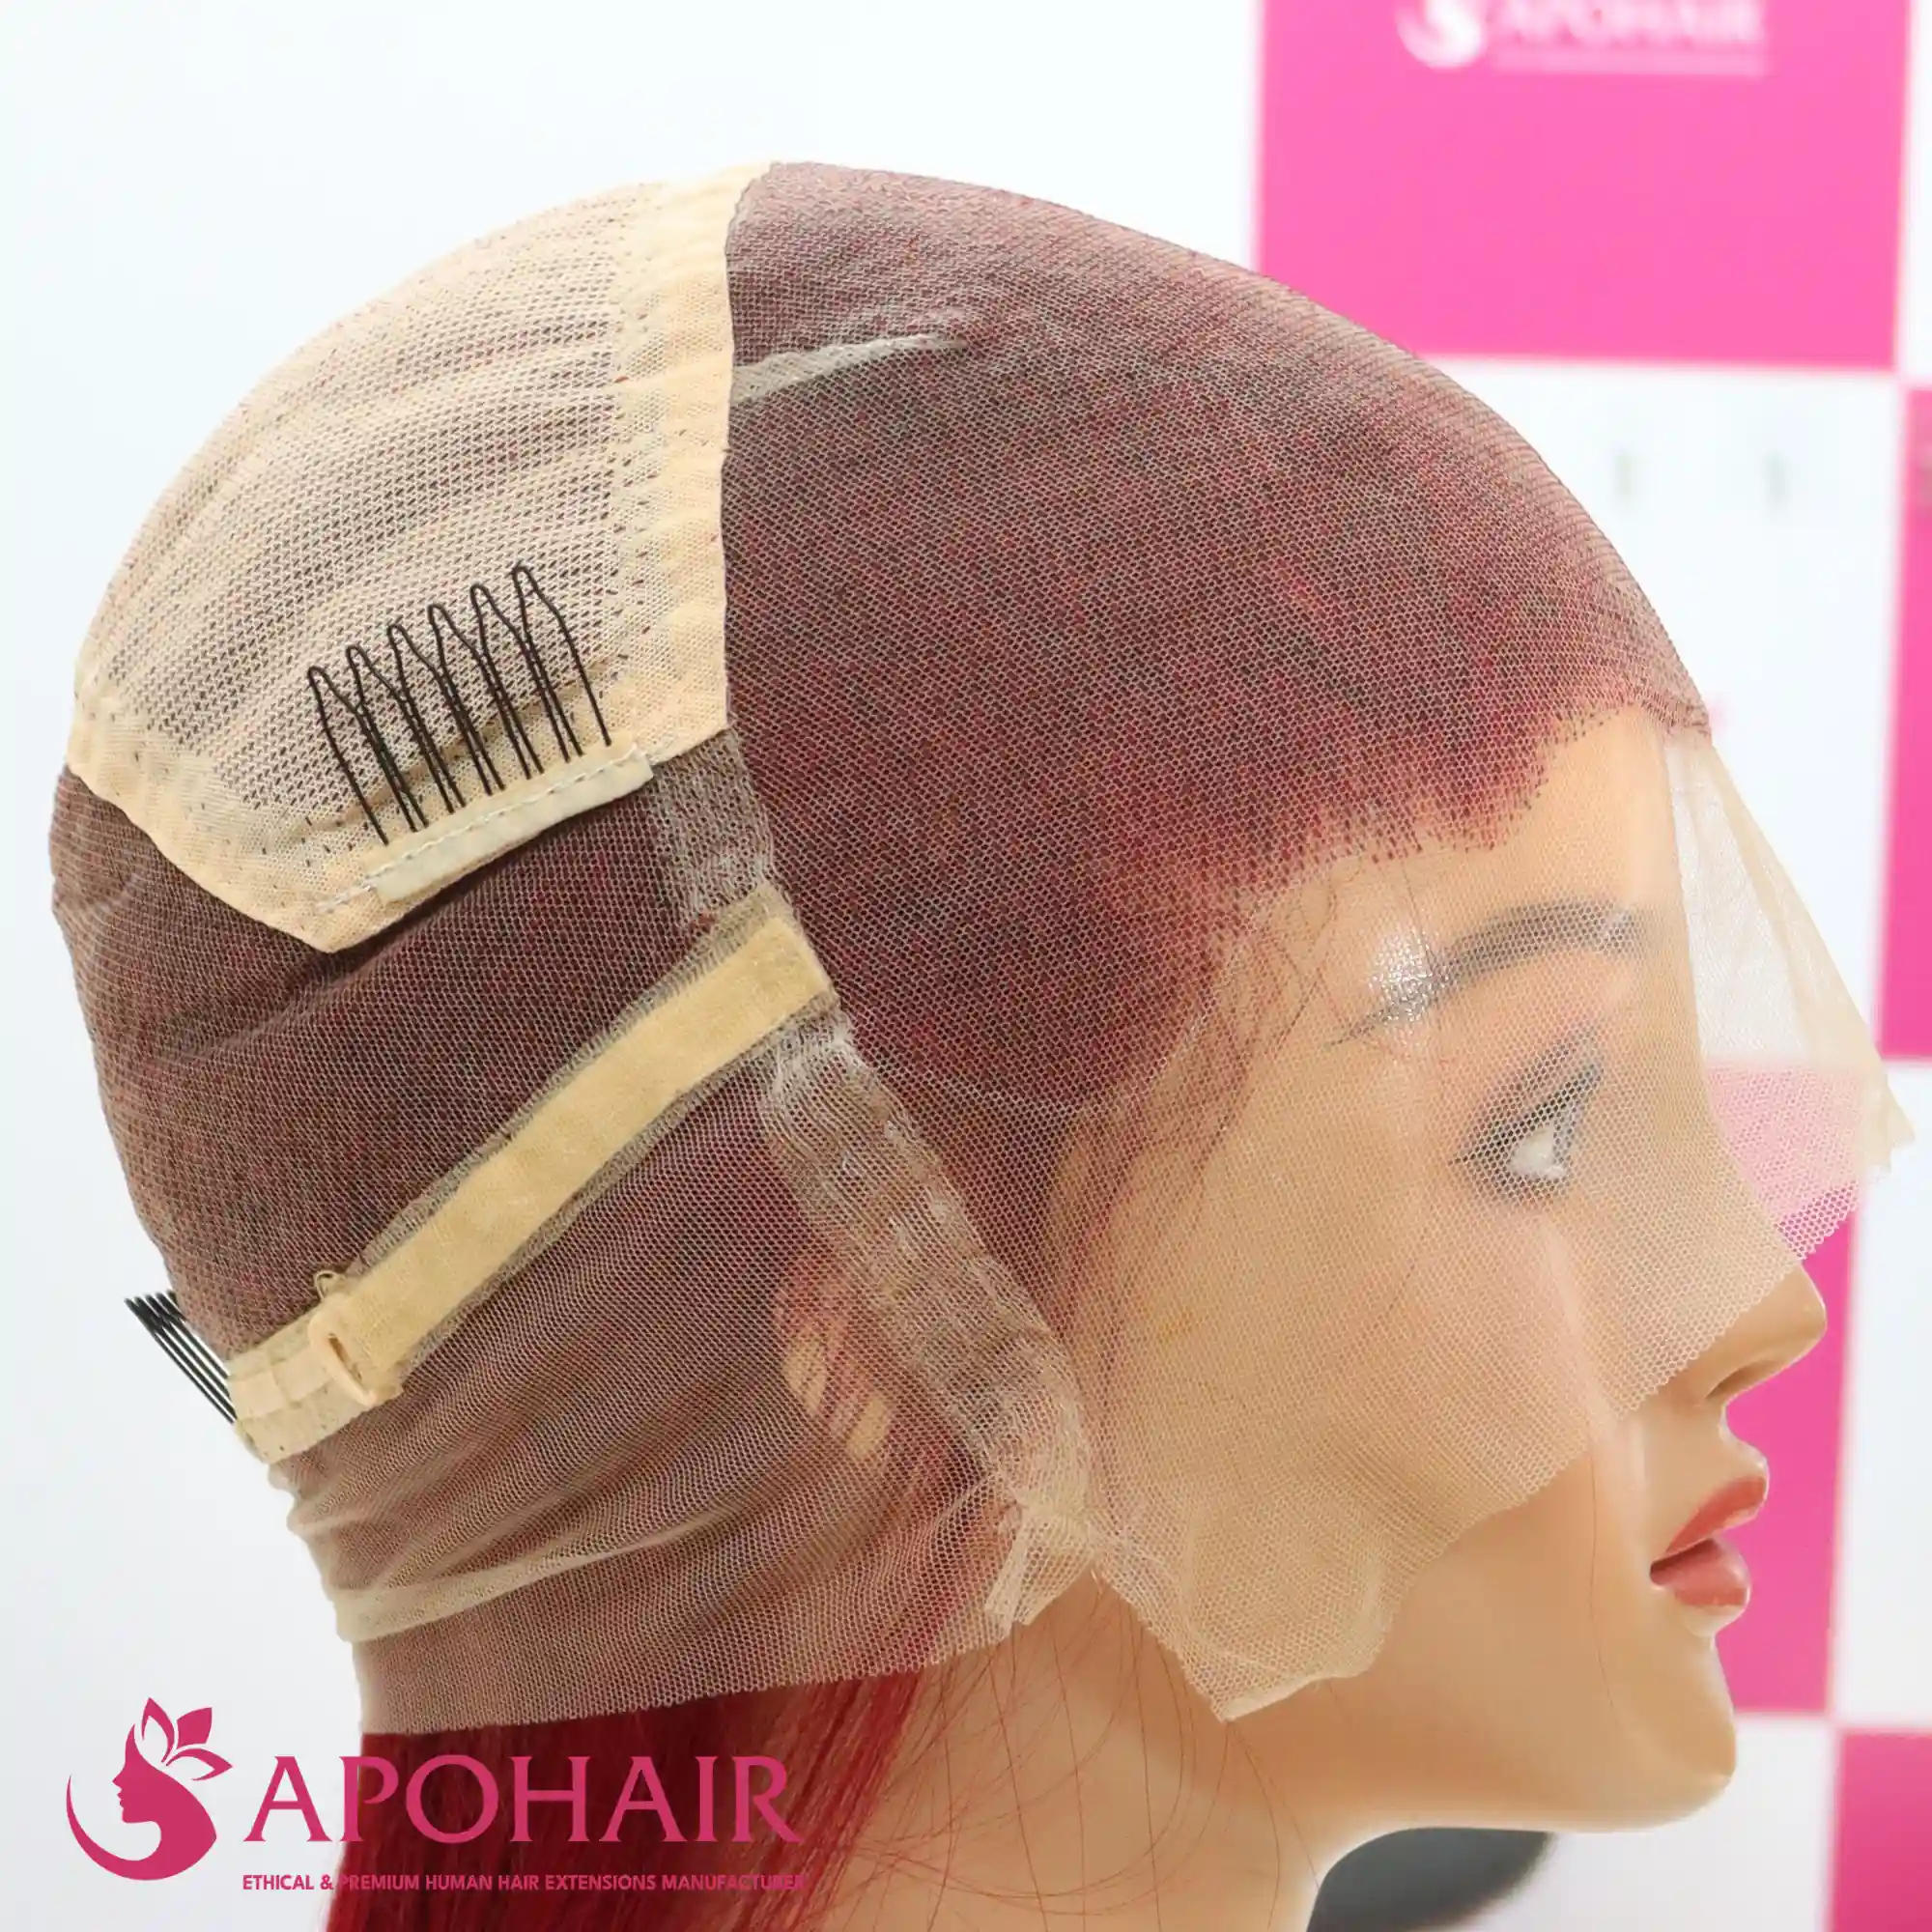
Test Red Correction Results on a Wig Before Your Next Client
Applying an untested toner directly to a client risks over-correction. Wholesale wigs let you trial green and teal-based products without risk.