Blog, Clip-in Hair Extensions, Hair Extensions
How To Make Clip In Hair Extensions At Home?
Are you dreaming of longer, fuller locks that are easy to put on and take off? Creating your own clip in hair extensions at home is a fantastic way to achieve the look you desire without breaking the bank. In this comprehensive guide, we`ll walk you through the step-by-step process on how to make clip in hair extensions look natural, ensuring you get the length and volume you’ve always dreamed of.

What Are Clip In Hair Extensions?
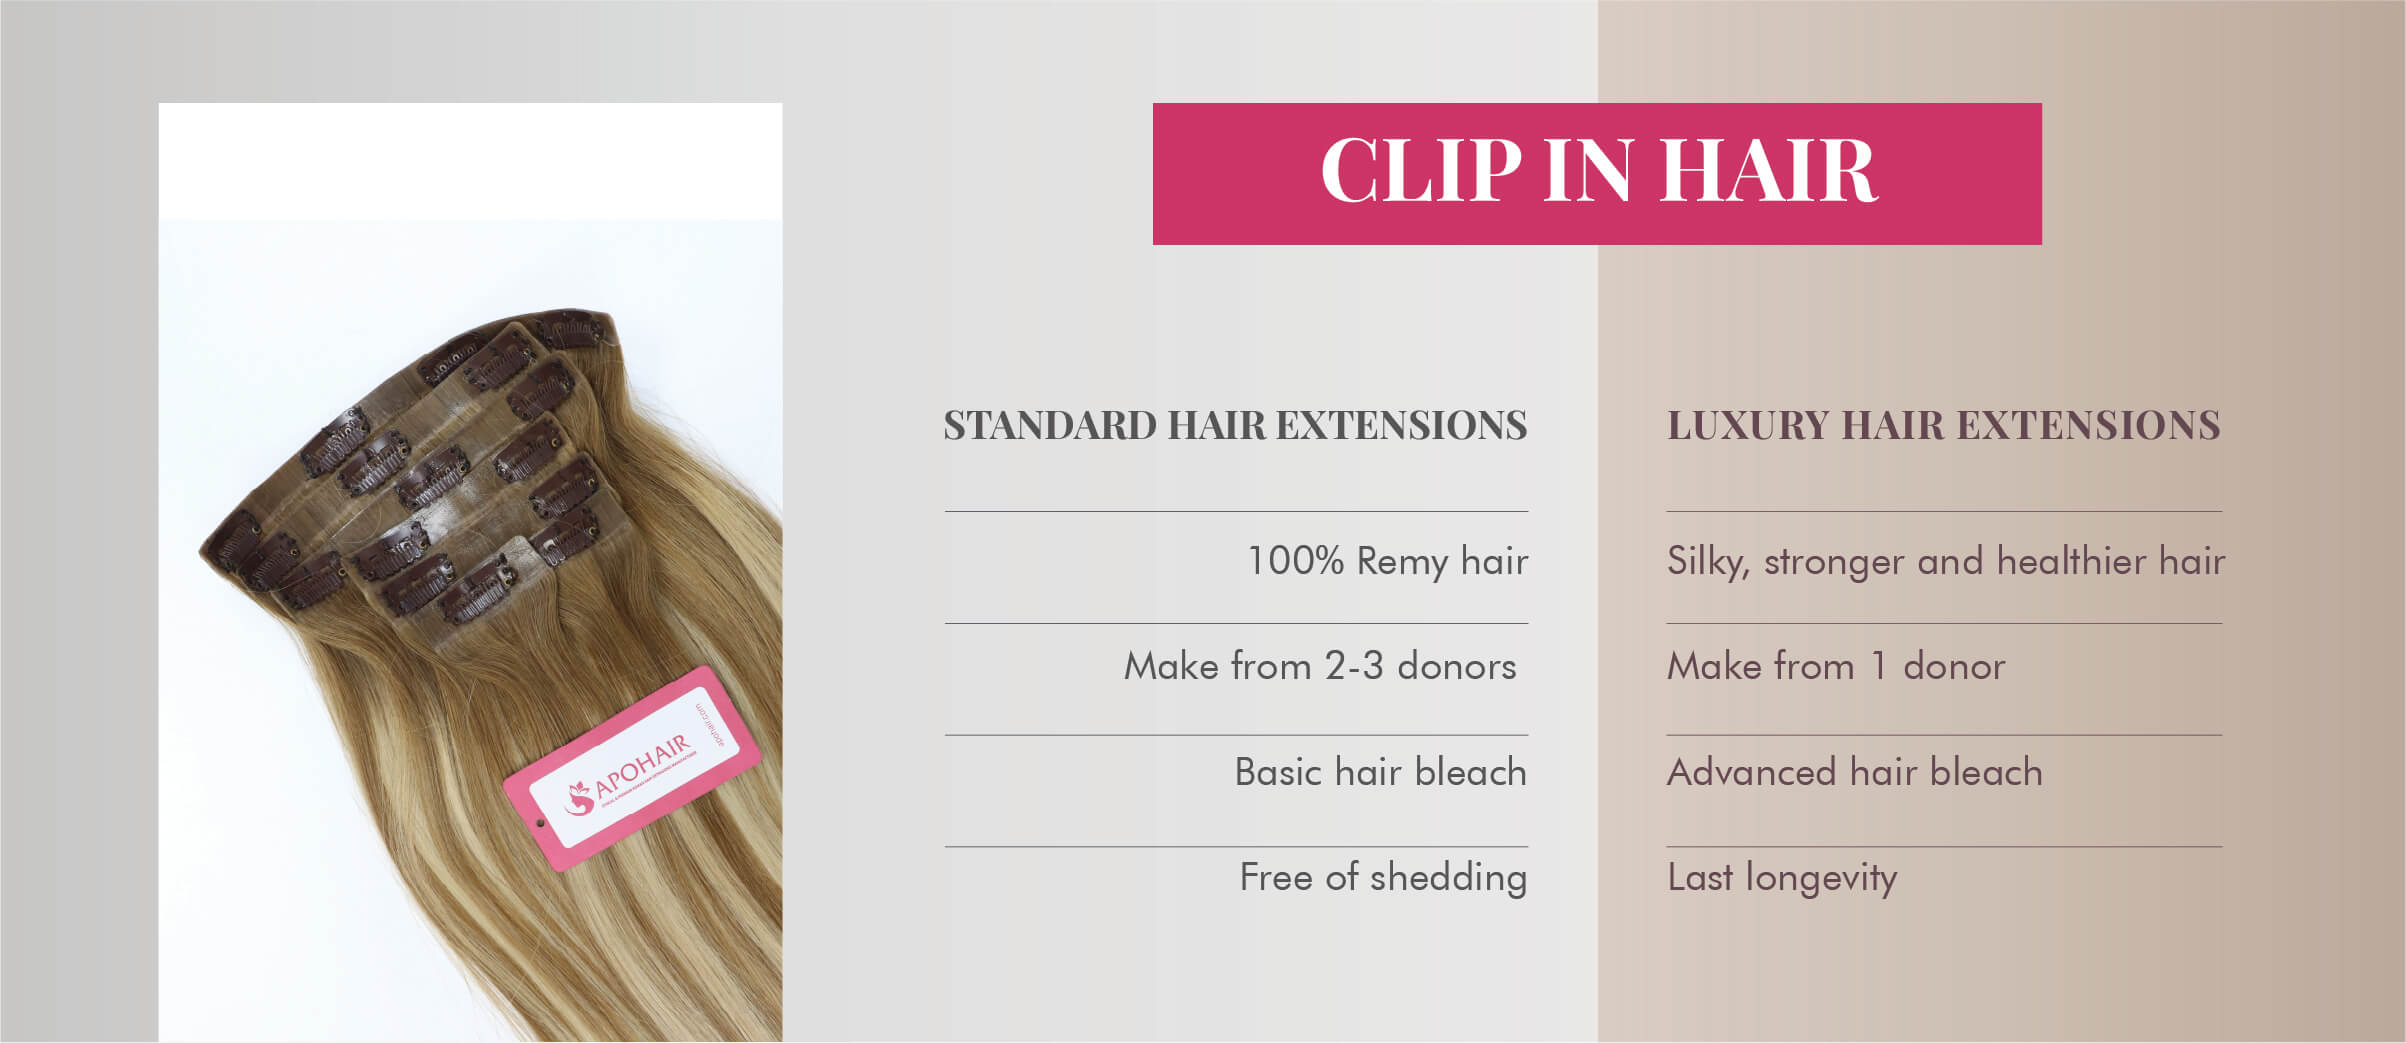
Clip in hair extensions are temporary hairpieces designed to add length, volume, and even color to your natural hair. Unlike other types of extensions that require professional application and removal, clip-ins can be easily attached and removed at home, making them a versatile and user-friendly option.

Components of Clip In Hair Extensions
Clip-in hair extensions come in a variety of sizes, typically featuring 2 to 8 clips. The most common types include 2-clip, 3-clip, and 4-clip extensions. All of these variations have two clips attached to the end sides of the extension to ensure secure placement. The remaining clips are evenly spaced in the center section between the edge clips.

Creating your own clip-in extensions is easy and requires only two readily available components: hair weft and hair clips.
- Wefts: These are the base of the clip-in extensions and are typically made of hair sewn onto a fabric strip. Wefts come in various widths and lengths, allowing you to customize the extensions to your liking.
- Clips: Small, sturdy clips are attached to the wefts, allowing you to secure the extensions to your natural hair. These clips are designed to hold the extensions firmly in place without causing damage to your hair.
Gather Your Tools
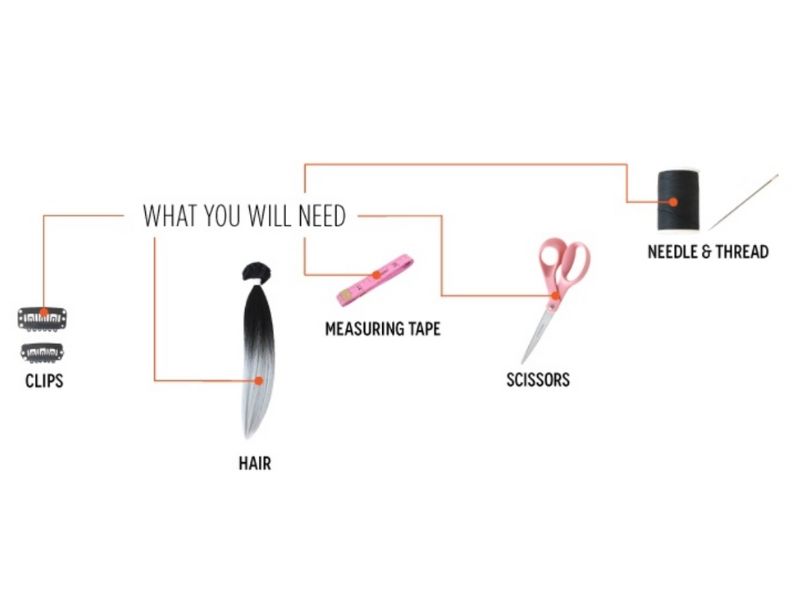
You need to collect the following things before starting to make your own clip-in hair extensions:
- Human hair wefts: 1-2 bundles
- Wig clips: 15-20 clips
- Curved needle and thread
- Hair scissors
- Measuring tape
How To Make Clip In Hair Extensions?
Creating clip in hair extensions at home is a creative and cost-effective way to achieve the length and volume you desire. Here’s a simple step-by-step guide to help you make your own clip in hair extensions:
Step 1: Prep The Hair
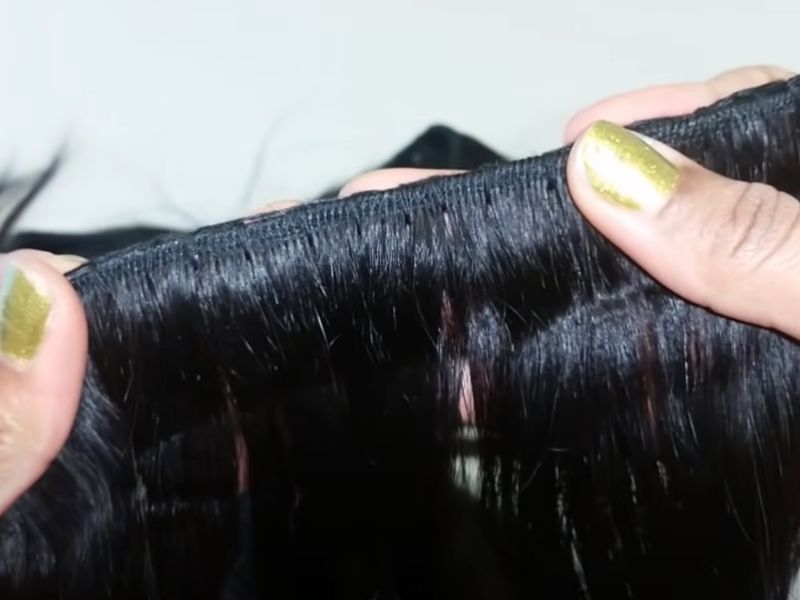
- Firstly, unwrap the bundles. If you use old weft hair, make sure it is clean and detangled.
- Double the wefts by sewing two pieces of weft hair together. This will give you a fuller look with your clip-in hair extensions. Make sure to stitch the ends well to keep them flat.
Step 2: Measure And Make The Pieces
Normally, a clip-in set includes 4 wide pieces at the back and 4-6 smaller pieces for the sides. To get the best fit for your hair extensions, you need to start by measuring your head first.
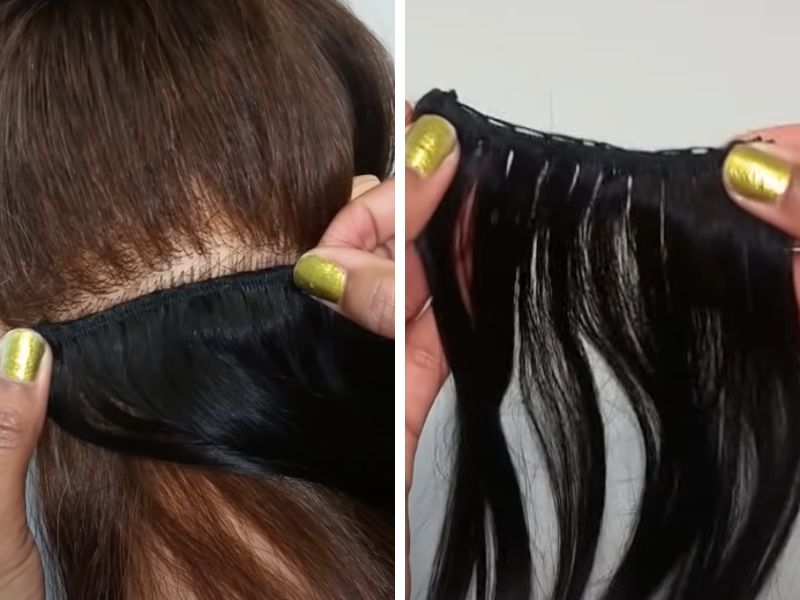
If you’re wondering how to make clip in hair extensions with bobby pins, you can use the measuring tape to make these measurements or place the wefts on your head and cut the wefts into pieces. This process ensures a customized fit for your clip in hair extensions when using bobby pins, offering a simple and personalized solution to achieve the desired look.
Step 3: Sew The Clips
Now it’s time to sew the clips onto the wefts. You can sew as many clips as you want to secure the clip-in to your hair. Normally, a large piece will need 4-5 clips, and a small one needs 2-3 clips.
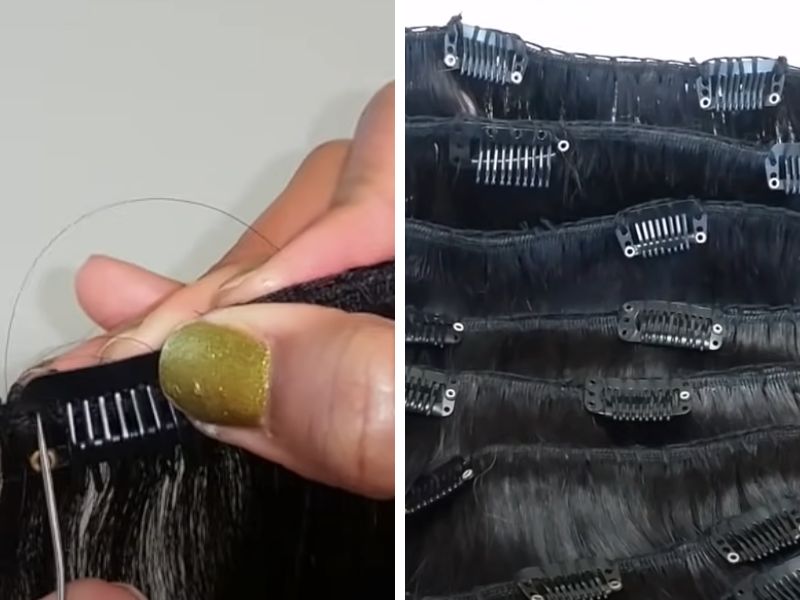
Don’t sew the clips on the backward since the combs will then open in the wrong direction. To make sure you sew the clips correctly, you can open the clips before starting sewing.
Finally, trim the hair to make it well blend into your natural hair. And now, you can attach your new clip-in set to see how to make seamless clip-in hair extensions look on your head.
Frequently Asked Questions
Clip-in hair extensions offer versatility and ease of use. Unlike permanent extensions, they can be applied and removed at home without professional assistance, providing flexibility to change your hairstyle whenever you desire.
The choice between synthetic and real human hair clip-ins often comes down to budget and desired appearance. While synthetic options are more affordable, many prefer real human hair extensions for their natural and realistic look.
When used correctly, clip-in hair extensions are considered a non-damaging option. The clips provide a secure grip without constant strain on your natural hair. Proper application and removal, along with regular maintenance, contribute to the health of your hair.
The lifespan of clip-in hair extensions depends on factors like frequency of use and maintenance. With proper care, they can last for several months. Regular but gentle washing, avoiding excessive heat, and storing them properly when not in use contribute to their longevity.
Conclusion
“How to make clip in hair extensions at home” is a rewarding and budget-friendly way to achieve the glamorous look you’ve always wanted. With high-quality hair from Apohair, a trusted Vietnamese hair supplier, you can confidently embark on this DIY journey, knowing that the result will be nothing short of fabulous. Visit Apohair today to explore a wide range of premium hair options for your DIY clip in hair extensions.
Next article: How to Put In Clip In Hair Extensions

