Blog, Hair style
3 Simple Bun Tutorials For Hair Extenions
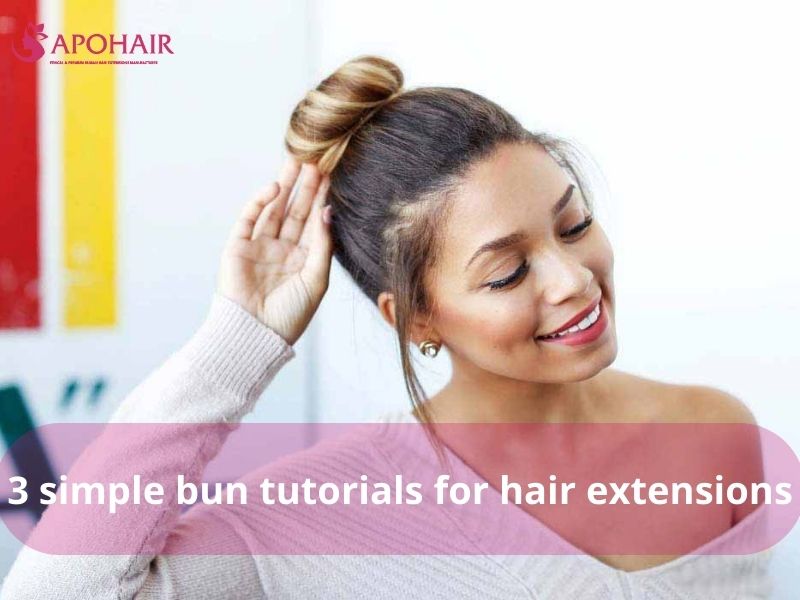
In addition to wearing hair down or braiding hair, many girls prefer to go for bun hairstyles. The bun hairstyles are suitable for different ages and different occasions. When thinking of hairstyles, we can imagine a fresh and youthful beauty with 3 simple bun tutorials for hair extensions.
First Simple Bun: Use A Foam Sponge Bun Shaper
It costs about $1 and you can get it at eBay. You should choose a foam sponge bun shaper which has the same color as your hair’s one.
- Step 1: Comb and tie your hair extensions into a high ponytail. Secure it with an elastic hair tie
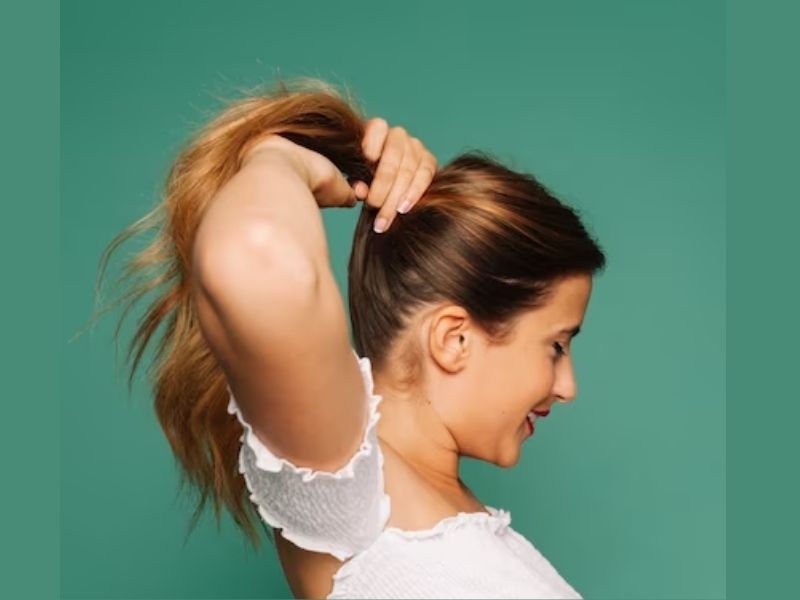
If you want to create a low bun, you can pull your hair into a low ponytail. It is up to you. However, a high bun is more recommended because of its energetic look.
- Step 2: Put your ponytail into the gap in the middle of the foam sponge bun shaper. Squeeze the sponge tight to make a firm grip on your hair, bring it down to the end of your high ponytail.
- Step 3: Roll the sponge down to the base of your high ponytail, loose or tight depending on how you want it to look. Wrap it around and twist it.
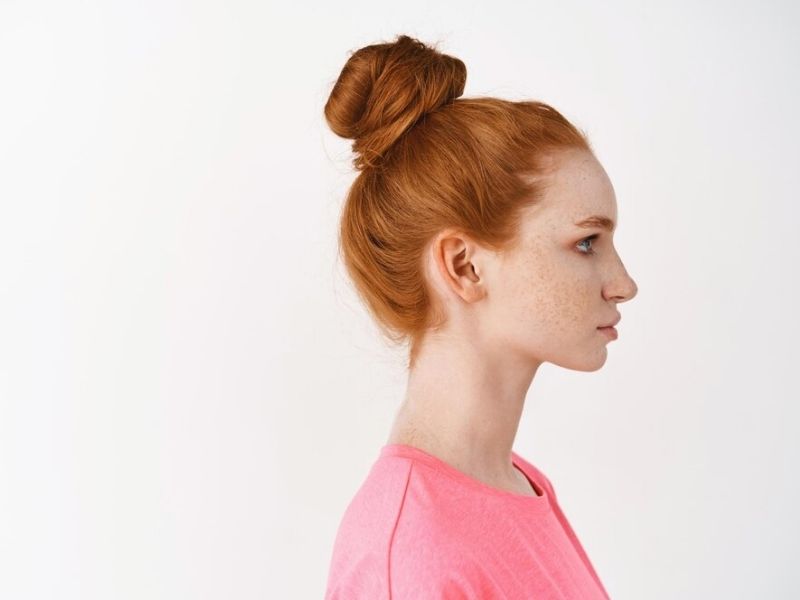
- Step 4: Fan your hair around the sponge to hide it.
- Step 5: Spray some hairspray so that you can keep the hair bun with extensions for a longer time.
Second Simple Bun: Use A Bun Donut And Bobby Pins
Putting hair extensions in a bun can be a great way to add volume and length to your bun, especially if your natural hair is shorter or thinner. So, how to make a bun with hair extensions? Follow the steps below:
- Step 1: Comb and tie your hair extensions into a high ponytail. Secure it with an elastic hair tie.
- Step 2: Thread your ponytail through the bun donut, so you have your donut at the base of your ponytail. It is like another hair tie.
- Step 3: Splay your hair extensions all around the bun donut. The bun donut now is covered by your hair.
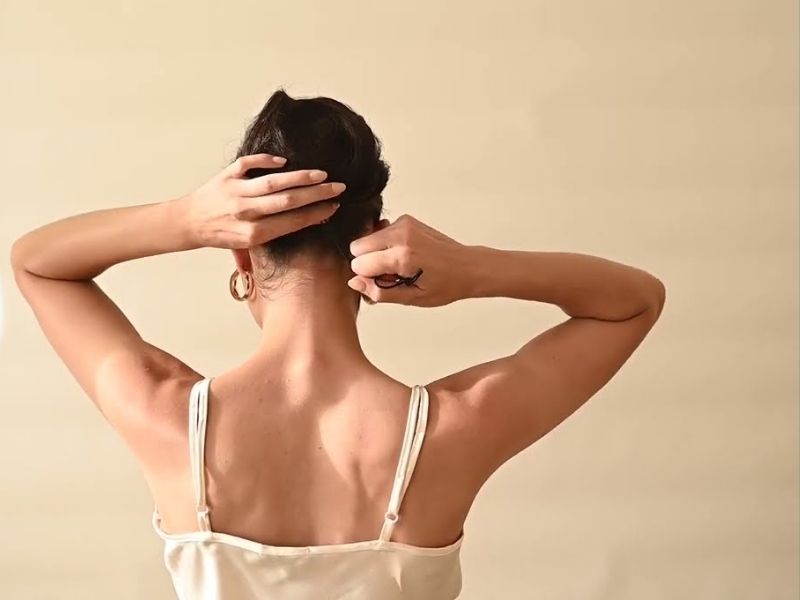
- Step 4: Put your fingers around the base of the donut. Pull your hair in, grab any section of your hair and then start to twist it around the base.
- Step 5: Gather all the ends of your hair extensions so that they are secured by bobby pins.
Third Simple Bun: Use A Hair Claw Clip
It is very easy to make bun tutorials with a hair claw clip. Thanks to its closely set teeth, there is no room for hair to escape.
- Step 1: Twist your hair extensions tightly to create a twist. Hold the twist upwards against the back of your head.
- Step 2: Place the hair claw clip over the twisted up hair. You can leave some strands hanging for a more casual look.
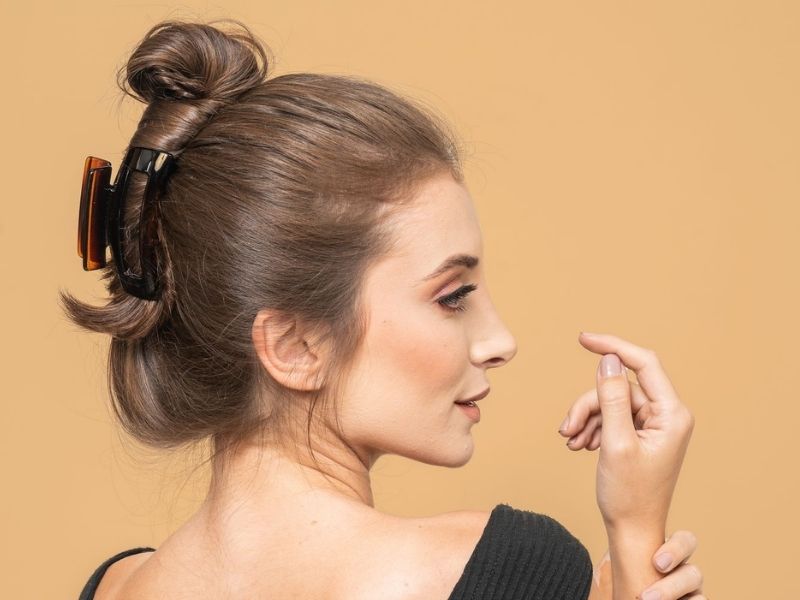
It is worth noting that a bun with a hair claw clip is perfect for when you have a bad hair day.
Read more: Embrace the Versatility of the Claw Clip Hairstyle!
5 Bun Hairstyles With Hair Extensions
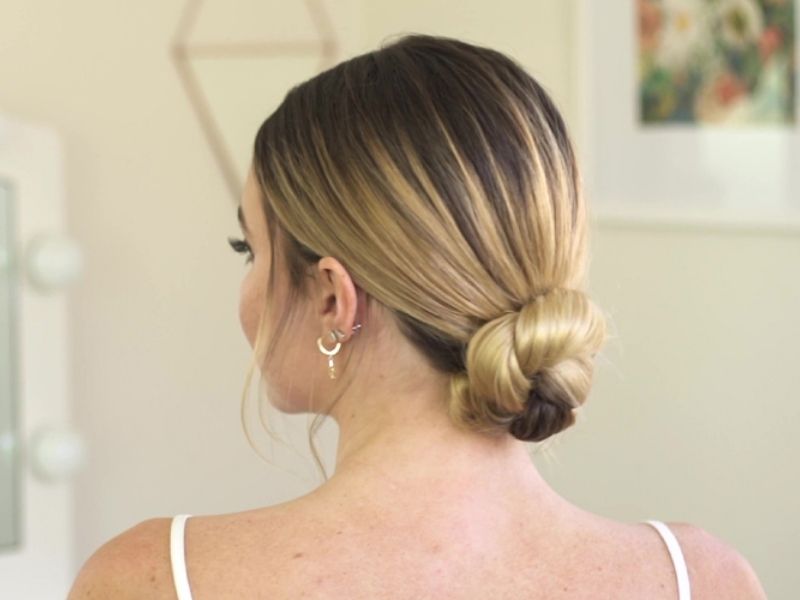
The Low Knot
This is probably the simplest bun hairstyle that you can recreate in just a few minutes. Start by applying a smoothing serum. Once the serum is evenly distributed, tie your hair into a low ponytail, ideally an inch from the nape of your neck. Next, twist the ponytail into a bun and secure the tail with pins.
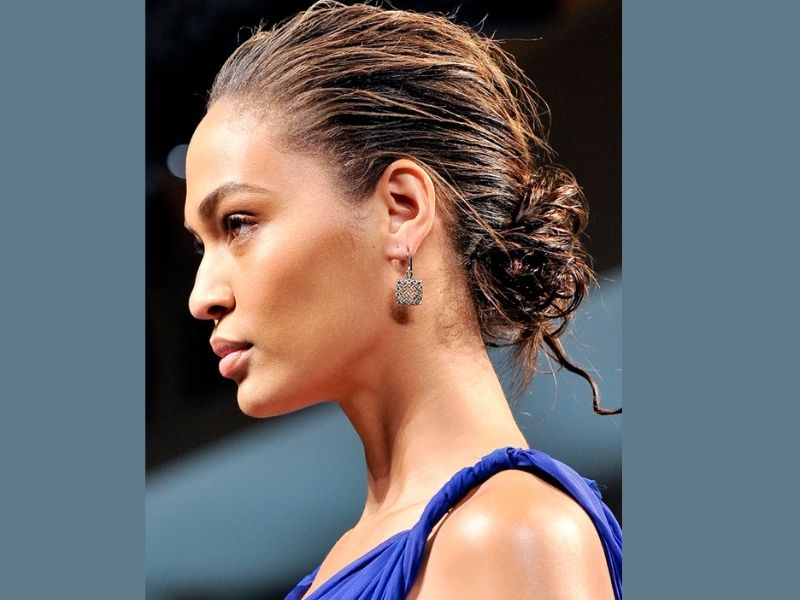
The Wet-Look Chignon
The bun is one of the chicest hairstyles, perfect for both formal and casual events. For a dewy look, start by applying a generous amount of hair gel or shine spray of your choice. Next, gather your hair at the back of your neck and tie it into a ponytail. Divide the ponytail into two sections and tie them together into a knot. Pin all the loose ends under the bun and you’re ready to go.
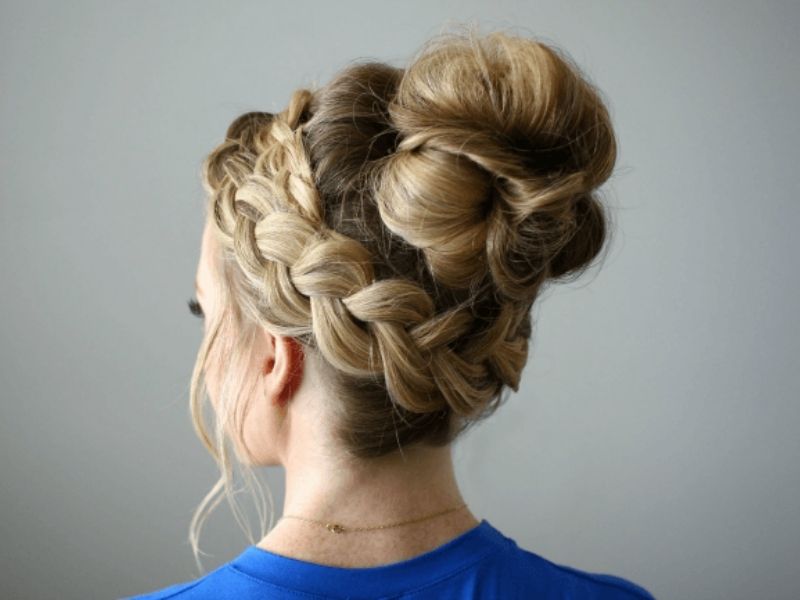
The Braided Top Knot
You can use this braided bun hairstyle during festivals and outdoor parties because it keeps your hair out of your face. Prepare your hair with a straightening serum, then you can tie your hair into a high ponytail. Next, use the classic three-strand braiding method to braid your ponytail. Once your hair is completely braided, wrap your hair around the elastic band to create a high bun. Secure the ends with pins.
You may like: French Braid Tutorial
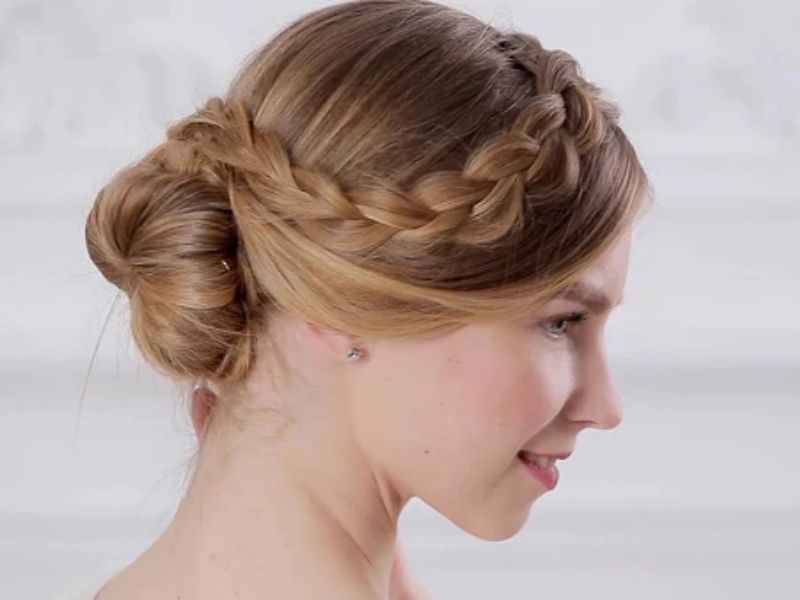
The Braided Side Bun
This elegant hairstyle is best suited for events such as weddings or proms. Start by braiding your hair on one side and continue braiding diagonally all the way to the other end. Once you’re done braiding, secure it with a rubber band and wrap the remaining hair near your ear to create a low bun.
Messy Bun With Extensions
A messy bun is a relaxed, laid-back hairstyle in which the hair is pulled back and tied into a bun but with an intentionally messy or uncombed appearance. This is a popular choice for days when you want a quick, easy hairstyle or when you want to achieve a relaxed, laid-back or “just out of bed” look.
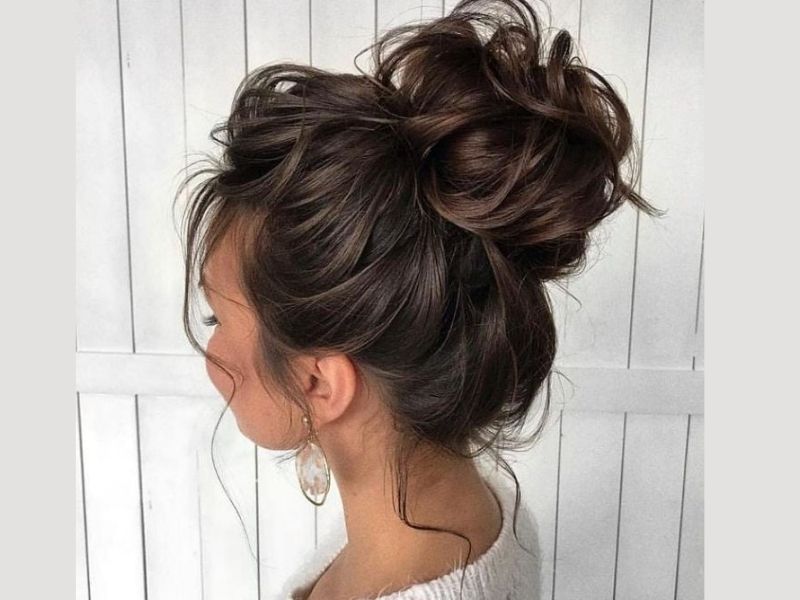
In conclusion, mastering a variety of bun tutorials with hair extensions can be a game-changer for your hair journey. Whether you want to add volume, length, or a touch of elegance to your everyday or special occasion look, these three simple bun tutorials can make it happen.
If you’re looking for top-quality hair extensions, contact Apohair – a hair factory in Vietnam. With a wide range of options to choose from, you can find the perfect extensions that suit your needs and style. Whether you’re going for a classic bun, a messy bun, or an elegant updo, Apohair’s extensions will provide you with the versatility and confidence to make every day a great hair day.
Next article: Mastering Bun for Short Hair – Effortless and Chic Hairstyles

