


How to Apply Clip In Hair Extensions: A Step-by-Step Guide
Clip in hair extensions are an excellent way to add length, volume, and style to your hair without the commitment of permanent extensions. Whether you’re new to them or just looking for tips to improve your application process, this guide will walk you through how to apply clip in hair extensions step by step. We’ll also share useful tips to ensure your extensions blend naturally and look flawless every time.
How To Clip In Hair Extensions
Clip in hair extensions are loved for their simplicity, but if you want them to look flawless, there’s a right way to do it. This section will take you through how to apply clip in hair extensions step by step so they blend seamlessly with your natural hair.
Preparation – Get Ready Before You Start
Before you start clipping in those extensions, a little prep goes a long way! Here’s what you need to do before you even pick up your extensions.
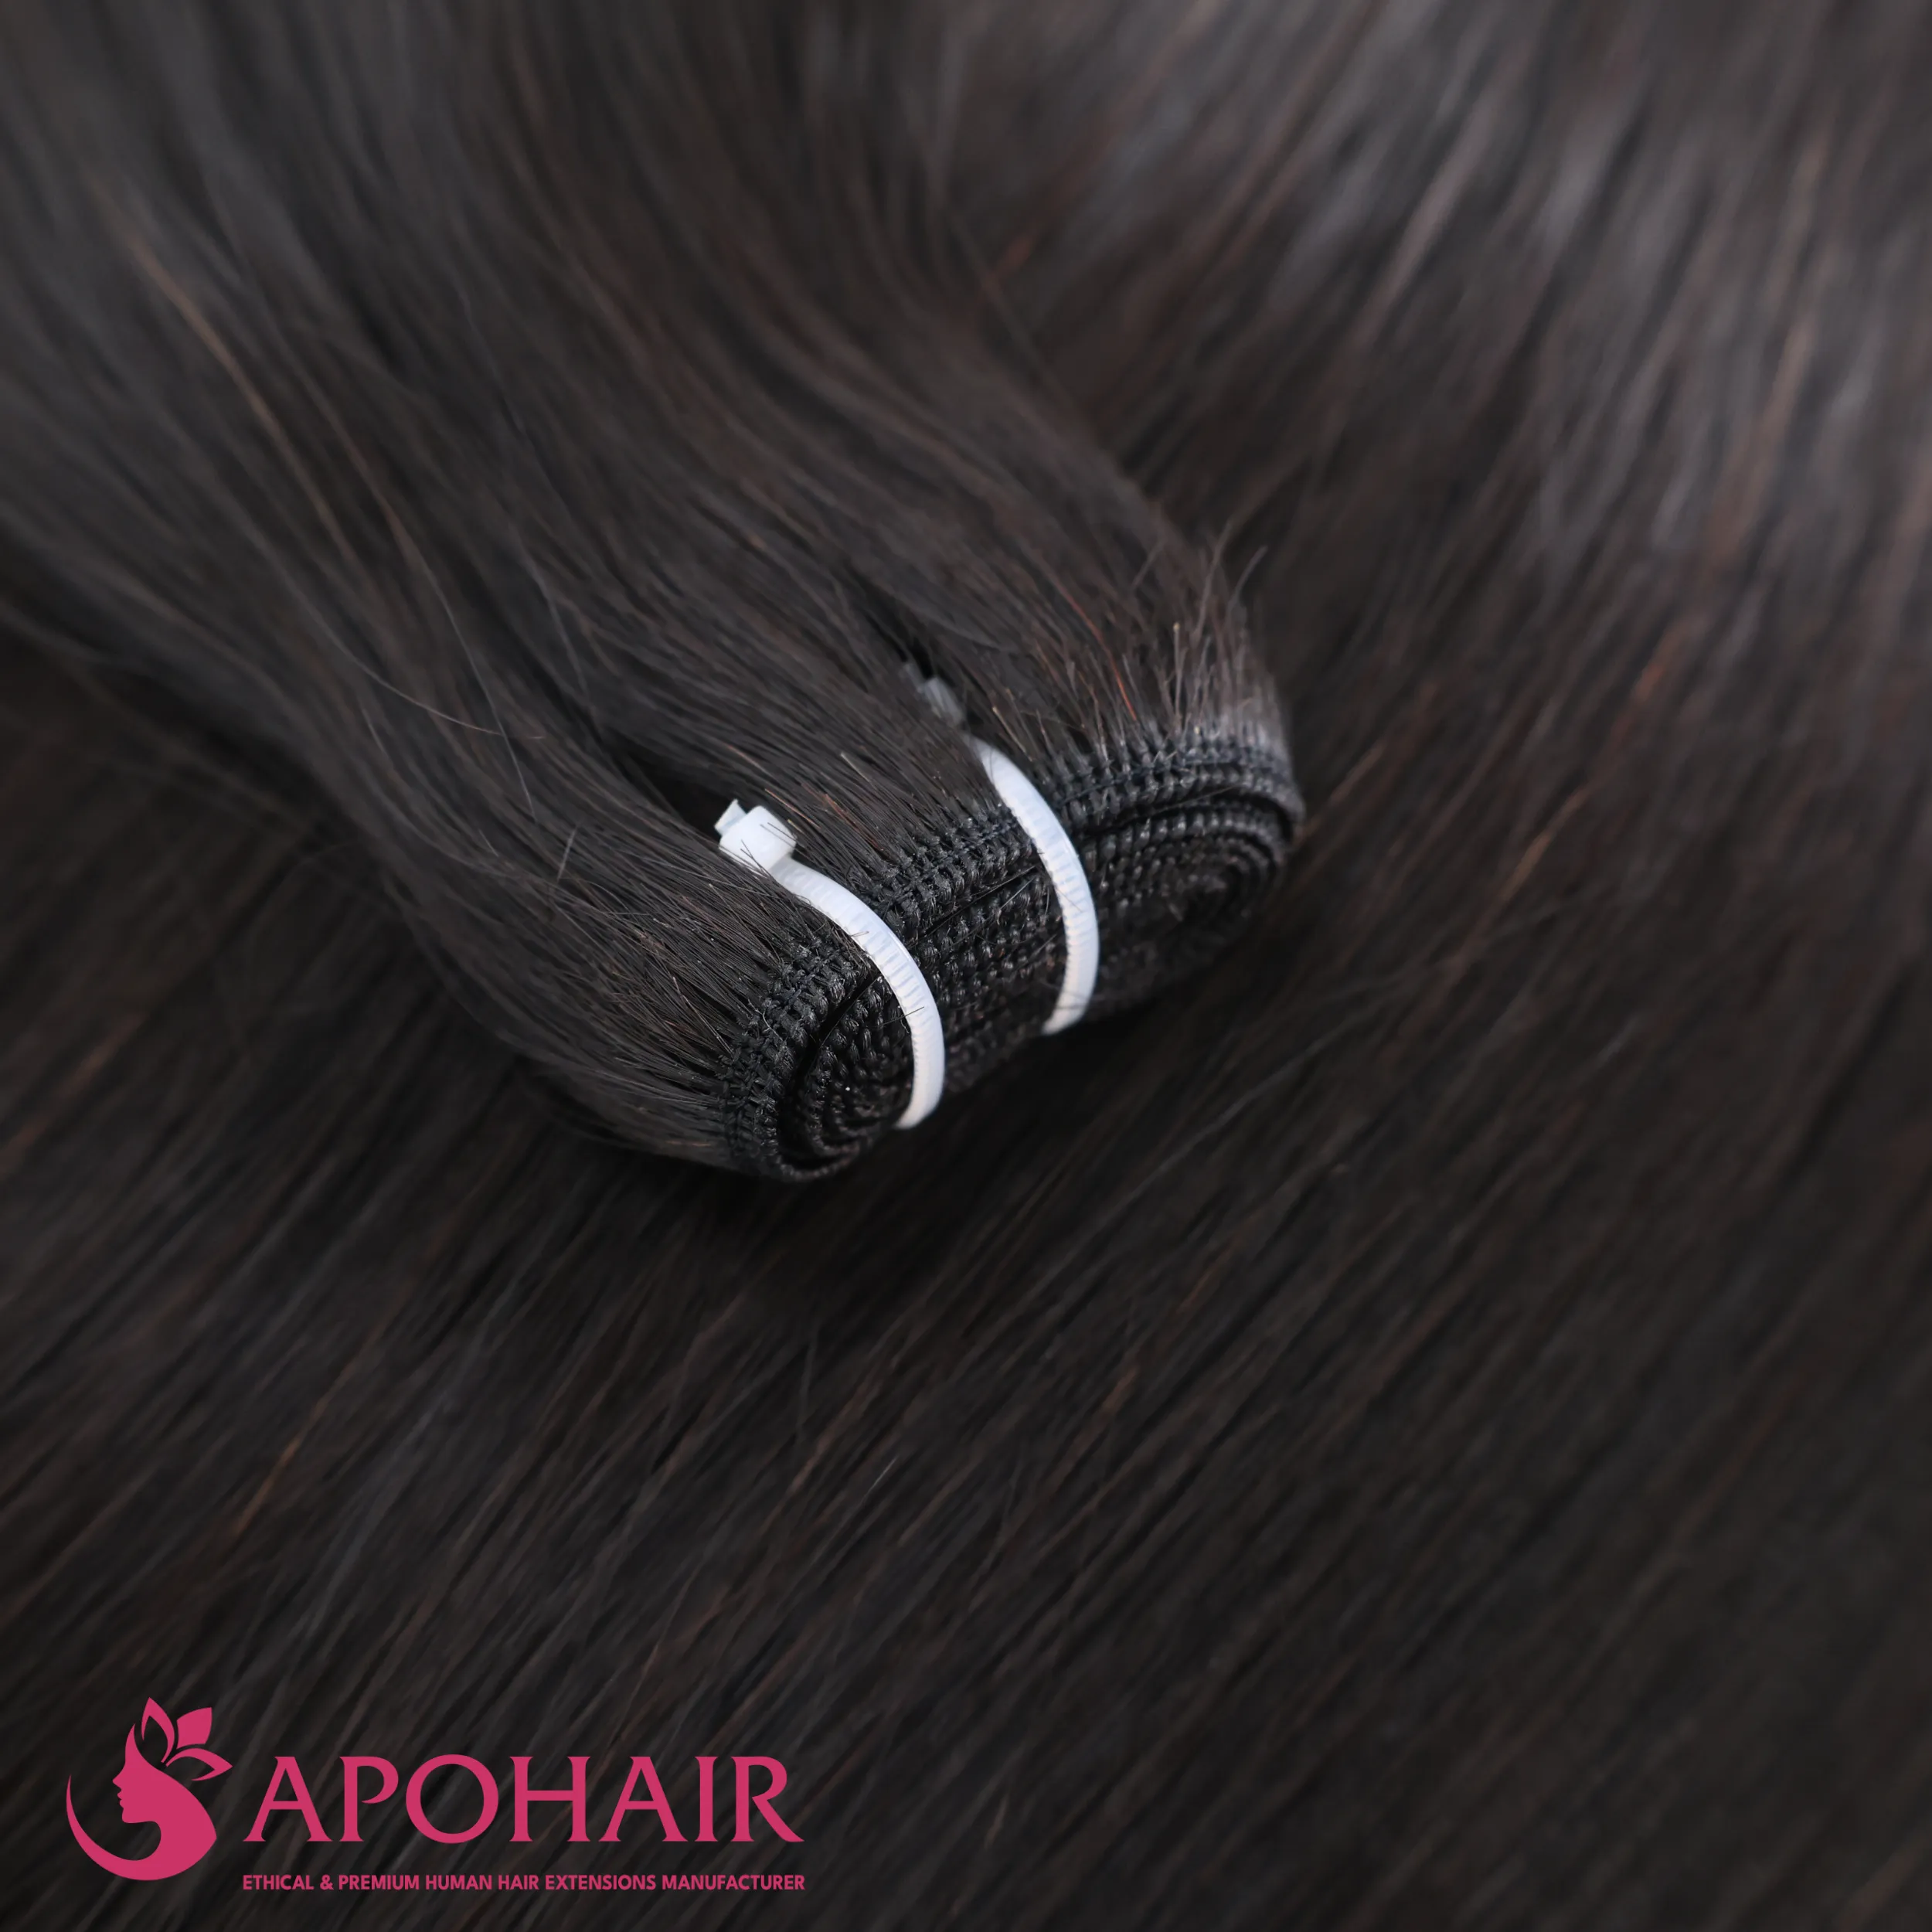
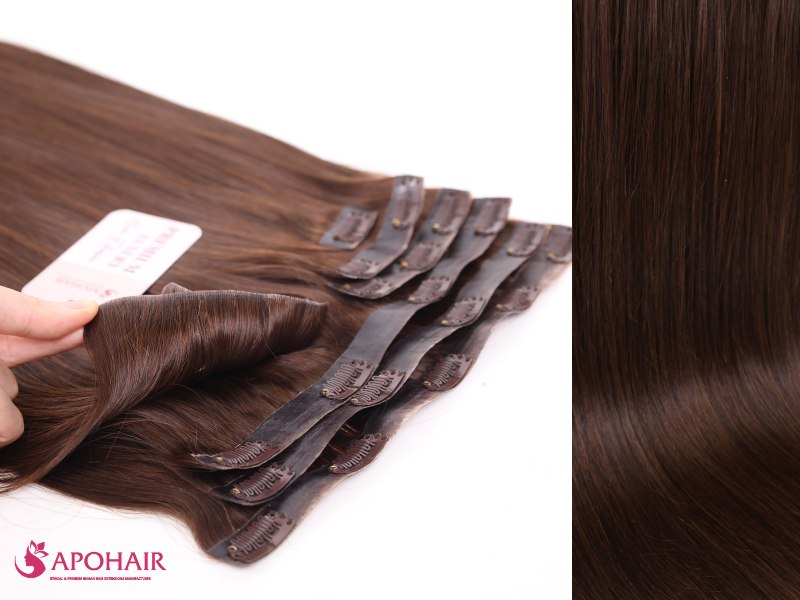
- Start with clean hair: clip in extensions work best on freshly washed hair. Clean hair holds the clips better and blends more naturally.
- Choose the right extensions: Make sure your extensions match your natural hair color and texture as closely as possible. This will help the extensions blend without being obvious.
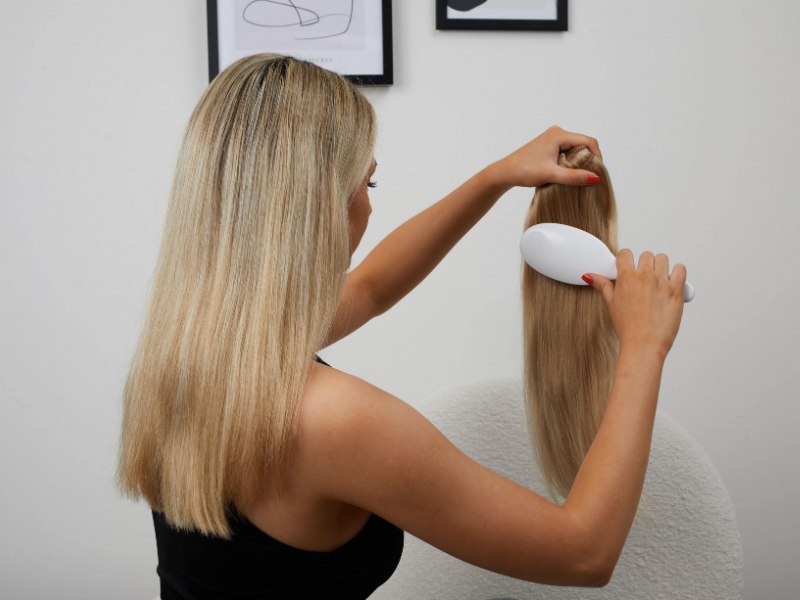
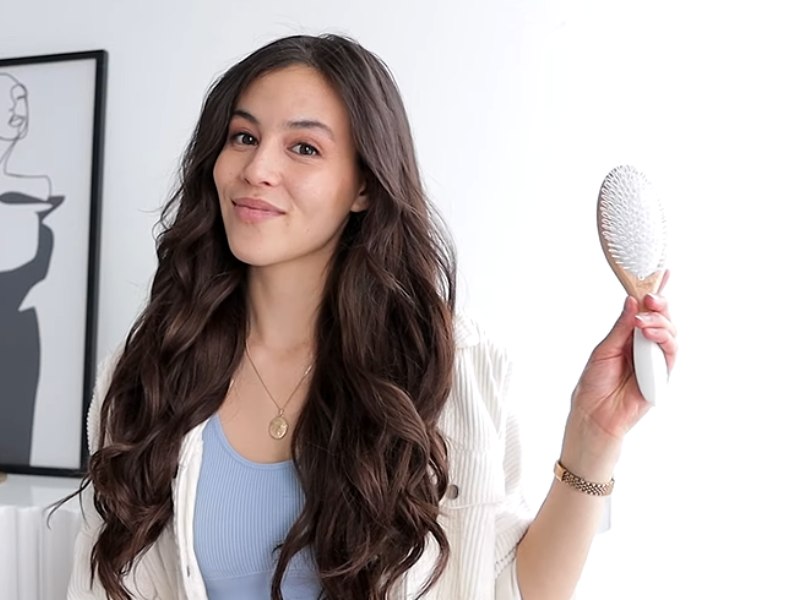
- Detangle Your Hair and Extensions: Brush out your hair with a paddle brush or wide-tooth comb to remove any knots. For your extensions, gently brush each weft from the bottom up to avoid shedding or damaging the hair.
- Decide on Your Style: Are you going for a sleek, straight style or loose, beachy waves? Having a plan for your final look will help guide where and how you place each weft of hair.
Tools to Prepare Before Applying clip in Hair Extensions
To make the process smooth and easy, grab these tools:
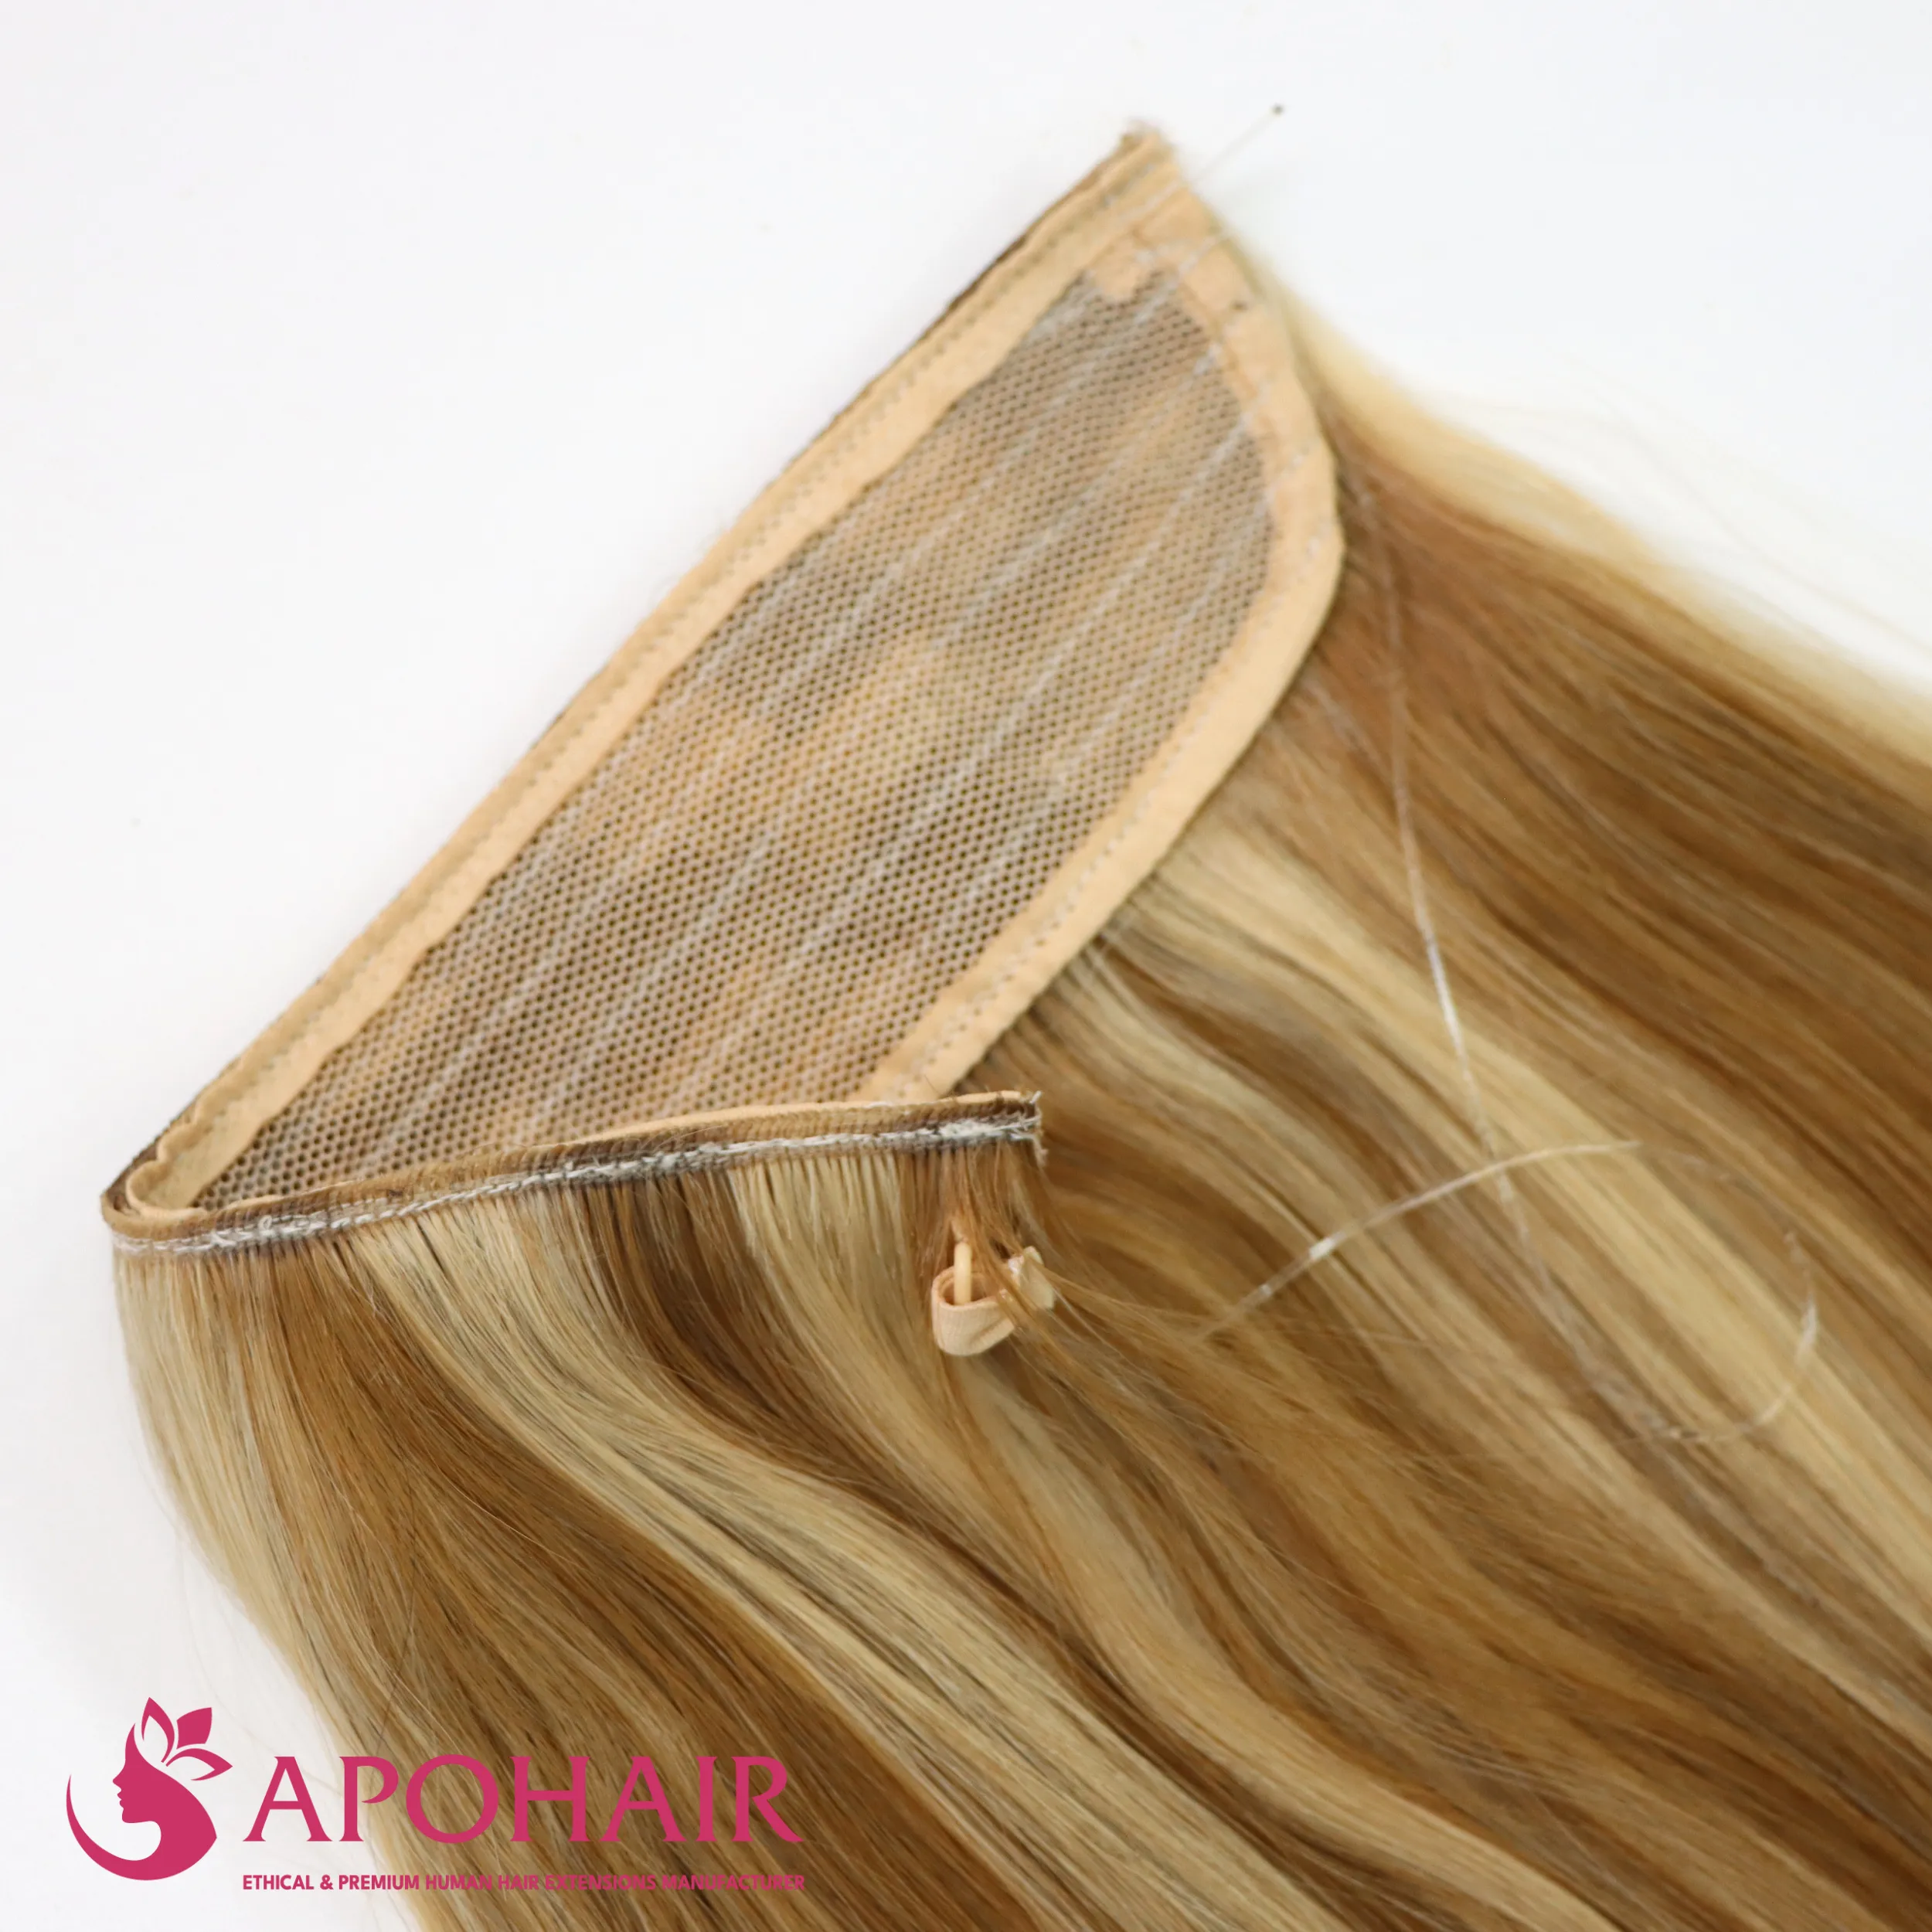
- Clip in hair extensions: Ensure they’re clean, detangled, and ready to go.
- Tail comb: This will help you create even partings for each section of hair.
- Sectioning clips: These clips will keep the parts of your hair you aren’t working on out of the way.
- A brush: A smoothing brush or a wide-tooth comb works great for detangling and blending the extensions.
- Heat protectant spray: If you’re planning to use hot tools like a flat iron or curling wand after clipping in, protect your hair and the extensions.
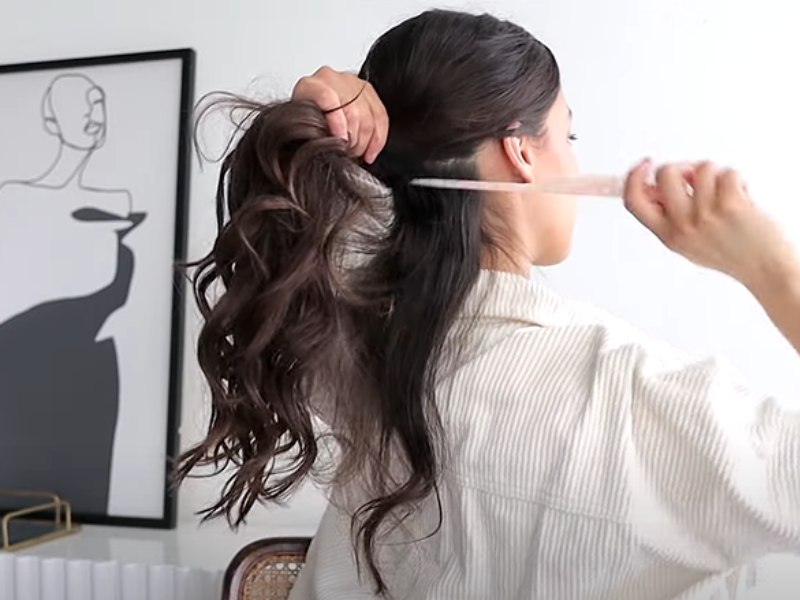
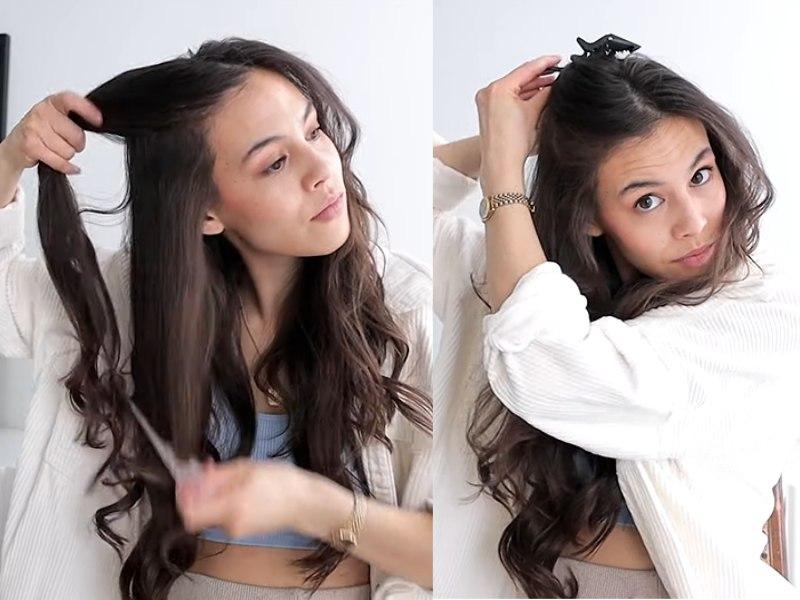
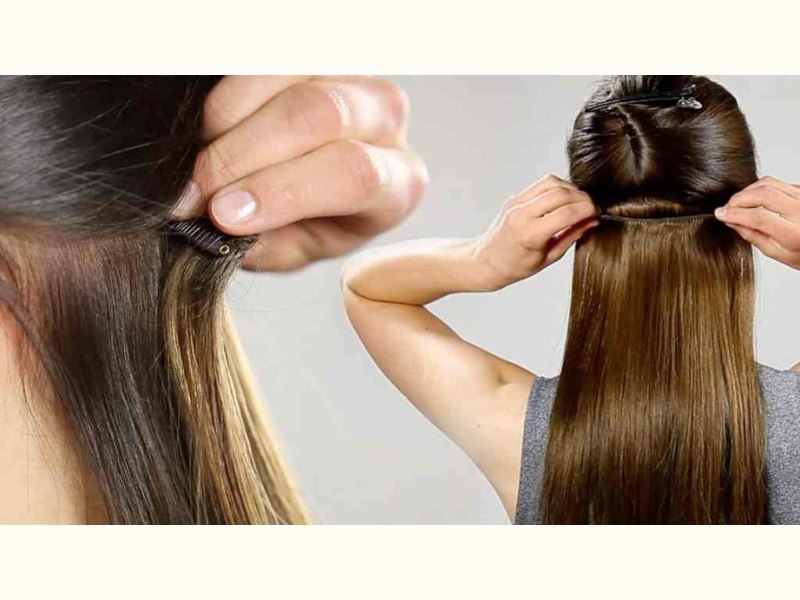
Step 1: Section Off the Bottom Layer of Your Hair
Start by parting your hair horizontally from ear to ear. Use your tail comb to make the part just above the nape of your neck. Clip the top section of your hair up and out of the way with a sectioning clip, leaving only a small layer of hair down at the bottom. This is where you’ll attach your first weft.
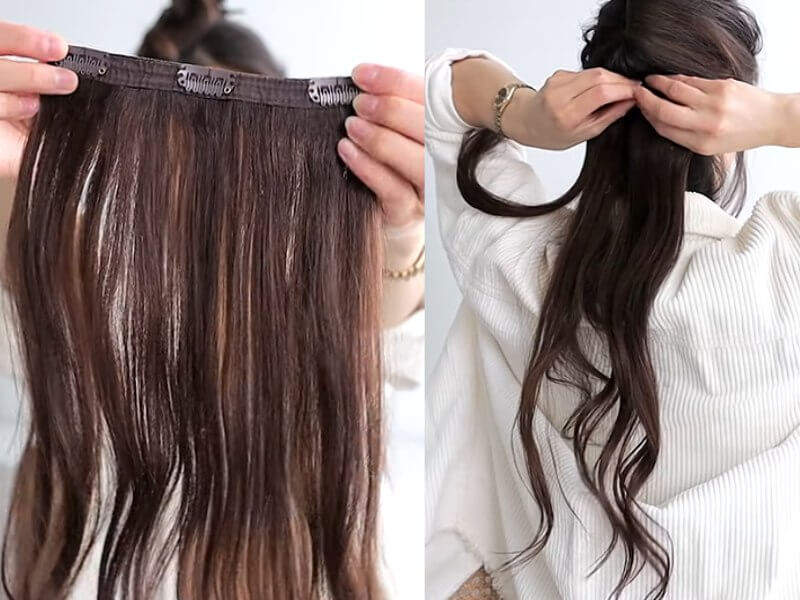
Step 2: Clip in the First Weft
Grab your smallest weft (the hairpiece with just a couple of clips) and open the clips. Starting in the middle, snap the first clip right onto the root of your hair, then do the same with the side clips. If you need extra hold, lightly tease your roots with the tail comb before clipping.
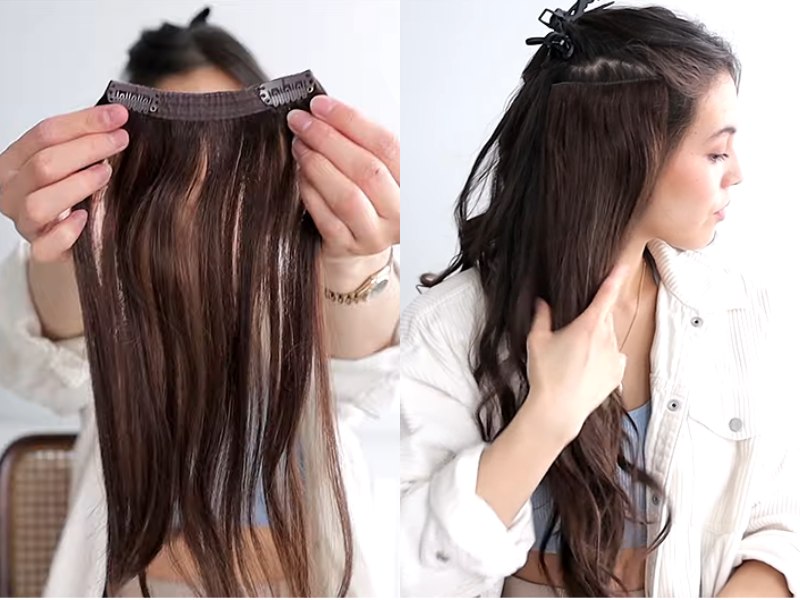
Step 3: Work Your Way Up
Now, unclip the sectioned hair and create another horizontal part a little higher up, about an inch or two above the last one. Clip in the next weft, which will likely be wider than the first. Continue this process, working your way up the back of your head and attaching the larger wefts as you go.
Step 4: Section the Side Hair
Starting on one side of your head, use your tail comb to create a small horizontal part just above your ear. Clip the top section of hair out of the way.
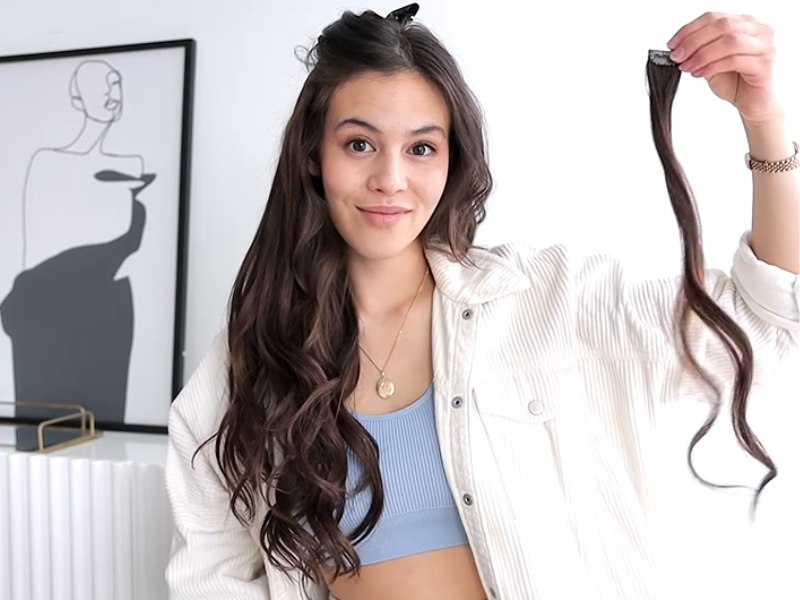
Step 5: Clip in the Side Weft
Take a smaller weft with 1 or 2 clips and secure it just below the part you made. Make sure to place the clips as close to your face as possible for a seamless blend with your natural hair in the front. Press down on each clip to lock it in place.
Step 6: Apply the Single Clip Wefts for Extra Blending
Take a single clip weft and section a small piece of hair where you need extra coverage. Clip the weft close to the roots, making sure it sits comfortably and is well hidden under your natural hair.
Step 7: Repeat on the Other Side
Create a similar section on the other side of your head and repeat the process. Ensure that both sides are even so that the hair looks balanced.
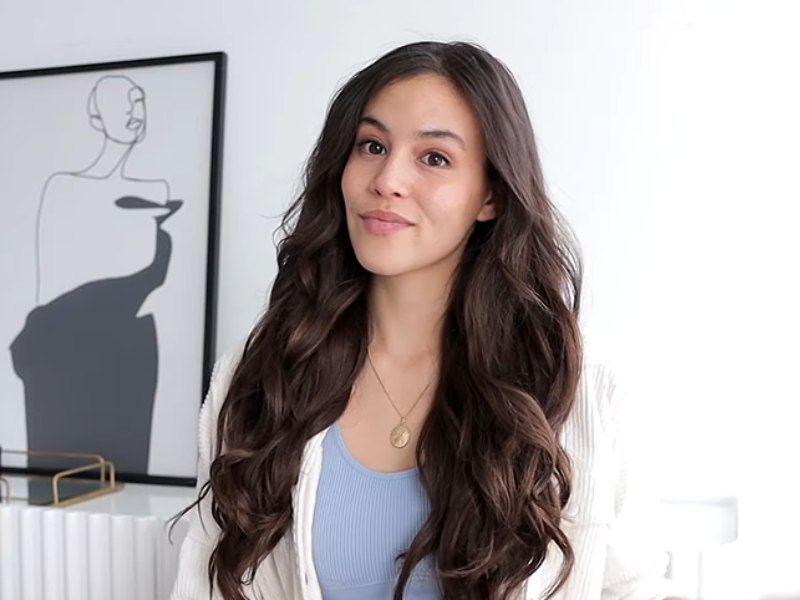
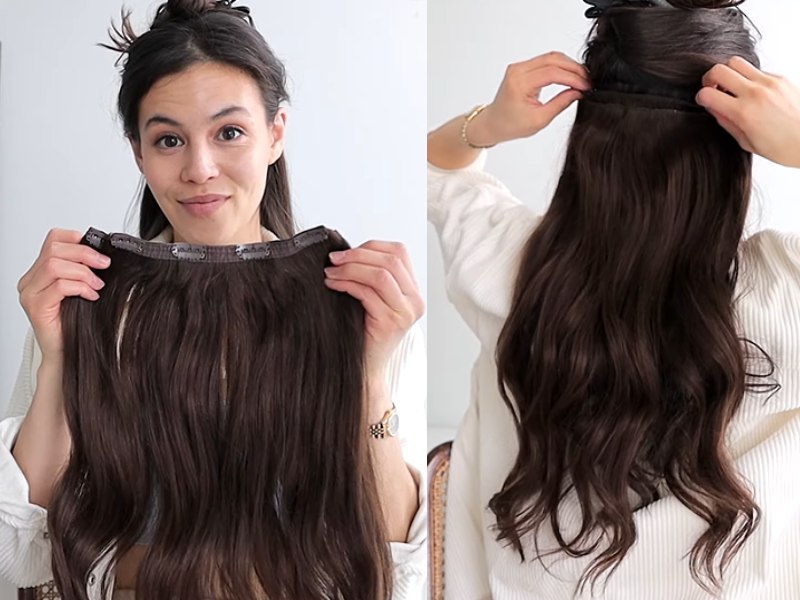
Step 8: Blend the Extensions with Your Hair
Once you’ve put in all your clip in hair extensions, use a brush or your fingers to blend your natural hair with the extensions gently. This step is key to making sure the extensions look seamless. For extra blending, try brushing your hair together with the extensions from the root to the tip.
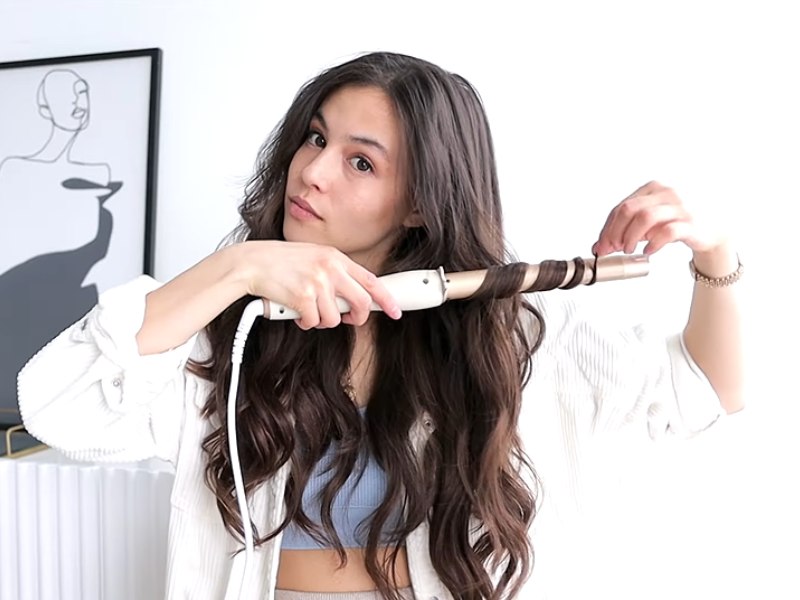
Step 9: Style Your Hair
Now that your clip in hair extensions are in, you can style your hair however you like. You can curl, straighten, or leave it natural – it’s totally up to you. Just remember to use a heat protectant if you’re using hot tools. A loose wave is always a favorite, as it helps the extensions blend even more naturally with your own hair.
Some Tips for Perfect Clip-in Hair Extensions
To make your clip in hair extensions look as natural as possible, there are a few important tips and tricks you should know.
- Strategic Placement: Avoid clipping too close to your part or the crown of your head, where your hair is thinner and more prone to revealing the clips. The best placement is mid-way down the head or near the nape of the neck. Ensure there’s enough hair on top to fully cover the wefts.
- Tease Your Roots for Extra Hold: If you have fine or silky hair, lightly tease the roots where you’ll be clipping in the extensions. This creates a cushioned base for the clips to grip onto and prevents them from slipping throughout the day. Plus, it adds a little volume, which helps disguise the wefts even more.
- Use a Hairspray or Dry Shampoo: If you need extra security, a spritz of hairspray or dry shampoo at the roots before clipping in the extensions can help. This adds texture to your natural hair, making it easier for the clips to hold in place without slipping.
- Color match: For the most natural blend, make sure your extensions match the color of your natural hair.
- Avoid heavy oils: If using products, avoid heavy or greasy styling products, as they can weigh down your extensions and cause the clips to slip.
- Care for your extensions: To maintain the quality of your extensions, wash and condition them regularly with gentle products.
- Remove carefully: When removing the extensions, gently open the clips and slide them out.
*Don’t overload your hair with too many wefts; this will make it harder to blend and could cause the clips to show.
Conclusion
Now that you know how to apply clip in hair extensions, you can enjoy longer, fuller hair in minutes. Remember, practice makes perfect, so don’t get discouraged if you don’t nail it the first time. With the right preparation, tools, and tips, you’ll master the process and achieve a beautiful, natural look.
If you’re looking for high-quality extensions to elevate your hair game, it’s important to choose a trusted source. Apo Hair, a leading wholesale Vietnamese human hair extensions supplier, offers premium clip in hair extensions in a wide variety of textures, lengths, and colors to suit every style. Whether you’re a stylist, distributor, or customer, Apo Hair has the perfect solution for your hair extension needs!