


Blog, Wigs Knowledge
How to Make a Wig – Step by Step Tutorial for Beginners
For a long time, human hair wig has become one of the partners of many women in modern life. People like wig as it is going to bring them a brand new look. A wig allows people to change their hairstyle without actually changing their hair or spending hours in the salon. How to make a wig? In this post, Apohair will provide you with the most basic wig making tutorial. Check out and try if you love creating a new wig on your own. Are you ready?

Preparation Tools for Making Wigs
For a perfect wig making process, you need to prepare these following things:
- Wig head (mannequin head)
- Sew-in hair extensions
- Wig stand or tape
- Needle, thread, hair glue & blow dryer or hot glue gun
- Wig combs
- Scissors

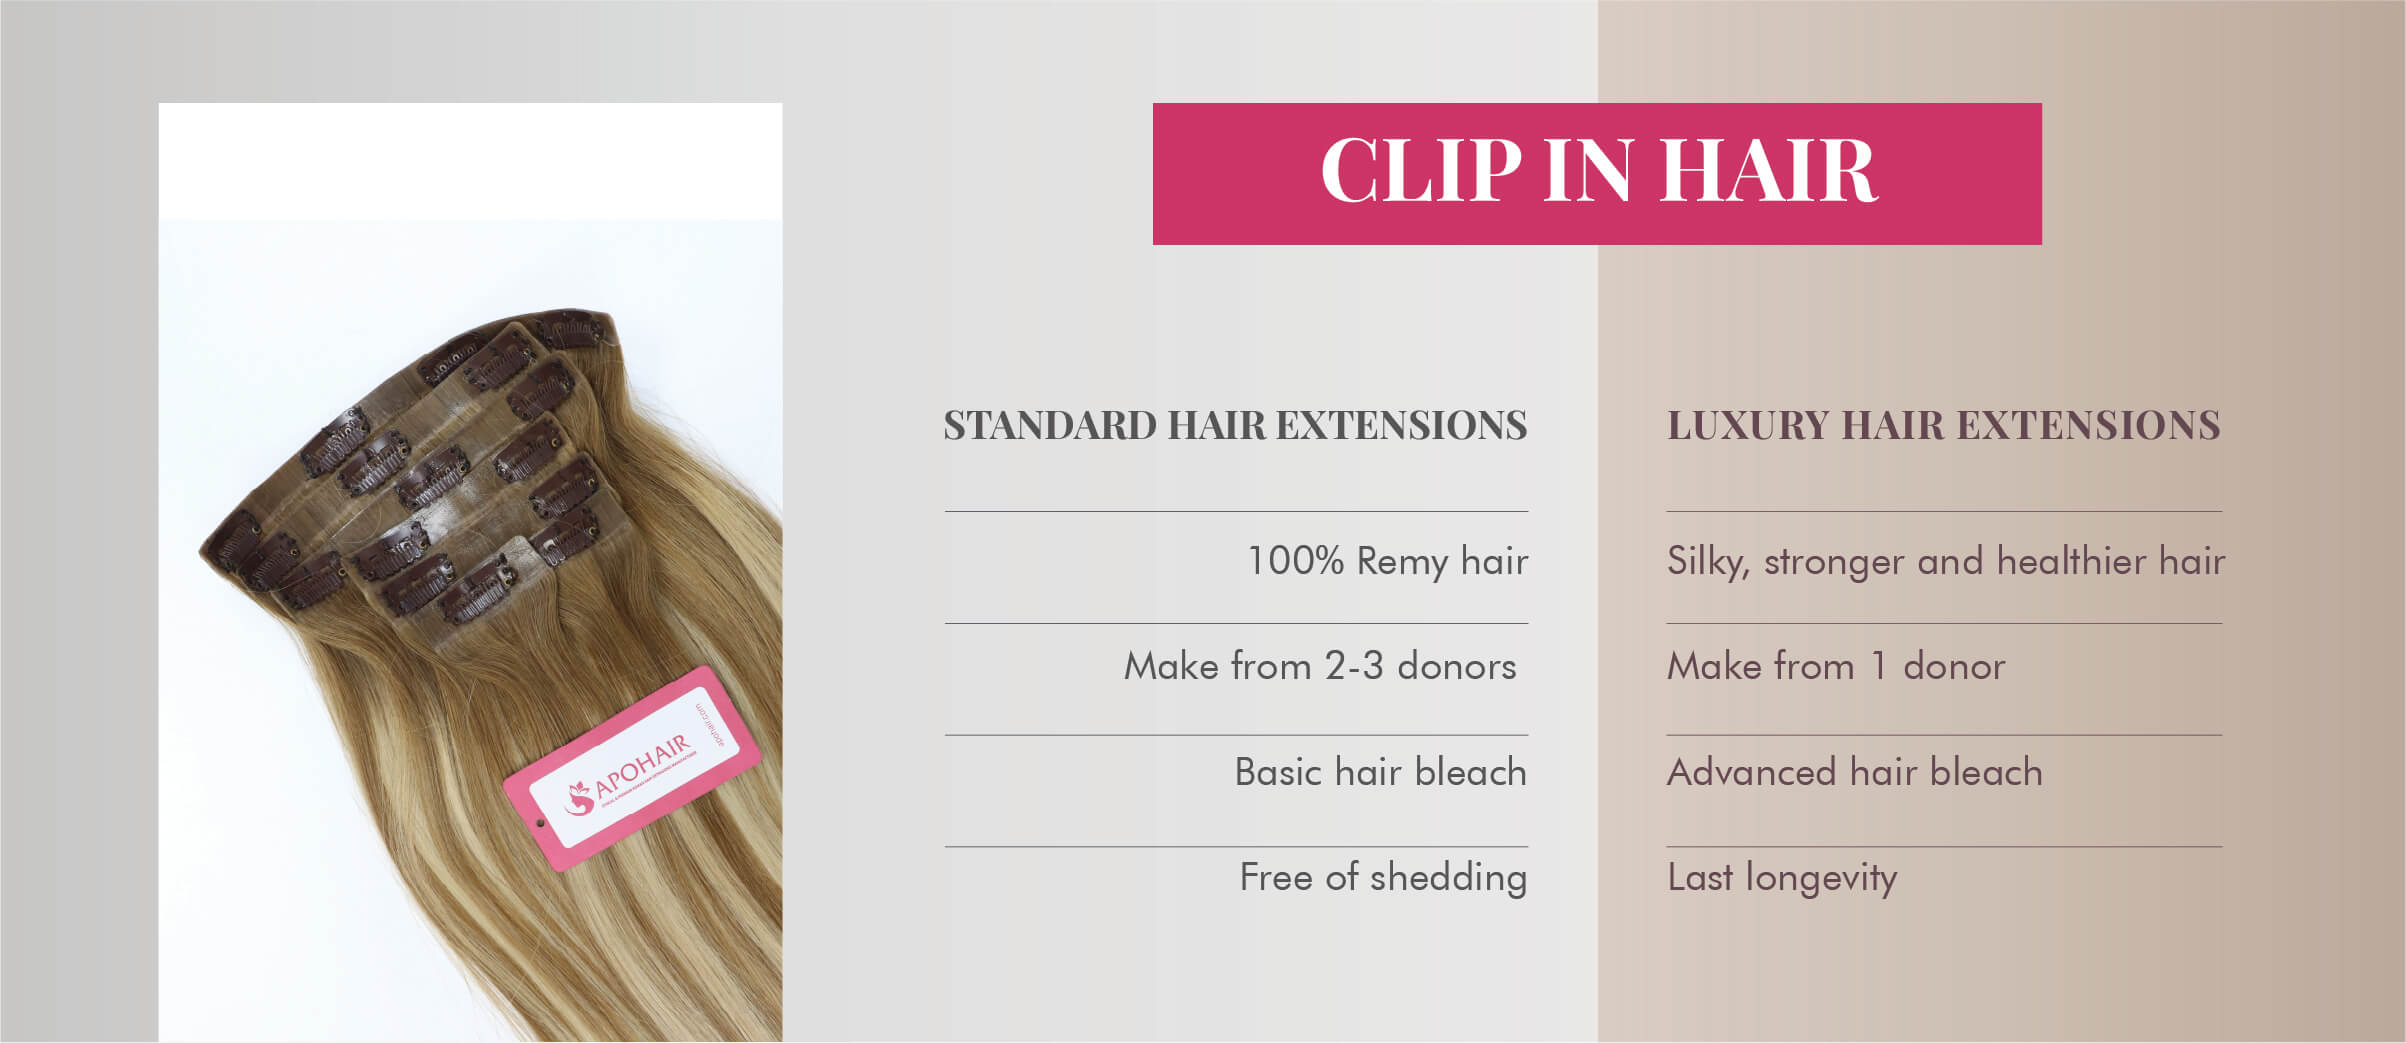
You can purchase many of wig accessories at your local beauty supply store. However, in terms of hair extensions, we highly recommend that you should look for the best hair products that are made of good quality human hair extensions. Bundles deals – the combination of hair wefts and closure/frontal from Apohair are promising items.
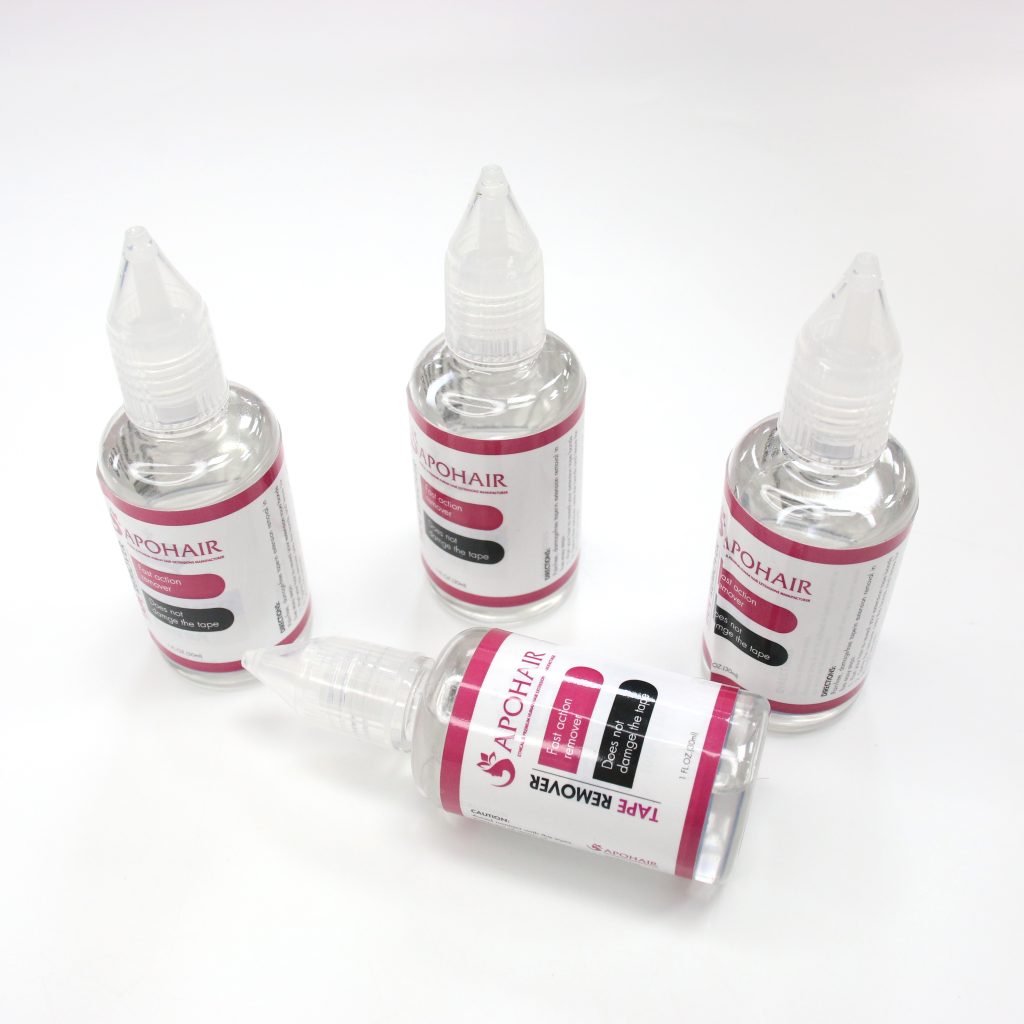
Depending on the type of wig you choose to make, you may need to buy lace frontal glue to secure the hairline of your wig down.
Step by Step Process of Creating a Wig
Step 1: Wig head
To have answer to the question “How to make a wig?”, the very first step is to mount the wig head on a wig stand or set it down on a chair or table with tape. You should stabilize your wig while constructing. It will make the process much easier to complete and it’s considered as a wig tutorial for beginners.

Step 2: Prepare Hair Extensions
Measure and cut your hair extensions to fit the circumference of the wig cap while securing them down from back to front.
While you are working your way through creating the wig, you will want to start laying the tracks down in a more U-shape pattern. This unique pattern can help wig maker attach the threading to the cap. You want to make sure that your hair extensions are in a secure place as you go along. One way to ensure that is with your supplies by using needle & thread, hair glue and blow dryer or a hot glue gun.
In this important step, Apohair suggests that you should pick high-quality human hair extensions. Basically, you need a bundles deal including three wefts and 1 closure/frontal for a wig making. You can either choose on length if you desire to achieve a gradually layered look or several different lengths to keep the overall length more consistent.

Step 3: Closure or Frontal?
Now it’s time to make a decision. Frontal or closure, what are you going to choose? If you are creating a new wig with a closure or a frontal, you should lay that piece down first and then add the remaining extensions. This ensures that you will see how much hair you need and allow you to make the best decision possible.
In general, wig makers usually prefer closures as they are more flexible and easy to work with when blending your own scalp. If you’re wondering, “How to make wig?” You could find a cotton lace cap or another fine net cap that will fit your head. After that, place it over the wig block. Keep in mind that your custom piece lands on your hair seamlessly like it’s sprouting out of your head.

Step 4: Creating the Wig
This is the most important step, of course. First of all, you begin to sew the wig under the edge of the cap so that it can be worn in a high ponytail. Next, sew using the top and full method for secure wefts. Then make sure you secure the edge of your weft before flipping over. Carefully cover the hair cap with track extensions. The most noticeable part of the process is how you are placing the tracks on the cap. You should keep in mind the style you are going for in the result.
You can use a new technique by laying your track in a U shape pattern instead of the back and forth pattern. It will both allow the track to lay smoothly once you finally apply the wig to your hair and make sure you have tight neat loop&pull stitches when sowing.

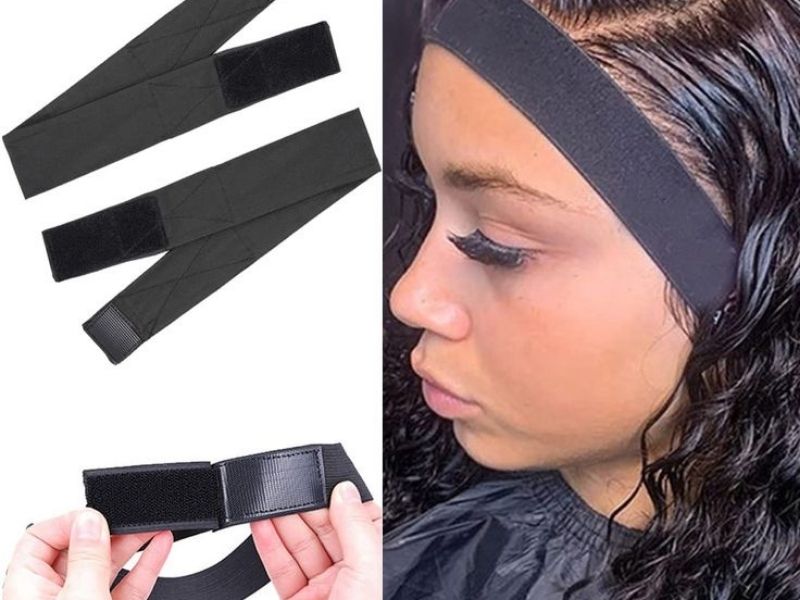
Step 5: Wig Band
Wig band is not a must-have item. However, these days, most beauty professionals prefer a wig band for extra security of the hair. Add a wig band and wig combs. This will be beneficial for wig wearers. The wig is ensured to stay firm in your head when it is designed with a wig band.
Tip: You should remove any lace if you are creating a frontal wig.
Step 6: Putting On the Wig
Now, it’s time to test the fit of the wig. Trim the lace. Remove the wig and set it aside. Apply wig tape then apply the wig. That’s all, so easy, right?
Step 7: Style
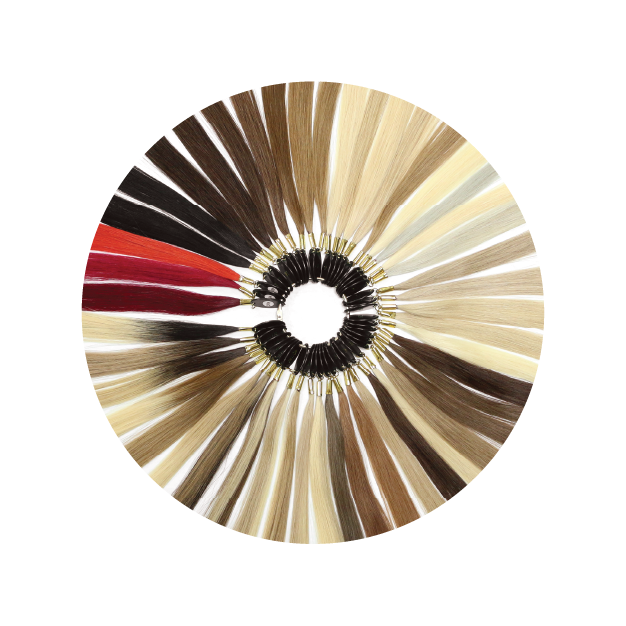
Once your full wig is done, choose to cut the front of your wig into blunt bangs, a side part, middle part of if you select curly hair, rock it as a fro. If you would like to color your hair, I highly recommend doing that before constructing your wig. At the end of the step 7, you have finished the process of making a wig and probably found out the answer for the question “How to make a wig?” with Apohair.

How To Care For Your Wig?
Caring for your wig is essential to maintain its appearance and longevity. Whether you have a synthetic wig or a human hair wig, proper care will keep it looking natural and beautiful. Here are some general tips on how to care for your wig:
1. Handling
- Always handle your wig with clean hands.
- Avoid pulling or stretching the wig cap, as this can damage the fibers or the construction of the wig.
- Use a wide-tooth comb or a wig brush specially designed for wigs to detangle your wig gently.
2. Washing:
- Follow the manufacturer’s care instructions, which can usually be found on the wig tag or packaging.
- Generally, synthetic wigs should be washed less frequently than human hair wigs. Washing frequency depends on how often you wear it and your personal preference.
- Fill a basin or sink with cool to lukewarm water and add a wig shampoo specifically formulated for synthetic or human hair wigs.
- Gently submerge the wig in the water and agitate it to distribute the shampoo.
- Allow the wig to soak for a few minutes, then rinse it thoroughly with cool water until all the shampoo is removed.
3. Conditioning:
- If you have a human hair wig, you can apply a small amount of conditioner specially designed for wigs after shampooing. Avoid the roots and focus on the mid-lengths and ends.
- For synthetic wigs, use a wig conditioner or detangling spray to maintain softness and reduce static.
4. Drying:
- Gently blot the wig with a clean towel to remove excess water. Avoid wringing or twisting the wig, as this can cause damage.
- Place the wig on a wig stand or a clean, dry towel to air dry. Do not expose it to direct sunlight or heat sources like hairdryers, curling irons, or flat irons, as this can damage synthetic fibers or human hair.
- Comb or brush the wig gently when it’s completely dry to style it as desired.
5. Styling:
- Style your wig with heat styling tools only if it’s made from human hair and is labeled as heat-friendly. Use a low to medium heat setting and protect the wig with a heat protectant spray.
- For synthetic wigs, avoid using heat styling tools, as they can melt or damage the fibers. Instead, use cool water and rollers to set the style.
6. Storage:
- When not in use, store your wig on a wig stand or a mannequin head to maintain its shape and prevent tangling.
- Keep it in a cool, dry place away from direct sunlight, heat, and humidity.
- If you plan to store it for an extended period, consider placing it in a breathable wig bag to protect it from dust.
7. Regular Maintenance:
- Brush or comb your wig regularly to prevent tangles and maintain its appearance.
- Trim the ends if they become frayed or damaged to keep the wig looking fresh.

It’s all about wig making process. Apohair hopes our guide on how to make a wig is useful. If you still have any question related to human hair extensions, just tell us. We are ready to support you.
Next article: How To Bleach a Black Hair Wig Into Blonde