









25 Ponytail Hairstyle Ideas to Try and How to Style Them
A ponytail gathers your hair and secures it at the crown, midway down the head, at the nape, or to one side. The right placement and finish depend on your hair texture, length, face shape, and plans. You can keep the style sleek for work, add waves for a night out, braid the tail, or add hair extensions when you want more length or volume.
This guide covers 25 ponytail hairstyles in seven groups: Sleek, voluminous, braided, half-up and side, segmented, occasion, and extension styles. Each look explains who it suits and how to style it, including ways to add fullness to fine, short, or thin hair. After the gallery, you will learn how to choose a ponytail, secure the base, and prevent bumps, slipping, or excess tension.

Sleek and Polished Ponytails for Work and Special Events
Sleek ponytails create a smooth finish for work, dinner, and special events. A clean base, the right brush, and a secure tie do most of the work. Start with a high, low, or gel ponytail.
1. High Sleek Ponytail
A high sleek ponytail sits at the crown with a smooth, tight base that creates a lifted line. The placement flatters oval and heart-shaped faces and brings attention to the jawline. Fine or short hair can get the same height when you tease the crown lightly and attach a wrap-around or clip-in piece for length.
To create that height, brush your hair toward the crown, smooth with gel, and secure the base with a hooked elastic. Wrap a small strand around the tie, then use a light gloss spray on the finished ponytail. Tilt your head back as you secure the base so the ponytail sits higher and is less likely to sag.

2. Slicked-Back Low Ponytail
A slicked-back low ponytail sits at the nape and lies flat against the head. The low placement works well with glasses. When you secure it gently, it can place less tension on the hairline than a tight high ponytail, which may suit fine hair or sensitive edges. Adjust the center or side part to fit your face shape.
Once the part is in place, smooth your hair with edge control and a fine brush. Secure the ponytail low at the nape and wrap the base twice for a clean line. Run a few drops of hair oil through the length when you want a glossy finish.

3. Snatched Gel Ponytail with Baby Hairs
A snatched gel ponytail pairs an ultra-smooth base with shaped baby hairs for a sharp, high-shine finish. The style photographs well and works especially well on textured or relaxed hair. Baby hairs are optional, so you can shape them or leave the hairline clean.
With or without baby hairs, smooth the base with a strong-hold gel and secure the ponytail. If you want baby hairs, shape them after the base sets with an edge brush or clean toothbrush. Tie a scarf around the hairline for 5 minutes, then apply shine spray.

Voluminous & Textured Ponytails for Thin or Flat Hair
Texture and movement can make a fine or flat ponytail look fuller without forcing a tight base. These four styles use teasing, waves, loose pieces, or added hair.
4. Tousled Ponytail
A tousled ponytail sits at the middle of the head, with a lightly teased, undone texture. It fits casual plans and warm days, and the airy finish gives fine hair more body. Hair with a little grip holds this shape better than freshly washed, slippery strands.
For more grip, spray texture product through the roots and ends, tease the crown gently, and gather a loose mid-height ponytail. Pull out a few strands around your face and crown instead of smoothing every piece back.

5. Bouncy Wavy Ponytail
A bouncy wavy ponytail adds curls through the tail for fuller movement. It works well for parties and date nights, while the curved shape helps thin hair look denser. Medium and long hair provide enough length for visible waves, but a curled clip-in piece can give short or fine hair the same effect.
With enough natural or added length for the waves, secure the ponytail, cover the tie with a small strand, and curl sections with a wand or 3-barrel iron. Direct the curls away from your face for more lift, then loosen them with your fingers. Our mermaid waves guide explains how barrel size changes the finished wave.

6. Messy Ponytail
A messy ponytail leaves a few soft pieces loose, giving the style a relaxed finish that does not need perfect symmetry. It works for any age and hair texture, including fine hair, and takes about 2 minutes once you know where you want the base.
With the height chosen, gather your hair loosely without flattening it, then pull out a few face-framing and crown strands. Use a light mist of hairspray to hold the shape. A slightly lower placement usually looks more relaxed, so stop adjusting once the ponytail sits where you want it.

7. Teased Volume Ponytail
A teased volume ponytail uses backcombing at the crown to create a fuller, retro shape. The extra height works well for flat or fine hair and can lengthen the look of a round face. Straight, wavy, curly, and coily hair can all use the same crown-building method.
For a fuller crown, divide it into 3 sections and backcomb each before gathering the ponytail. Smooth only the top layer so the surface looks neat without flattening the volume underneath. Working in sections also makes the teasing easier to brush out later and reduces knotting.

Braided Ponytails for a Detailed, Long-Lasting Look
Braided ponytails add detail and help the tail keep its shape. A basic three-strand braid leads into Dutch, fishtail, rope, and feed-in styles. These five cards focus on the ponytail, while the linked guides cover the full braid methods.
8. Classic Braided Ponytail
A classic braided ponytail uses a simple three-strand braid down the tail. It is neat enough for school or work, friendly for beginners, and suitable for any age. You only need enough length to divide the ponytail into three workable sections.
With enough length to braid, secure the ponytail, braid the tail, and tie the end. Gently pull the outer edges of the braid to make it wider, a technique often called pancaking. Fine hair can look fuller when you attach a wrap-around piece before braiding, then loosen each edge after securing the end.

9. Dutch Braid Ponytail
A Dutch braid ponytail brings an underhand braid from the hairline into the ponytail, so the braid sits above the surrounding hair. The secure shape keeps hair away from your face during workouts and active days. Hair needs enough length and grip to reach the crown without slipping out of the braid.
With that length and grip, Dutch-braid from the forehead to the crown, gather the rest into a ponytail, and braid the tail if you like. Crossing each section underneath creates the raised effect. Our Dutch-versus-French braid guide shows the hand motion step by step.

10. Fishtail Ponytail
A fishtail ponytail uses two main sections and small crossed pieces to create a detailed braid. It fits dates and events but is simple enough for a patient beginner. Medium or long hair gives you more room to see the pattern, while extensions can add workable length to short or fine hair.
To bring out the fishtail pattern, make a ponytail and split it into two sections. Move a small piece from the outside of one section across to the other side, then repeat in the opposite direction until you reach the end. Secure the braid and pull the edges outward; smaller crossed pieces create a finer fishtail pattern.

11. Rope Braid Ponytail
A rope braid ponytail twists two sections together for a polished shape with very little braiding skill. It works with every hair texture and gives you quick detail for the office or dinner. Most people can finish the tail in under 2 minutes.
For that quick rope braid, secure the ponytail and split it in two. Twist both sections in the same direction, then wrap them around each other in the opposite direction and tie the end. Keep those directions consistent, or the rope will loosen before you finish.

12. Feed-In Cornrow Ponytail
A feed-in cornrow ponytail brings cornrows straight back into a high or low ponytail, combining smooth scalp braids with added length. The style works especially well on textured and coily hair, while feed-in hair adds length or fullness. Keeping the braids comfortable near the hairline reduces stress on the edges.
For length and comfort, feed braiding or kinky hair into cornrows toward the crown, then gather everything into a ponytail and wrap the base. This card gives the short version; our cornrow hairstyles guide covers the full feed-in method and more cornrow ponytail looks.

Half-Up, Side & Double Ponytails for Easy Everyday Looks
Half-up, side, and double ponytails change placement while keeping some or all of your length visible. These three options can work for casual days or dressed-up plans.
13. Half-Up Ponytail
A half-up ponytail secures the top section and leaves the lower section down. The placement works across face shapes and keeps your length visible while clearing hair from your face. Straight, wavy, curly, and coily textures can all wear this style.
The setup is the same on any of those textures: part your hair from ear to ear, gather the top half, and secure it at your chosen height. Tease the top section lightly when you want a soft bump. Our half-up half-down guide covers non-ponytail options, including braided and twisted crowns.

14. Side Ponytail
A side ponytail sweeps the hair over one shoulder and secures it low near the nape. The asymmetrical line can make a round face look longer, and the soft placement fits evening or bridal styling. Medium and long hair drape most easily, while curls give fine hair more body.
To let that length and body fall over one shoulder, make a deep side part, sweep your hair to that side, and secure it at the nape. Curl the tail for movement if you like. Pin the opposite side flat behind your ear so the hair stays in place through the evening.

15. Twin Ponytails (Pigtails)
Twin ponytails divide the hair into two matching sections for a playful, retro look. High pigtails feel bouncy and youthful, while low pigtails look softer. The style works on any length that reaches a tie, and matching clip-in pieces can add fullness to fine hair.
With the length and fullness set, make a clean center part, then secure both sides at the same height. Place the ties below the ears for a low set or closer to the crown for more movement, then add bangs if they fit your look. Check the back with a second mirror before finishing because uneven placement makes the whole style tilt.

Segmented & Structured Ponytails for Fullness Without Braiding Skill
Segmented ponytails create fullness and detail with small hair ties instead of braid work. Bubble sections add rounded volume, pull-through loops mimic a braid, and crossed pieces form a lattice above the base. These three methods are useful when fine hair needs more visible shape.
16. Bubble Ponytail
A bubble ponytail divides one tail into rounded sections with evenly spaced ties. The shape works best on medium or long hair because each bubble needs room to expand, though extensions can provide more length and density. It fits festivals, photos, and casual days when you want a playful style.
For that playful bubble shape, make a base ponytail and place 3 to 5 ties evenly down the length. Pull each section outward until the bubbles look round and balanced. Work gently so you do not shift the base or pull one side out of line.

17. Pull-Through Ponytail
A pull-through ponytail stacks small sections and loops them through one another to mimic a braid. The looped structure makes fine or thin hair look fuller without a traditional braid, and it works across hair textures. The finished style has enough detail for an event but does not require advanced handwork.
Without traditional braiding, place 3 to 4 ties down the tail, split each section, and pull the next one through. Spread every loop as you go; wider loops make the finished ponytail look fuller.

18. Criss-Cross Ponytail
A criss-cross ponytail brings sections over one another above the base to create a structured pattern. It works with most face shapes and hair textures while keeping a few face-framing pieces free. The crossed detail gives a plain ponytail more shape without braiding the tail.
For the crossed detail, take two top sections, cross them at the back, and pin them. Gather the remaining hair into a ponytail below, then repeat the crossing if you want a longer lattice. Mini clips can hold each section while you position the final tie.

Occasion & Trend Ponytails for Weddings and Retro Looks
Wedding and retro ponytails add polish, volume, or period detail to a familiar base. A bridal ponytail stays soft, an 80s ponytail goes high and full, and a 50s pin-up ponytail uses a rolled crown with curled ends.
19. Bridal / Wedding Ponytail
A bridal ponytail is a polished style with soft waves, a wrapped base, and optional face-framing pieces. It works for brides and guests, pairs well with formalwear, and often flatters oval faces. Extensions can provide the length and fullness that many wedding ponytails need when natural hair is fine or short.
Once you have the length and fullness you want, smooth or wave the hair, secure a medium-high ponytail, and cover the tie with a small strand. Add a few tendrils or one hair accessory, then test the finished placement with your veil before the wedding day. Our updo guide covers pinned bridal shapes beyond the ponytail.

20. Retro 80s Ponytail
A retro 80s ponytail sits high with plenty of teased or crimped volume and often includes a scrunchie. The vertical shape can lengthen a round face and fits costume parties, throwback events, or festivals. Every texture can wear the style, and a fuller tail makes the period detail easier to see.
For the full 80s shape, crimp or tease the hair, sweep it to the crown, and secure it with a scrunchie. Add a side fringe when you want a stronger throwback finish. A 3-barrel crimper creates the tight texture associated with the decade more clearly than teasing alone.

21. Retro 50s / Pin-Up Ponytail
A retro 50s ponytail combines a rolled or bumped crown with a curled tail. The rounded ends soften a long face, while a scarf or bow gives the style a clear pin-up finish. Straight, wavy, curly, and coily hair can all use the same placement and roll.
For the rounded pin-up shape, roll or lift the front, secure a high ponytail, and curl the tail under. Add a scarf or bow around the base. A small foam roll under the crown supports the shape and keeps the bump from flattening during the event.

Ponytail Hairstyles With Extensions for Thin and Short Hair
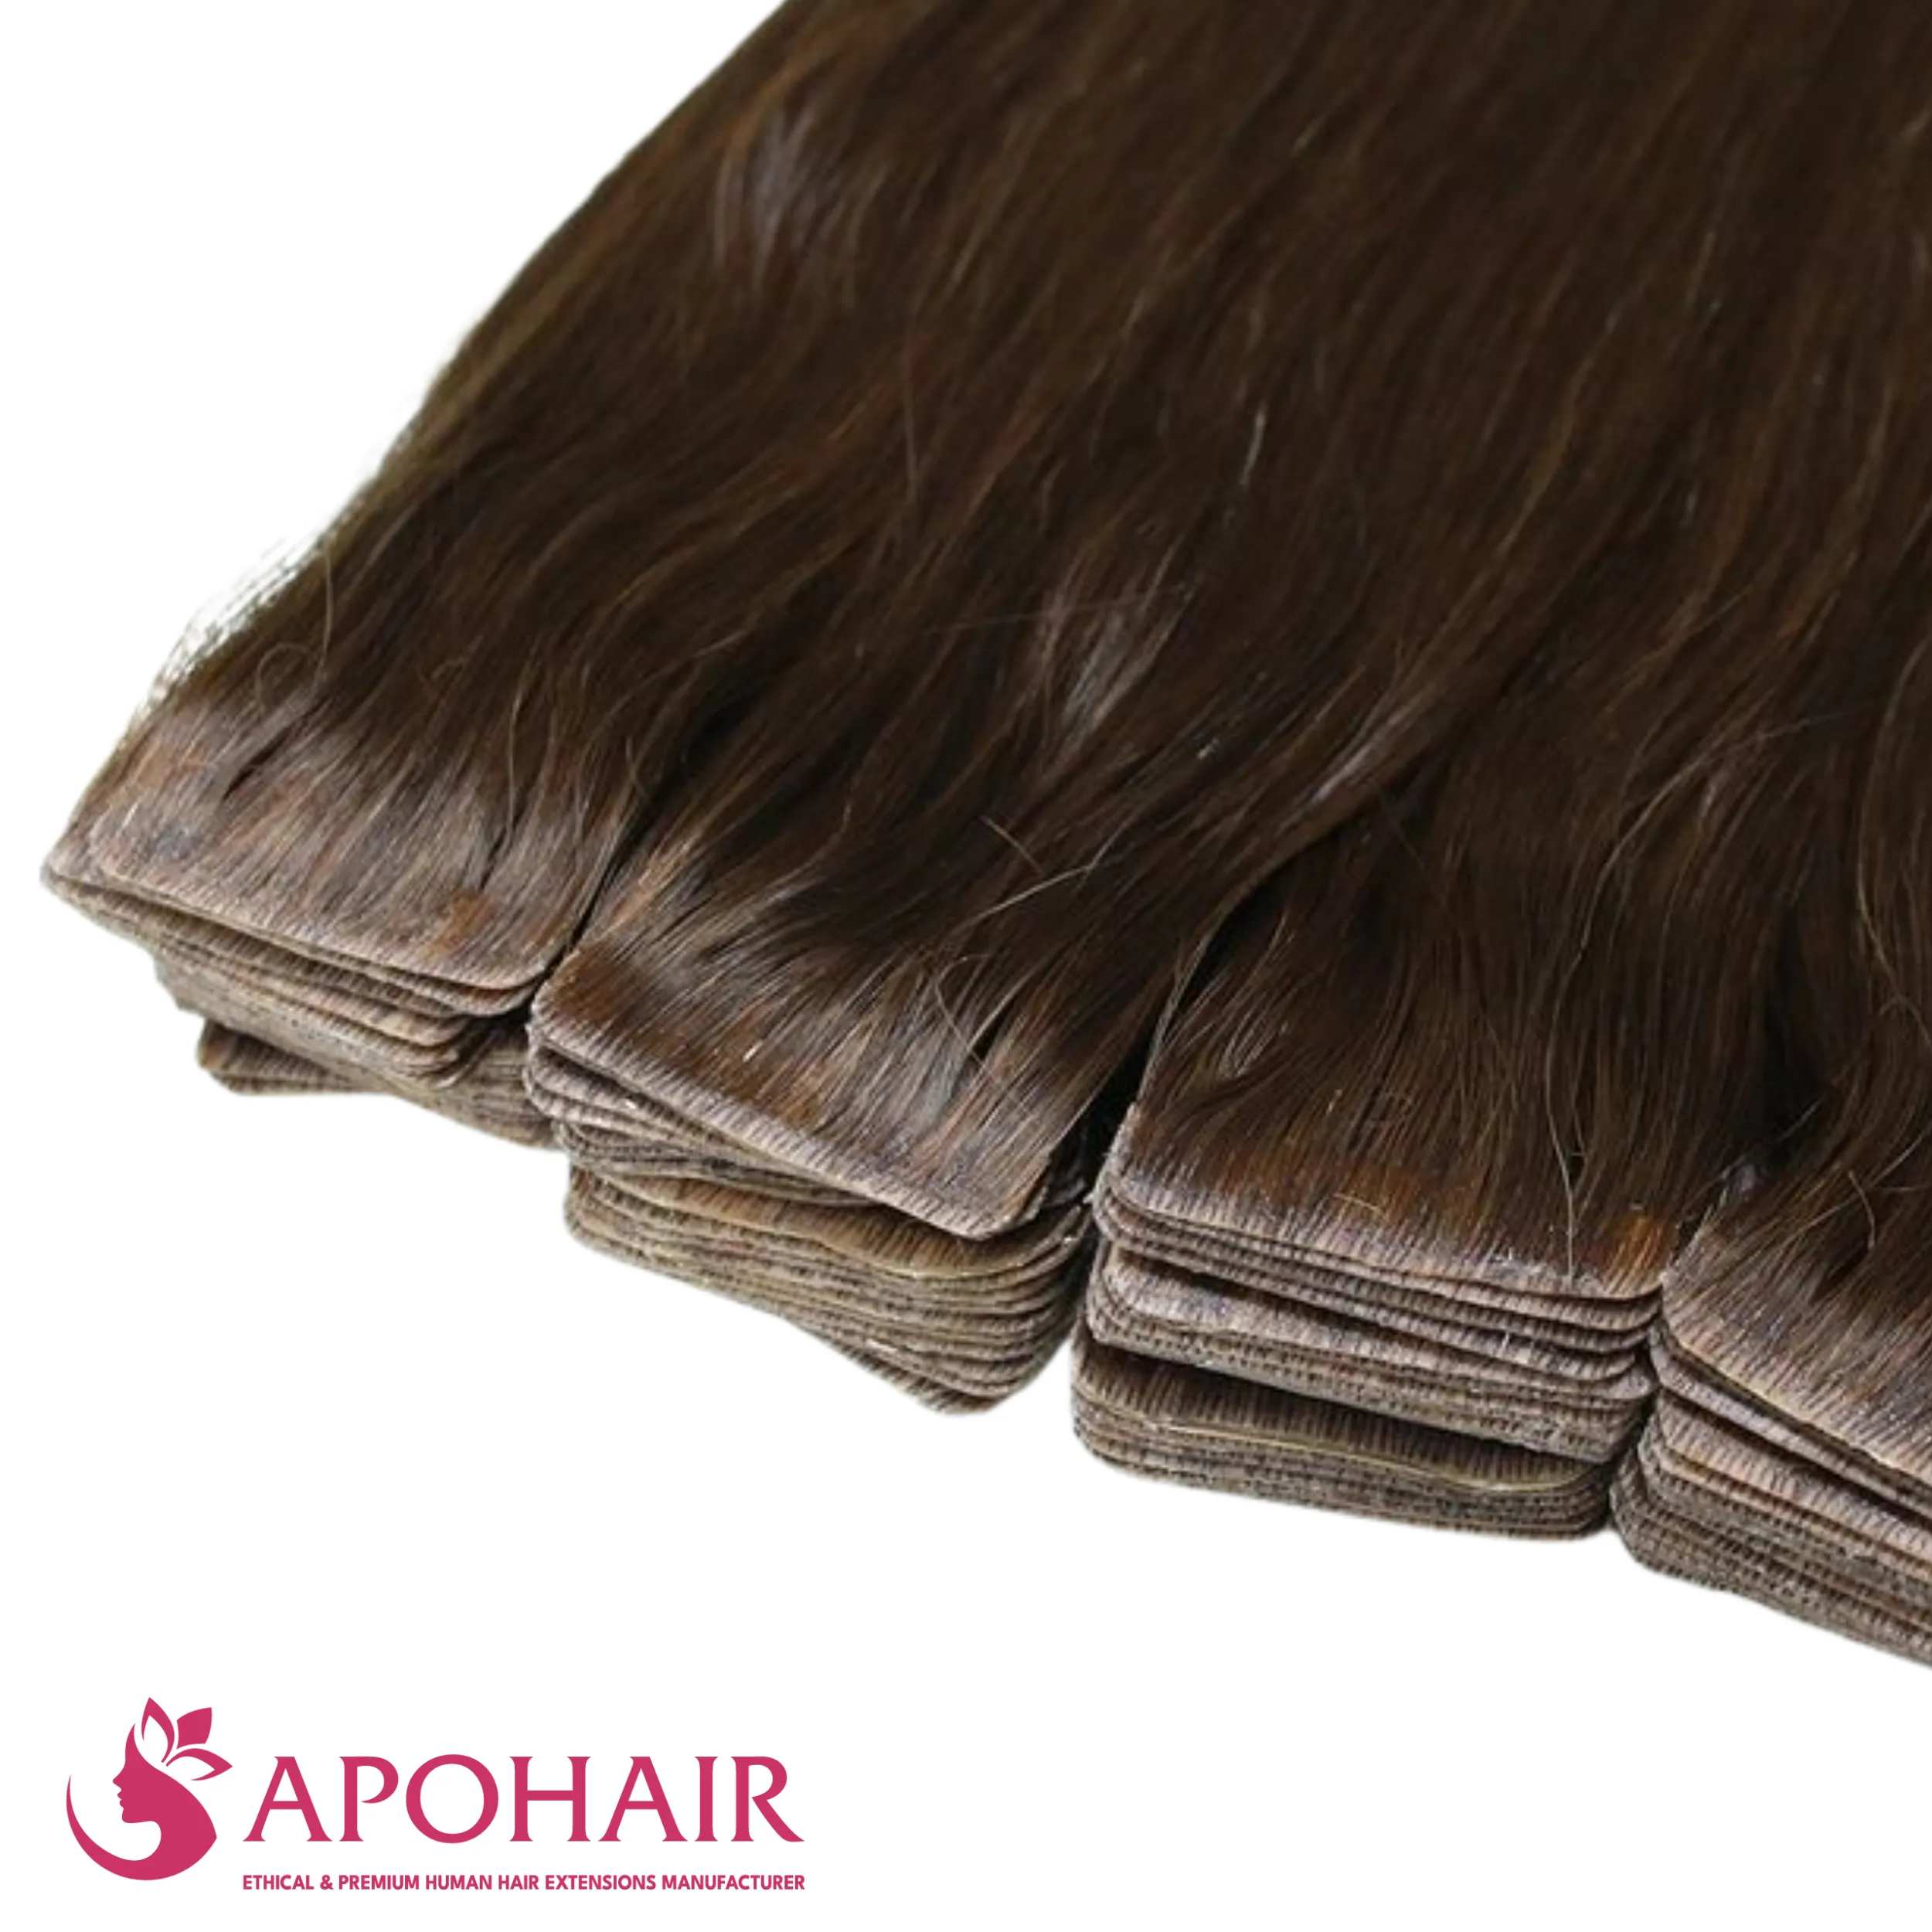
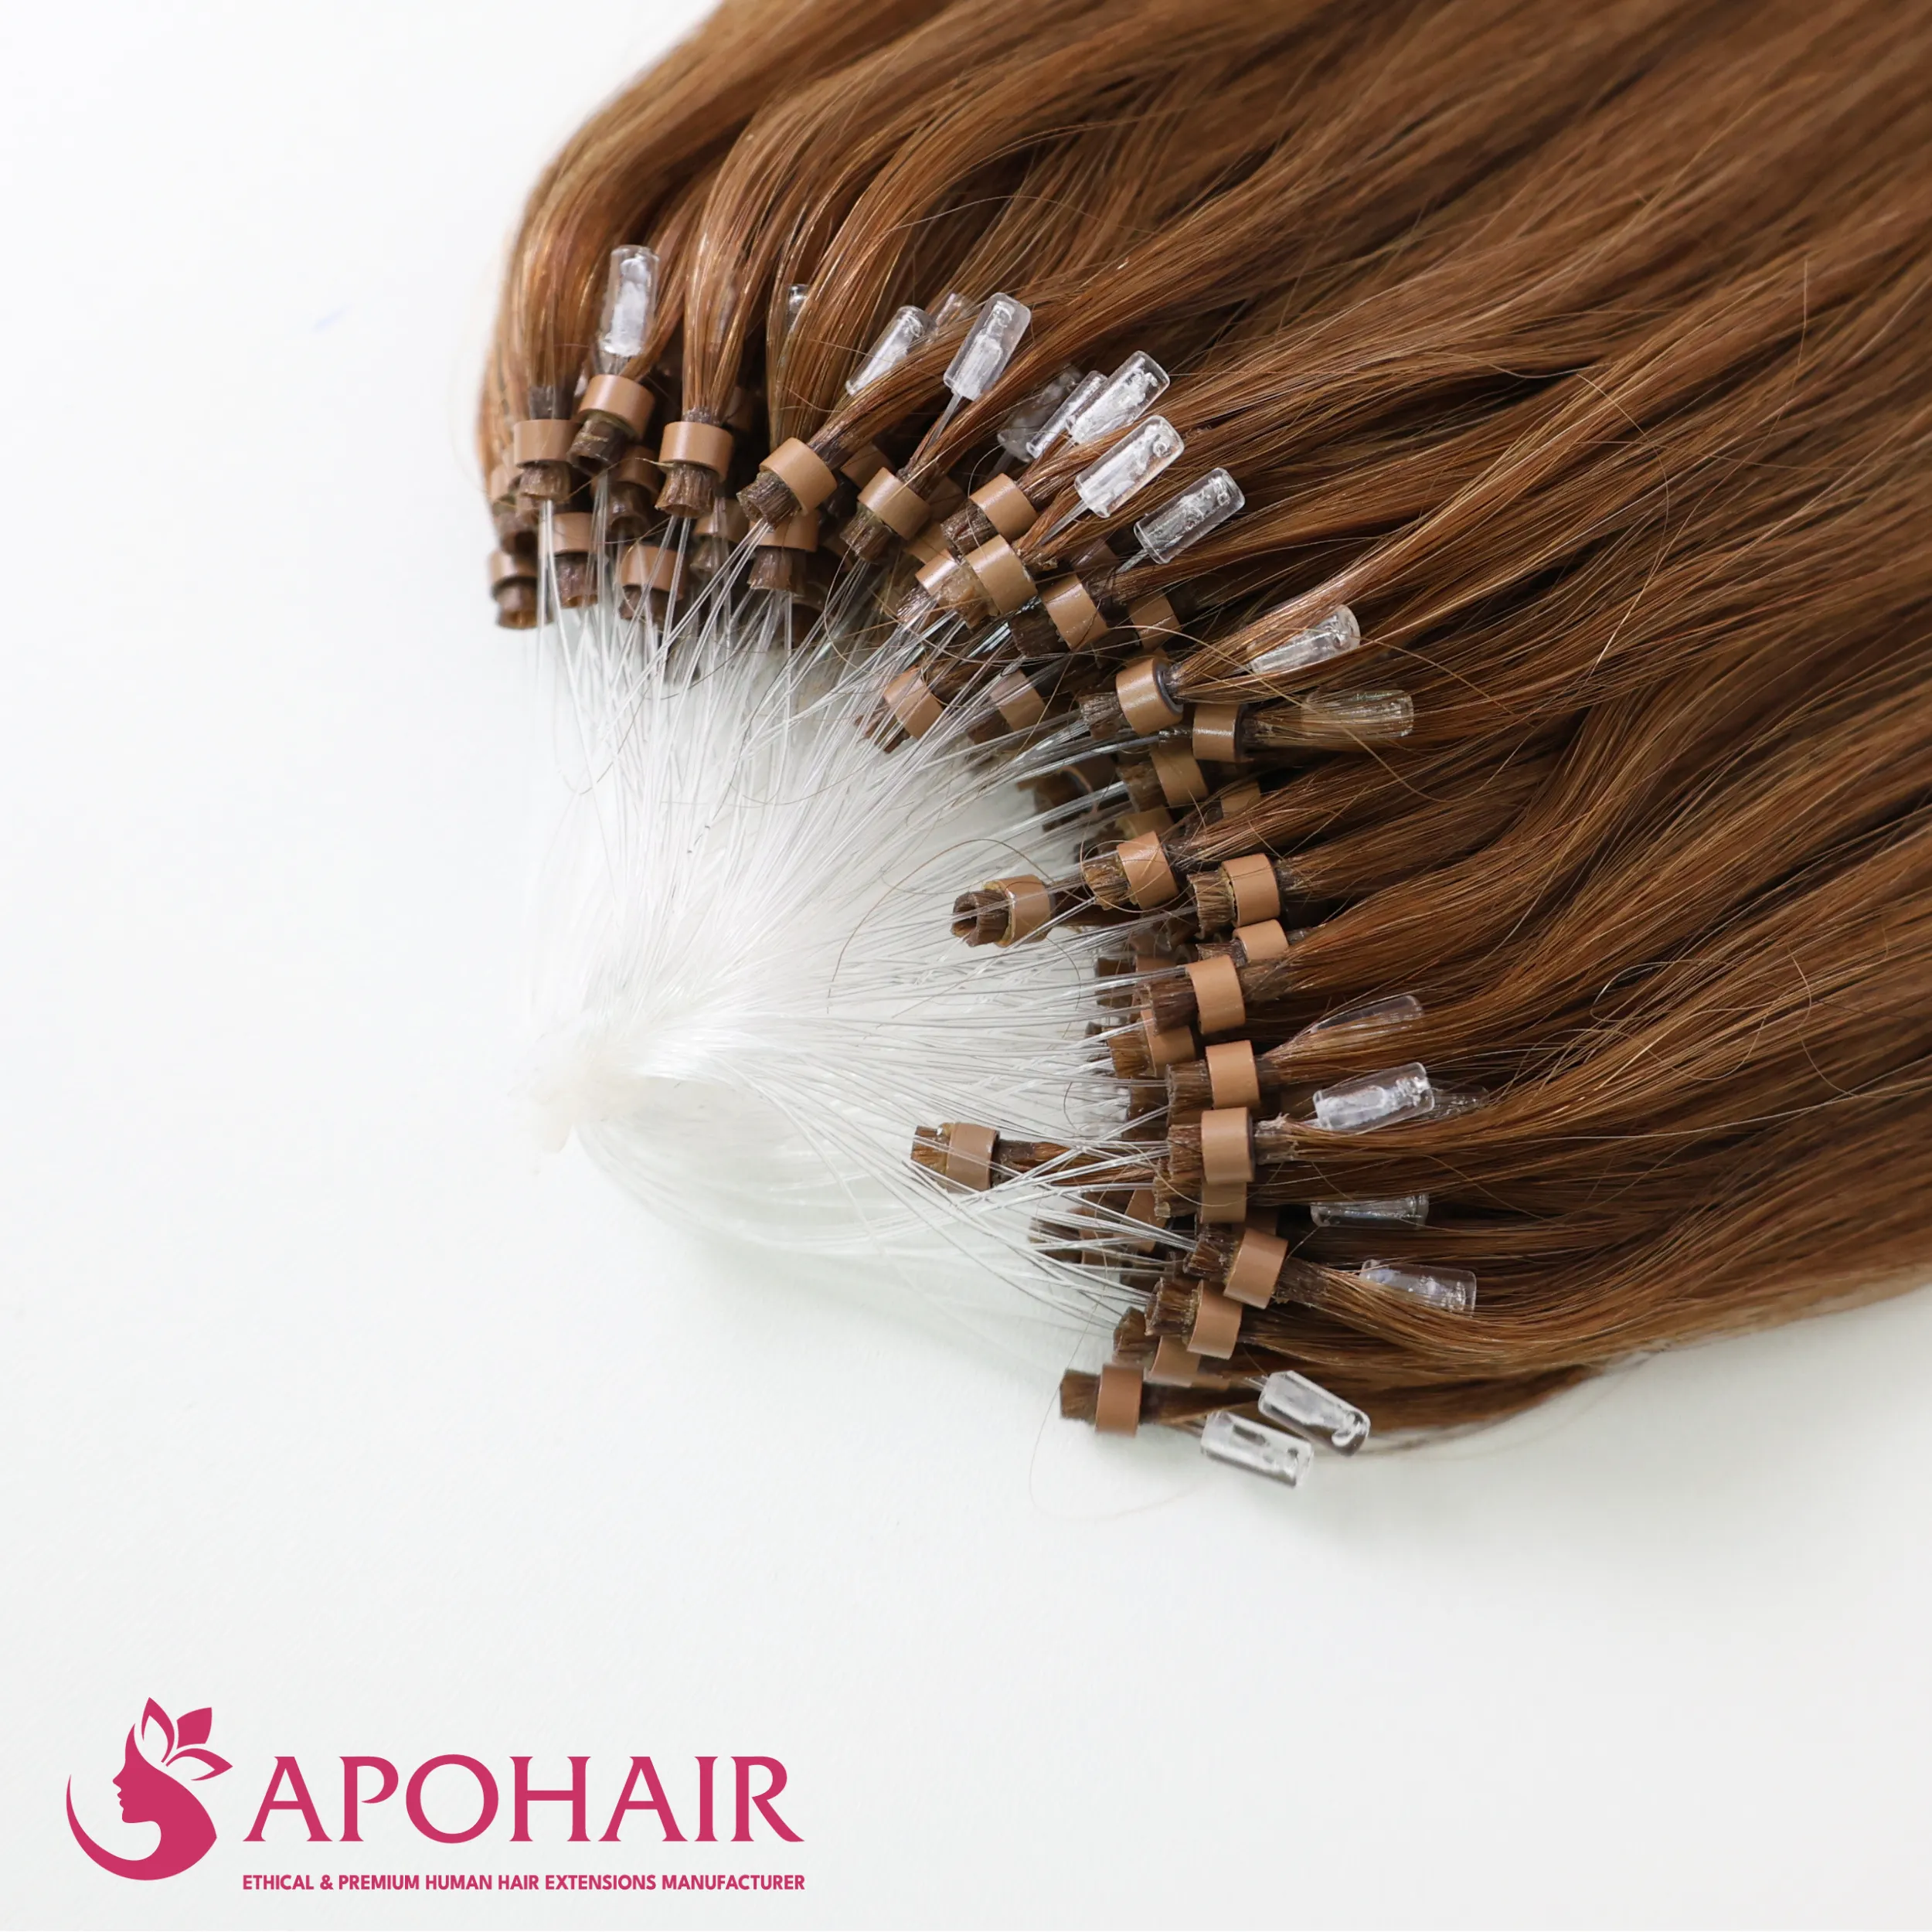
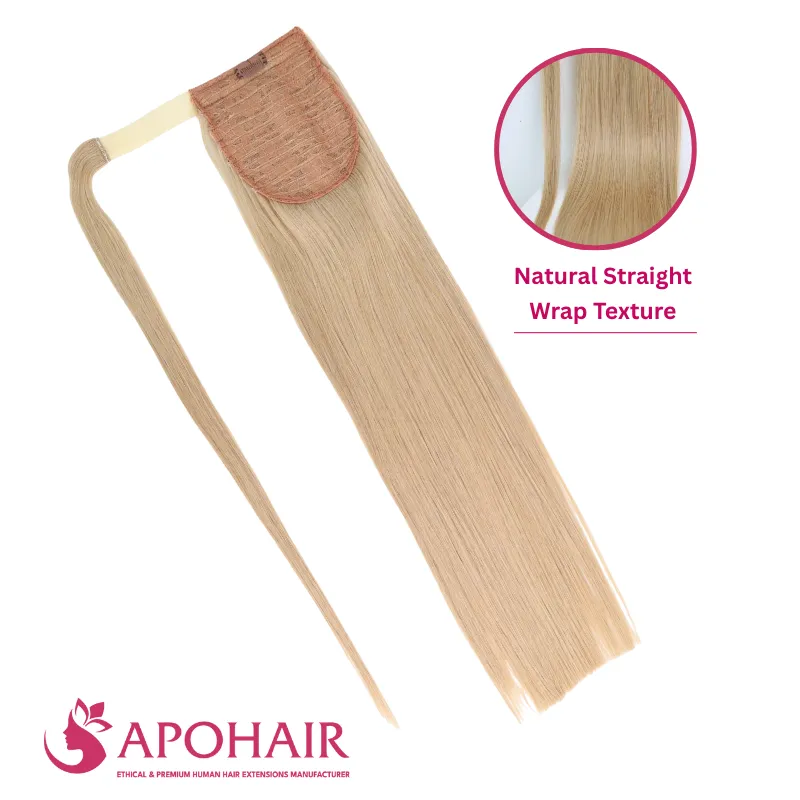
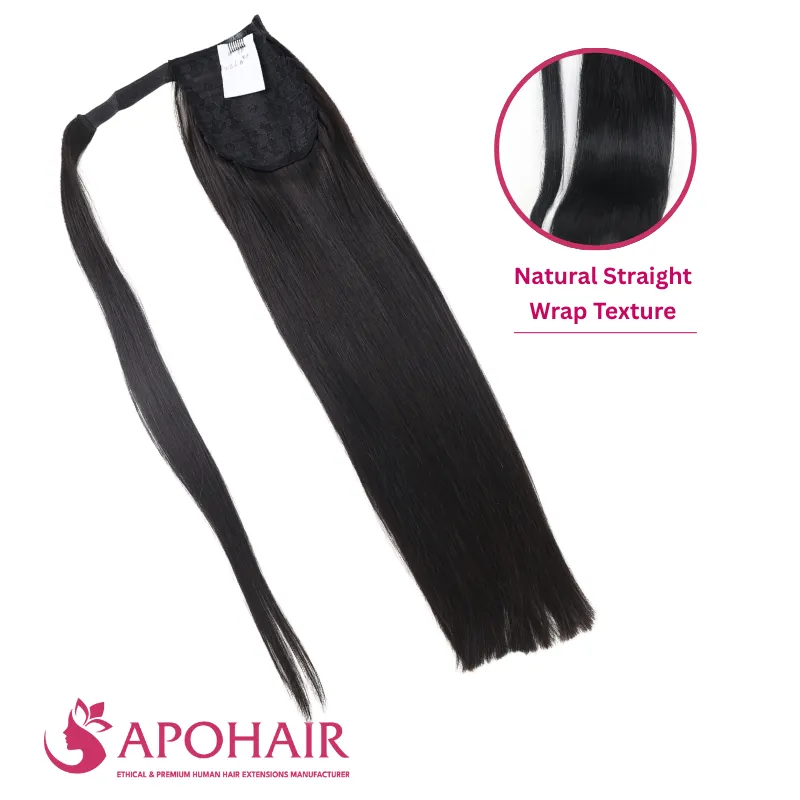
Ponytail extensions add length and fullness when you want more size than your natural hair provides. Synthetic pieces often cost less and suit occasional wear, while 100% Vietnamese Human Hair blends with natural hair, can be heat-styled, and can be reused with proper care. Match the texture and shade first with a physical color ring from off-black (#1B) through platinum blonde (#613), then cover the clips or track. These four options range from a quick wrap-around piece to a longer-wear sew-in.
22. Wrap-Around Ponytail Extension
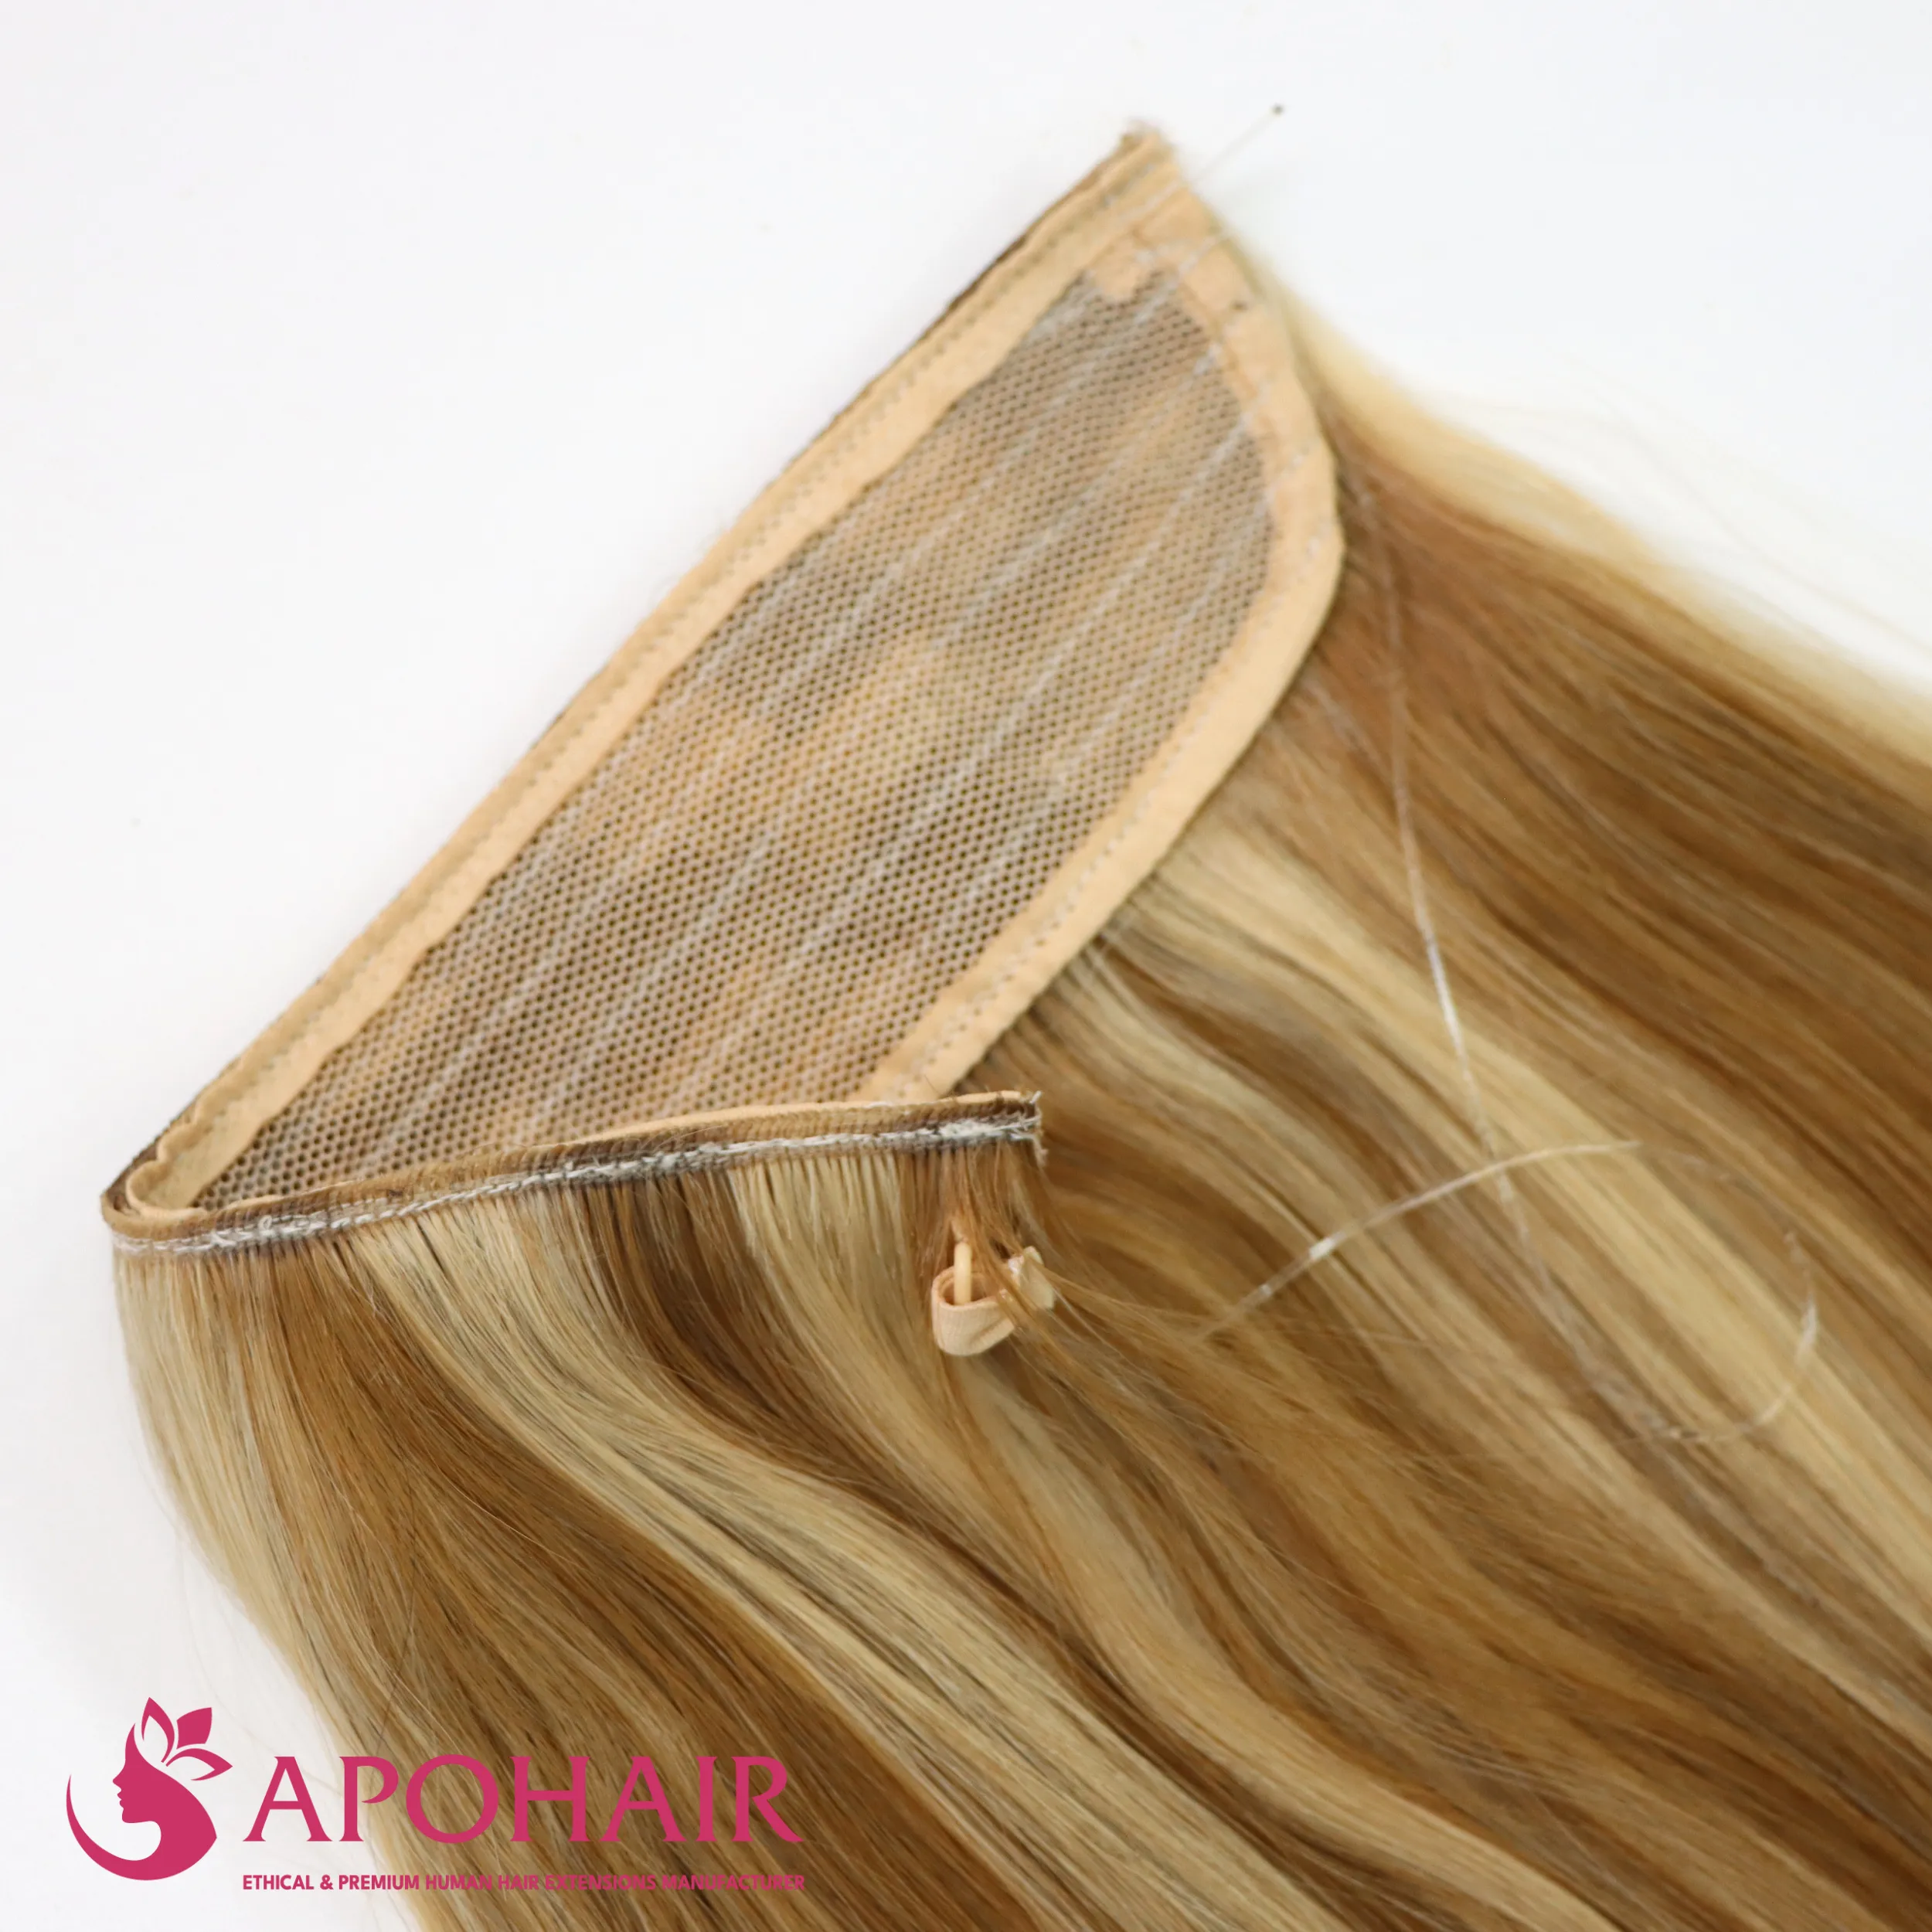
A wrap-around ponytail extension is a single weft or pre-styled piece that wraps or cinches around the base of your own pony for instant length and thickness, the fastest method of all. It suits beginners, fine or short hair, and anyone who wants quick drama. Match the piece to your own texture, whether straight, wavy, or curly, before you prepare the ponytail base.
Make your natural pony, clip the wrap’s anchor at the base (or cinch a drawstring piece over a small bun), wind the weft around, then secure and blend. For very thin hair, add a clip-in weft at the crown first to build body before you wrap. This is the quickest route to a celebrity-length pony, so start here if you are new to extensions. [IMG-09]

23. Sew-In Weave Ponytail
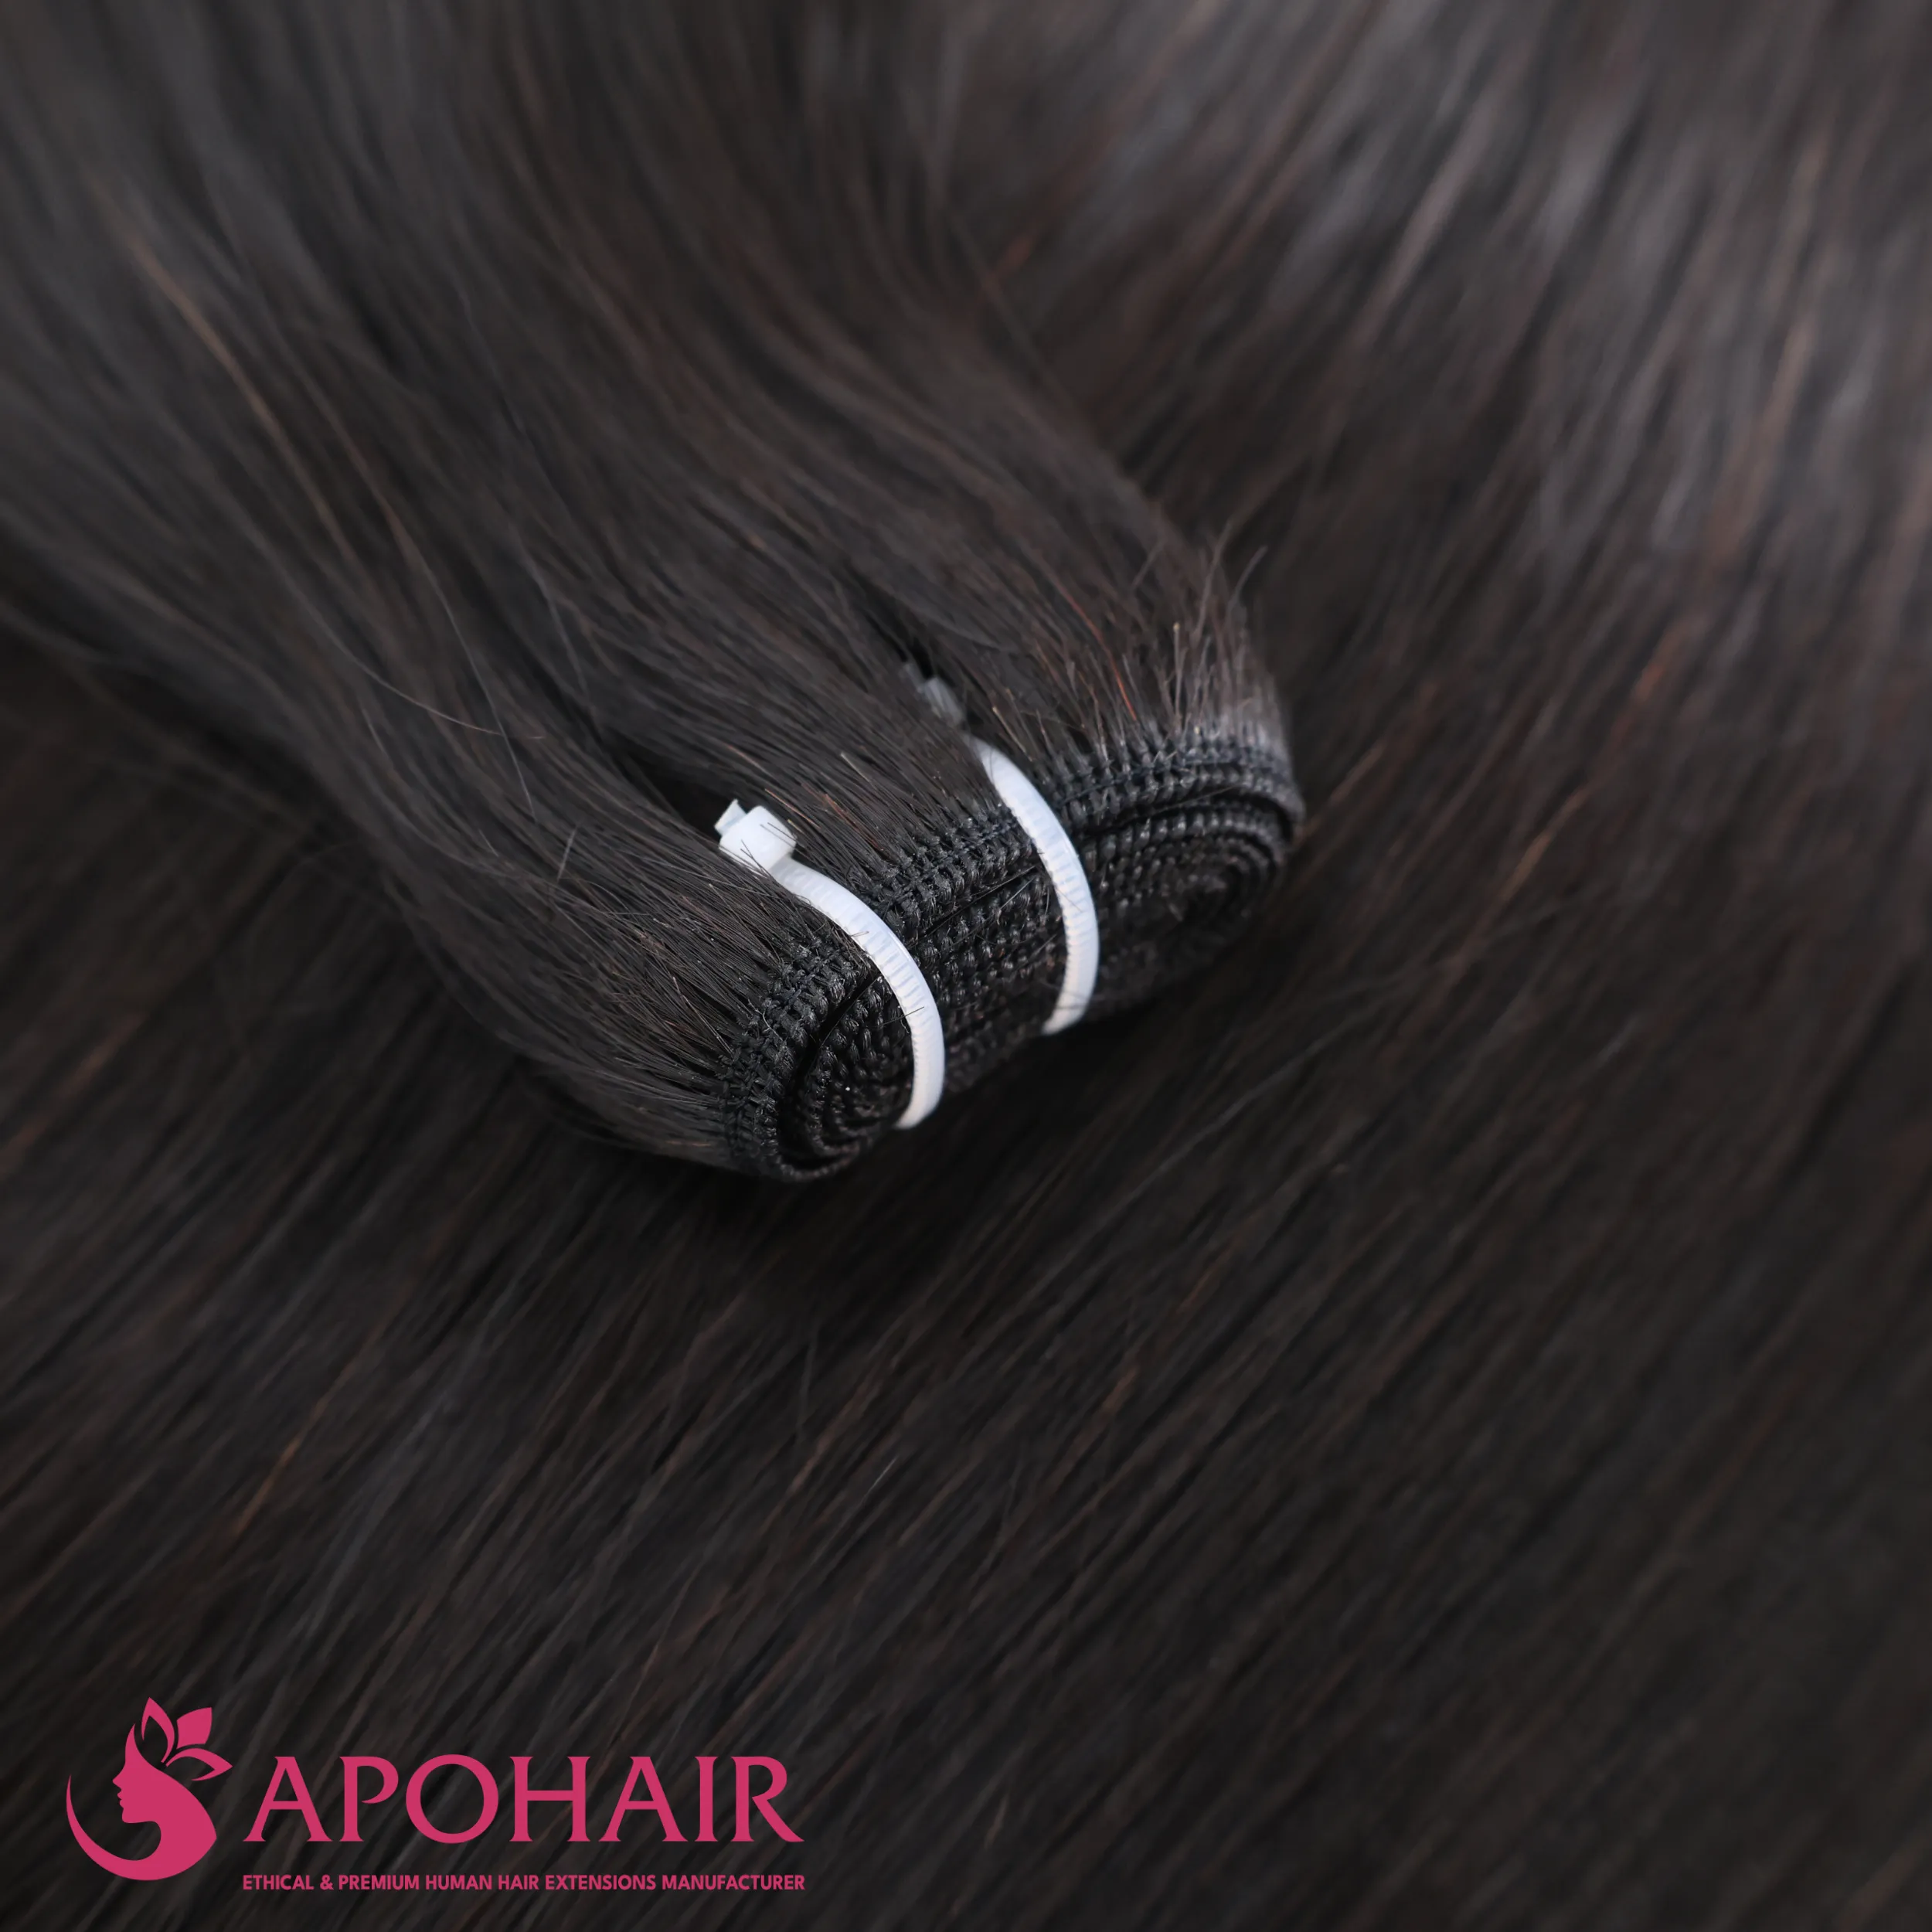
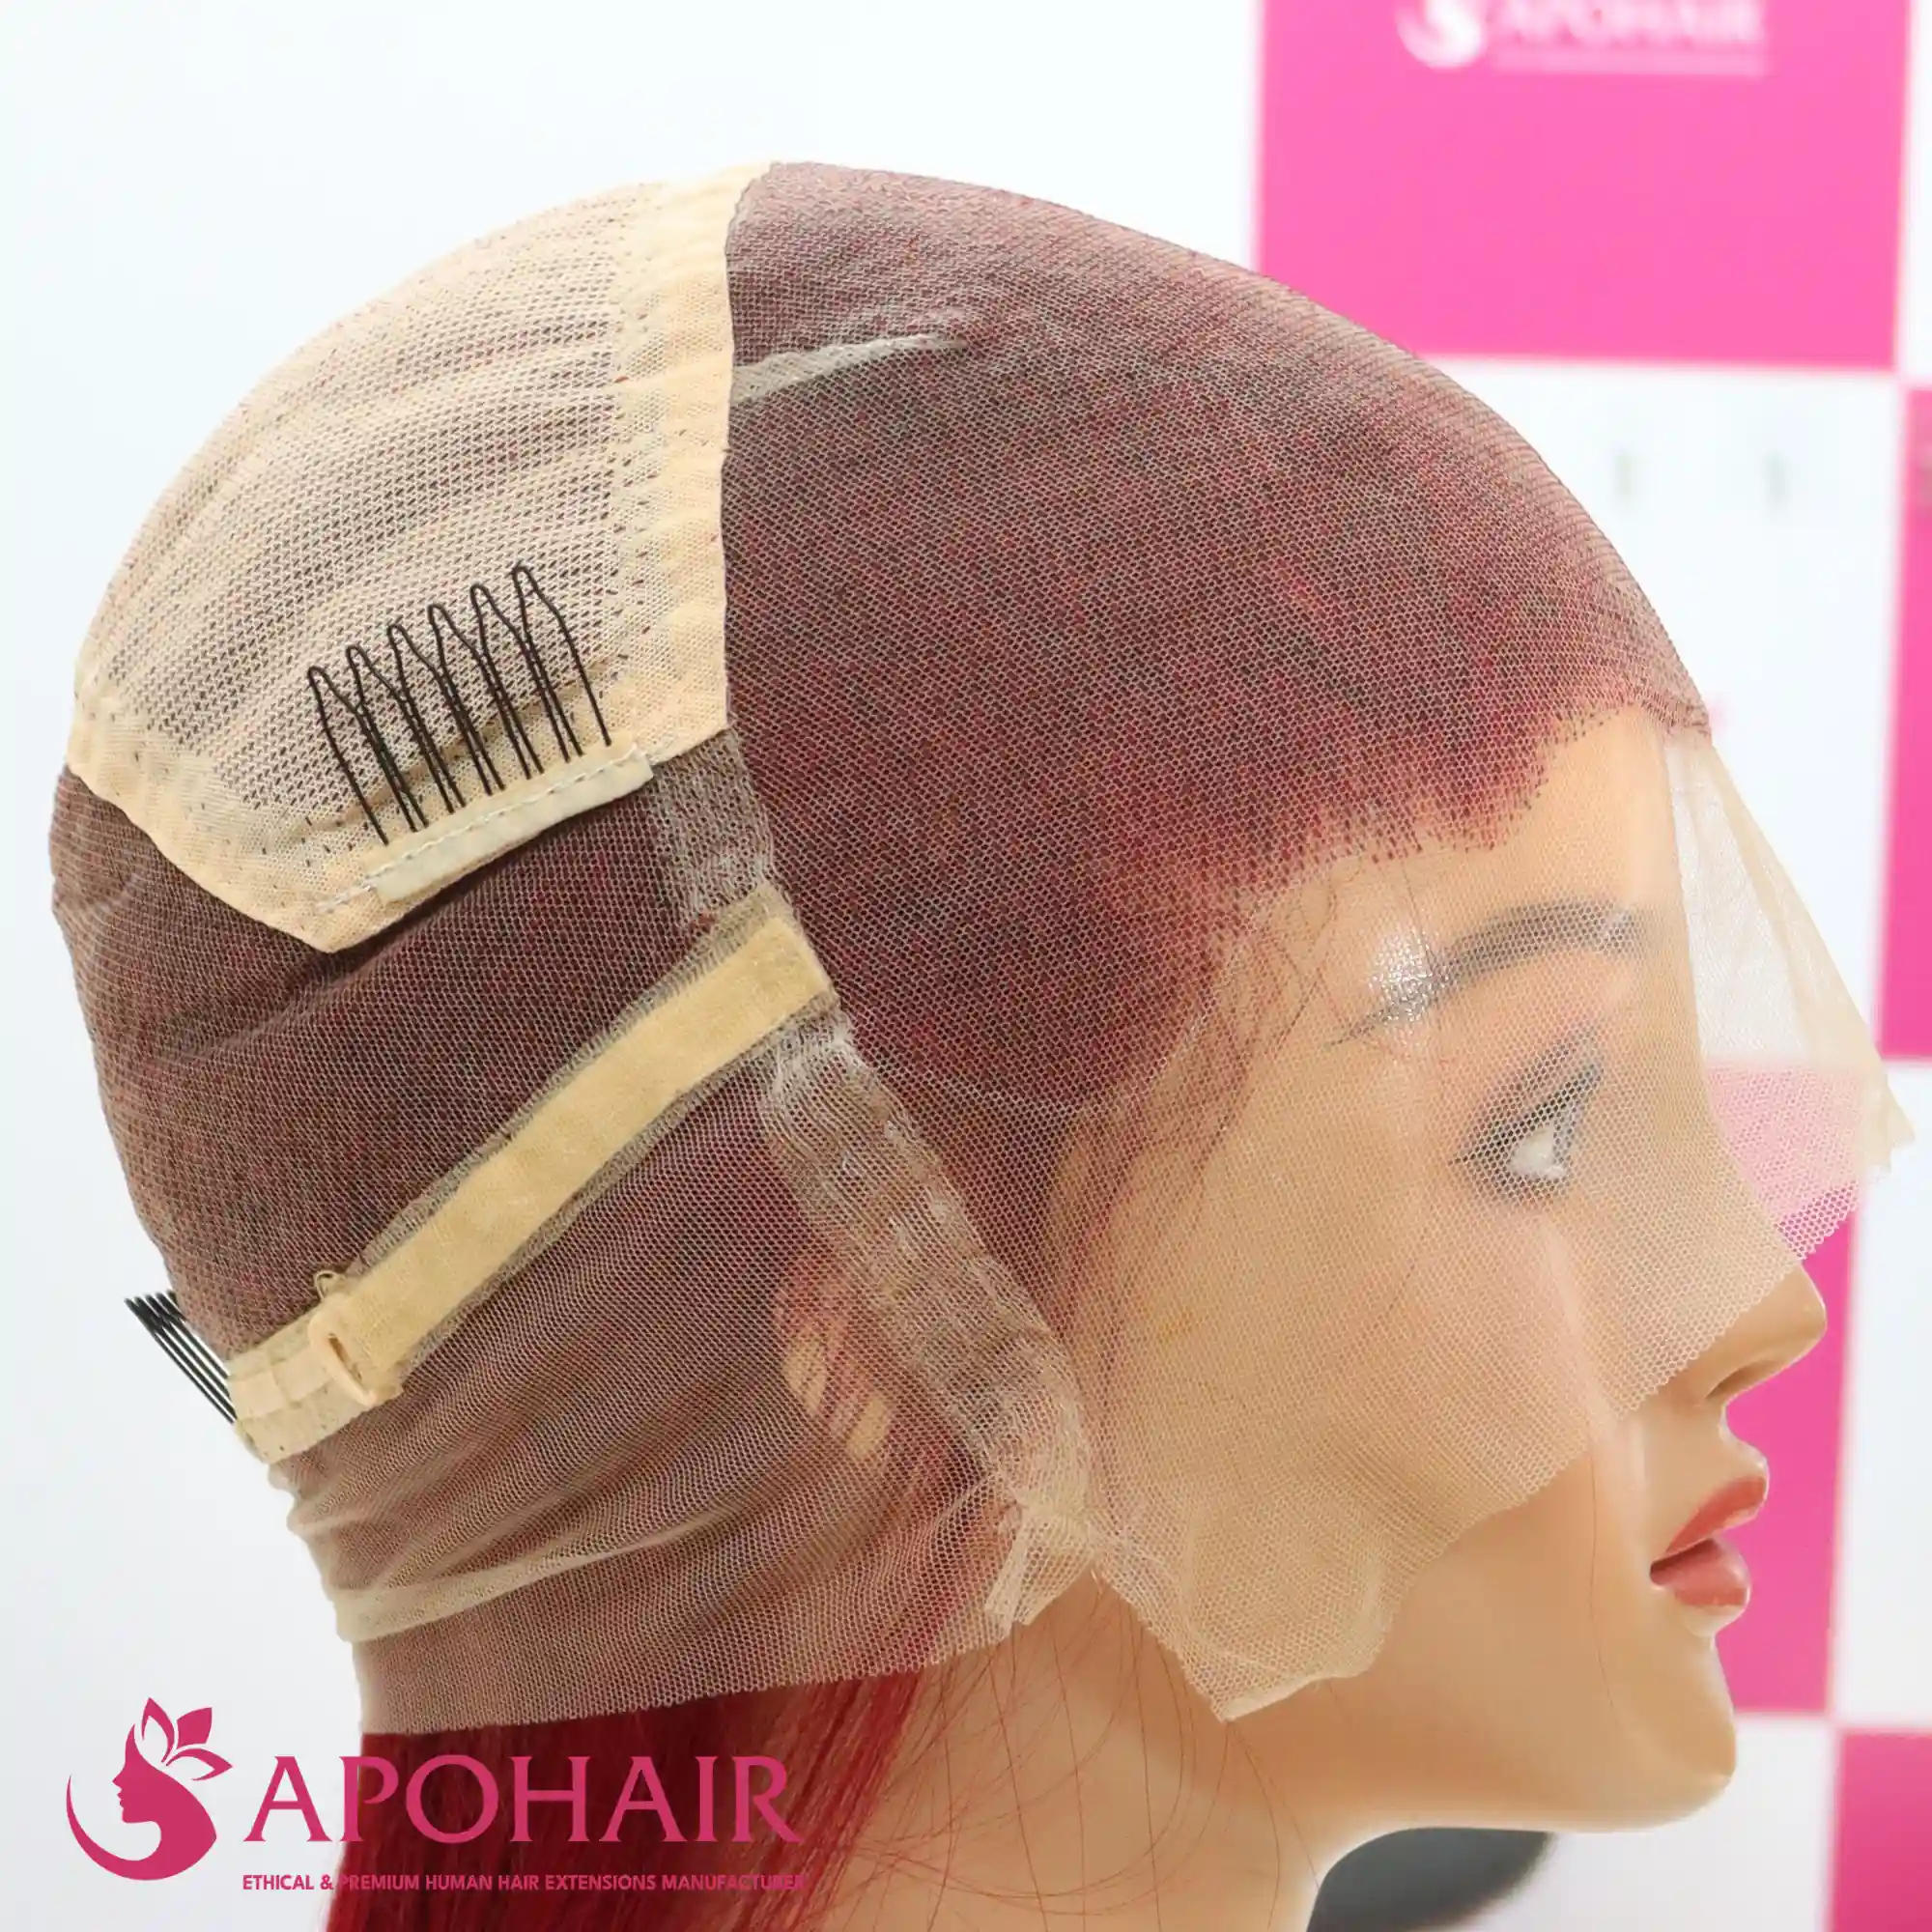
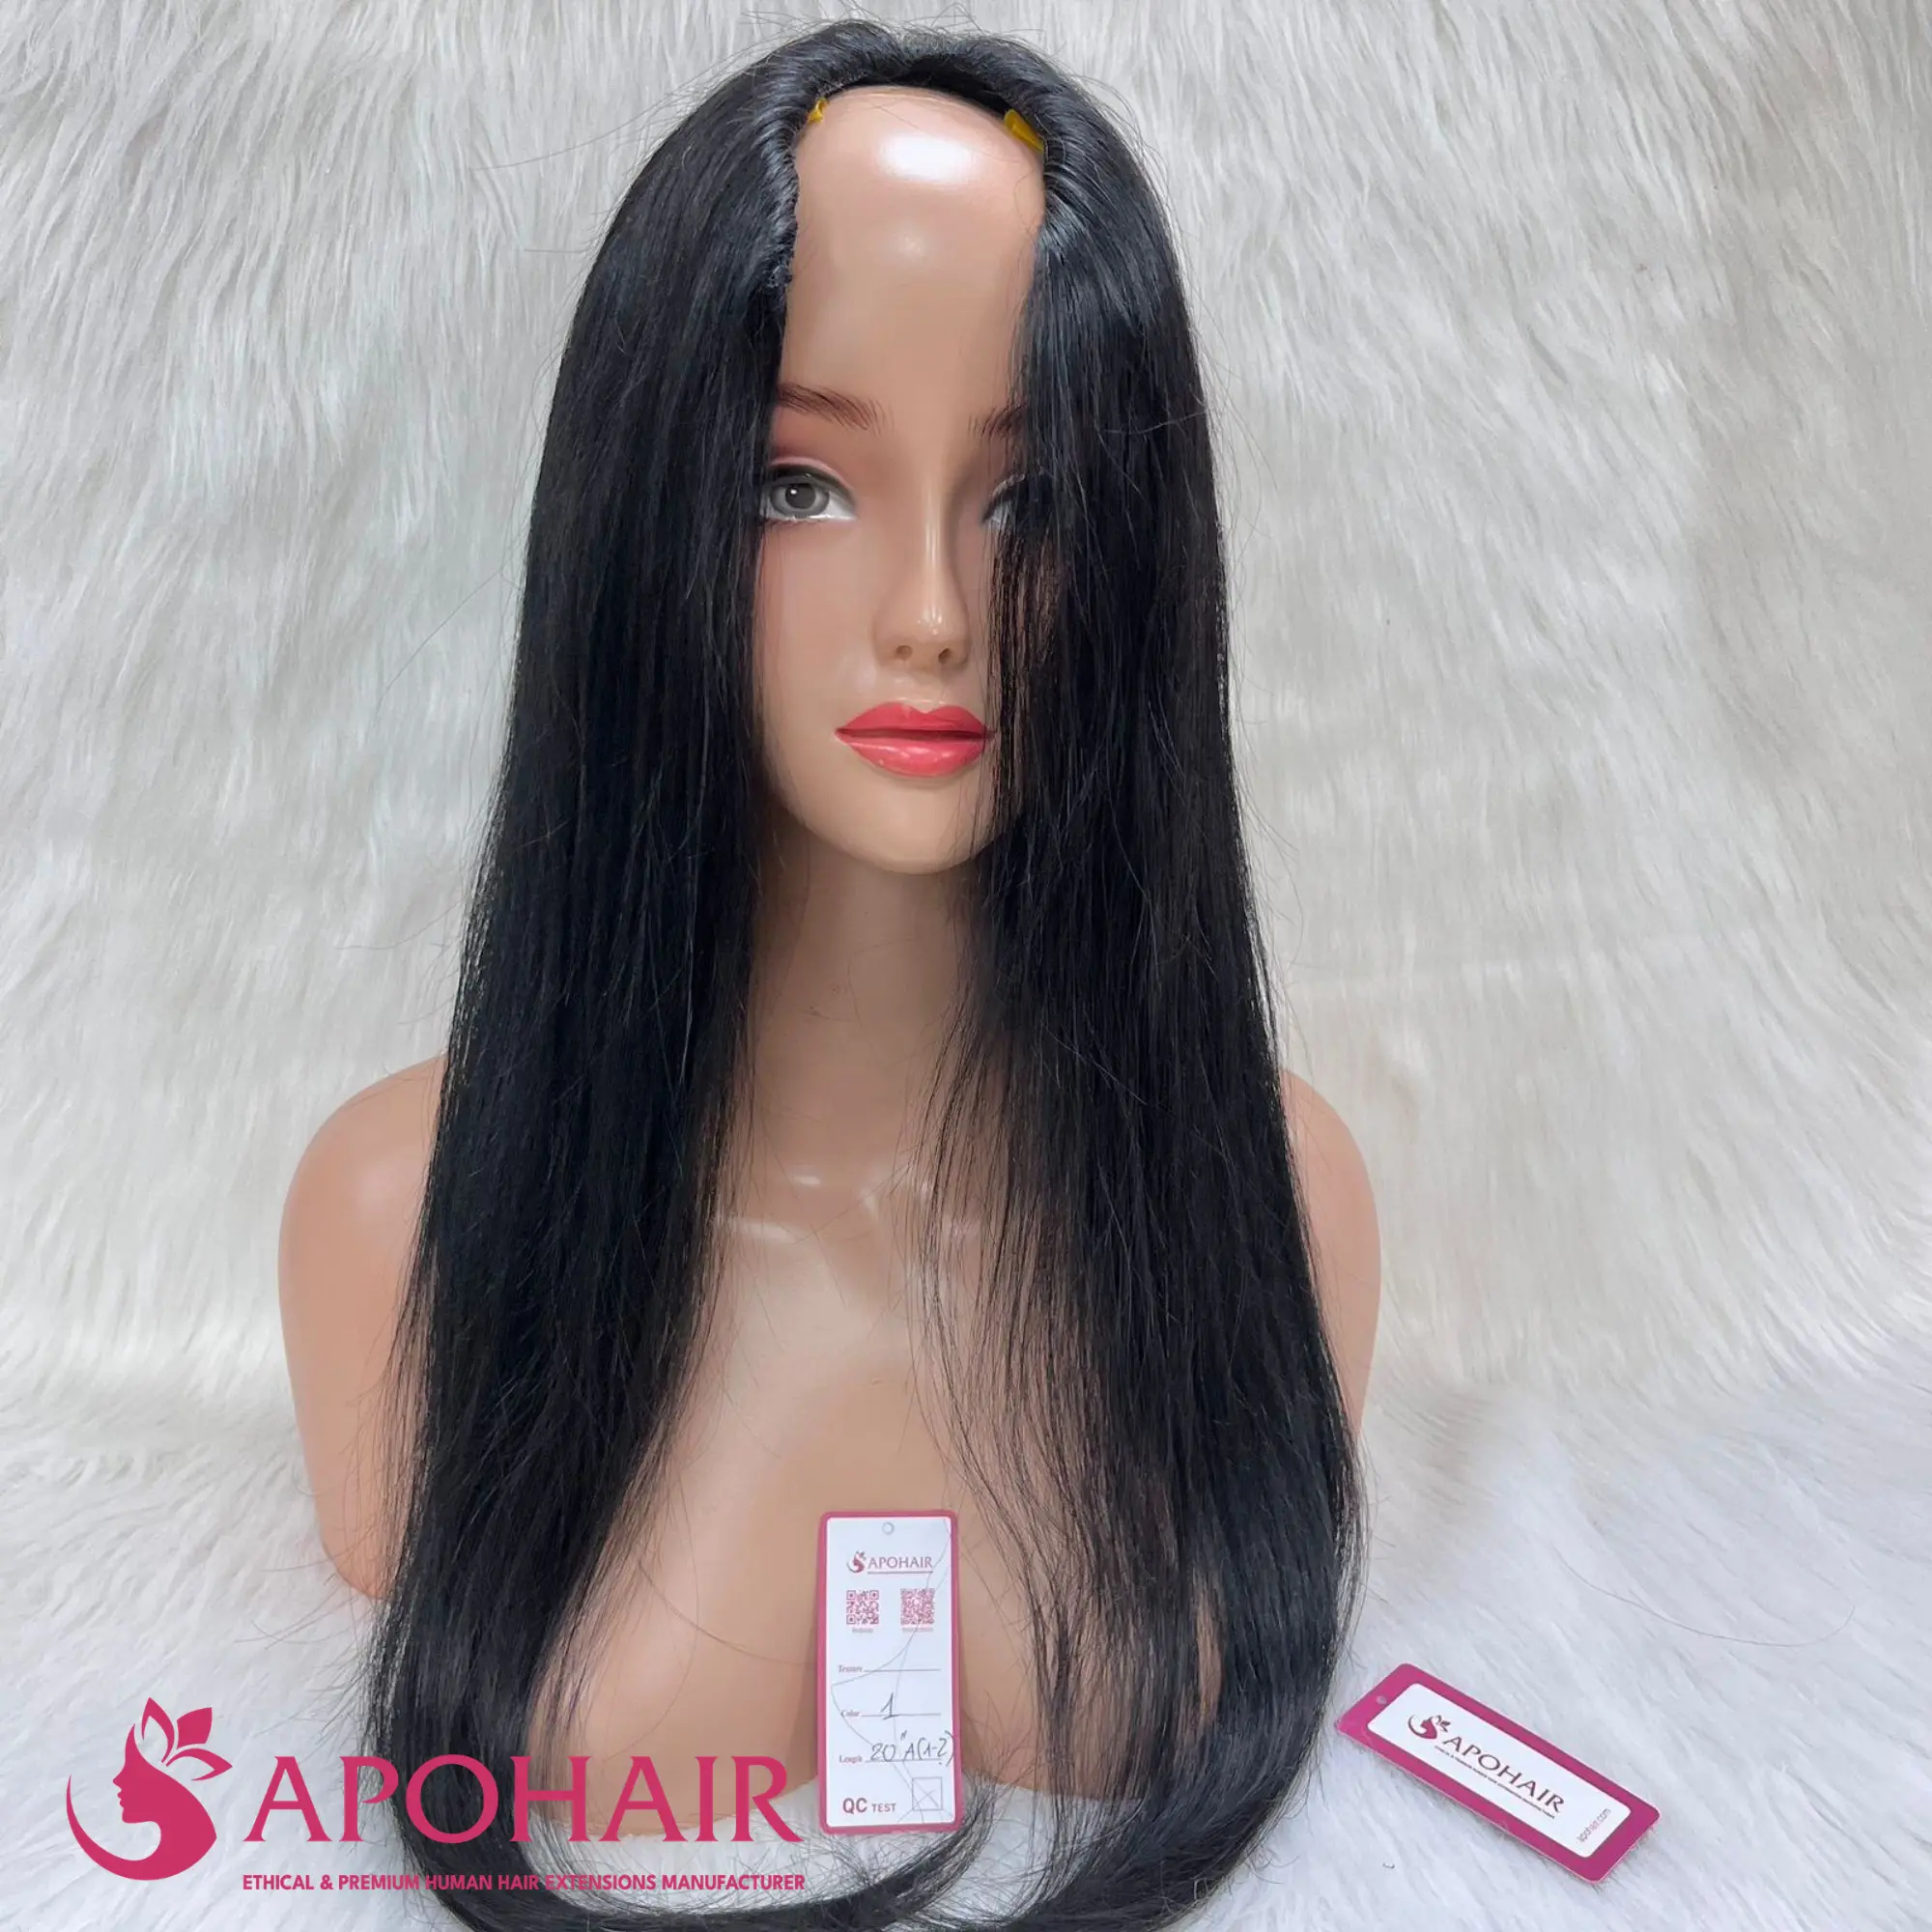
A sew-in weave ponytail braids wefts down and sews them in, then gathers everything into a high pony, long-wearing and secure. In practice, a stylist cornrows your natural hair and sews the wefts to that base before forming the ponytail. A lace frontal can create a wider parting area, while a small leave-out section can blend the top without a frontal. Afro, kinky, or straight human-hair wefts give the style different finishes.
After choosing the weft texture and how to finish the top, cornrow the base and sew in the wefts. Add the frontal or leave out a small top section, then gather a high ponytail and wrap the base. Keep the hairline comfortable because a tight base can strain the edges. Our steam-textured Vietnamese Hair can be restyled with low heat.

24. High Ponytail With Weave (Sleek)
A high ponytail with weave places a long, glossy tail at the crown for a sleek finish. It works especially well with textured or relaxed hair and suits photos, parties, and other dressed-up plans. Kinky-straight or straight wefts can create a smooth finish when they match the base texture.
With the weave matched, smooth the base, flatten or cornrow the back, attach the weave ponytail at the crown, and shape the edges. A small base bun gives the weft a firm point to wrap around. For wholesale photo listings, this sleek texture shows the finished shape clearly and stays easy for customers to restyle.

25. Long Dramatic Ponytail
A long dramatic ponytail uses added hair to create statement length for events and photo shoots. Your natural hair only needs to form a secure base, so the look works even when your own length is short. Match the added hair to your natural texture for a cleaner blend.
For that clean blend, make a sleek high ponytail, attach a wrap or wefts measuring 20 to 24 inches (about 50 to 60 cm) or longer, and cover the join. Curl or straighten the natural hair and added hair together so they move as one tail. Keep the roots a little looser to balance the weight and reduce pulling on the scalp.

Which Ponytail Hairstyle Should You Choose?
Choose a ponytail by matching the placement and finish to your face shape, hair length, and daily routine. Those three factors quickly narrow the 25 styles above to a smaller group that works for you.
Use face shape as a guide, not a rule. A high or teased ponytail can add height to a round face, while most placements can suit an oval face. A medium or low ponytail can balance a heart-shaped face, and soft waves or a side ponytail can soften the angles of a square face. Low and half-up styles add less vertical height to a long face.
Hair length and upkeep matter too. Short or fine hair works well with a sleek low ponytail, a bubble or pull-through style, or an optional extension piece. Long hair provides more room for braids, waves, and statement lengths. A messy, medium, or half-up ponytail takes less time on a regular morning.
Use this table to match a common styling priority with the ponytail families above.
| Your priority | Best ponytail family |
| Round face, want height | High sleek, teased volume, retro 80s |
| Heart or long face, want balance | Slicked-back low, half-up, side pony |
| Short or fine hair, want length | Segmented, wrap-around, long dramatic |
| Quick and low-effort | Messy, half-up, tousled |
| Event or photos | Bubble, bridal, high pony with weave |
A wrap-around or clip-in piece is optional when you want more length or fullness. A high ponytail adds lift and energy, while a low ponytail looks polished and usually feels more comfortable. Our high-versus-low ponytail comparison can help you choose between them.
How to Do a Perfect Ponytail That Lasts All Day
A ponytail holds better when you get four basics right: placement, grip, a secure base, and a covered elastic. The steps below build the foundation for any style in this guide. The next section explains how to correct slipping, bumps, and tension through the day.
Step 1: Pick Your Placement
Choose the ponytail height before gathering your hair because placement changes the direction and tension of the base. A high ponytail at the crown looks lifted, a medium ponytail sits near eye level and fits most plans, and a low ponytail at the nape looks polished.

Step 2: Prep for Grip & Volume
Second- or third-day hair usually grips a tie better than freshly washed hair. Add texture spray to clean, slippery strands, then tease the crown in small sections when you want more fullness. Smooth only the surface with a brush and a small amount of gel or pomade.

Step 3: Secure the Base
Lean your head forward, gather the hair at your chosen point, and secure it with a hooked elastic or a double-wrapped no-snag tie. Keep the base firm without pulling until your scalp hurts. The next section shows how to stop the ponytail from slipping as the day goes on.

Step 4: Hide the Elastic & Finish
Take a small strand from under the ponytail, wrap it around the elastic, and pin the end beneath the base. Smooth flyaways with a light mist of hairspray, then leave a few face-framing pieces loose if they suit the style.
Keep these 5 tools nearby before you start:
- A no-snag tie and one hooked elastic: The soft tie can reduce snagging, while the hooked elastic secures a high ponytail.
- Texture spray: It gives clean or slippery hair more grip.
- A smoothing or paddle brush: It flattens bumps across the surface.
- An edge brush or a clean toothbrush: Either tool can shape baby hairs and catch short flyaways.
- Light-hold spray or pomade: Add a curling wand only when the finished style needs waves or curls.
From our years of supplying ponytail pieces to salons, the most common correction we recommend is simple: do not secure a ponytail over damp hair. A dry, smoothed crown holds its shape longer than hair tied over a wet crease.

What Are the Most Common Ponytail Mistakes?
Ponytails usually lose their shape because of excess tension, a snagging tie, an uneven base, or weak prep. Correcting those problems also helps the style last all day. Tight ponytails worn repeatedly can cause traction alopecia, a gradual form of hair loss along the hairline, according to the American Academy of Dermatology.
Watch for these 5 common mistakes and correct them before they affect the finished style:
- Pulling too tight: Excess tension can stress the hairline and raise the risk of traction alopecia over time. Loosen the roots, change the placement through the week, and loosen the style right away if it feels painful.
- Using the wrong hair tie: Thin or snagging elastics can break strands and slip. Choose a fabric, spiral, or hooked tie that holds the base without catching the hair.
- Securing over a dent or crease: An uneven surface leaves a visible bump and weakens the base. Brush the crown smooth before adding the tie, then cover the base with a wrapped strand.
- Skipping base prep: A smooth, unprepared base often slips as the day goes on. Use second-day hair or texture spray, anchor the ponytail with two elastics, and place a hidden bobby pin under the base to support heavy length.
- Tying the same spot every day: Repeated friction can weaken one line of hair, especially when you sleep in a tight ponytail. Rotate high, medium, and low placements, and switch to a loose satin-friendly tie at night.
Frequently Asked Questions About Ponytail Hairstyles
How Long Does Your Hair Need to Be for a Ponytail?
Hair that reaches the chin or longer can usually form a basic ponytail. Very short or heavily layered hair can use a wrap-around or clip-in piece attached to a small base. The shorter your natural hair is, the more the added piece will create the visible length and fullness.
How Long Does a Weave or Sew-In Ponytail Last?
A weave or sew-in ponytail can stay neat for several weeks, but the exact time depends on the install, tension, and scalp care. The American Academy of Dermatology advises wearing weaves or extensions for no more than 2 to 3 months before taking a break. Human hair wefts can be removed, cleaned, and reused when they remain in good condition.
Are Ponytails Bad for Your Hair?
Ponytails are usually low risk when you wear them at a comfortable tension and give the hairline regular breaks. Tight daily ponytails can cause breakage and may lead to traction alopecia over time. Change the placement, use a snag-free tie, and loosen the base if you feel pain or steady pulling.
Conclusion
Choose your ponytail by face shape, hair length, and the time you want to spend styling it. Start with a simple foundation style if you are new, then add texture, a braid, or extra length once the base feels secure. When your natural hair needs more length or volume, Apohair clip-ins, wrap-around, and weft pieces provide factory-direct 100% Vietnamese Human Hair in shades from off-black (#1B) to platinum blonde (#613). Our Ethically Sourced Vietnamese Hair is available to salons and sellers at wholesale; send our team your preferred texture, length, and color for a match.
APOHAIR — ETHICAL & PREMIUM HUMAN HAIR EXTENSIONS AND WIGS MANUFACTURER
- Address: Building 3A, Lane 82 Duy Tan, Cau Giay, Hanoi, Vietnam
- Factory: (Old) Yen Luong Village, Y Yen District, Nam Dinh Province, Vietnam; (New) Minh Luong Hamlet, Van Thang Commune, Ninh Binh Province, Vietnam
- WhatsApp: +84 862 132 366
- Email: wholesale@apohair.com
- Website: https://apohair.com/




 ABOUT US
 Human Hair Extensions
 Wholesale Tape-In Hair Extensions
 Clip-In Hair Extensions
 Wholesale Keratin Hair Extensions
 Weft Hair Extensions
 BEST SELLING PRODUCTS
 Human Hair Wigs
 Bulk Human Hair For Braiding
 Contact Us